When to Use a Web Graphic Organizer?
Web Graphic Organizers serve as valuable tools to visually structure and simplify complex information, fostering better comprehension and effective learning. But when exactly should you use a Web Graphic Organizer? Here are some scenarios.
1. Brainstorming Ideas
Whether you're working on a school project, planning a business proposal, or writing a story, using a blank web graphic organizer can be helpful in brainstorming ideas. It allows you to quickly jot down thoughts, see how they interconnect, and organize them logically.
2. Making Decisions
Web graphic organizers can be used as decision-making tools. By laying out all possible options and their respective pros and cons, you can see the big picture and make informed decisions.
3. Planning Projects
When managing a project, keeping track of tasks, deadlines, resources, and goals can be challenging. A web graphic organizer can help visually outline these elements, making the project management process smoother and more efficient.
4. Studying for Exams
Students can use web graphic organizers as study aids. They can summarize information from textbooks or lectures, map out ideas or concepts, and identify connections between topics, aiding memory recall and understanding.
5. Creating Reports or Presentations
Creating reports or presentations often involves gathering and structuring a lot of information. With a web graphic organizer, you can outline your content, making sure you cover all the important points in a logical and coherent manner.
6. Teaching and Learning
Teachers can use web graphic organizers to plan lessons or explain complex concepts. Students, on the other hand, can use them to take notes or summarize learning material.
Web Graphic Organizers are versatile tools that can enhance clarity, creativity, and productivity in various activities. By visually organizing information and ideas, they promote efficient learning and effective work processes. Whether it's for educational, personal, or professional use, they're definitely worth incorporating into your toolbox!
Why Get Organized with Boardmix Free Web Graphic Organizer Tool?
Whether you're a student, teacher, writer, or professional, getting your ideas organized and clearly visualized can make a world of difference in the quality of your work. And this is where the Boardmix free web graphic organizer tool comes into play. Let's explore how this incredible tool can help you get organized!
1. Easy to Use and Access
Boardmix's free printable web graphic organizer tool is user-friendly and accessible. You don't need to download any software; all you need is a web browser and an Internet connection. The interface is clean, simple to navigate, making it easy even for beginners.
2. Diverse Range of Organizers
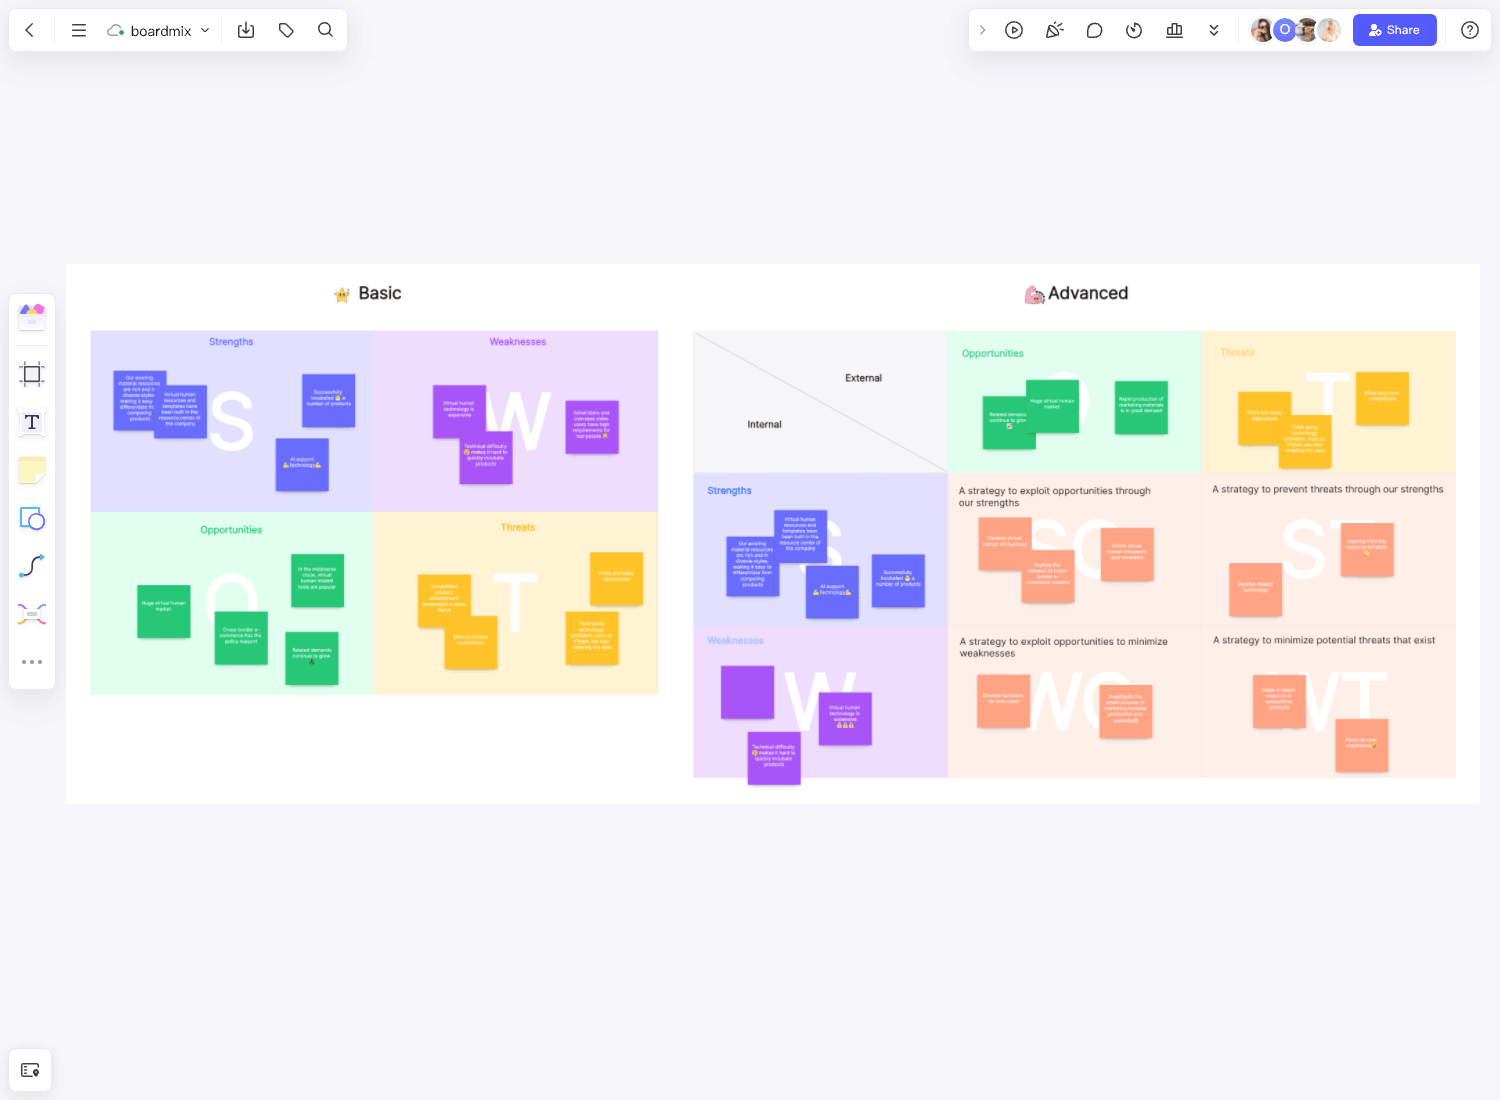
Boardmix offers a wide variety of graphic organizers, including character analysis maps, story maps, concept maps, mind maps, and more. These diverse tools cater to a broad range of needs, from brainstorming ideas to planning complex projects.
3. Customizable and Flexible
The power of Boardmix lies in its flexibility and customization. You can adjust each graphic organizer to suit your unique requirements. Change colors, shapes, sizes or layouts to better fit your style or project needs.
4. Collaborative Features
Working on a group project or need input from others? No problem! Boardmix allows for real-time collaboration, making it easy to share your ideas and receive feedback from team members or peers.
5. Save and Share with Ease
With Boardmix, you can save your graphic organizers and access them at any time, from anywhere. Additionally, you can easily share your work via email, social media, or embedded links.
6. Education-Friendly
Teachers can leverage Boardmix as an effective educational tool. It facilitates understanding complex concepts, encourages active learning, and enhances students' critical thinking skills.
Getting organized has never been more straightforward and efficient than with Boardmix's free web graphic organizer tool. By visually arranging thoughts, ideas, and information, it enhances comprehension, creativity, and clarity - fostering productive learning and efficient work. So why wait? Start using Boardmix today to get organized and take your projects to the next level!
How to use Boardmix Free Web Graphic Organizer?
Boardmix's free web graphic organizer is a versatile tool designed to aid in visually structuring ideas, information, or concepts, fostering clearer understanding and efficient learning. Whether it's for educational, professional, or personal use, here is a step-by-step guide on how to use the Boardmix Free Web Graphic Organizer.
Step 1: Access Boardmix
Visit the Boardmix website on any web browser. No need for any downloads or installations!
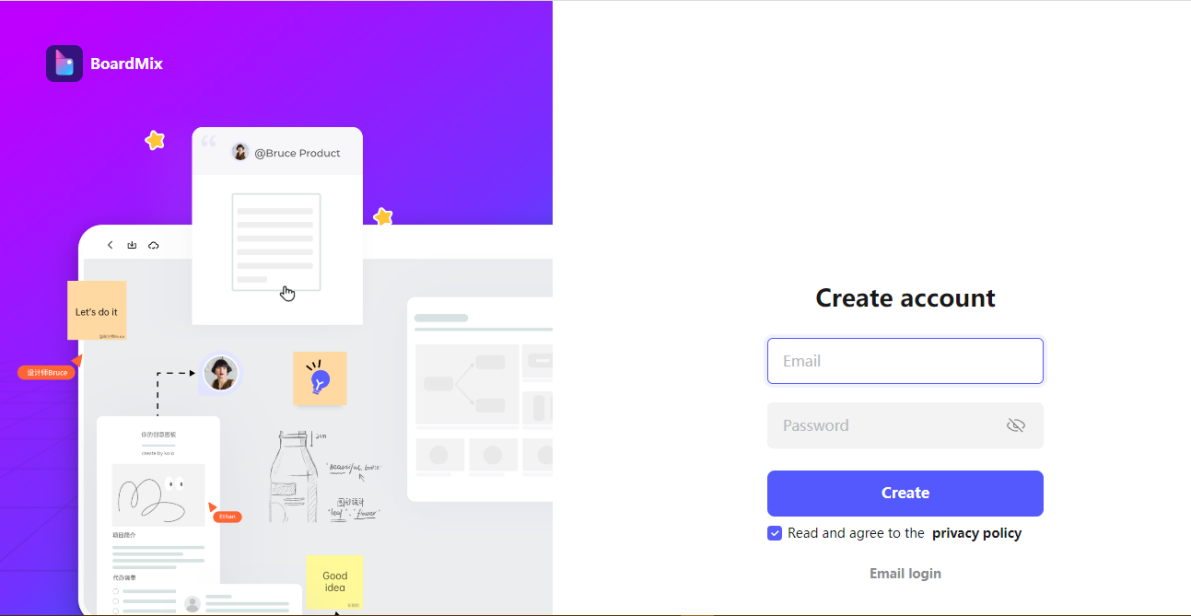
Step 2: Create a Free Account
Sign up for a free account using your email address. If you already have an account, simply log in.
Step 3: Select ‘New Project’
Once logged in, navigate to your dashboard and click on the ‘New Project’ button.
Step 4: Choose the Right Graphic Organizer
You'll be presented with a selection of different types of graphic organizers such as story maps, character analysis maps, concept maps, and more. Select the one that best suits your needs.
Step 5: Customize Your Graphic Organizer
Once you’ve chosen the right graphic organizer, you can start customizing it. Add text, change colors, shapes, or sizes to suit your requirements. The interface is user-friendly and intuitive, allowing you to make changes with ease.
Step 6: Save Your Project
After filling in your information and customizing the graphic organizer to your liking, save your project. You can return to it at any time for further modifications.
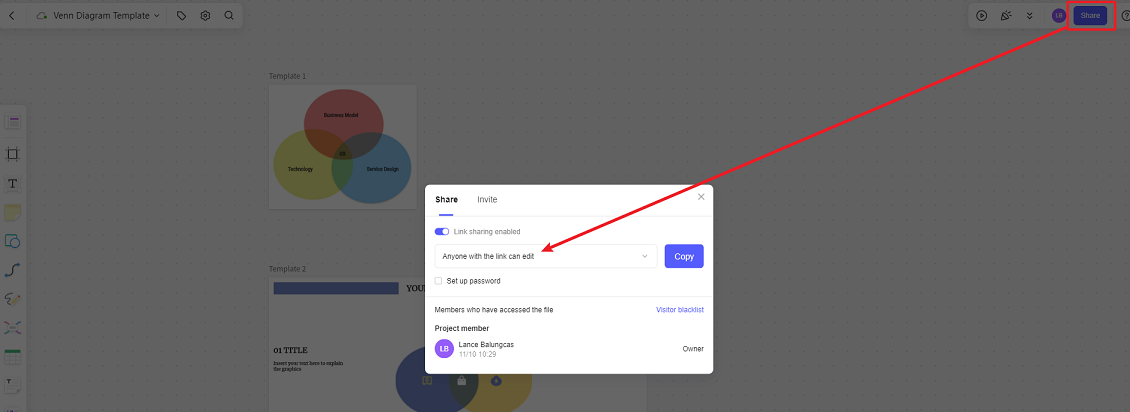
Step 7: Collaborate or Share
Boardmix offers excellent collaborative features. You can invite others to view and edit your graphic organizer in real-time. Alternatively, you can share your finished work via email or social media or even embed it into a webpage.
The Boardmix Free Web Graphic Organizer is a flexible and efficient tool designed to streamline the organization and visualization of information and ideas. With its easy-to-use interface and varied features, it caters to a wide range of uses, empowering you to learn and work productively. So log onto Boardmix today and start organizing!
Tips and Traits for Web Graphic Organizers
Web Graphic Organizers are powerful tools that assist in visually structuring information, promoting a more in-depth understanding and effective learning. However, to reap the full benefits of these tools, it's essential to understand their features and know how to use them effectively. Here are some tips and traits for using a web graphic organizer:
1. Understanding Different Types of Organizers
There are various types of web graphic organizers available, such as concept maps, story maps, mind maps, etc., each designed for different purposes. Understanding what each type offers will enable you to choose the most suitable one for your needs.
2. Start with a Central Idea
A good practice when creating a web graphic organizer is to start with a central idea or concept. From there, you can branch out to sub-topics or related points, creating a network of interconnected ideas.
3. Keep it Simple
One of the key features of a graphic organizer is its simplicity. It’s designed to simplify complex information, so avoid overcrowding it with too many details. Stick to the main points or ideas to keep it clean and comprehensible.
4. Use Colors and Symbols
Most web graphic organizer tools allow customization with colors, shapes, and symbols. Use them effectively to distinguish between different categories or indicate relationships or hierarchy between ideas.
5. Make Use of Collaborative Features
Some web graphic organizers offer collaborative features, allowing multiple users to work together in real-time. If you're working in a group setting, take advantage of this feature.
6. Continually Revise and Refine
Remember that a web graphic organizer is a dynamic tool. As your understanding deepens or your project evolves, don’t hesitate to revise or refine your graphic organizer accordingly.
7. Review Your Organizer
After you have filled out your graphic organizer, review it to ensure it accurately represents your ideas and there are no missing elements.
8. Share and Receive Feedback
Web graphic organizers can be easily shared online. Don’t hesitate to share your work and receive feedback from peers, teachers, or colleagues. This can provide new perspectives and enrich your understanding.
Web Graphic Organizers, with their visual appeal and easy-to-understand structure, can significantly enhance the process of learning and organization. However, knowing how to use them effectively is key to maximizing their potential. With these tips and an understanding of their traits, you can optimize your use of web graphic organizers for a more efficient and productive experience.