A timeline is a powerful visual tool that helps organize and display information or events over a specific time period. They come in handy in various contexts, from illustrating historical events to managing project schedules. While many specialized tools can create timelines, PowerPoint stands out as a universally accessible and flexible option. This article will delve into what a timeline is, how to create a graphic timeline in PowerPoint, and the pros and cons of using PowerPoint for this purpose. Let’s get started!
What Is a Timeline
A timeline is a linear representation of important events, tasks, or milestones occurring over time. It's an intuitive visual method to display information that unfolds over time, thereby giving the viewer a sense of order and chronology.
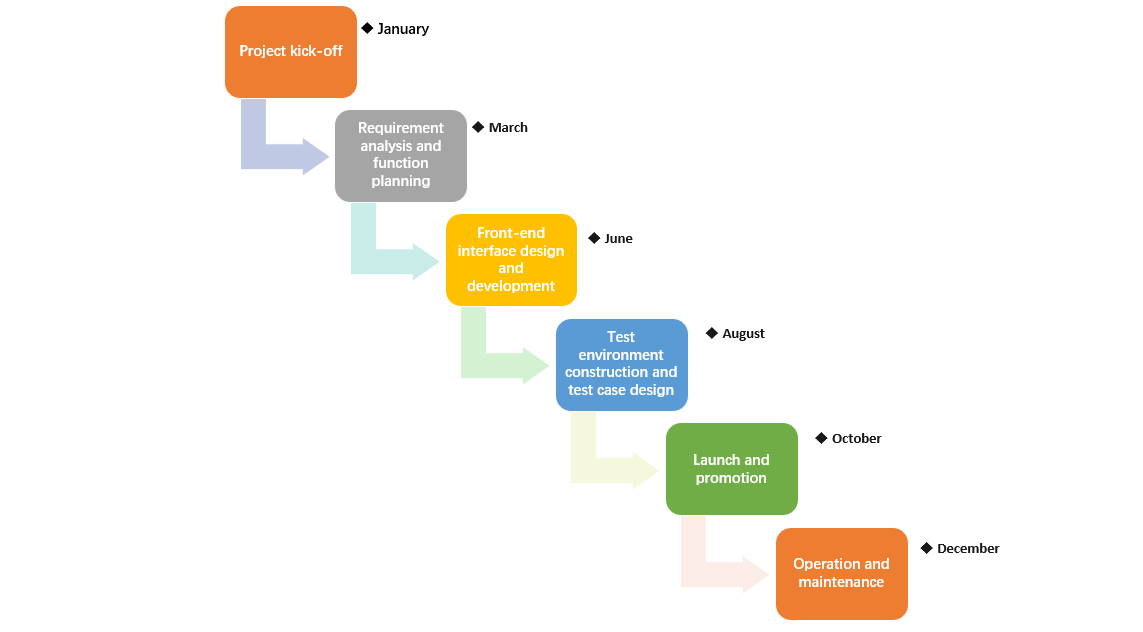
In a professional setting, timelines can illustrate project schedules, marketing plans, business milestones, and more. They can provide clarity about what tasks need to be completed and when, highlight critical points in the project, and track progress towards the end goal.
How to Create a Graphic Timeline in PowerPoint
Creating a timeline in PowerPoint is relatively straightforward. Here are the steps to follow:
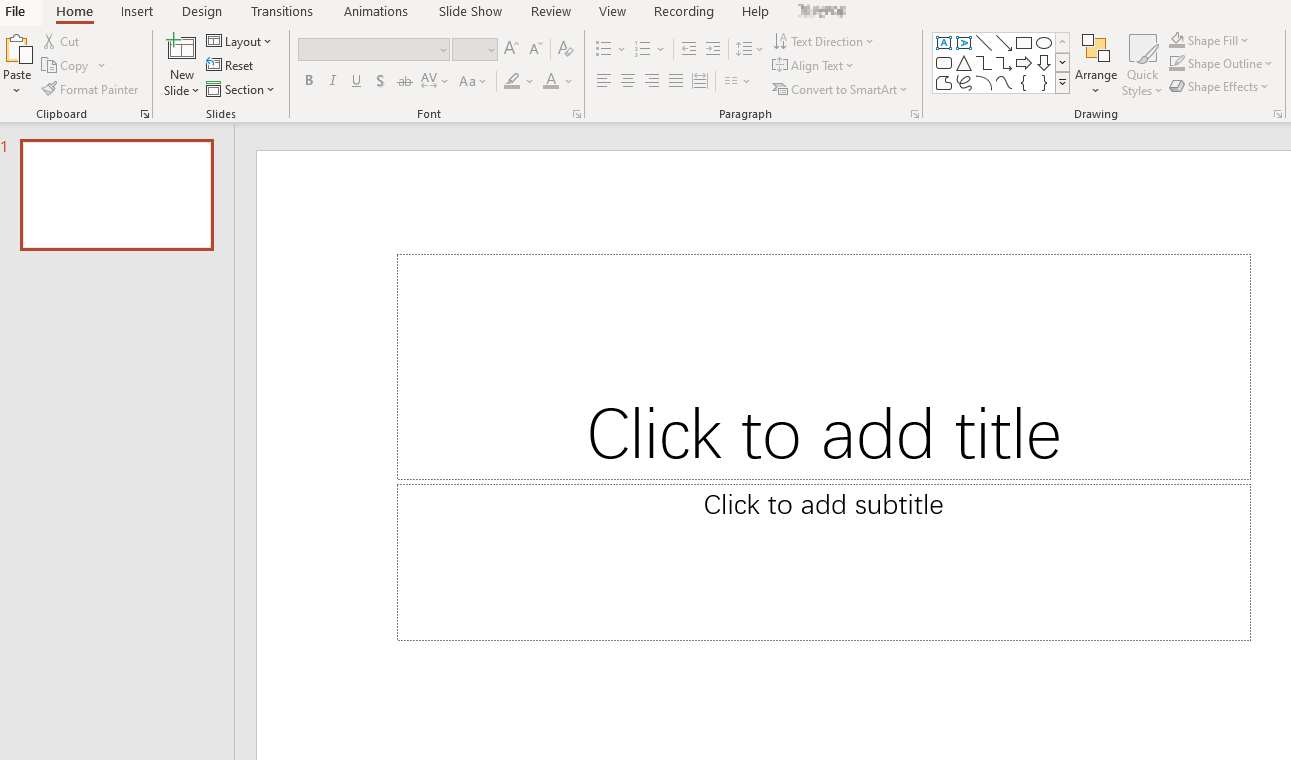
- Start a New Slide: Begin by creating a new slide where your timeline will reside.
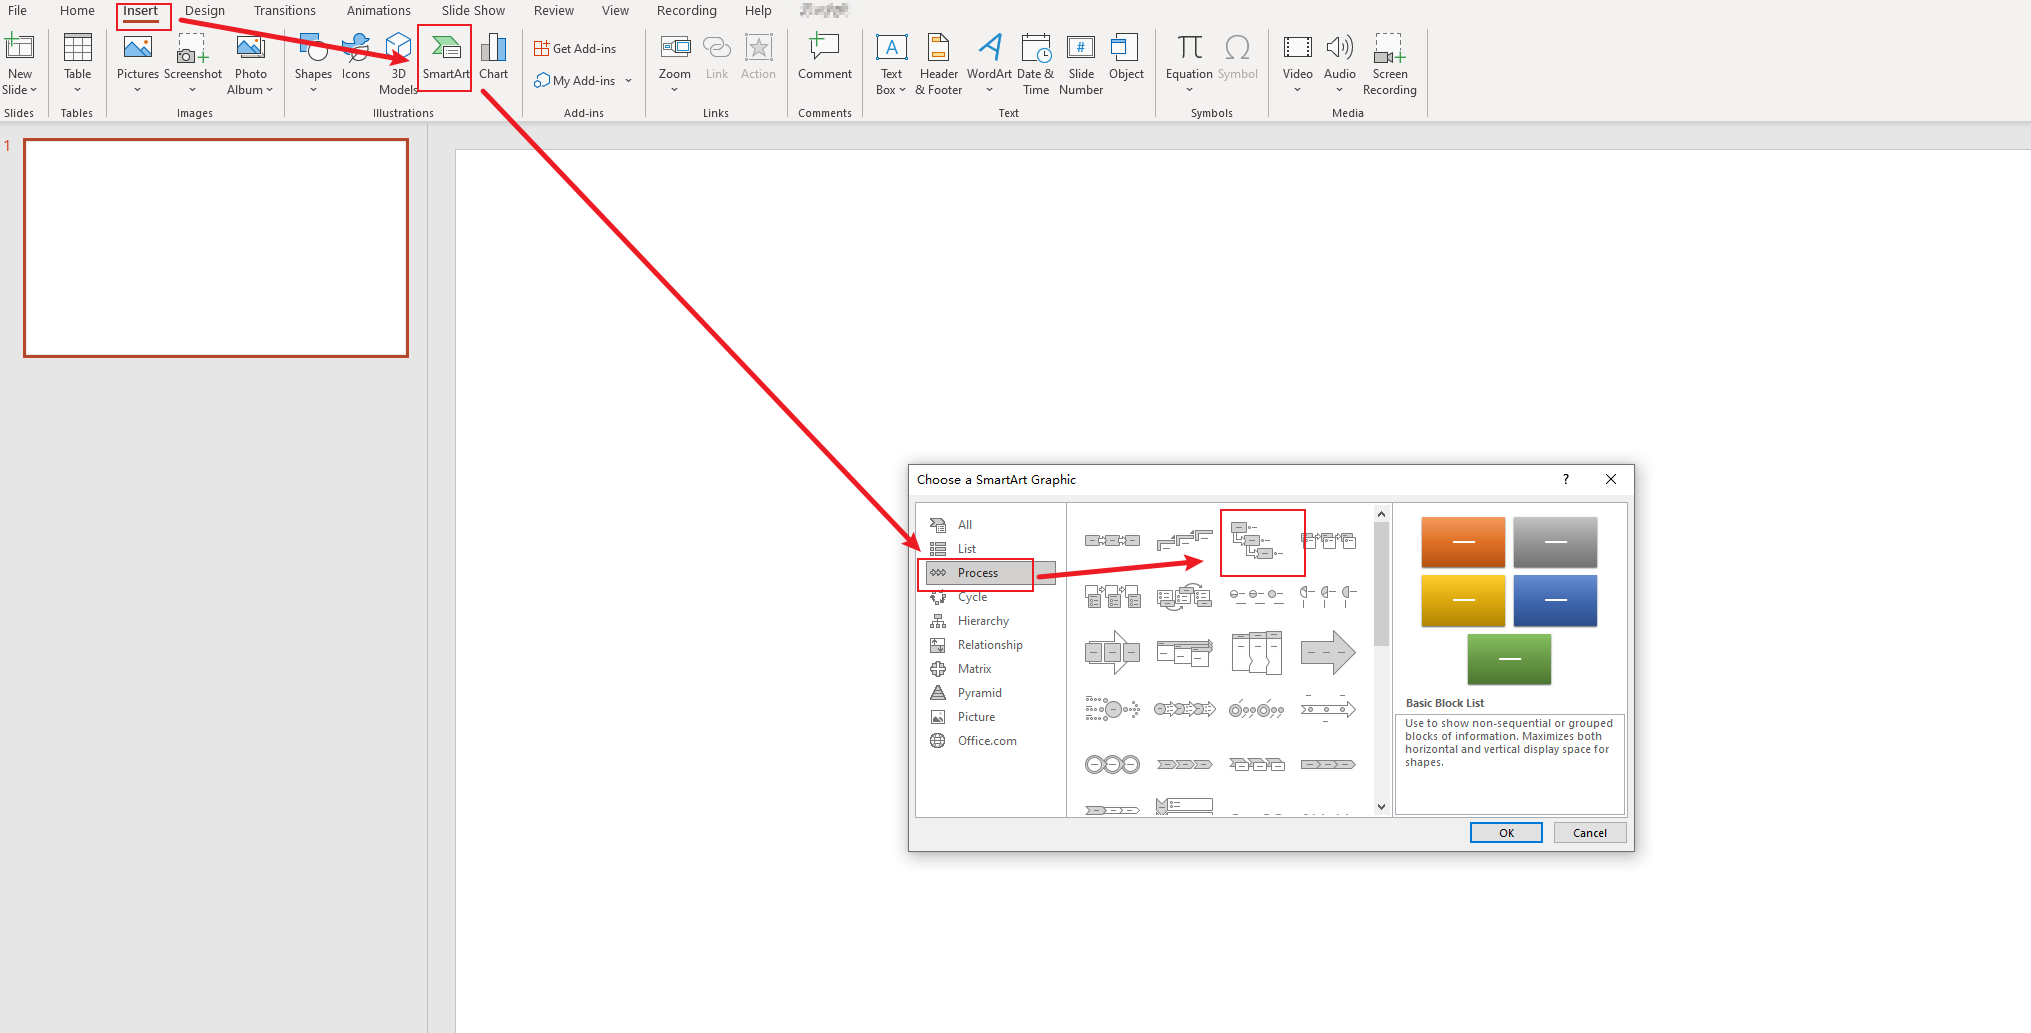
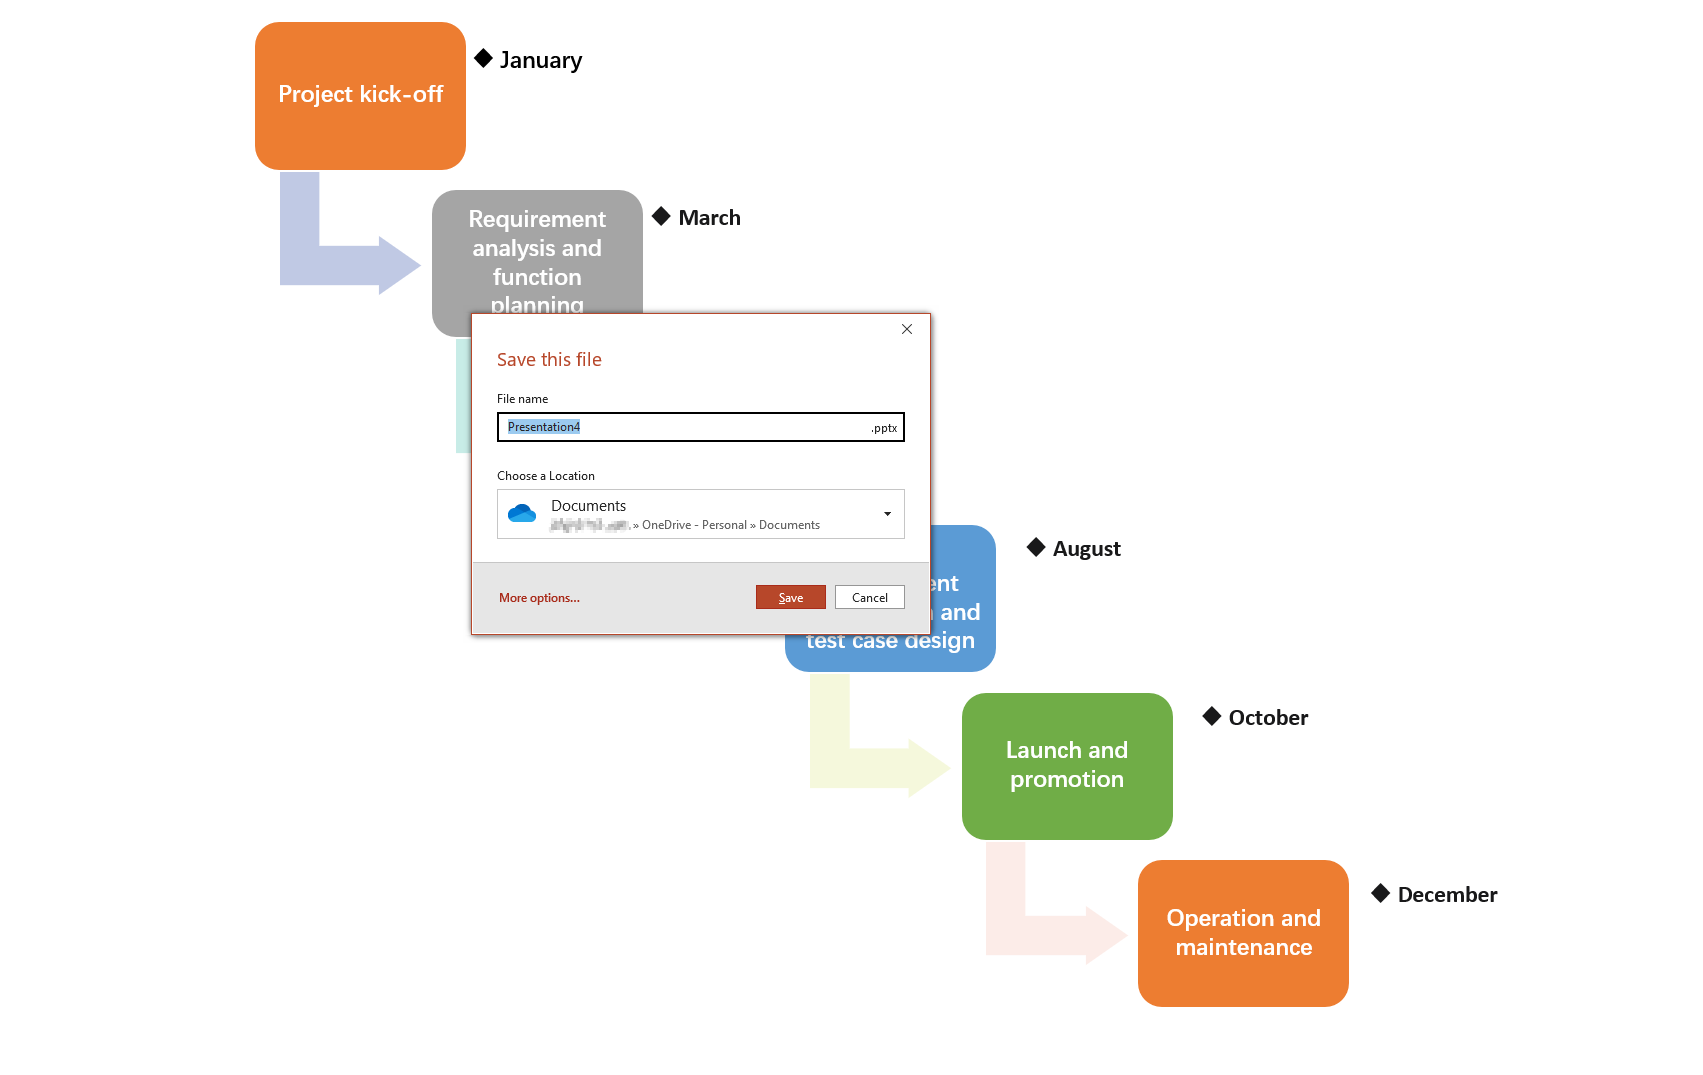
- Choose or Create a Layout: PowerPoint offers several SmartArt graphics perfect for timelines. To access these, click on "Insert", choose "SmartArt", and then select "Process". Pick the timeline design that suits your needs.
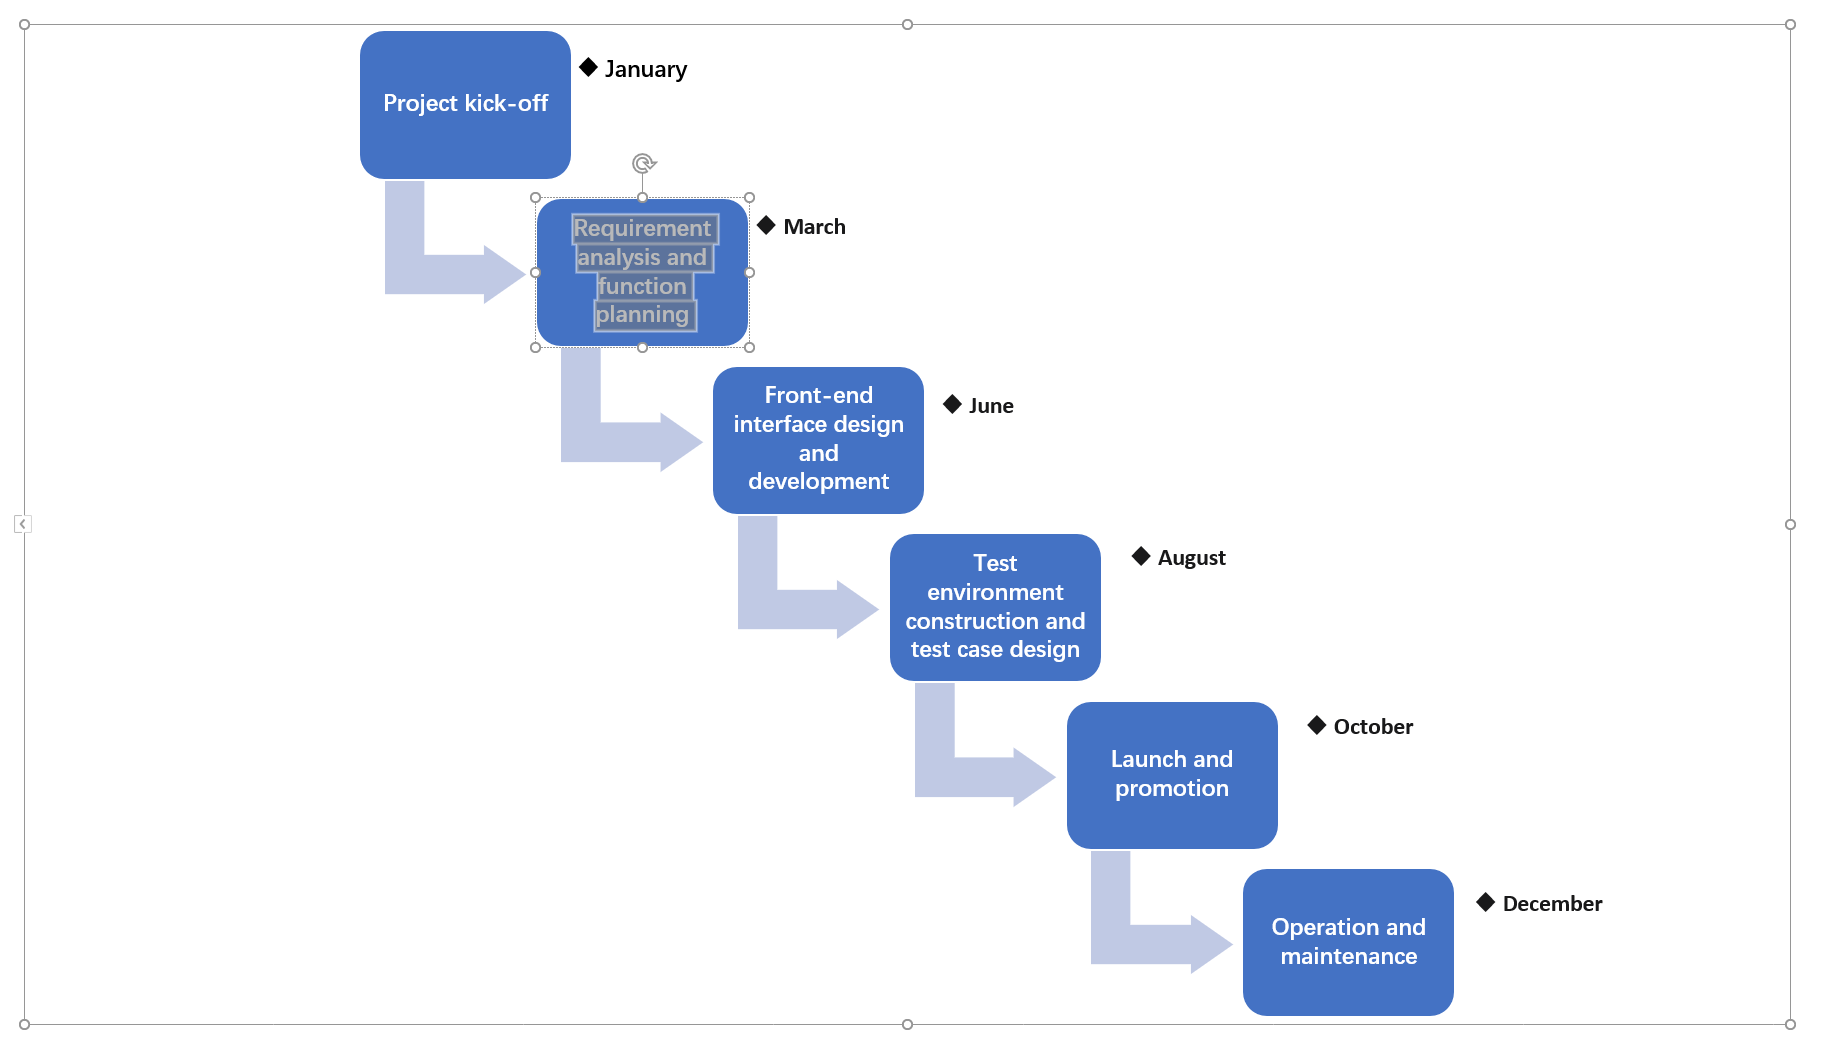
- Enter Your Information: Once you've chosen a layout, you can input your dates, tasks, or milestones directly into the graphic.
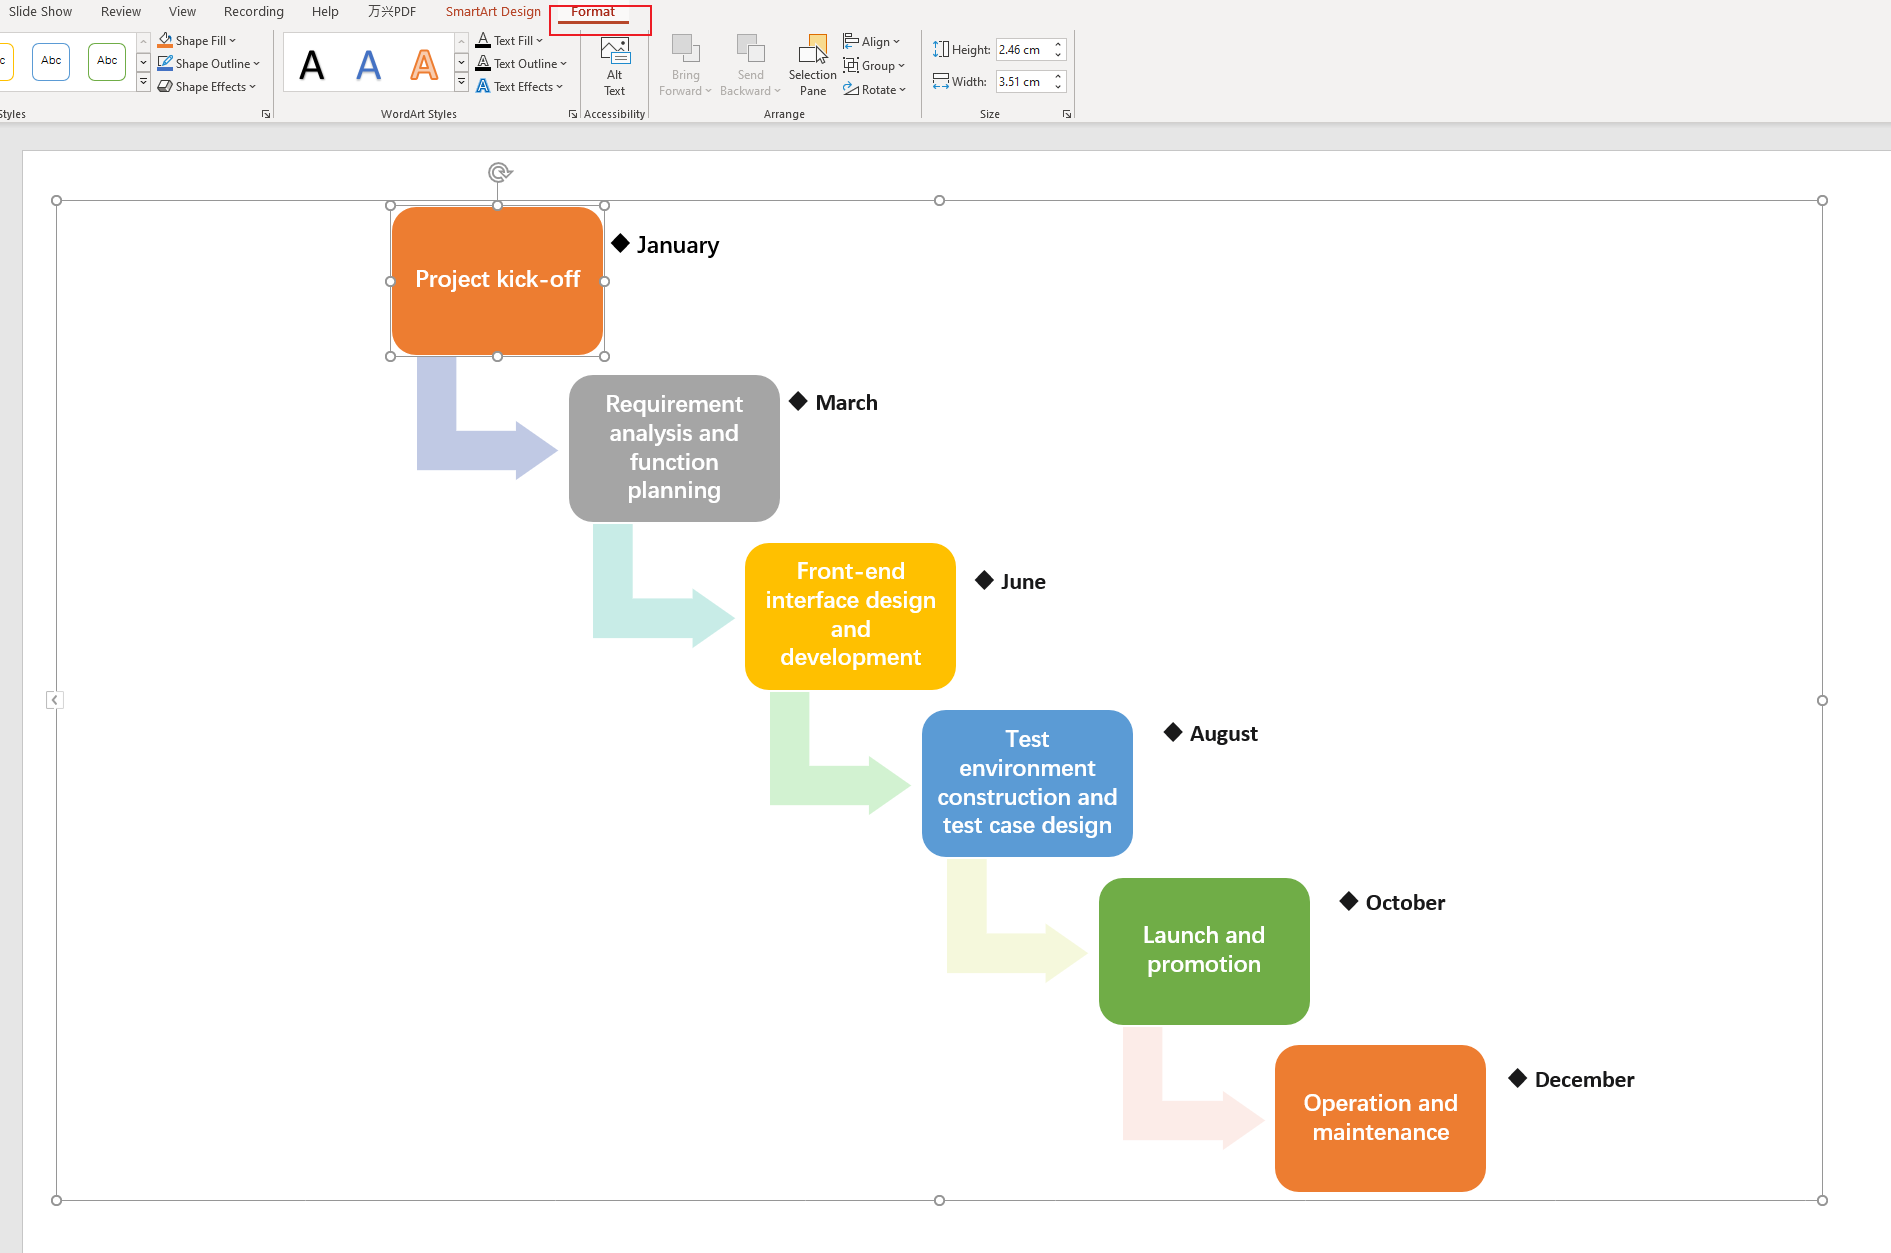
- Customize Your Timeline: PowerPoint offers various customization options. You can alter colors, add effects, adjust sizes, and more. To access these options, click on your timeline and use the 'Format' toolbar at the top of the screen.
- Finalize Your Slide: Add any necessary labels or annotations, review your work, and save your presentation.
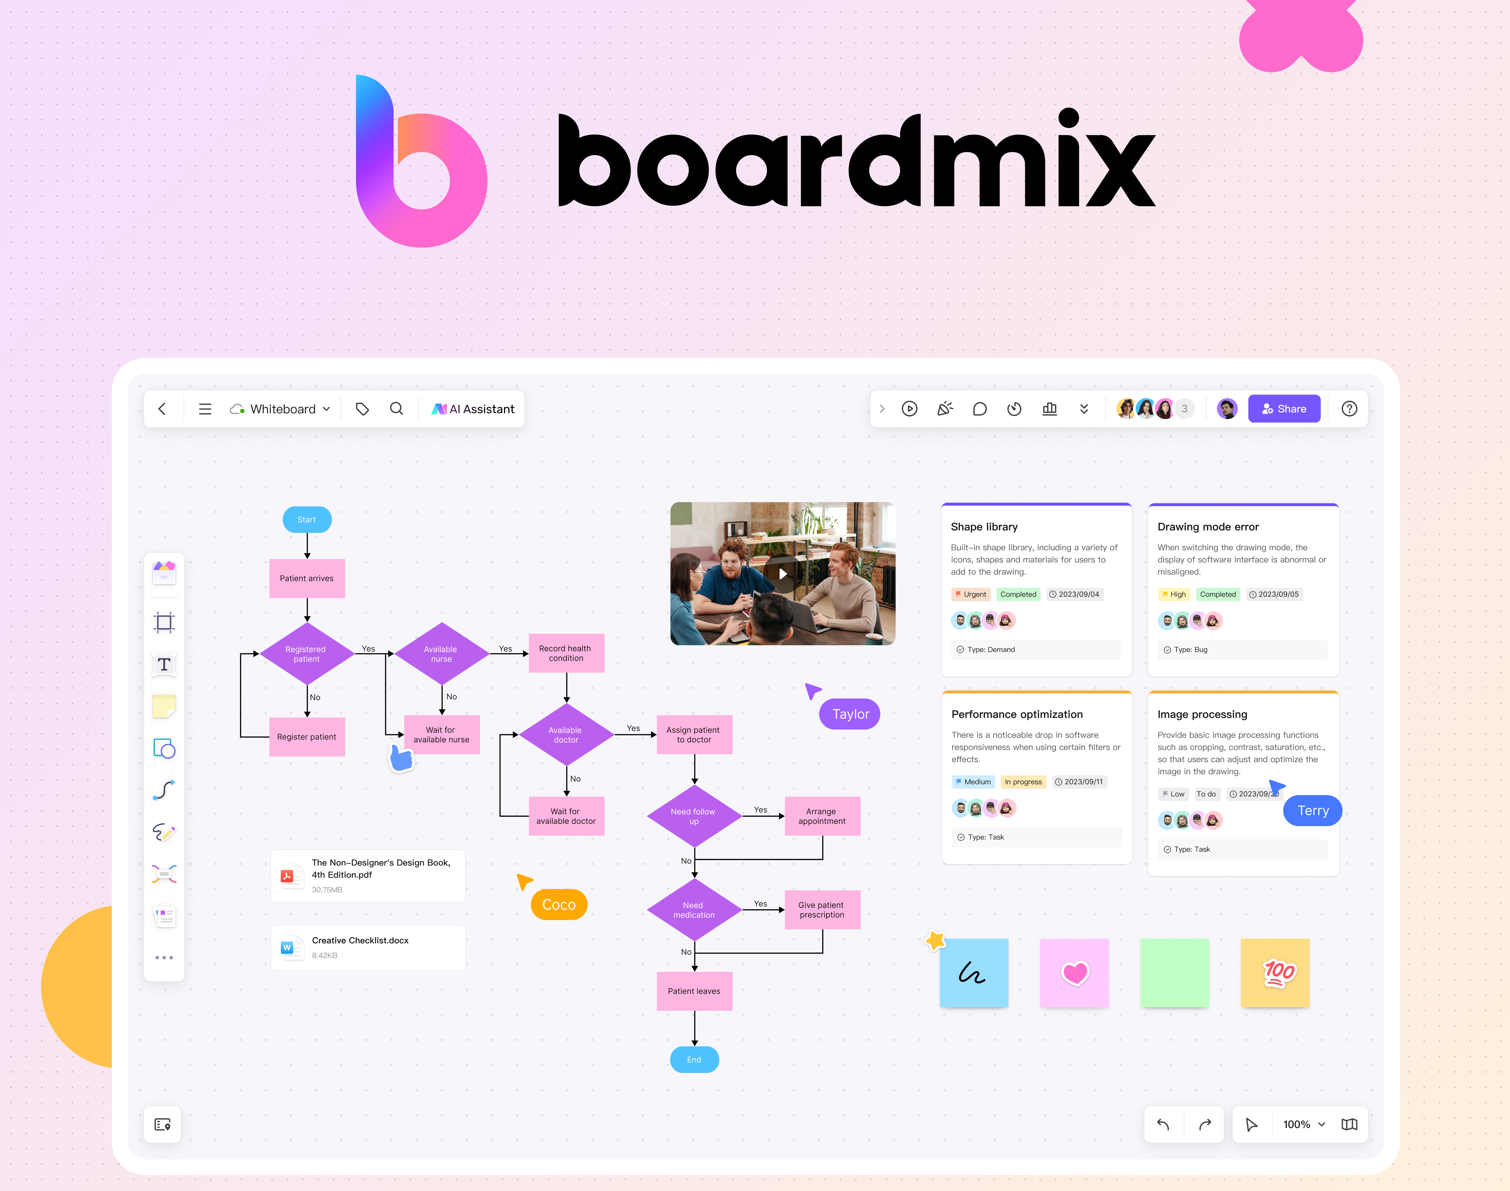
How to Create a Graphic Timeline in Boardmix
Boardmix is an innovative project management tool recognized for its highly interactive features and easy-to-use interface. One of the key features it offers is the ability to create stunning graphic timelines, providing an efficient way to schedule, organize, and visualize project tasks over time. In this part, we will walk you through the steps on how to create a graphic timeline in Boardmix.
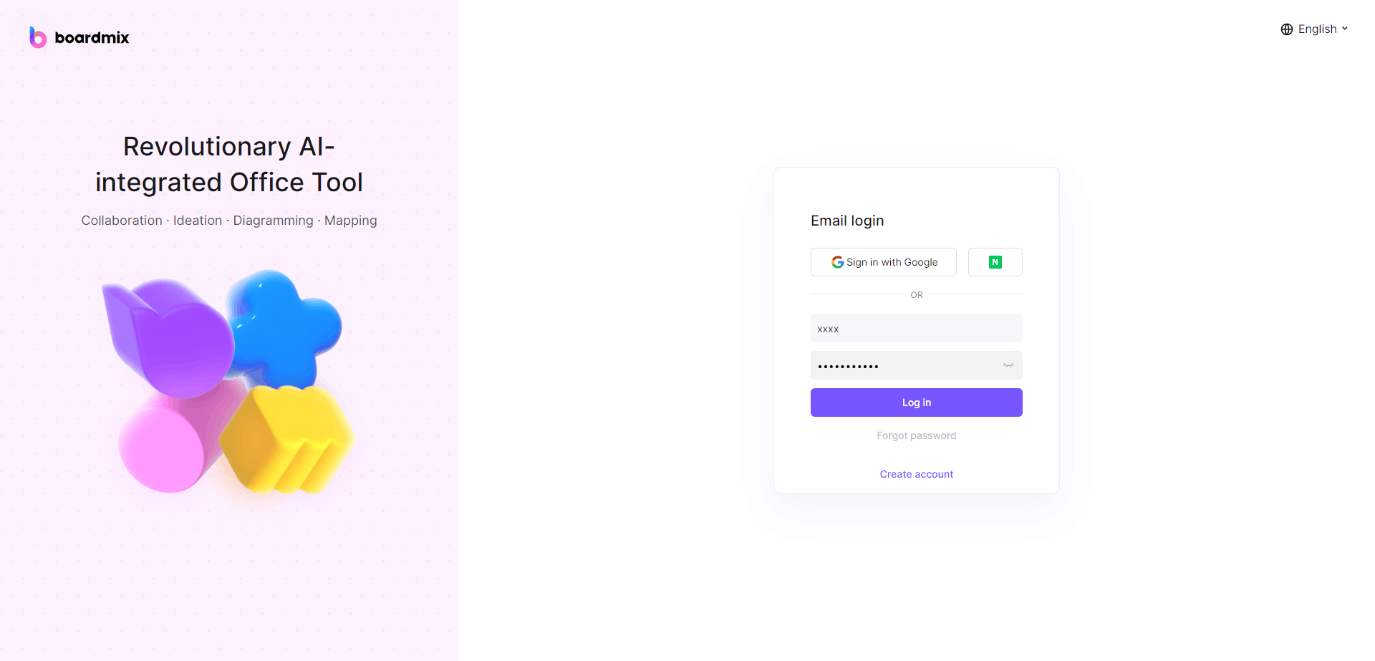
Firstly, you will need to log into your Boardmix account. If you don’t have one yet, head over to the Boardmix website and sign up for an account. Once done, log in to get started.
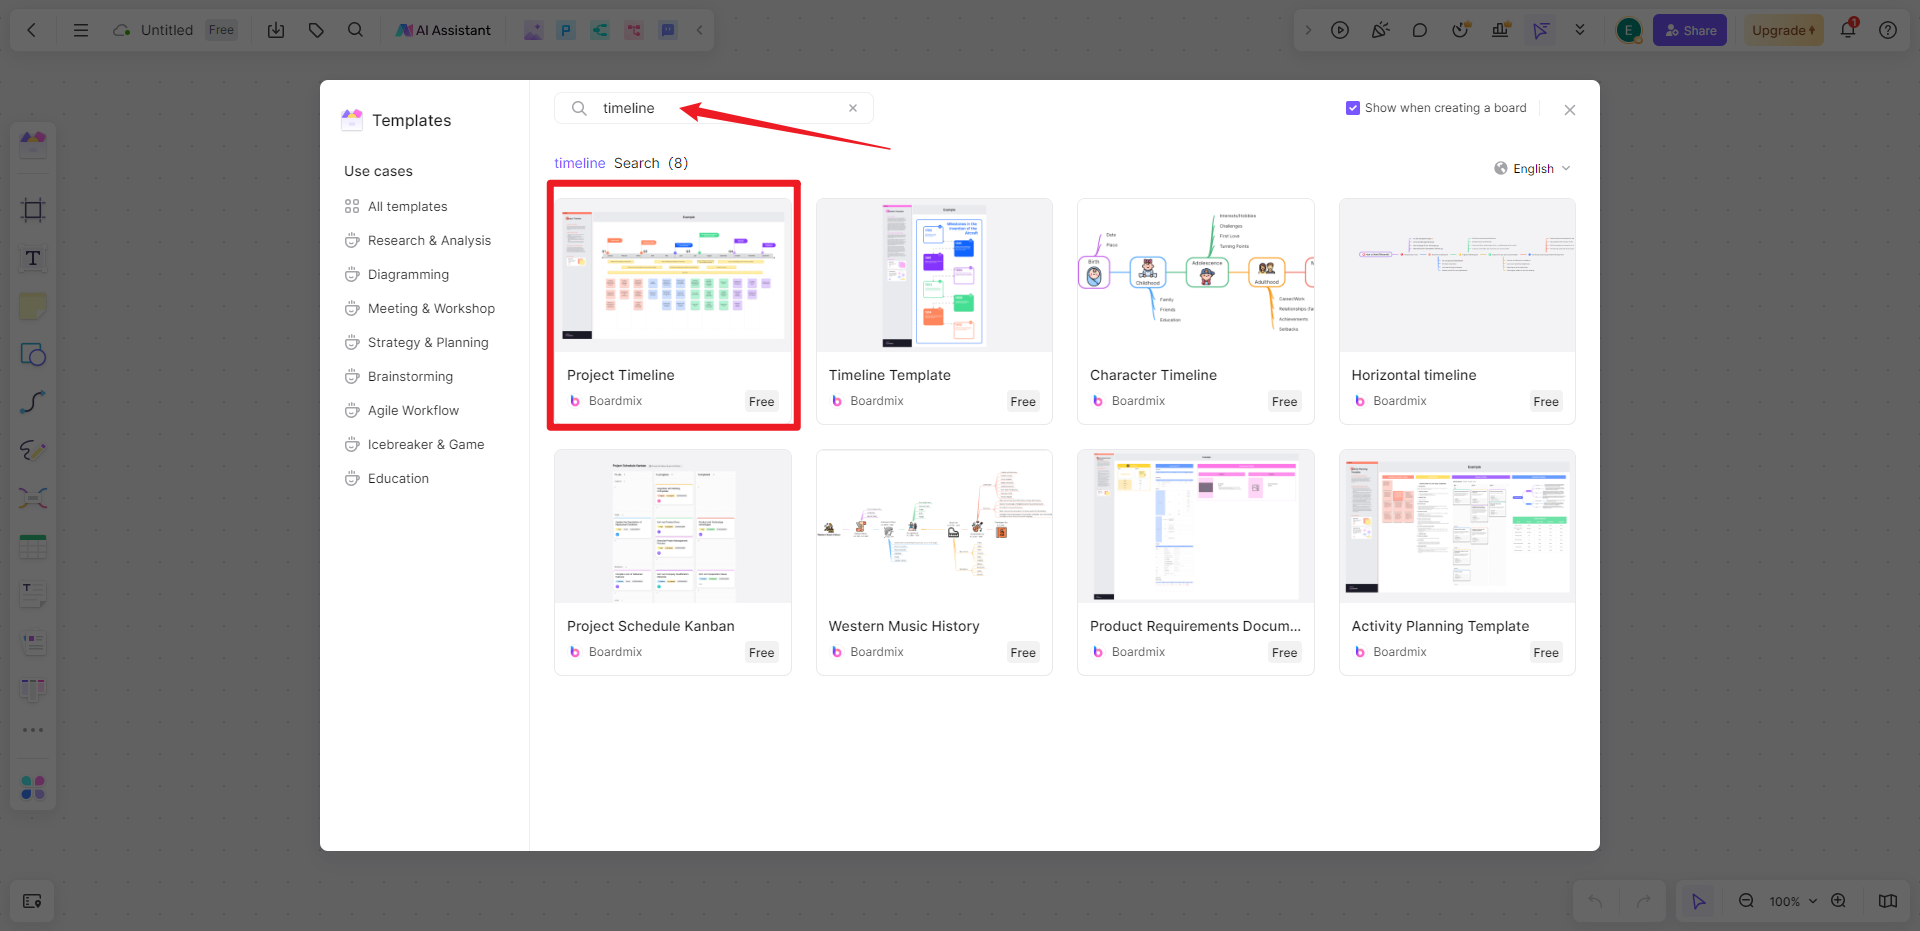
On your dashboard, click on the "New board" button and a blank canvas will be created. Click “Templates” from the left sidebar and search for a template that suits your needs.
After creating a timeline for your project, you can also start adding tasks. Navigate to the 'Kanban' tab and drag it to the canvas, provide a task name/description/deadline/priority, and assign deadlines for each task.
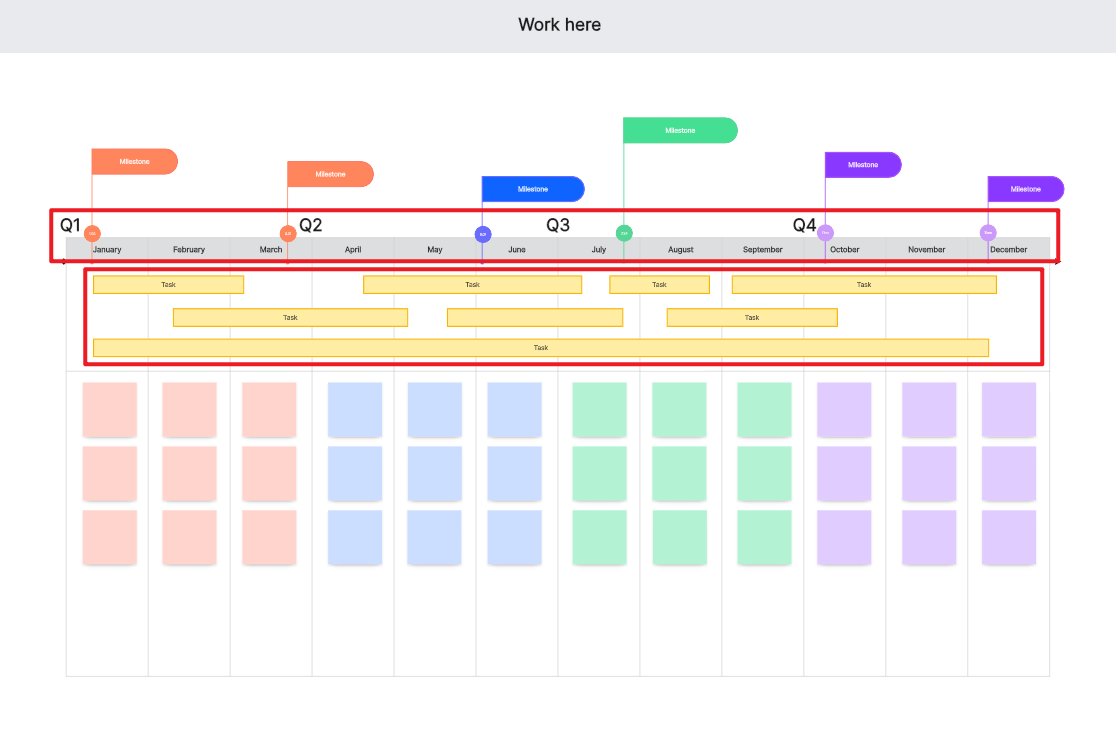
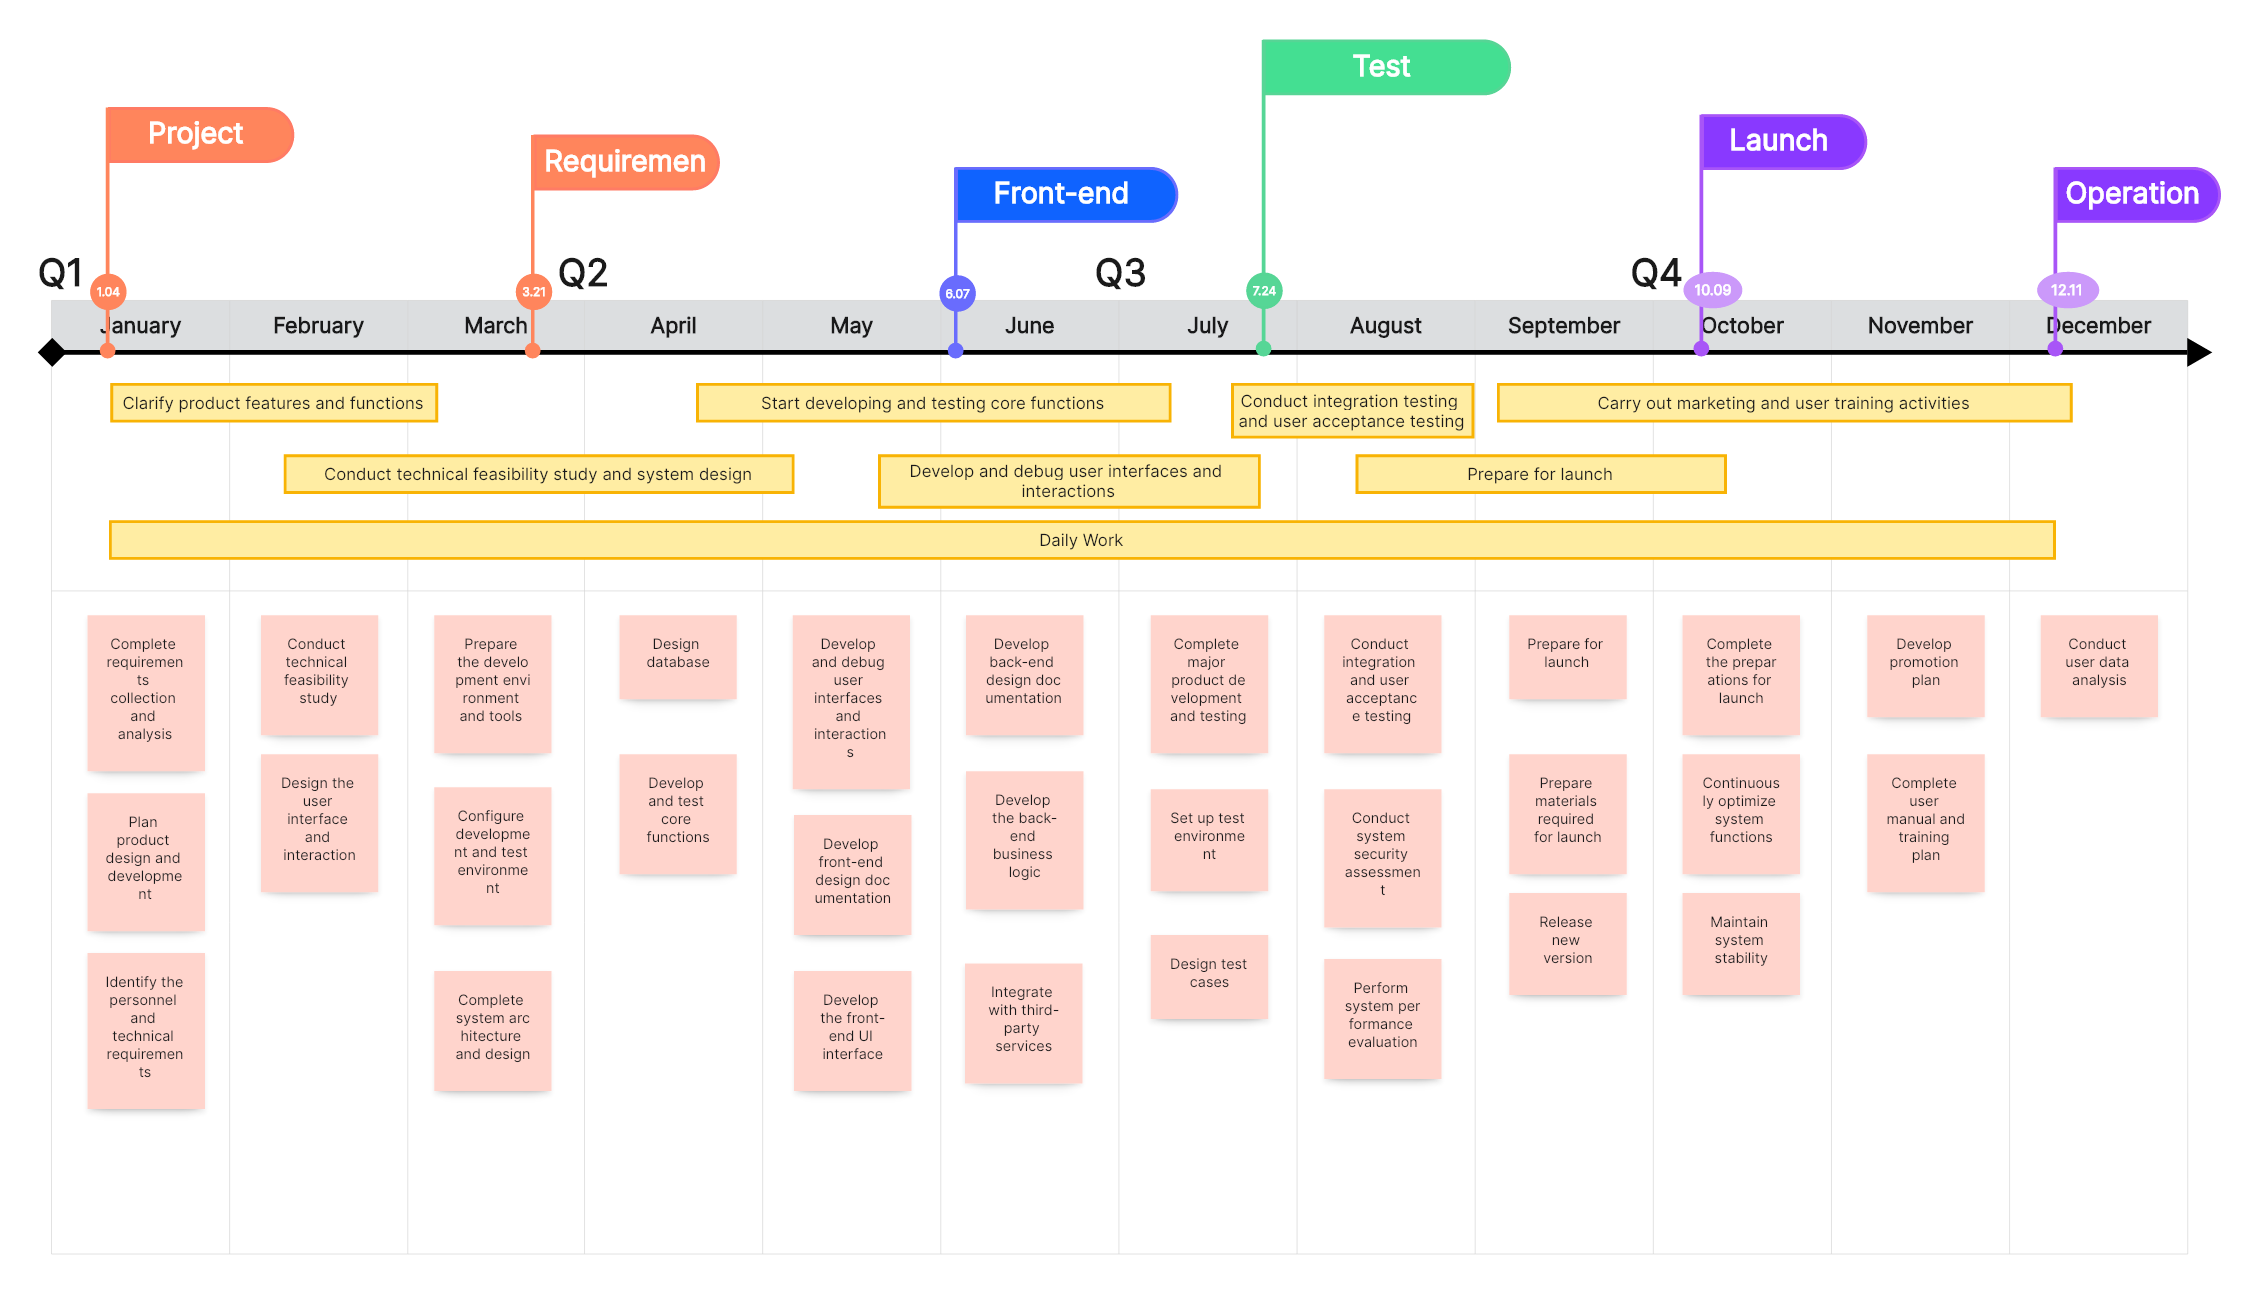
Besides, Boardmix offers a variety of customization options to improve readability and visual appeal. You can adjust colors and tags, include task dependencies, and even add milestones or key events relevant to your project.
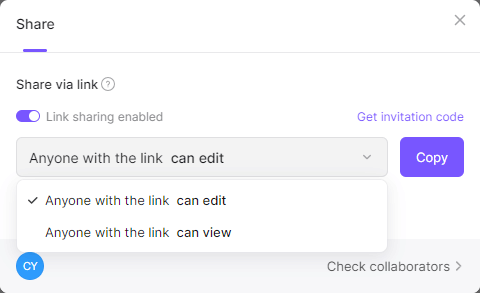
Share your timeline with your team members by clicking on 'Share' and send them a sharing link. Then they can view and contribute to the timeline.
It's important to regularly update your timeline as tasks progress or new tasks are added. Boardmix makes this easy with its intuitive drag-and-drop interface.
Creating a graphic timeline in Boardmix helps simplify project management by visualizing each phase of your project, thereby ensuring timely completion and increasing overall productivity.
How to Choose: Create Graphic Timelines in Boardmix or in PowerPoint
When it comes to creating graphic timelines, both Boardmix and PowerPoint offer reliable solutions. However, their varied functionalities may make one more suited to your needs than the other. Let's delve into the strengths and limitations of each platform to help you make an informed decision.
Boardmix for Creating Graphic Timelines
Boardmix is a project management tool specifically designed to help teams visualize their work.
Pros
- Designed for Project Management: Unlike PowerPoint, Boardmix was created with project management in mind. This results in better suited features for creating timelines.
- Collaboration: Boardmix excels in collaborative capabilities. It allows multiple team members to view, edit, and comment on timelines in real-time.
- Automated Updates: Once you input tasks and deadlines, Boardmix automatically populates your timeline and updates it as changes occur.
- Task Dependencies: Boardmix allows you to demonstrate the relationship between tasks on your timeline, a feature absent in PowerPoint.
Cons
- Learning Curve: Those unfamiliar with Boardmix may require some time to become accustomed to its interface and features.
- Pricing: Boardmix is a paid tool and can be a little pricey for smaller teams or individual users.
PowerPoint for Creating Graphic Timelines
PowerPoint is a versatile presentation software that can also be used to create timelines.
Pros
- Familiarity: Most people have experience using PowerPoint, resulting in a shallow learning curve.
- Customization: PowerPoint offers extensive customization options for color, style, and layout.
- Accessibility: PowerPoint is included in most Microsoft Office packages, making it widely available.
Cons
- Limited Features: When compared to Boardmix, PowerPoint falls short on features specifically designed for timeline creation.
- Lack of Collaboration: PowerPoint lacks real-time collaboration features that tools like Boardmix offer.
- Time-Intensive: Without automated updating, creating and maintaining timelines in PowerPoint can be time-consuming.
In conclusion, if your primary need is project management and collaboration, Boardmix may be the more suitable choice for creating graphic timelines. On the other hand, if you prefer a familiar interface with customizable features and don't mind manual updates, PowerPoint could be a viable option.


