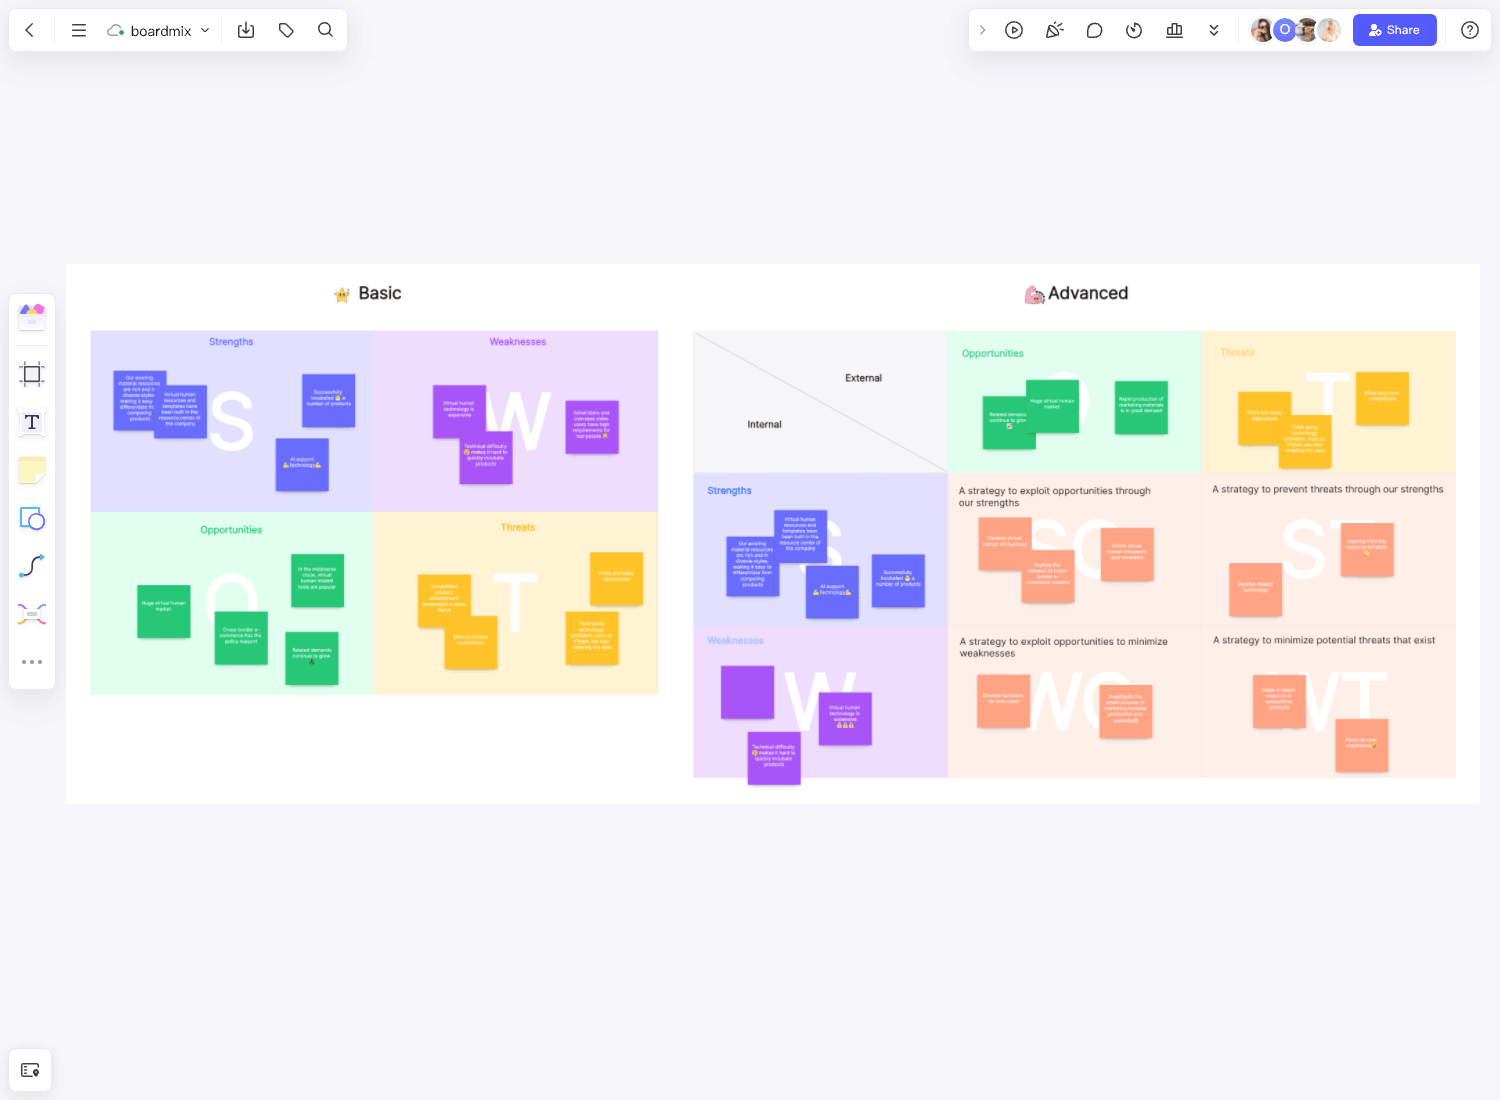
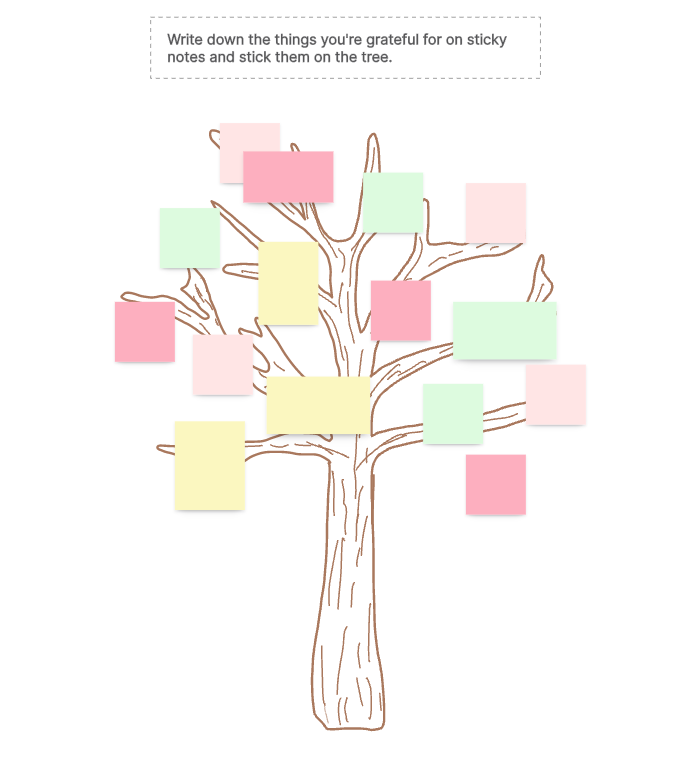
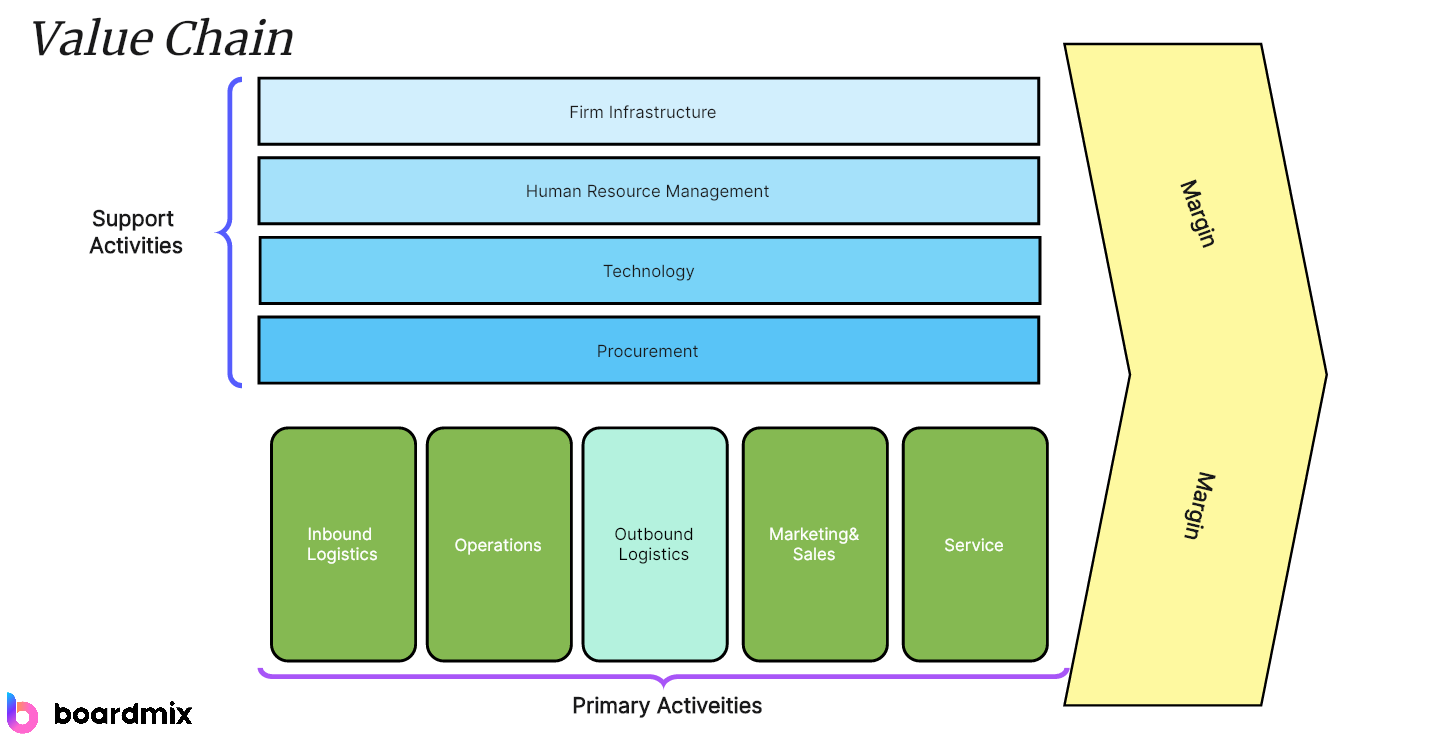
Graphic Organizer Tools play a crucial role in facilitating understanding and learning, particularly in a world increasingly reliant on digital technology. These tools help organize complex information visually, promoting better comprehension and retention.
Graphic Organizer Maker Tools on the Market
With numerous options available, here's our pick of some popular Graphic Organizer Maker Tools to watch out in the market.
Boardmix
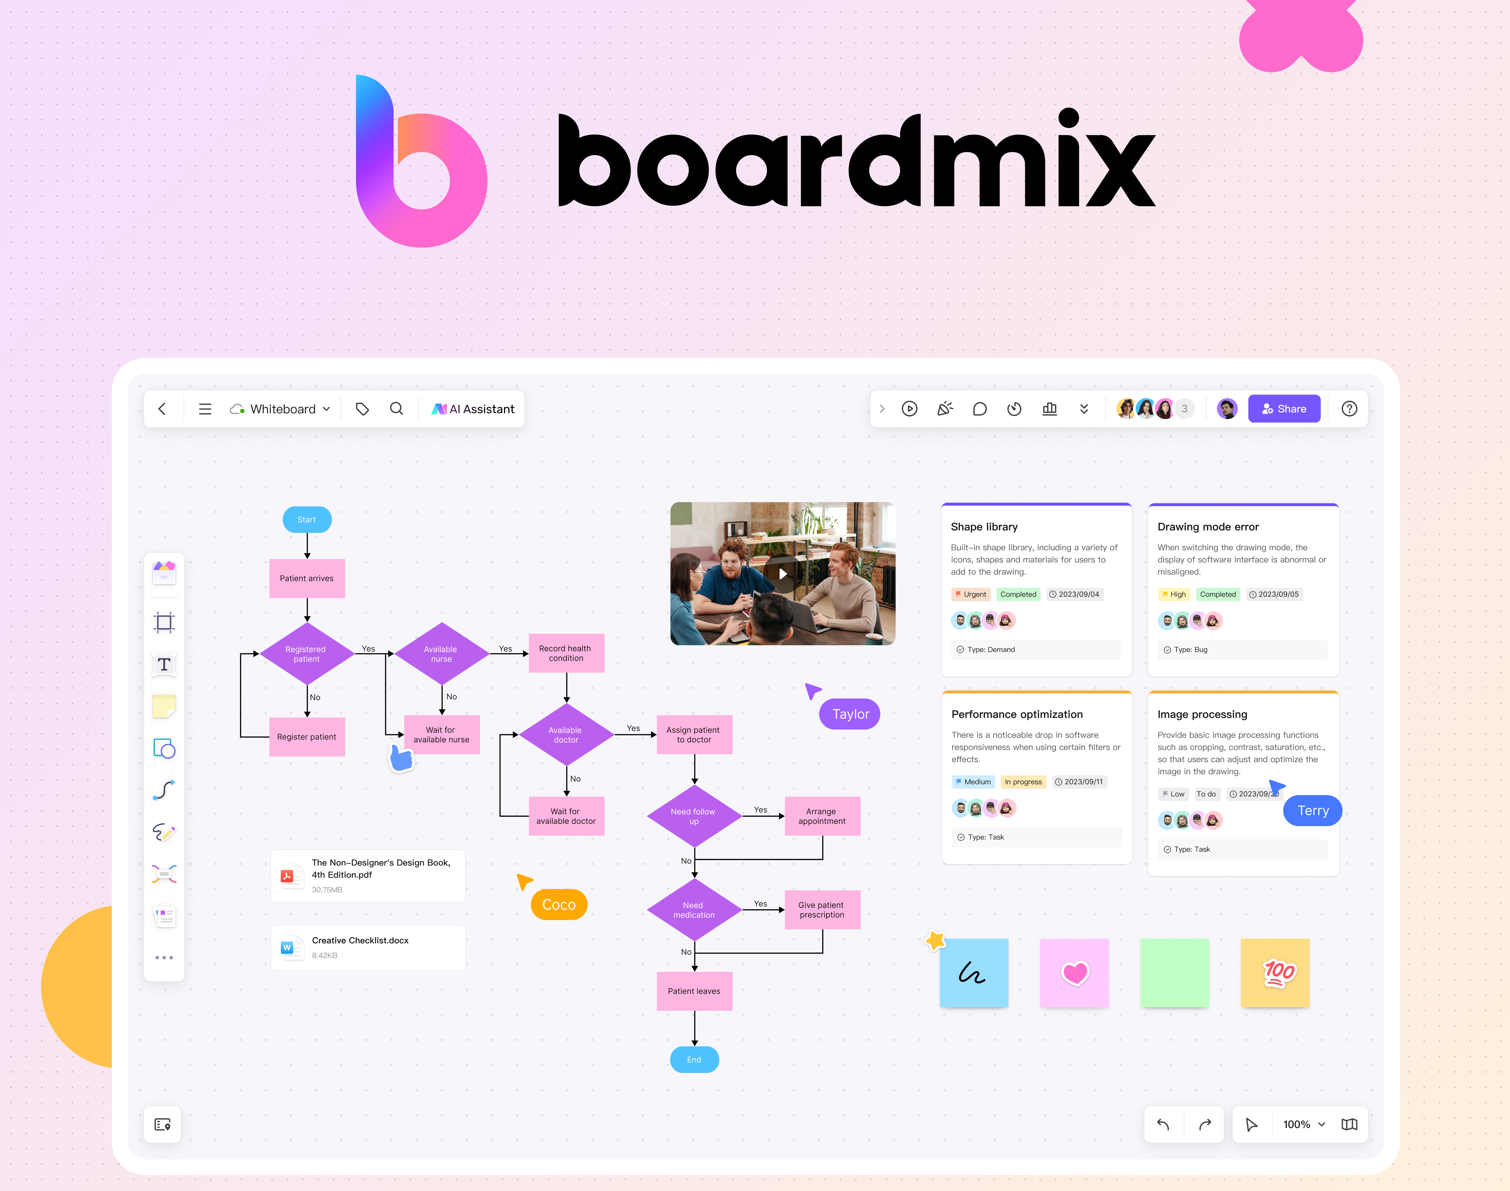
Boardmix stands out with its user-friendly interface, a wide array of graphic organizer types, and real-time collaboration features. Its web-based design allows for access on any device, and it excels in customizable features and easy sharing options.
EdrawMax
This software is known for its versatility and ease of use. It offers a wide range of templates and symbols to choose from, making it easy to create professional-quality graphic organizers. Some of its features include Visio file import and export, customized fonts and shapes, and file encryption and backup.
Canva
Canva's online graphic organizer maker is a great tool that makes learning more interactive and engaging. It allows students to visualize an abstract concept and organize details. Teachers use graphic organizers to explain complex ideas, demonstrate cause and effect, or map out a story. Plus, with Canvas graphic organizer maker, creating one is fun and easy. Some of its features include professionally designed templates, easy online whiteboard tools, and data visualization.
Miro
Miro's graphic organizer maker is a collaborative tool that allows you to invite everyone to co-create your graphic organizer with you. You can tag them in comments, request instant feedback, and implement changes in real-time or async. Some of its features include various templates, infinite canvas, and whiteboard elements.
Creately
Creately is a web-based diagramming tool that allows you to create professional-quality graphic organizers. Some of its features include real-time collaboration, customizable templates, and a drag-and-drop interface.
While each of these graphic organizer maker tools comes with their unique features and strengths, they all share the common goal of enhancing visual learning and organization.
How to Make a Graphic Organizer?
If you've never made a graphic organizer before, you might be wondering where to start. Let's break down the process into easy-to-follow steps.
1. Identify the Purpose
The first step in creating a graphic organizer is identifying its purpose. Are you trying to brainstorm ideas for a project, simplify a complex concept, plan an essay, or analyze a piece of literature? The objective will guide the type of graphic organizer you choose.
2. Choose the Right Type of Graphic Organizer
Different types of information require different types of graphic organizers. For example, mind maps are excellent for brainstorming ideas and exploring relationships between different concepts.
3. Write Your Main Idea or Topic in the Center
Most graphic organizers start with the main idea or topic at the center. This could be a central question you're trying to answer, a theme you're exploring, or a concept you're trying to understand better.
4. Add Supporting Ideas or Information
From the main idea, you branch out to supporting ideas or pieces of information. These might be subtopics, steps, causes or effects, or details, depending on the type of graphic organizer you're using.
5. Link Related Ideas
In most graphic organizers, lines or arrows are used to show relationships between ideas. They might indicate cause and effect, sequence, or hierarchical relationships.
6. Review and Revise
Once you've added all your ideas, review your graphic organizer. Does it make sense? Is there a logical flow to the information? If not, don't hesitate to rearrange your ideas or add/subtract information as necessary.
7. Refine and Personalize Your Graphic Organizer
Many graphic organizer tools allow you to use different colors, shapes, sizes, fonts, and other customization options. Use these features to differentiate between different types of information, emphasize important points, or simply make your organizer more visually appealing.
What Makes Boardmix the Best Free Graphic Organizer Maker?
Among various online tools available, Boardmix has set itself apart as one of the best graphic organizer makers. But what exactly makes Boardmix stand out? Let's find out.
1. User-Friendly Interface
One of Boardmix's defining traits is its user-friendly interface. The design is clean, intuitive, and straightforward, which means that even first-time users can quickly learn to navigate the platform and start creating their own graphic organizers.
2. Variety of Graphic Organizer Types
Boardmix offers a wide variety of graphic organizer types to cater to different needs, from concept maps and mind maps to storyboards and flowcharts. This wide range ensures that no matter the task at hand, there's an appropriate tool available.
3. High Level of Customizability
Boardmix allows a high level of customizability, enabling users to modify and adjust their graphic organizers to fit their specific needs perfectly. You can change colors, shapes, sizes, and even layouts, ensuring each organizer is personalized and effective.
4. Real-Time Collaboration Features
Boardmix stands out due to its collaborative features. Whether you're working on a group project or want feedback from colleagues or peers, Boardmix lets you collaborate in real-time. This promotes better communication, enhancing both the quality of work and the learning process.
5. Accessibility
Boardmix is a web-based tool, which means that it can be accessed anytime and anywhere as long as you have an internet connection. You can work on your graphic organizers from any device, be it a computer, tablet, or even a smartphone!
6. Seamless Sharing and Saving Options
Saving your work is straightforward with Boardmix's cloud-based storage. You can also effortlessly share your graphic organizers through various channels such as email, social platforms.
Get Started with Boardmix Graphic Organizer Maker for Free
Boardmix is a popular web-based graphic organizer tool designed to foster creativity, collaboration, and efficient learning. It offers a plethora of features, all housed within a user-friendly interface. Let's dive into how you can get started with the free version of this innovative tool.
1. Sign Up for a Free Account
Go to the Boardmix website and click on "Sign Up." You can sign up using your email, Google, or Facebook account. The process is quick and simple.

2. Verify Your Email
Once you’ve signed up, check your inbox for a verification email from Boardmix. Click on the verification link to confirm your account. This step is essential to ensure you have full access to Boardmix's features.
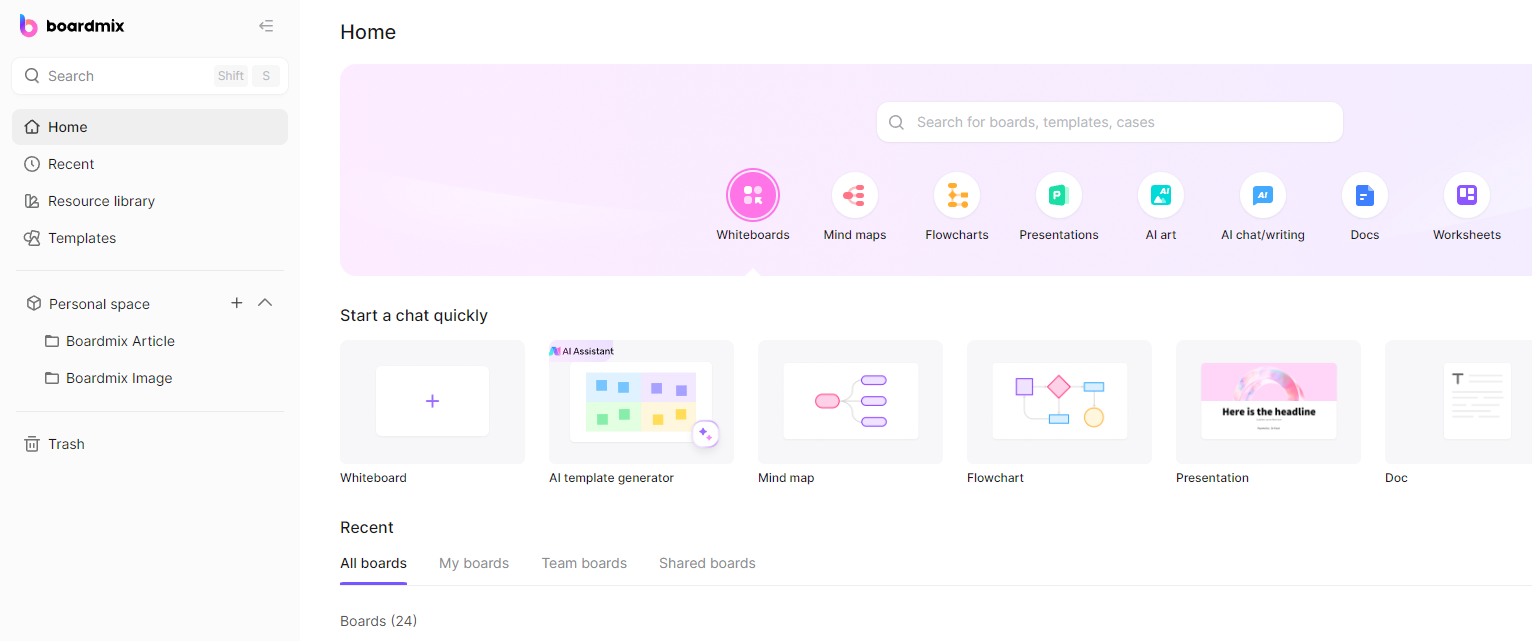
3. Navigate to Your Dashboard
After confirming your email, log in to your new Boardmix account. You'll be directed to your dashboard, which serves as the main control panel where you can create and manage your projects.
4. Create Your First Graphic Organizer
To create a new graphic organizer, click on 'New board.' This action will provide you with a blank canvas.

5. Choose the Type of Graphic Organizer
Look at the toolbar on the left side of your screen and select the type of graphic organizer you need. You have several options like mind maps, flow charts, and more.
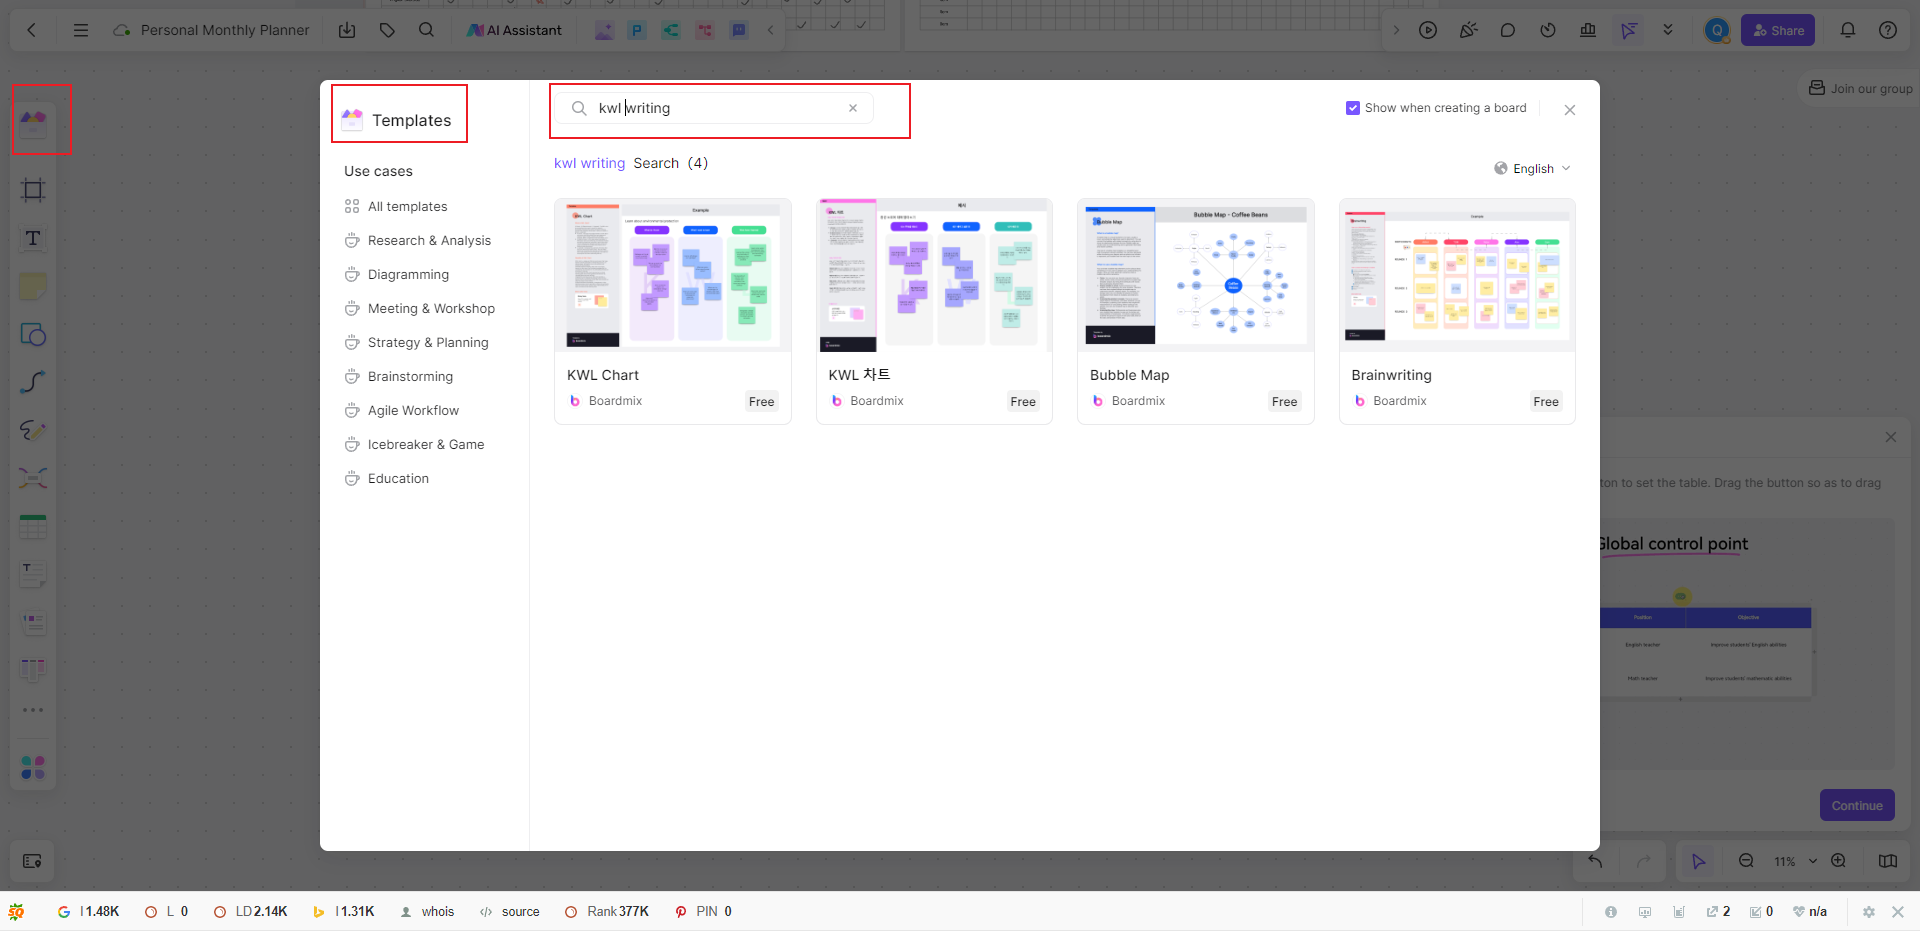
6. Start Building Your Graphic Organizer
Now it's time to start constructing your graphic organizer. Write your central concept or main idea in the middle of your canvas, then gradually add branches for supporting ideas or subtopics.
7. Customize Your Graphic Organizer
Boardmix offers several customization options. You can change the color, size, and shape of your nodes; add icons or images; change the background color and more.
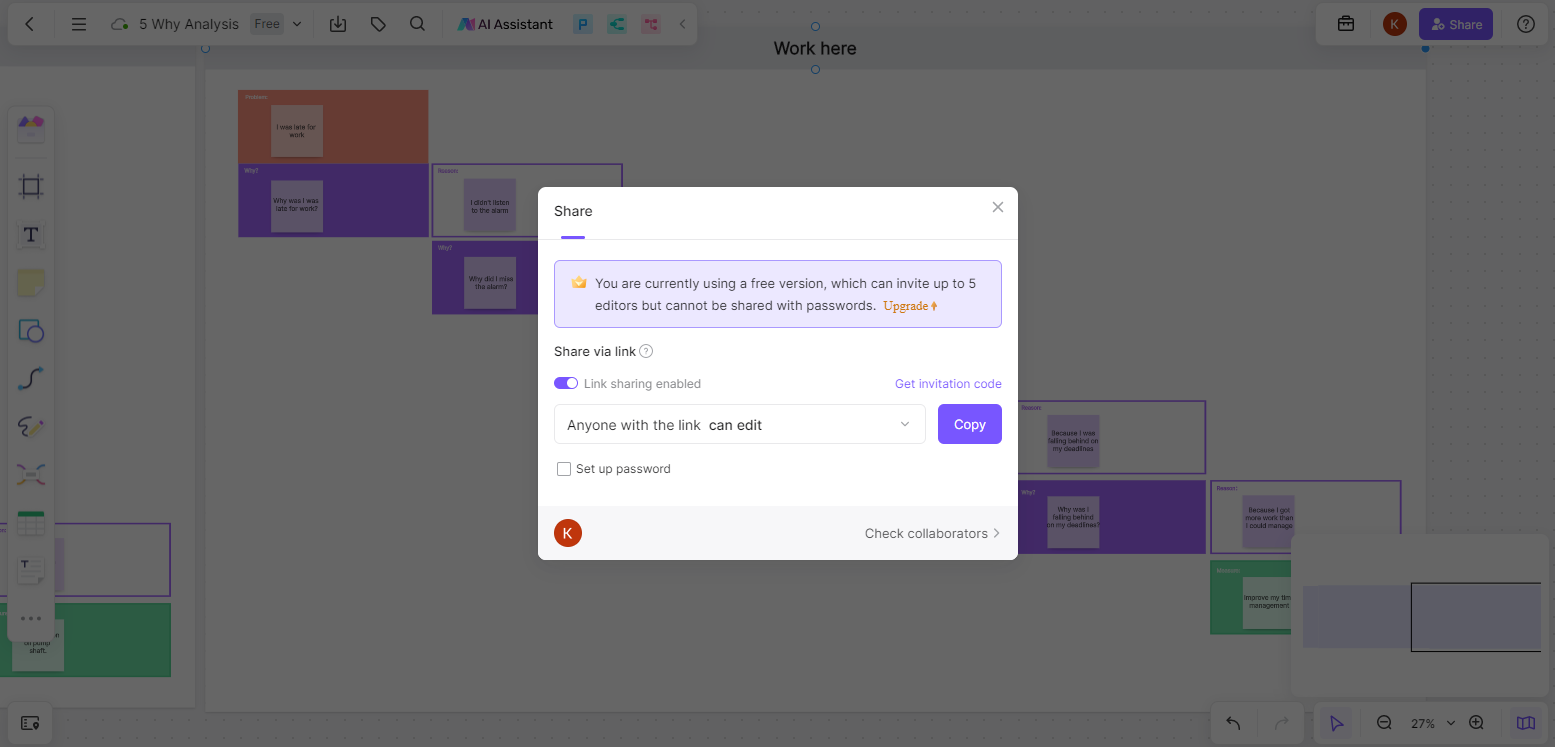
8. Save and Share Your Work
Once you're satisfied with your graphic organizer, save your work by clicking on the 'Save' icon in the upper right corner. Boardmix also allows you to share your project via email or a shareable link.
And there you have it! These are the steps to get started with the free version of Boardmix. Now it's time to explore and experiment with this incredible tool and unleash your creativity. Remember, the primary purpose of graphic organizers is to facilitate understanding and learning - so have fun while doing it!


