Flowcharts, also known as input-output diagrams, offer a visual representation of processes of work, breaking them down into discrete steps. These diagrams typically consist of symbols, arrows, and text descriptions. Flowcharts are instrumental in illustrating the sequence of events or identifying logical issues in a process. Each step follows a specific order, with unique shapes denoting different actions, all interconnected by lines and arrows.
Flowcharts have several advantages: they are structured, logical, easy to describe, and straightforward to understand. By breaking down a process visually, they can help diagnose problems, suggest solutions, and provide a clear map of a process's steps. Flowcharts are excellent tools for clarifying complex processes, troubleshooting, and planning. This tutorial will give a step-by-step guide to creating a flowchart, from selecting appropriate symbols to connecting them with arrows, offering best practices along the way.
Innovative Approach: Creating Flowcharts Online
In today's digital world, you can easily create flowcharts with online tools like Boardmix, a collaborative whiteboard. Let's explore how to design a reading comprehension flowchart by Boardmix efficiently.
Step 1: Access Boardmix Online Whiteboard
Open your browser and search for "Boardmix Online Whiteboard" to reach the official website. You can start using it right away without any downloads or installations. The web-based platform allows you to create, edit, and share flowcharts quickly and collaboratively.
Try Boardmix Flowchart for Free
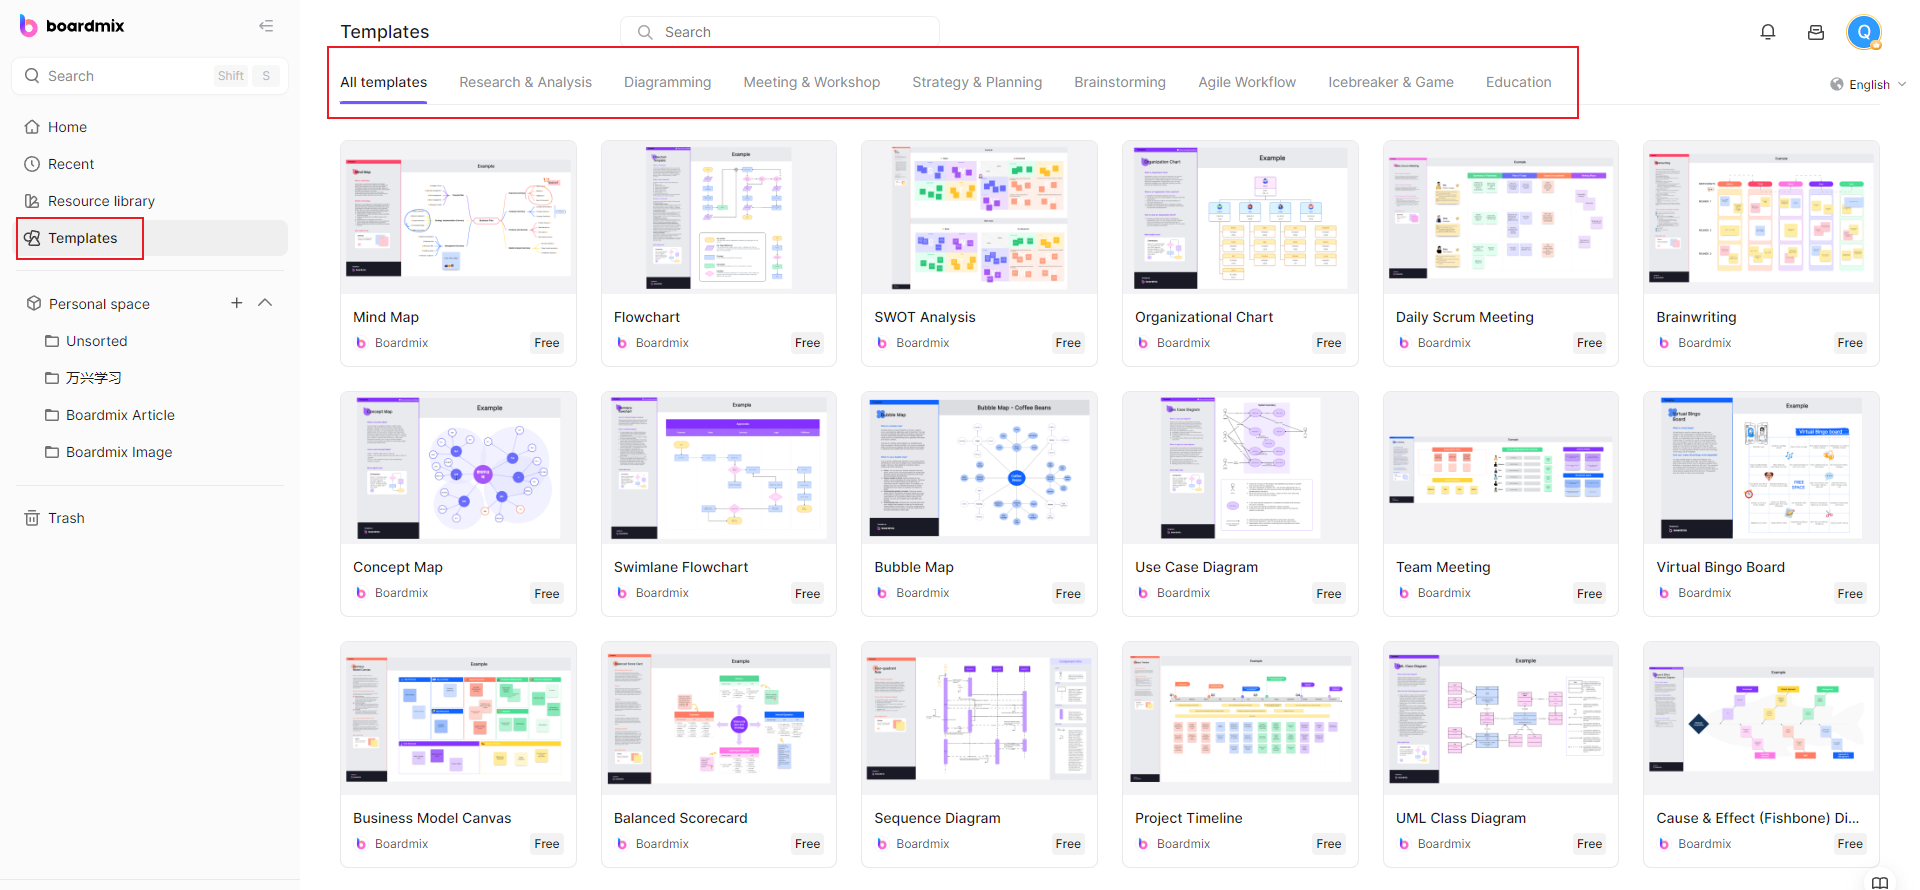
Step 2: Choose a Flowchart Template
After logging into your Boardmix account, go to the homepage and select a flowchart template. These templates are free and can save you time when building your flowchart.
Step 3: Customize the Template
Add flowchart elements
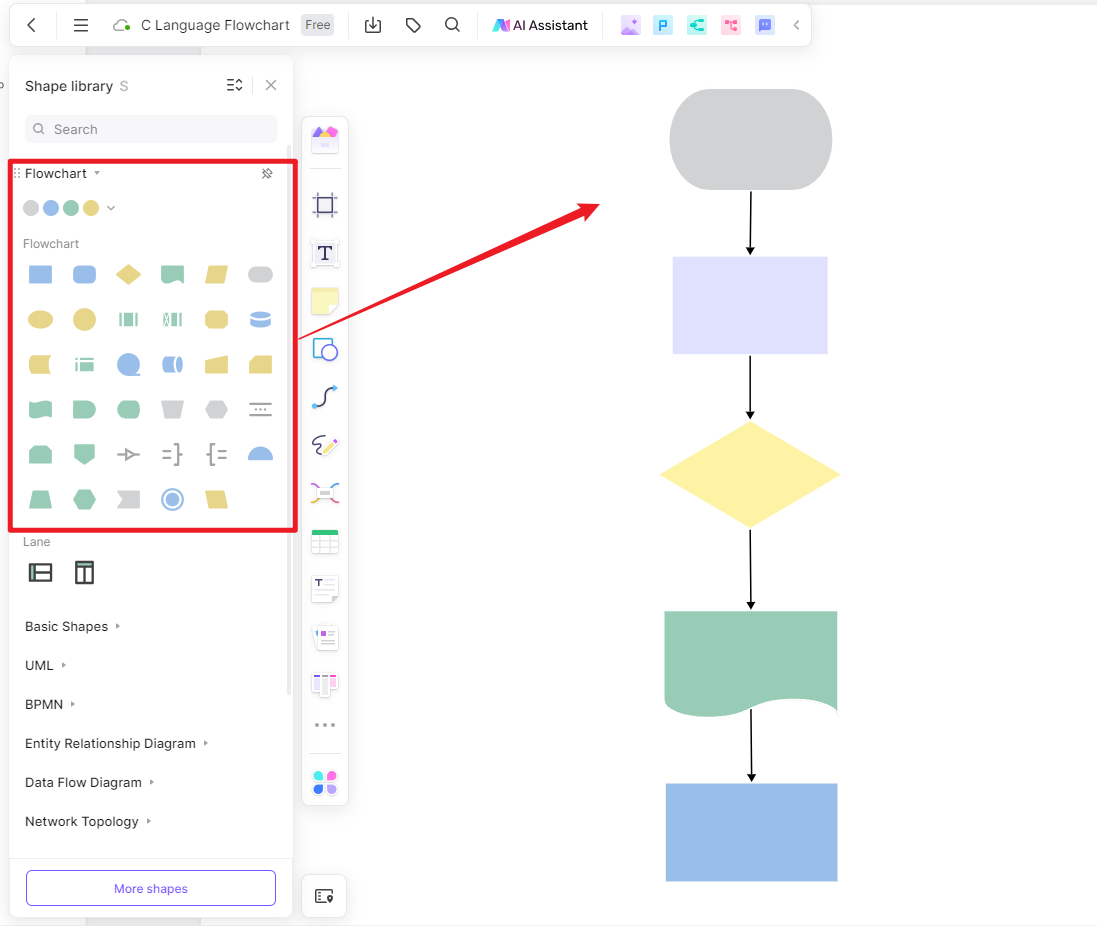
Once you’ve opened a new whiteboard file, you can edit the flowchart template to fit your needs. Add elements like text, shapes, tables, mind maps, and notes to customize the flowchart. Boardmix offers an extensive library of flowchart symbols, ensuring you have all the tools necessary to create a detailed and visually appealing flowchart.
Drawing Flowchart Connections
In Boardmix, connecting lines represent the relationships between flowchart elements, then click and drag it to the desired destination. This feature lets you visualize your flowchart’s layout intuitively.
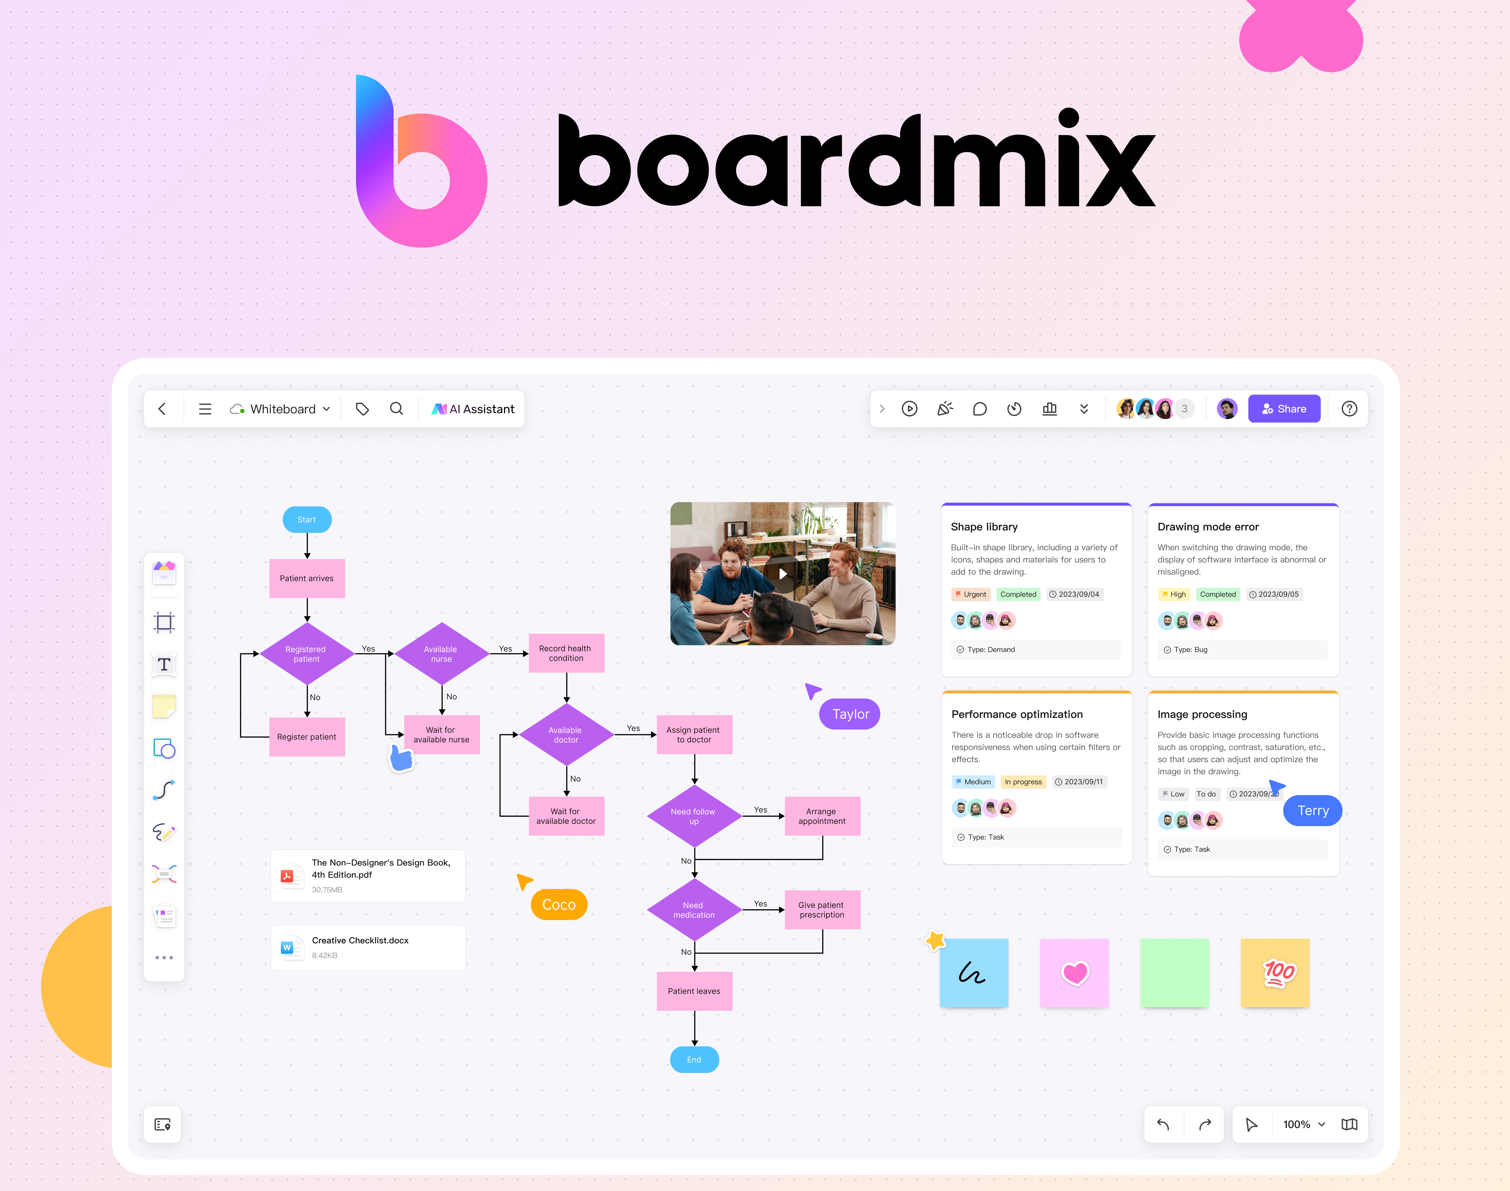
To add context to your flowchart, you can insert images and links for visual aids. When creating a reading comprehension flowchart, start by outlining the basic steps. Begin with reading an article, identifying key issues, and summarizing each paragraph's first and last sentences to find the central idea. Note these details on your flowchart to help map out the structure.
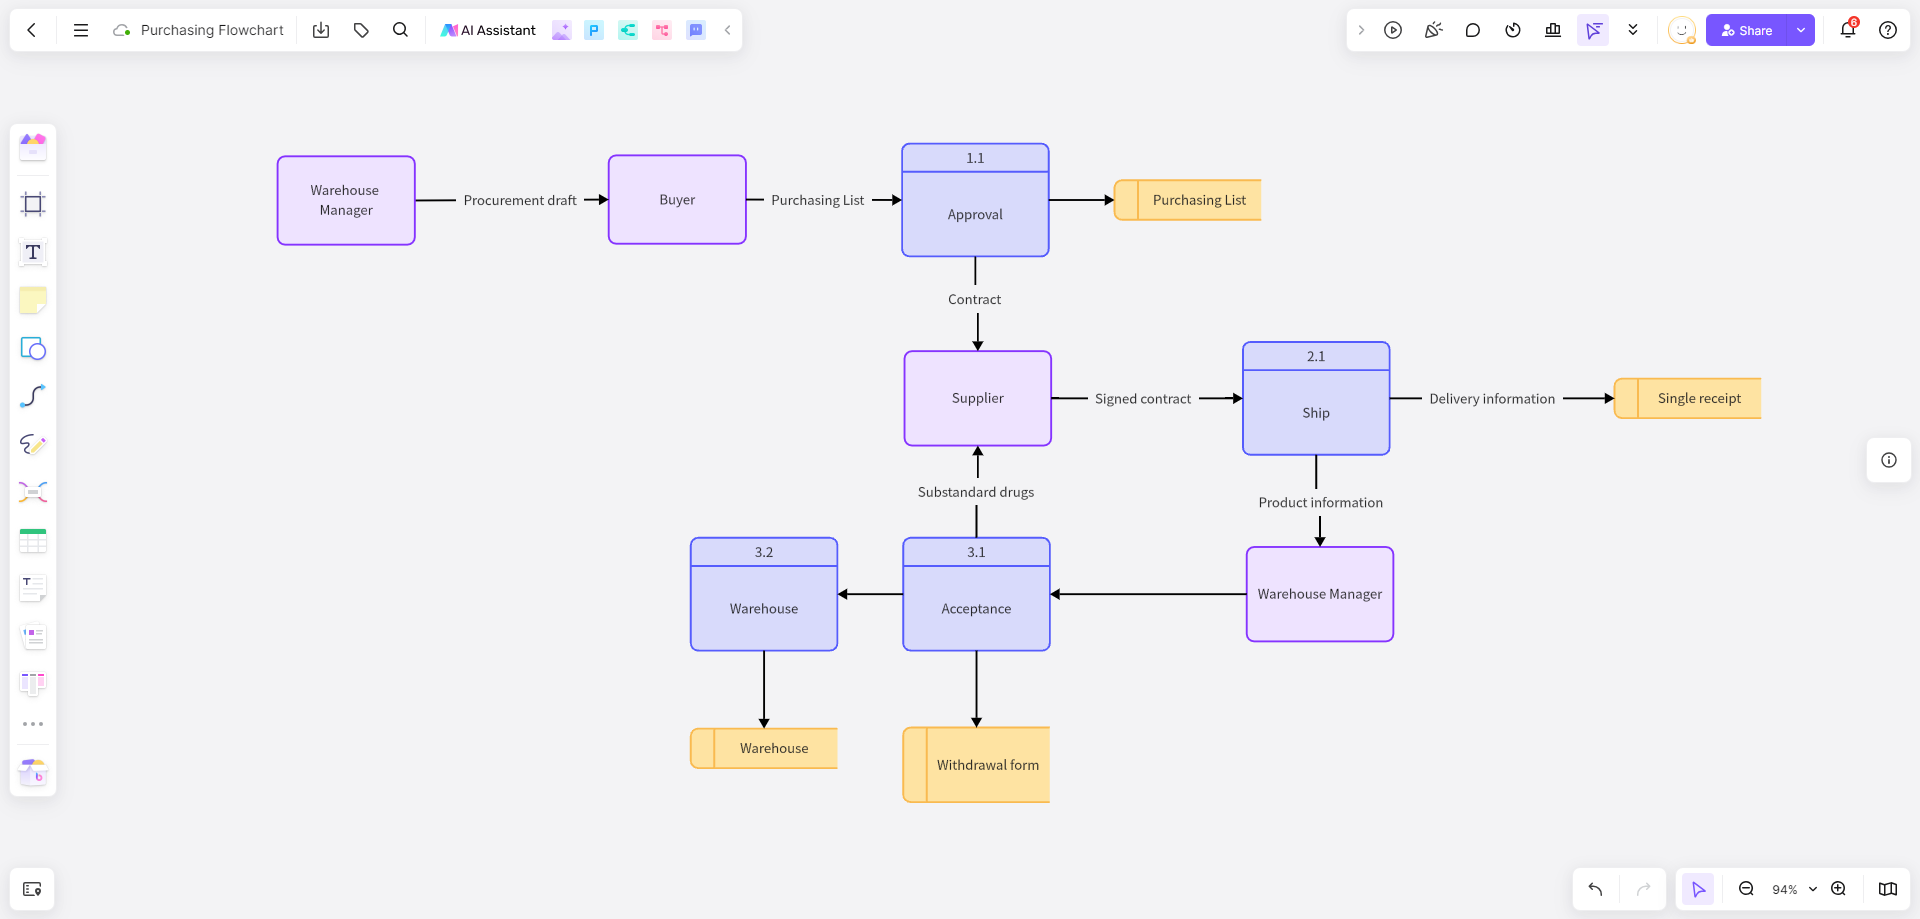
As you progress, add comments and identify the correct answers. For questions where paragraph details are omitted, skipping reading can result in full marks, but careful reading might reveal misleading options. By following these steps, you can quickly create a comprehensive reading comprehension flowchart using Boardmix's flowchart templates.
Creating Flowcharts in Excel/PowerPoint
Excel and PowerPoint, despite their primary focus on spreadsheets and presentations, are versatile enough to create flowcharts. Here's how to do it:
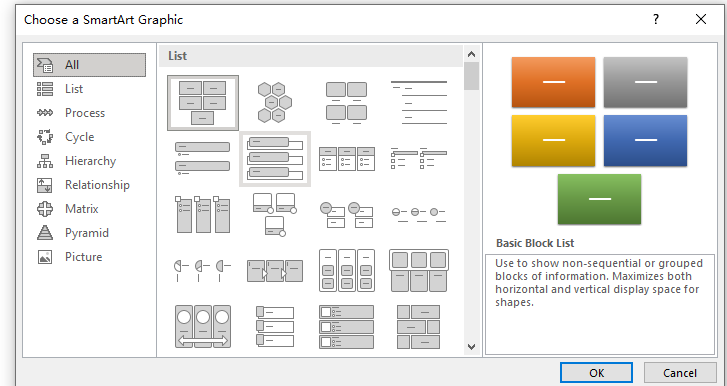
Step 1: Insert SmartArt
In Excel or PowerPoint, go to the "Insert" tab and select "SmartArt." Hover over the "Process" category to find a variety of flowchart options. Choose the one that suits your needs.
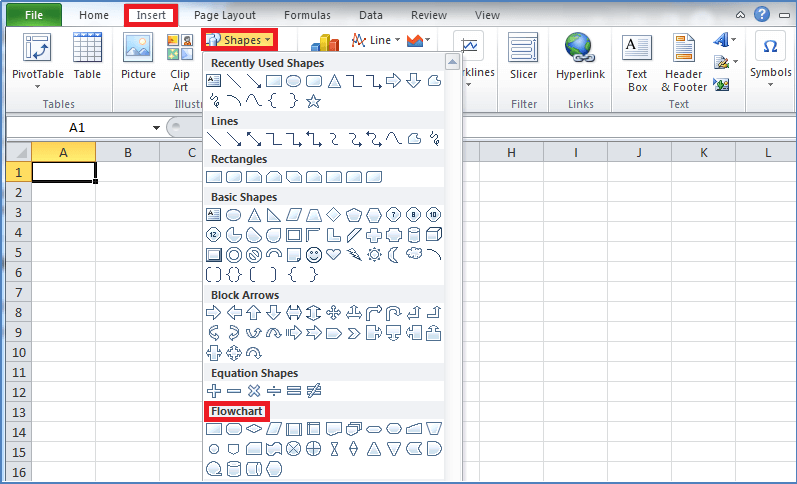
Step 2: Add Text and Shapes
Once you've selected a flowchart, you can add text by clicking on the text boxes within the SmartArt graphic. You can also add additional shapes if needed to expand the flowchart.
Step 3: Customize Your Flowchart
After creating your flowchart, you can customize it by changing colors, adding shapes, or editing text. Use the SmartArt tools to adjust the layout and design to make it clear and easy to follow.
Using Excel or PowerPoint for flowcharts is a practical option, especially if you already have these tools. It allows you to create and edit flowcharts with familiar software, streamlining your workflow.
Creating Flowcharts In Word and Visio
Word and Visio are traditional tools for creating flowcharts. Here's a brief guide on how to use each to build flowcharts effectively.
Creating Flowcharts in Word
Word is typically used for documents, but it can also create simple flowcharts using SmartArt.
Step 1: Insert SmartArt
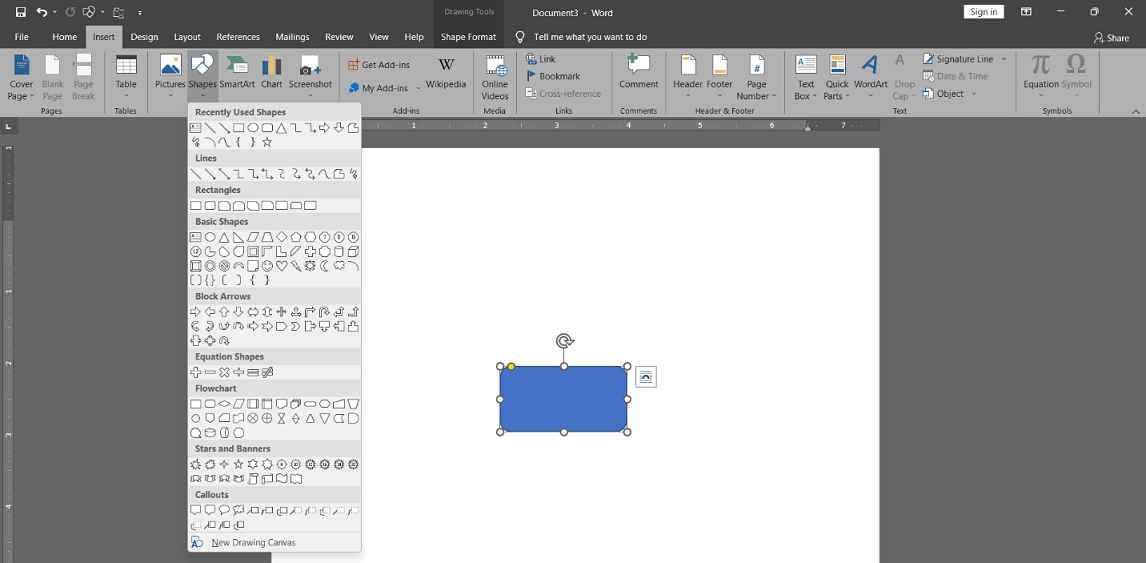
Open Word and select the "Insert" tab. Click "SmartArt" to reveal various templates. Choose "Process Template" and select a style for your flowchart.
Step 2: Add Text and Images
To add text, click on the text boxes within the SmartArt diagram. If you need to add images, select "Insert" and then "Picture." You can further customize the flowchart by changing colors or shapes.
Step 3: Finalize the Flowchart
Once you've added the necessary elements, finalize your flowchart by adjusting the layout and text. This traditional method is simple and works well for basic flowcharts.
Creating Flowcharts in Visio
Visio is a dedicated flowchart and diagram software. It provides more advanced features for creating detailed flowcharts.
Step 1: Select a Flowchart Template
Open Visio and choose the flowchart category. Select a template that suits your needs.
Step 2: Draw Flowchart Components
Draw the relevant graphics on the drawing board according to each flowchart step in the overall framework, and then use connectors to connect the process steps.
Step 3: Add Text
To add text to a shape, select the shape and start typing. Once you've finished, click on a blank area to deselect the shape.
Word is ideal for basic flowcharts, while Visio is better for complex diagrams and flowcharts requiring advanced features. Each tool has its strengths, depending on the complexity of your project.
If you need to create a flowchart, which needs to be logical, clear, and engaging, you need a powerful tool that enhances your creativity and productivity. Boardmix offers a wide range of easy-to-use flowchart symbols and preset templates that can boost your efficiency. With Boardmix, you can freely design and arrange your flowchart without space limitations. Besides, you can add images, annotations, and other elements to make it more engaging.