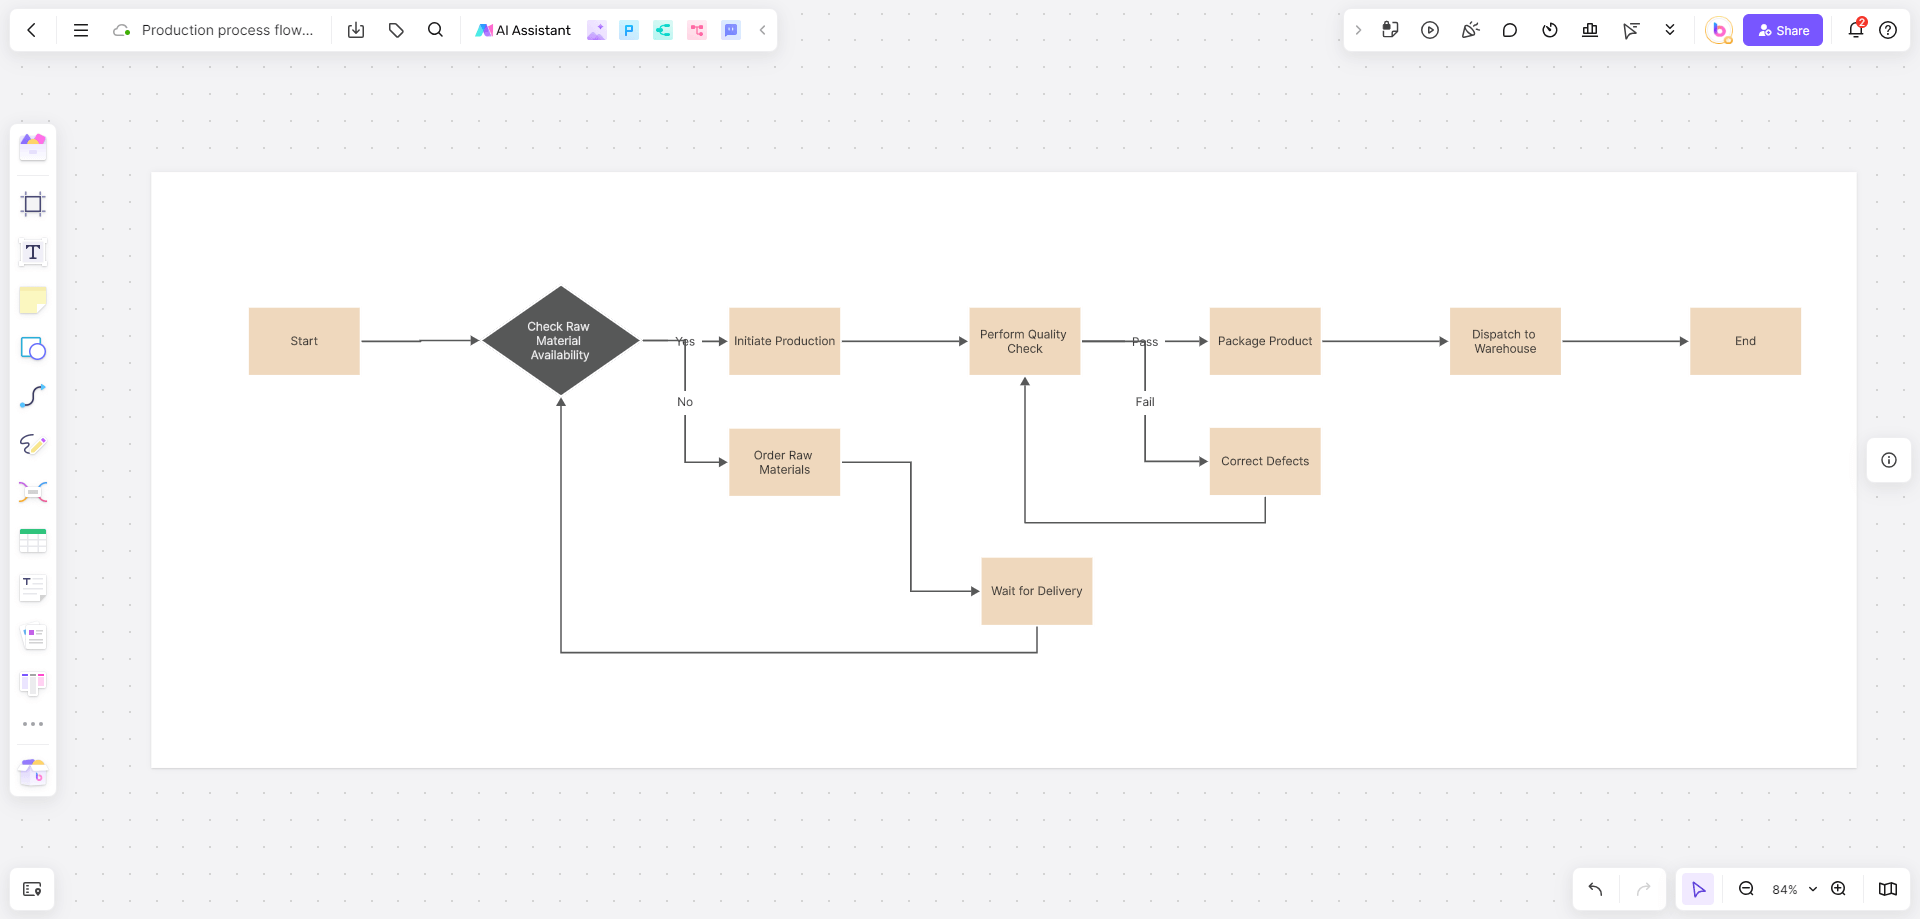
Workflow charts play a crucial role in achieving these goals by visually representing processes, ensuring that everyone involved understands each step. From simplifying complex procedures to facilitating effective communication, workflow chart examples are invaluable tools in various fields, including project management, manufacturing, customer service, and more.
What is a Workflow Chart?
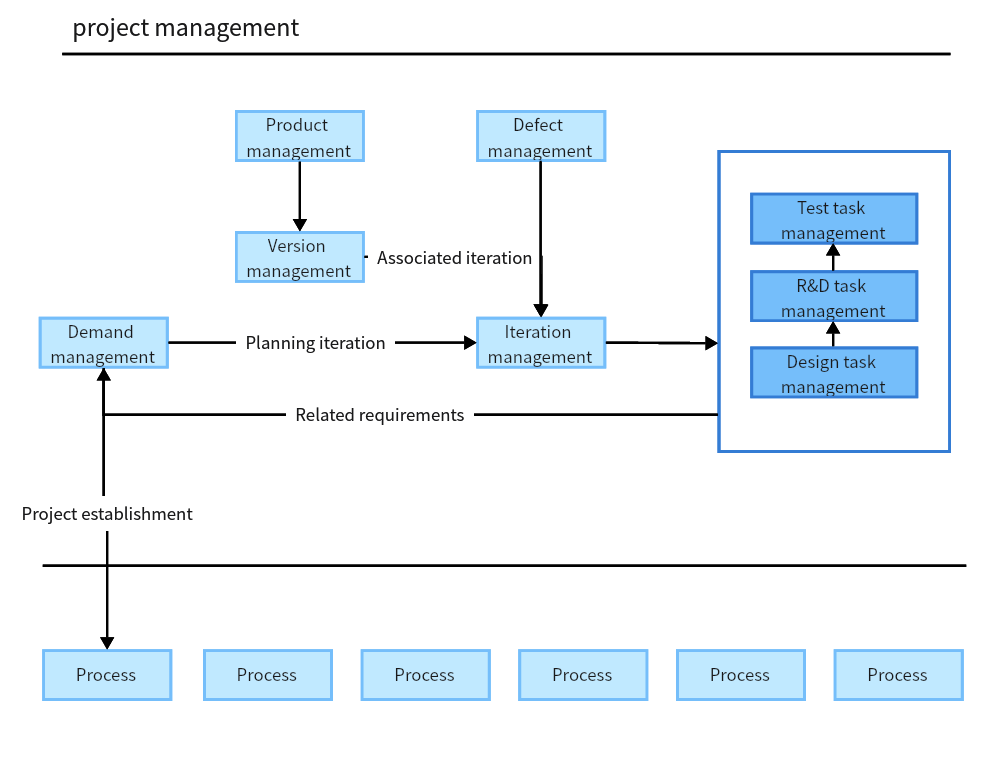
A workflow chart example visually represents a process, outlining the sequence of steps or tasks involved. It depicts how work flows through various stages, often using symbols like arrows, boxes, and diamonds to represent different actions, decisions, or stages. Workflow charts help to simplify complex processes, making them easier to understand, communicate, and analyze.
Workflow charts are used across various industries and fields, including manufacturing, software development, healthcare, and business operations. They are valuable tools for improving efficiency, identifying bottlenecks, and ensuring all team members understand the process flow.
When to Use a Workflow Chart?
Workflow charts can be used in numerous scenarios where understanding and optimizing processes are crucial. Here are some common situations where workflow chart examples are particularly beneficial:
Process Improvement: When analyzing and refining business processes to enhance efficiency, workflow charts provide a clear visual of the current process and help identify areas for improvement.
Training and Onboarding: Workflow charts serve as effective training tools for new employees, offering a visual guide to understanding their roles and responsibilities within a process.
Project Management: In project management, workflow charts help plan and track the progress of tasks, ensuring that all team members are aware of their duties and deadlines.
Quality Control: Workflow chart examples assist in maintaining quality standards by clearly outlining the steps required to complete a task or process correctly.
Communication: These charts facilitate better communication among team members by providing a shared understanding of the process and its stages.
6 Free Workflow Chart Examples
1. Task Flowchart Example
A task flowchart template is designed to outline the steps necessary to complete a specific task or a series of related tasks. This template is beneficial for illustrating the sequence of actions required to achieve a particular goal, helping to ensure that all steps are followed correctly and in order.
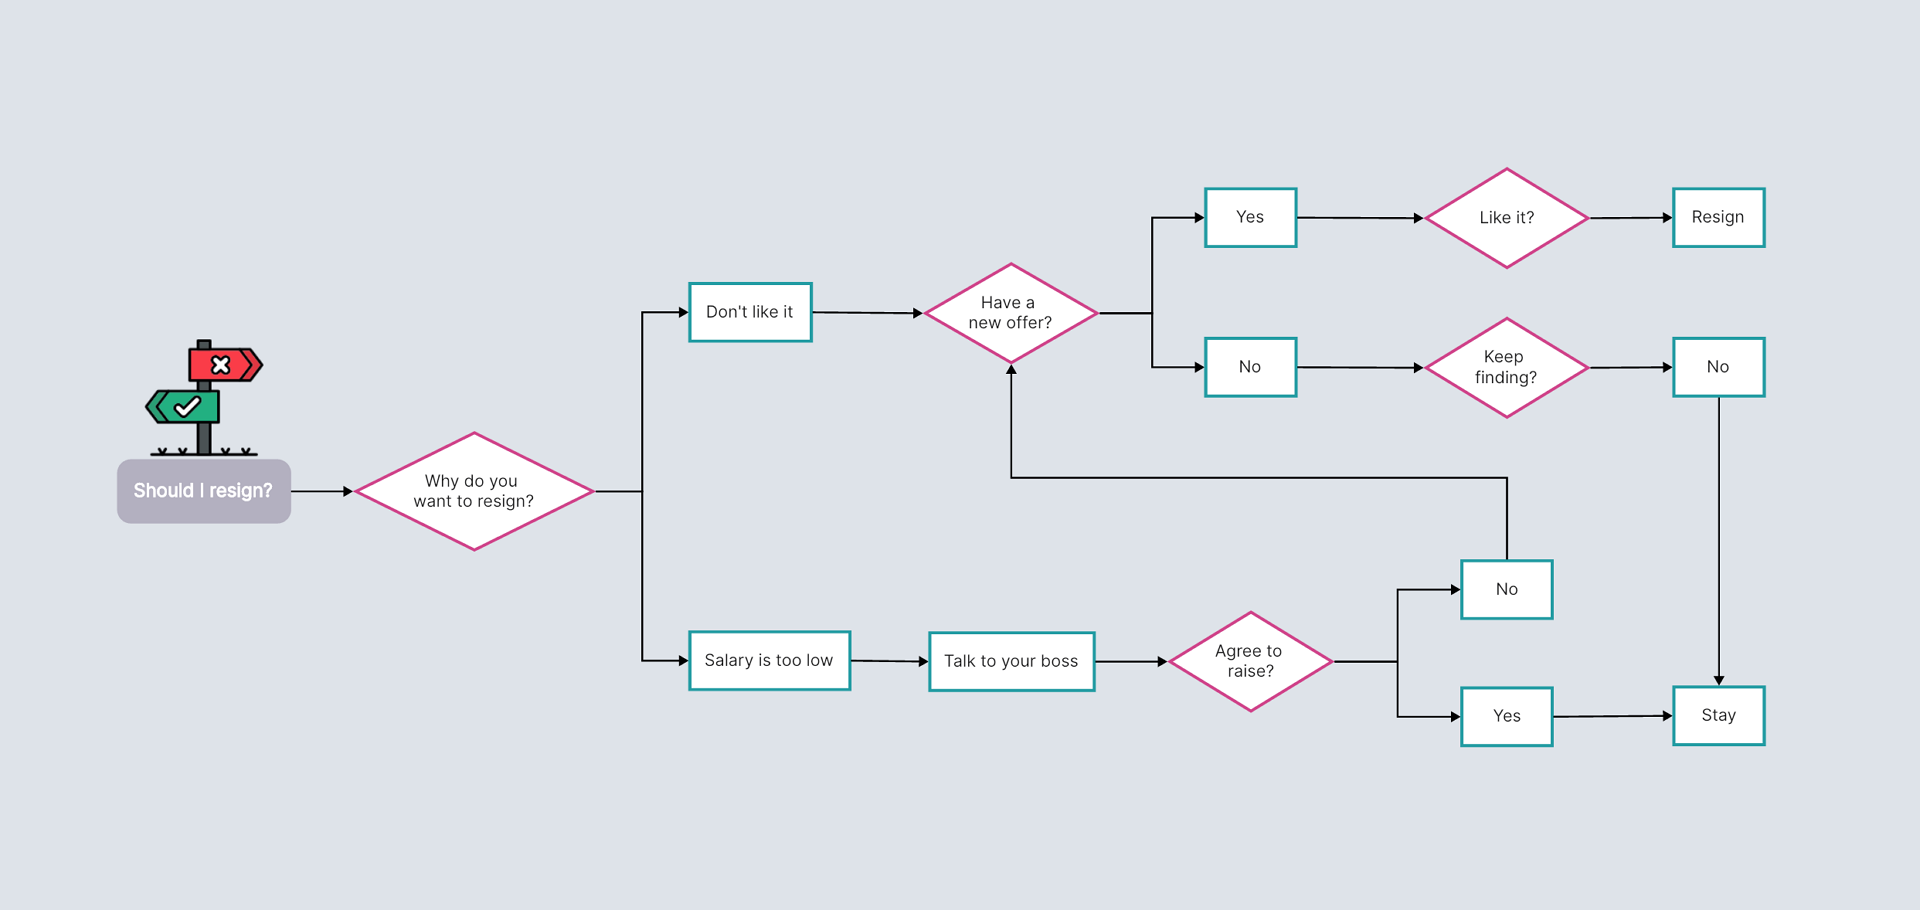
Example:
Start: The task begins with the initiation step.
Task 1: Identify the first task in the sequence.
Task 2: Follow with the subsequent task.
Task 3: Continue detailing each task in the process.
End: The task flowchart concludes when the final task is completed.
Key Features💥💥:
Simple and Direct: Focuses on the main tasks without including unnecessary details.
Sequential Flow: Clearly shows the order in which tasks should be performed.
Easy to Follow: Designed for straightforward processes where each step leads directly to the next.
2. Decision-Making Process Flowchart
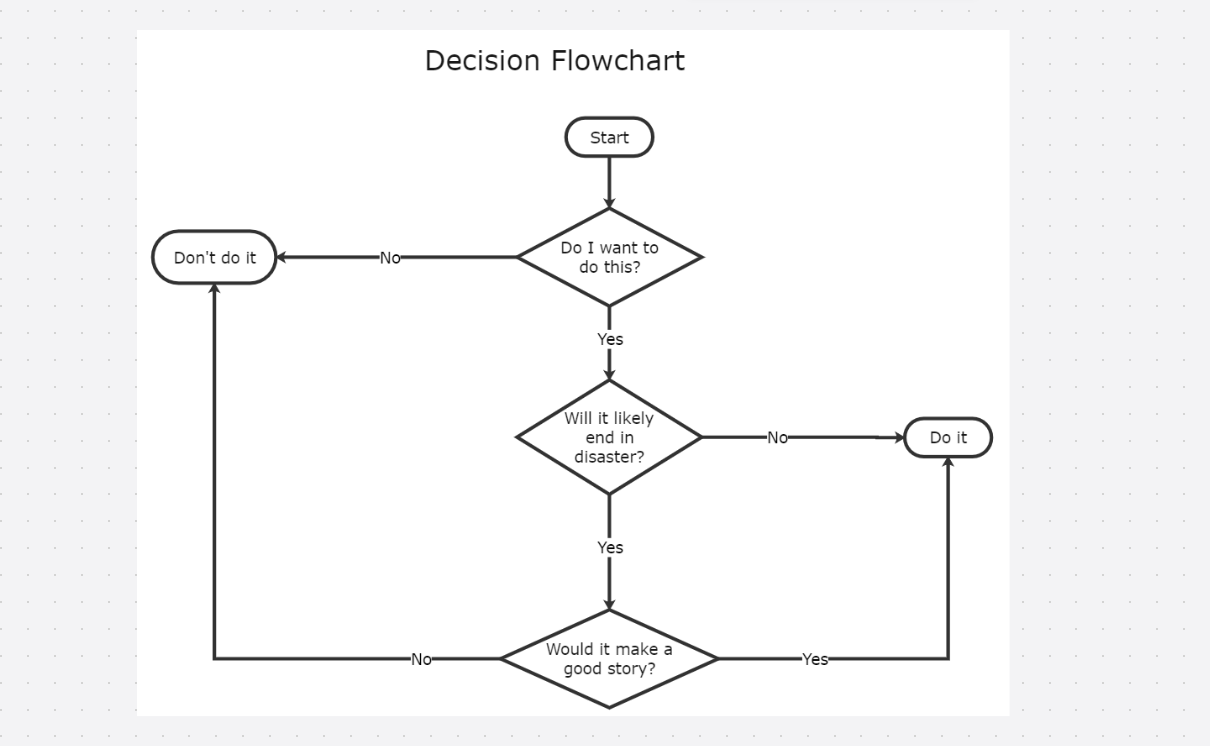
A decision-making process workflow chart helps visualize the steps involved in deciding. This type of flowchart is particularly useful for scenarios where multiple outcomes are possible, depending on the decisions made at various points.
Example:
Start: Identify the need for a decision.
Step 1: Gather relevant information.
Step 2: Identify possible options.
Decision Point: Evaluate options and choose one.
-Option 1: Follow the path if this option is selected.
-Option 2: Follow a different path if another option is chosen.
Implement Decision: Carry out the chosen option.
Review Outcome: Assess the results of the decision.
End: The process concludes after reviewing the outcome.
Key Features💥💥:
Multiple Paths: Includes decision points that lead to different outcomes.
Detailed Analysis: Helps in evaluating various options before making a decision.
Feedback Loop: Allows for reviewing and improving the decision-making process.
3. Problem-Solving Flowchart
A problem-solving flowchart is designed to guide users through the process of identifying, analyzing, and resolving a problem. This template is useful in both individual and team settings, ensuring a structured approach to problem-solving.
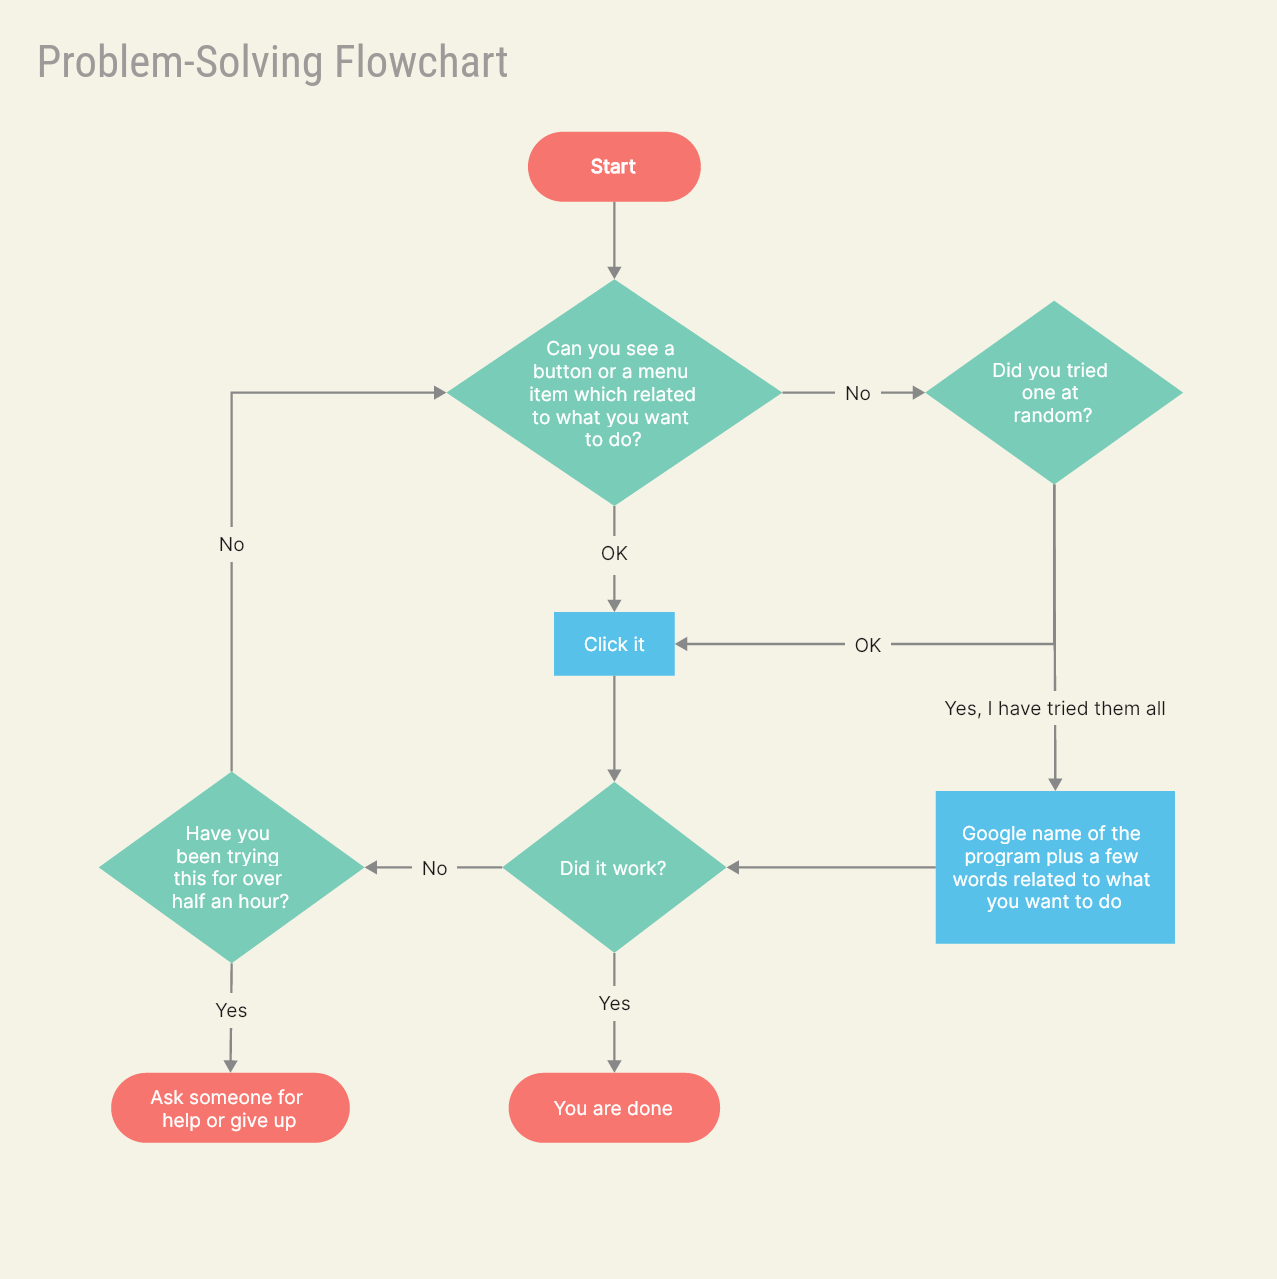
Example:
Start: Identify the problem.
Step 1: Analyze the problem.
Step 2: Identify possible solutions.
Decision Point: Evaluate and select the best solution.
-Solution 1: Implement if this solution is chosen.
-Solution 2: Implement if a different solution is chosen.
Implement Solution: Apply the selected solution.
Review and Evaluate: Assess the effectiveness of the solution.
End: The process concludes after the problem is resolved and reviewed.
Key Features💥💥:
Structured Approach: Provides a clear, step-by-step method for solving problems.
Evaluation: Includes steps for evaluating potential solutions and reviewing their effectiveness.
Flexible Paths: Allows for different solutions to be chosen and implemented.
4. Customer Service Flowchart
A customer service flowchart outlines the process of handling customer inquiries, complaints, or requests. This template is essential for ensuring consistent and efficient customer service.
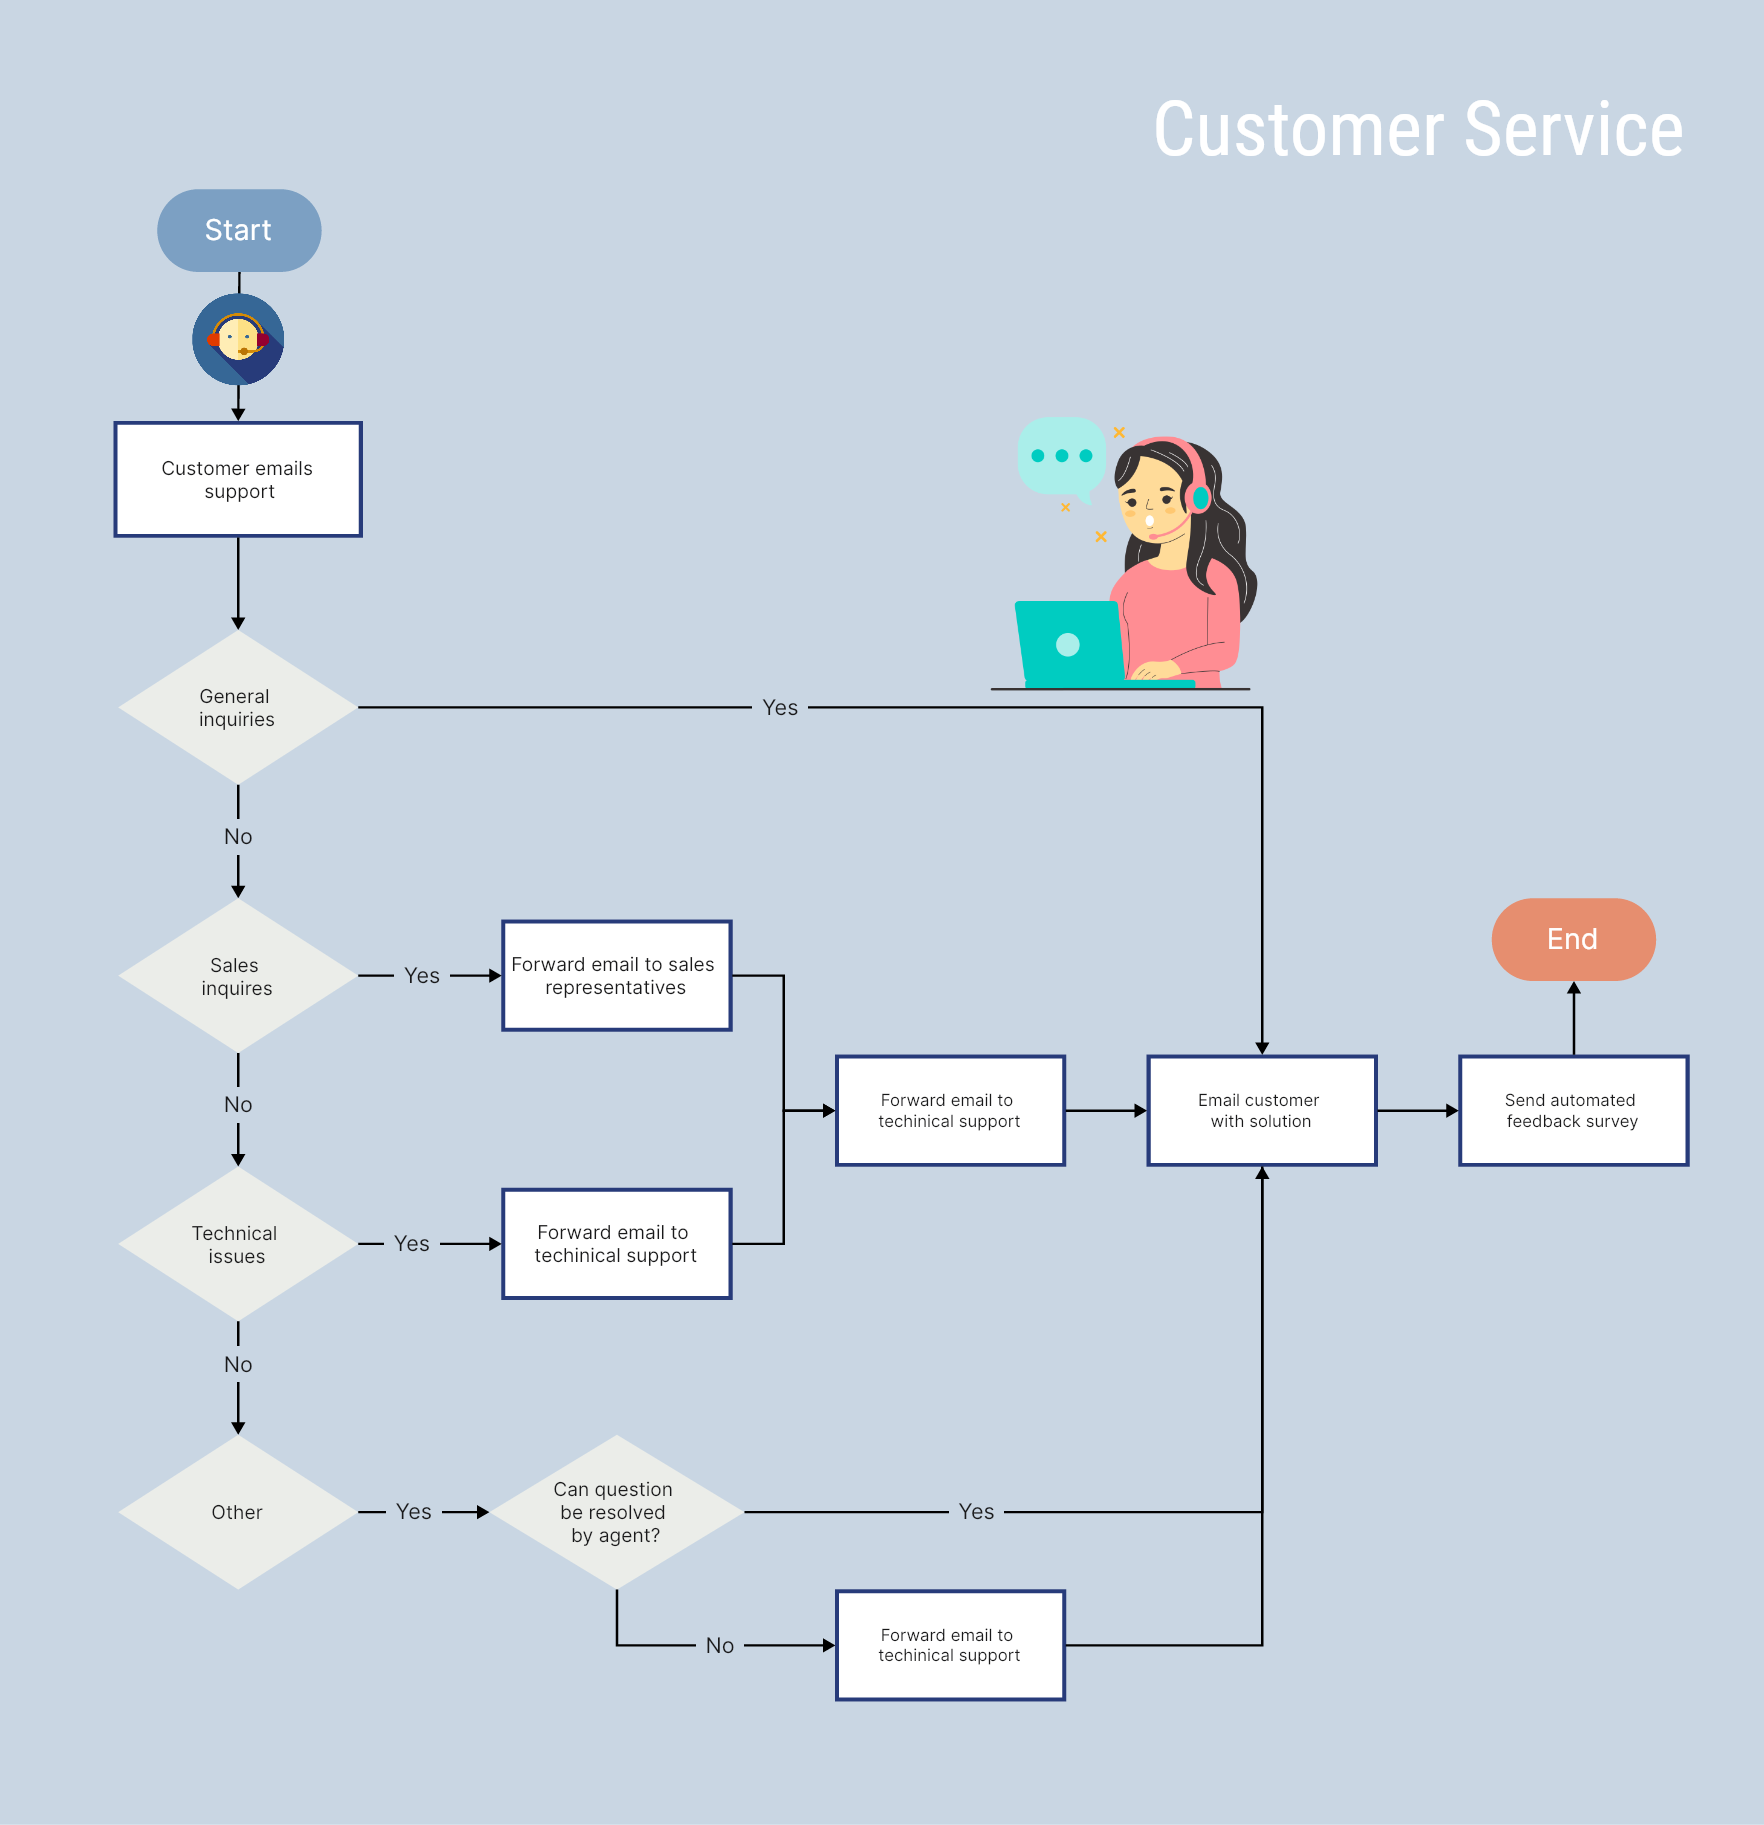
Example:
Start: Receive customer inquiries or complaints.
Step 1: Identify the type of inquiry.
Step 2: Gather the necessary information.
Decision Point: Determine the nature of the issue.
-Simple Inquiry: Provide immediate resolution.
-Complex Issue: Escalate to the appropriate department.
Follow-Up: Ensure the customer is satisfied with the resolution.
Close Case: Document the resolution and close the case.
End: The process concludes after the case is closed.
Key Features💥💥:
Consistent Process: Ensures that all customer inquiries are handled consistently.
Escalation Paths: Provides clear guidelines for escalating complex issues.
Follow-Up: Emphasizes the importance of following up with customers to ensure satisfaction.
5. Employee Onboarding Process Flowchart
An employee onboarding process flowchart details the steps involved in integrating a new employee into an organization. This template ensures a smooth and comprehensive onboarding experience.
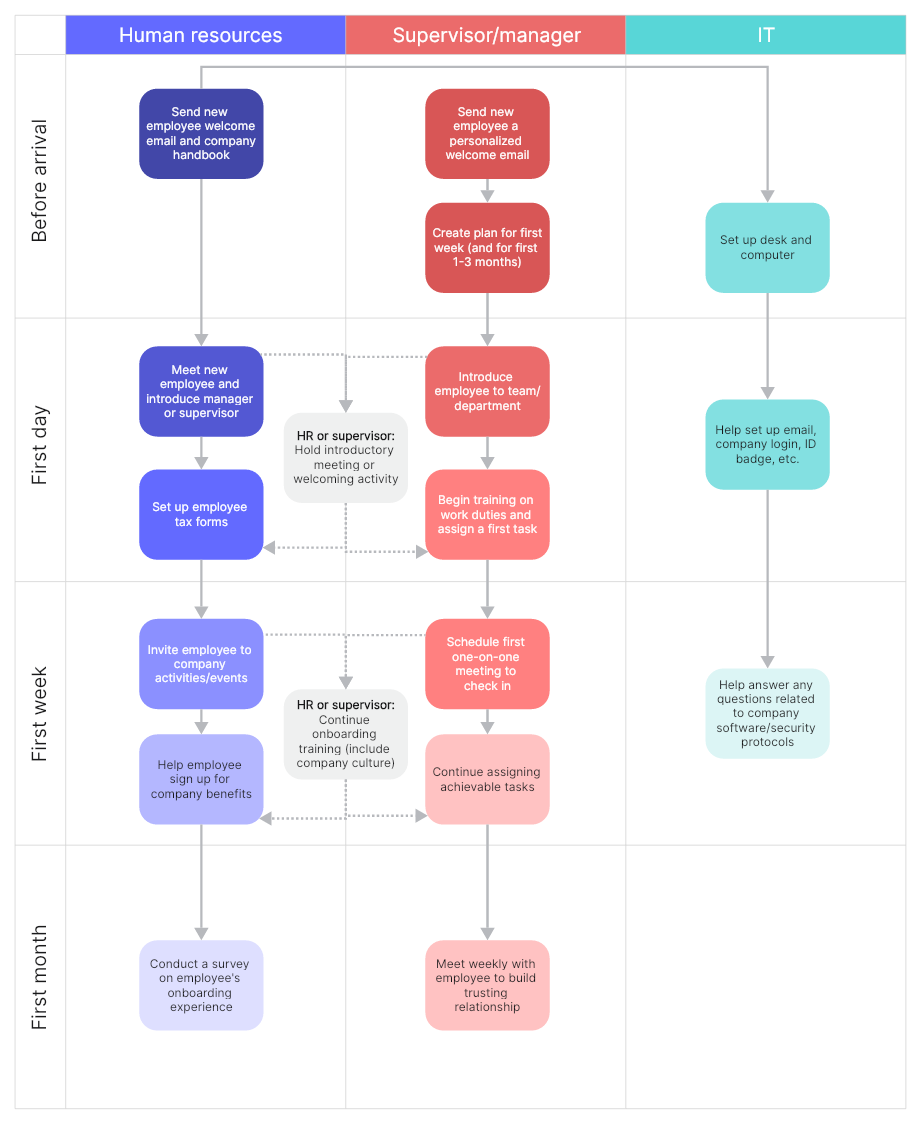
Example:
Start: A new employee accepted the job offer.
Step 1: Prepare onboarding materials.
Step 2: Complete the necessary paperwork.
Step 3: Provide initial training and orientation.
Decision Point: Assess initial training needs.
-Basic Training: Continue with standard onboarding steps.
-Additional Training: Provide extra training if needed.
Assign Mentor: Assign a mentor or buddy to the new employee.
Integration: Facilitate integration into the team and company culture.
Review and Feedback: Gather feedback from the new employee about the onboarding process.
End: The onboarding process concludes when the employee is fully integrated.
Key Features💥💥:
Comprehensive Steps: Covers all aspects of the onboarding process.
Personalized Training: Allows for additional training based on the new employee’s needs.
Mentorship: Includes assigning a mentor to support the new employee’s integration.
Feedback Loop: Ensures continuous improvement of the onboarding process through feedback.
6. Construction Flowchart Template
A construction flowchart template is tailored to the unique needs of construction projects, helping to manage and streamline complex tasks and interactions. This type of template is crucial for ensuring that construction projects are completed efficiently and on schedule.
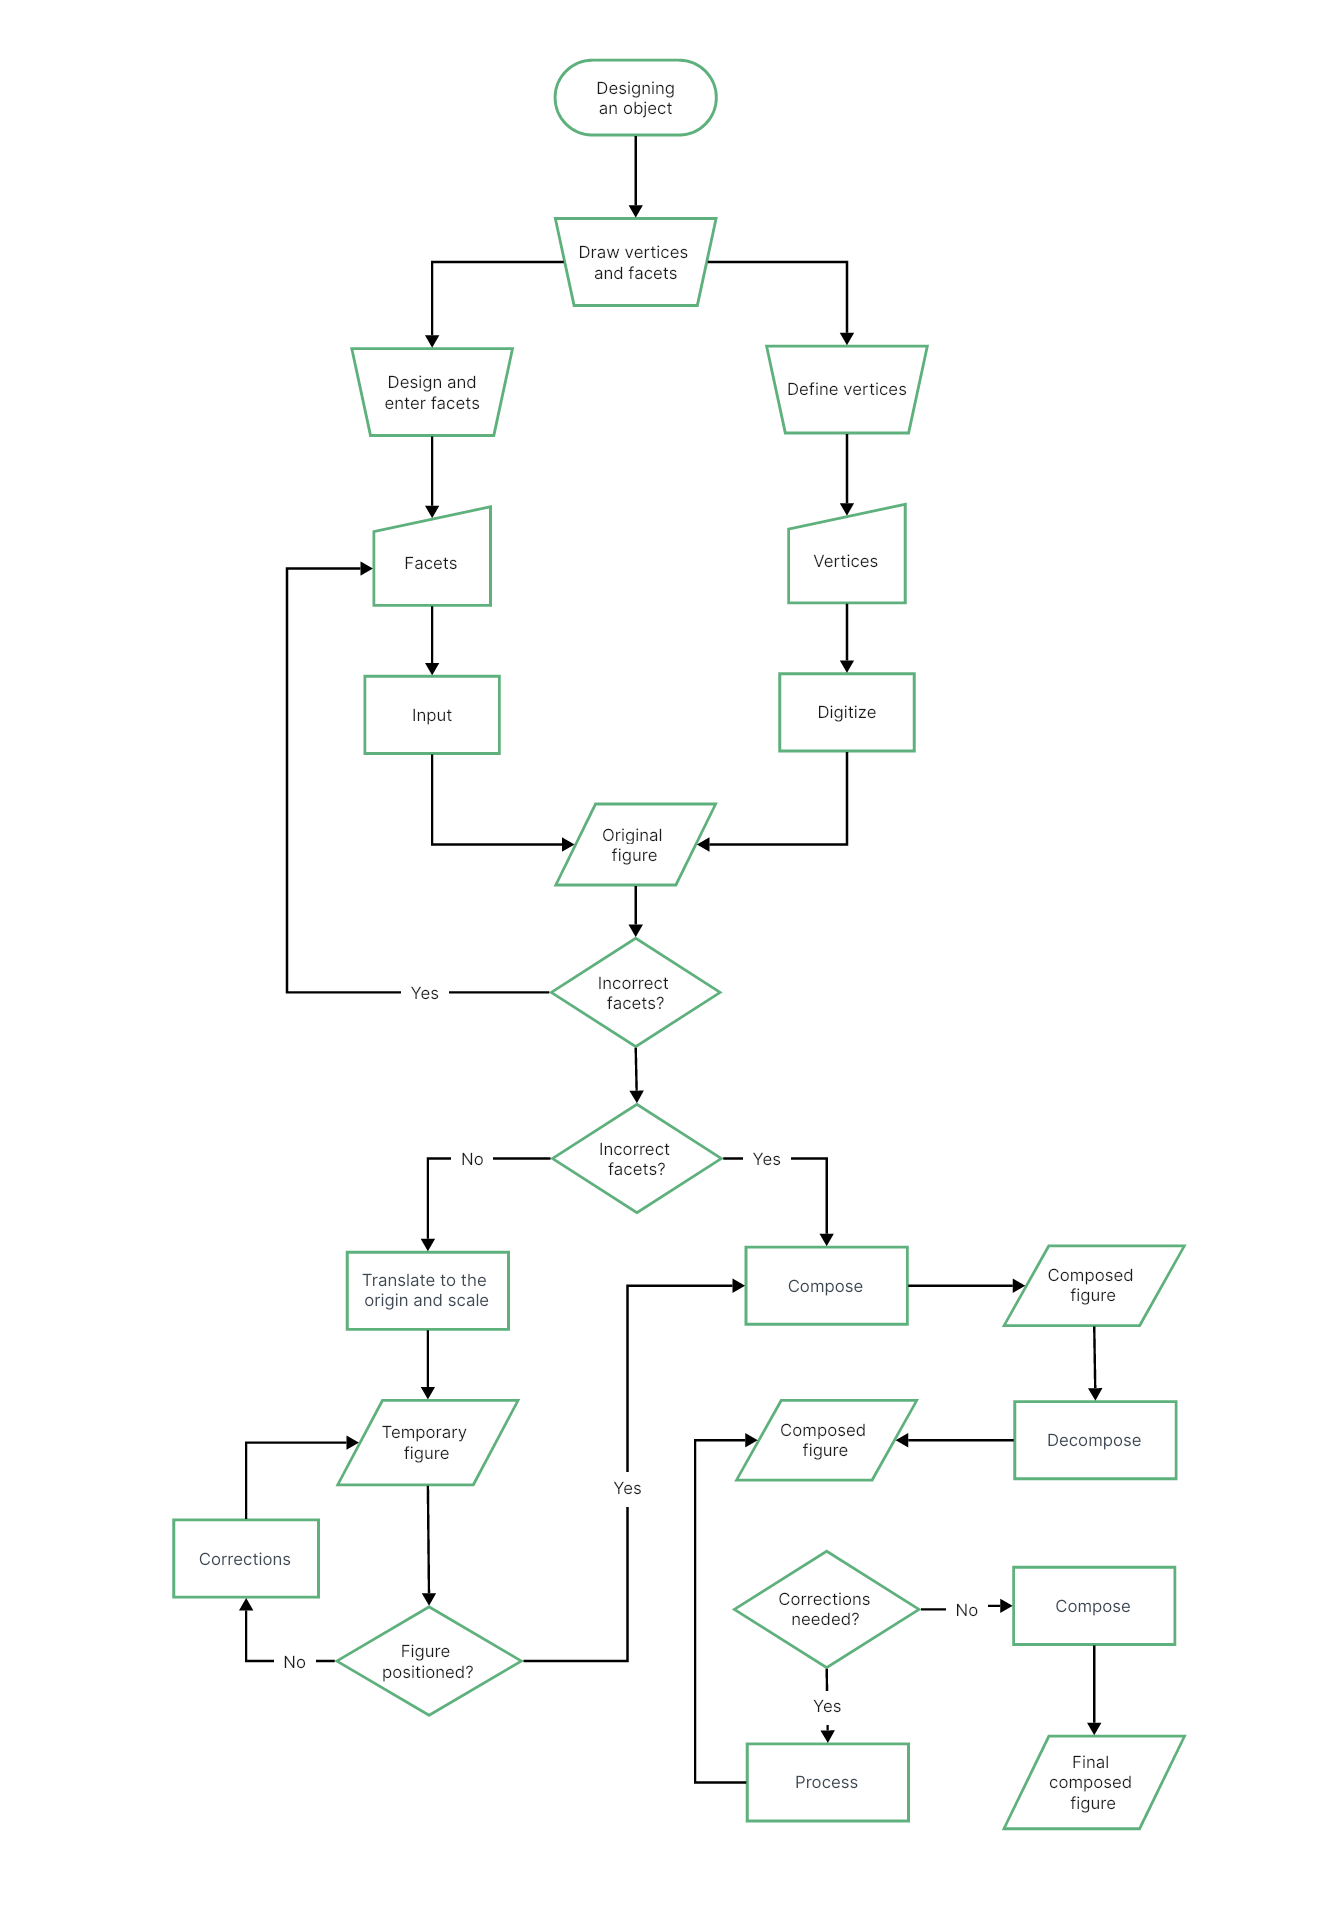
Example:
Start: Project initiation.
Step 1: Project Planning and Design.
Step 2: Obtain Permits and Approvals.
Step 3: Site Preparation.
Step 4: Foundation Construction.
Step 5: Structural Construction.
Step 6: Utility Installation.
End: Project completion and handover.
Key Features💥💥:
Detailed Steps: Includes all major phases of construction, from planning to completion.
Permit and Inspection Points: Ensures that all necessary permits and inspections are obtained and passed.
Sequential Flow: Clearly shows the order of construction tasks to maintain project timelines.
Comprehensive: Covers everything from site preparation to final touches, providing a complete overview of the construction process.
These templates provide a clear structure for different examples of workflow charts, making it easier to create, understand, and improve various processes within an organization. Each template serves a specific purpose and can be customized to fit the unique needs of the process it represents.
How to Create Workflow Chart Example?
Creating a workflow chart example involves several steps to ensure it accurately represents the process and is easy to understand. Here’s a step-by-step guide to creating a workflow chart example:
Step 1: Identify the Process
Determine the process you want to visualize. Clearly define the start and end points, and list all the tasks or steps involved. It’s essential to have a thorough understanding of the process before you start creating the chart.
Step 2: Gather Information
Collect detailed information about each step in the process. This includes identifying who is responsible for each task, any dependencies between tasks, and decision points that may alter the flow.
Step 3: Choose a Workflow Chart Tool
Select a tool to create your workflow chart examples. Various software options are available, ranging from basic drawing tools like Microsoft PowerPoint to specialized workflow diagram tools like Lucidchart, Boardmix, and Visio.
Step 4: Define Symbols and Shapes
Decide on the symbols and shapes you will use to represent different elements in the workflow. Commonly used symbols include:
Oval: Start and endpoints
Rectangle: Process steps
Diamond: Decision points
Arrow: Direction of flow
Step 5: Map Out the Workflow
Start mapping out the workflow by placing the start point on the chart. Add each step in the sequence, connecting them with arrows to indicate the flow. Include decision points where necessary and ensure that the paths from these points lead to the correct subsequent steps.
Step 6: Review and Refine
Review the workflow chart example to ensure it accurately represents the process. Check for any missing steps or inaccuracies. Get feedback from stakeholders or team members involved in the process to ensure the chart is comprehensive and clear.
Step 7: Finalize and Share
Once the chart is complete and reviewed, finalize it by adding any necessary details, such as labels or notes. Share the workflow chart with relevant team members or stakeholders to ensure everyone understands the process.
Using online tools to create workflow chart examples offers numerous benefits. Online platforms provide accessibility, allowing you to create, edit, and share workflow chart examples from anywhere with an internet connection. They often come with a range of templates and customization options that make the creation process faster and more efficient. Collaboration features are also a significant advantage, enabling multiple users to work on a chart simultaneously, and providing real-time feedback and updates. Boardmix is one such online tool that excels in creating workflow charts efficiently and collaboratively.
Creating a Workflow Chart with Boardmix
Let’s delve into how you can create a workflow chart using Boardmix, an online diagram tool known for its ease of use and robust features:
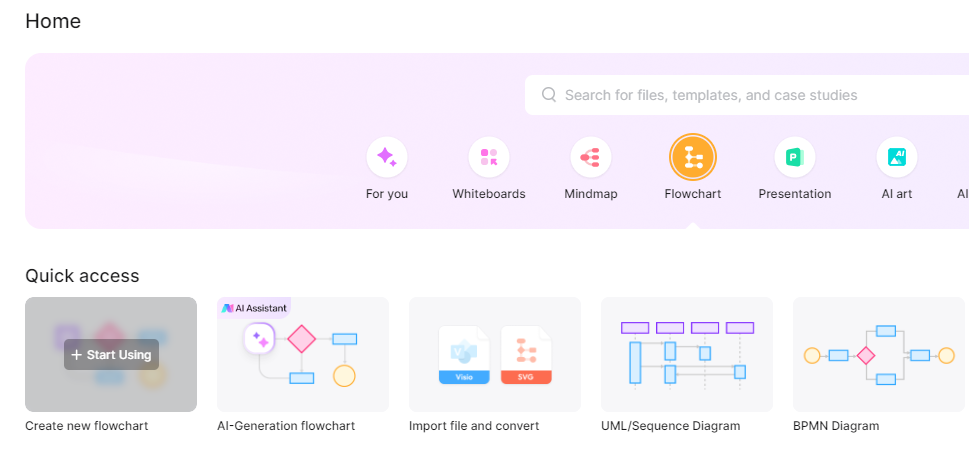
1. Create a New Diagram: Once logged in, select the option to create a new diagram. Boardmix offers a variety of templates to choose from, including specific templates for workflow charts.
2. Select Workflow Template: Browse through the available templates and select a workflow chart template that best fits your needs. These templates provide a pre-structured layout, making it easier to get started.
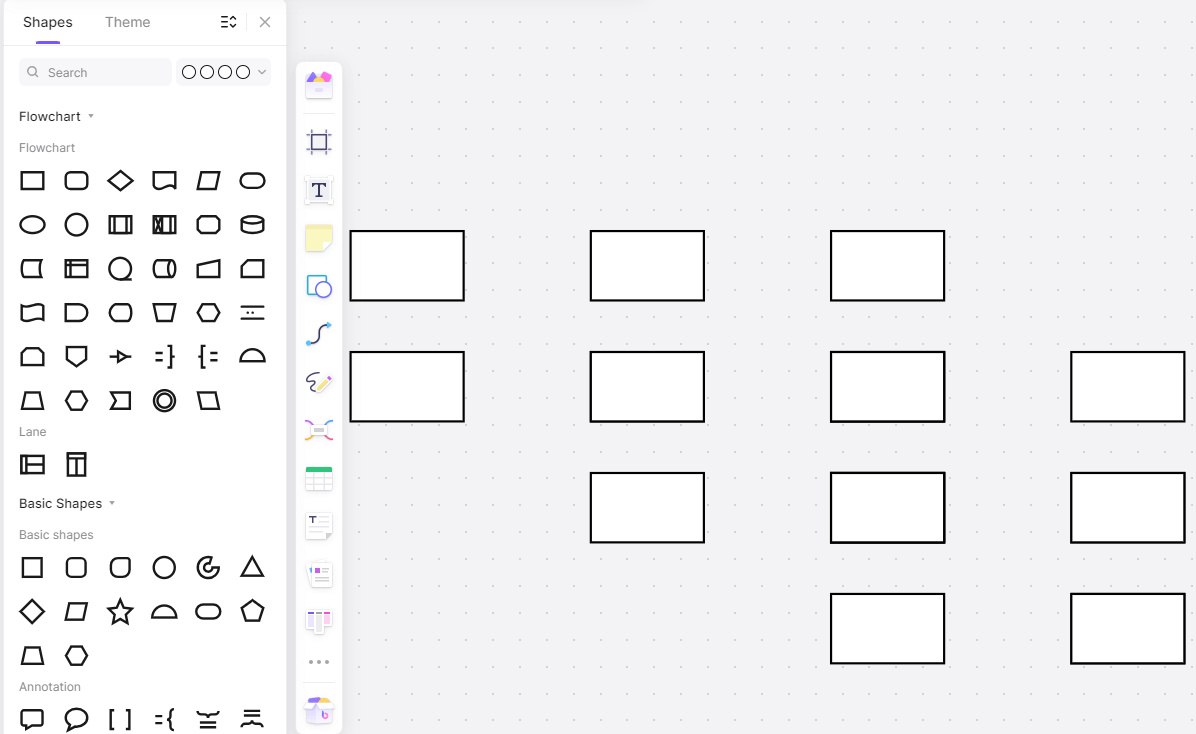
3. Add Start Point: Drag and drop an oval shape onto the canvas to represent the start point of your workflow. Label it appropriately to indicate the beginning of the process.
4. Add Process Steps: Continue by adding rectangular shapes for each process step. Drag and drop these shapes onto the canvas, arranging them in the order they occur in the process. Label each rectangle to describe the corresponding task.
5. Insert Decision Points: If your workflow involves decision points, add diamond shapes to the canvas. Connect these diamonds to the relevant steps, and label them to describe the decision being made.
5. Connect Steps: Use arrows to connect all shapes, indicating the flow of the process. Ensure that the arrows correctly show the direction of the workflow, guiding the viewer from the start to the endpoint.
6. Customize and Refine: Boardmix allows you to customize the appearance of your workflow chart. You can change colors, fonts, and sizes to enhance readability and visual appeal. Add notes or additional labels as needed to provide more context.
7. Save and Share: Once satisfied with the workflow chart, save it to your Boardmix account. Use the sharing features to collaborate with your team. You can invite others to view or edit the chart, facilitating real-time collaboration and feedback.
8. Export Options: Boardmix also offers various export options, allowing you to download the workflow chart in different formats such as PDF, PNG, or JPEG. This flexibility ensures that you can easily share the chart with those who may not have access to Boardmix.
Creating workflow charts with Boardmix is a seamless process that combines the convenience of online tools with powerful features for customization and collaboration. By leveraging Boardmix’s capabilities, you can efficiently create clear and effective workflow charts that enhance understanding and streamline processes within your organization.
Workflow charts are indispensable tools that provide clarity, improve efficiency, and facilitate communication within an organization. Whether you are managing a project, onboarding new employees, or improving customer service, these charts help ensure that everyone is on the same page. With free templates and a step-by-step guide, you can easily create your workflow charts. Leveraging online tools like Boardmix further enhances the process, offering accessibility, customization, and collaboration features that make chart creation a breeze. Embrace the power of workflow charts to streamline your processes and drive success in your organization.


