In the world of project management, timelines are more than just a visual aid; they're a lifeline. They guide us, keep us on track, and help us visualize our progress. But creating these timelines - that's where the challenge lies. You have two options: the tried-and-tested Excel or the innovative Boardmix. Excel, with its familiar interface and robust features, has been a go-to for many. On the other hand, Boardmix offers a fresh approach with intuitive design and interactive capabilities. So, which one is better? The answer isn't as straightforward as you might think. It all depends on your needs, your familiarity with the tools, and what you value most in a timeline maker. Let's delve into this comparison and help you make an informed decision for your project management needs.
How to Create a Timeline in Excel
Excel, a powerful tool for data analysis and spreadsheets, can also be used to create simple and intuitive timelines. Here are the steps to create a timeline in Excel:
Create a Data Table
Start by creating a data table that includes dates and event descriptions. Enter dates in the first column and corresponding event descriptions in the second column. Ensure that the dates are arranged in chronological order.
Insert a Scatter Plot
Select the data table you just created and click on the "Insert" menu. In the "Charts" section, choose "Scatter Plot." Excel will automatically generate a scatter plot.
Set the Horizontal Axis
Click on the scatter plot, then go to the "Design" menu and click the "Select Data" button. In the pop-up dialog, click the "Edit" button below the horizontal axis, and once again, select your date data column. Click "OK."
Set the Vertical Axis
Similarly, in the "Select Data" dialog, click the "Add" button below the vertical axis. In the new dialog, enter "Event" as the series name and select a column with identical values (e.g., all 1s). This ensures that all points will be displayed on the same horizontal line.
Customize the Style
Add data labels to the timeline and adjust their position and style for clear event descriptions. You can do this by selecting the scatter plot, right-clicking, and choosing "Add Data Labels." Customize your timeline further by changing line and background colors, adjusting font size and style, etc.
Save and Share
Finally, remember to save your Excel file and share it with those who need to view the timeline.
By following these steps, you can create a simple and intuitive timeline in Excel.
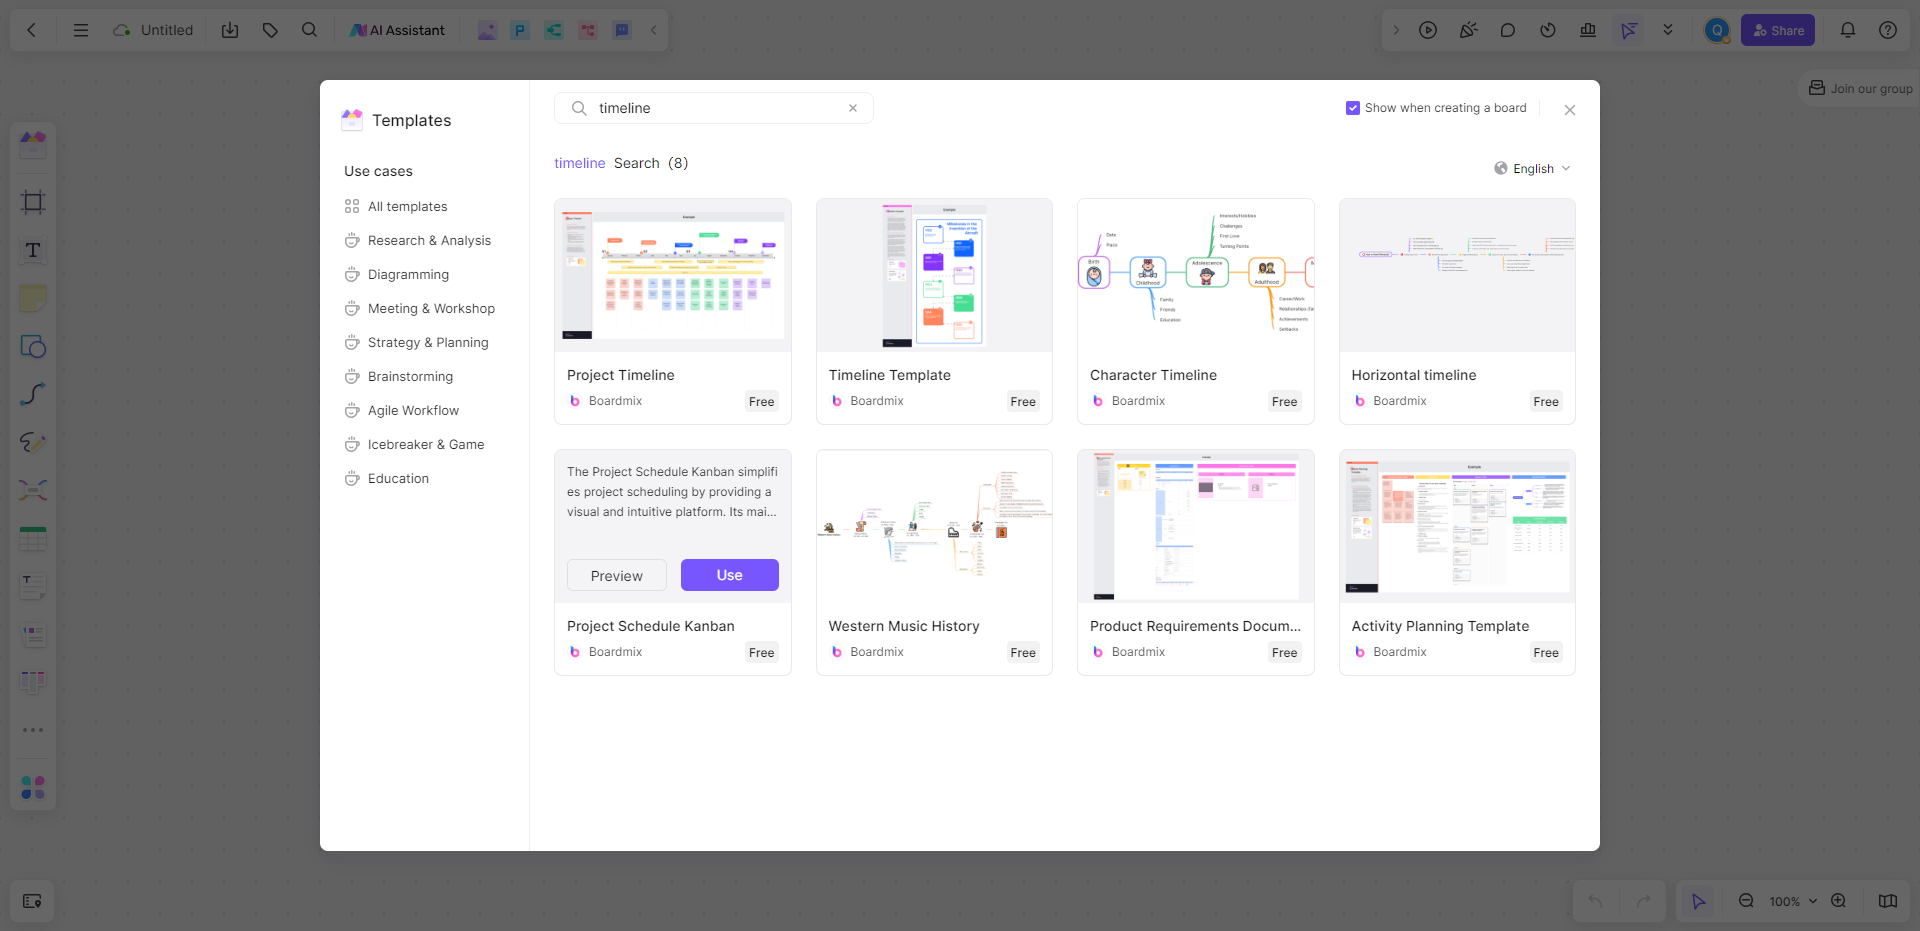
How to Create a Timeline in Boardmix
Creating a timeline in Boardmix is a straightforward process. Here are the detailed steps to use the Boardmix timeline maker.
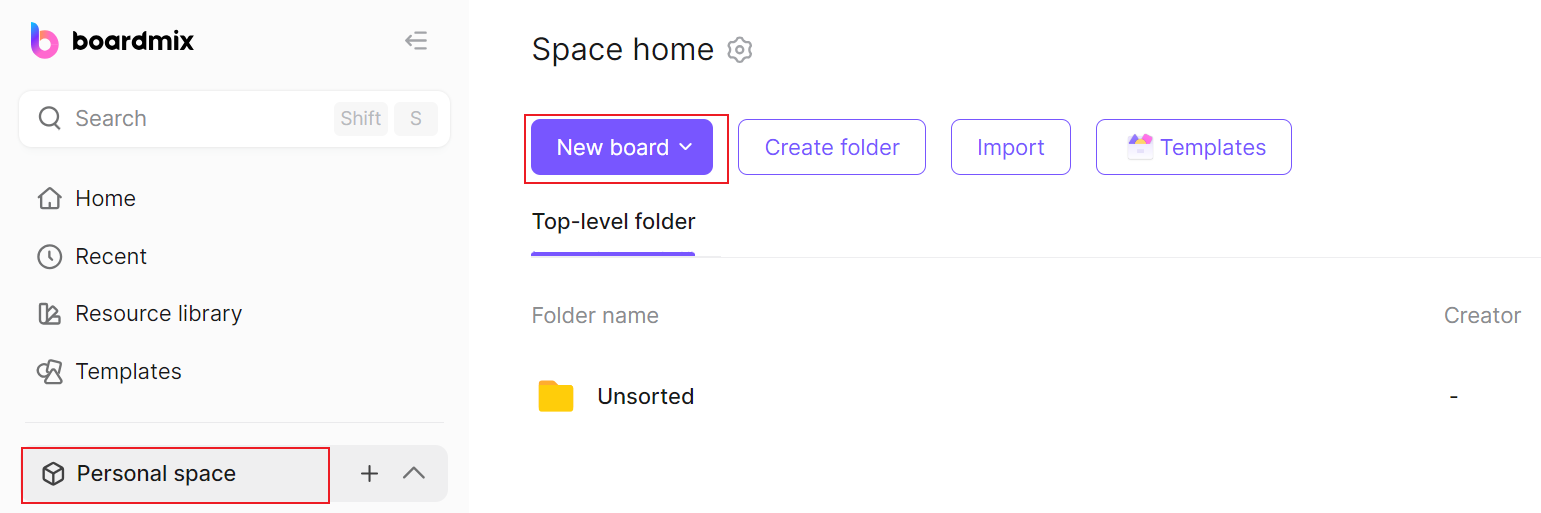
1. Log in to Your Boardmix Account
Firstly, visit the official Boardmix and log in using your username and password. If you don't have an account, you can choose to create a new one.
2. Create a New Project
On your main page, click the "Create New Board" button. In the menu that appears, choose Timeline template as the type of your project.
3. Set Timeline Parameters
Next, you'll need to set some basic parameters for your timeline. This includes the title of the timeline, start and end dates, and whether it should be public or not.
4. Add Timeline Nodes
Now you can start adding events or timeline nodes to your timeline. For each node, fill in the date, title, and description of the event. You can also add images or links to enrich the content of your timeline.
5. Edit and Adjust
You can adjust the position of nodes on the timeline by dragging them. Clicking on a node allows you to edit or delete it at any time. Additionally, you can change the layout and color of the timeline to suit your preferences.
6. Save and Share
Once you are satisfied with your timeline, click the "Save" button to store it in your Boardmix timeline maker account. If you choose to make your timeline public, you can share it with others through a link.
These are the complete steps for creating a timeline in Boardmix. This way, both teachers and students can easily create and share intricate historical, project, or story timelines.
Pros and Cons of Creating Timelines in Excel
Microsoft Excel is a widely used spreadsheet program. In addition to performing data analysis and financial calculations, it is also used to create timelines. Here are the pros and cons of creating a timeline in Excel.
Pros of Creating Timelines in Excel
- Data Integration: If you already have a list of dates and events in Excel, you can create a timeline directly on the same worksheet without copying and pasting data between different platforms.
- No Internet required: Unlike many cloud-based tools, Excel is a desktop application. This means you can use it without an internet connection.
Cons of Creating Timelines in Excel
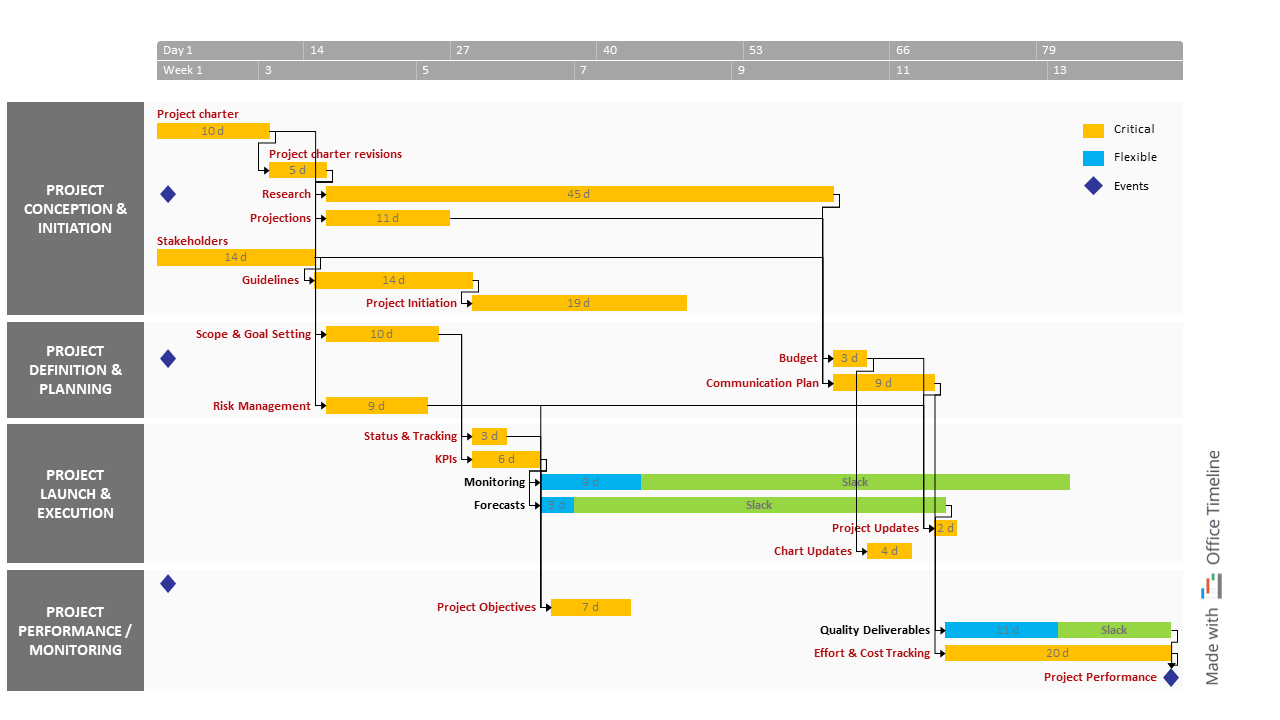
- Lack of visual appeal: Although Excel offers some customization options, the timelines it creates are often simpler and dryer than those produced by specialized timeline maker software.
- Difficulty sharing edits: Excel provides a sharing function, but it may be difficult for sharers to edit the timeline created by Excel at the same time.
- Learning curve: For some users, using Excel to create a timeline may take some time to learn. Especially when it comes to formatting and adjusting the timeline, some advanced skills may be required.
Overall, creating timelines in Excel is best suited for users who require detailed customization of their timelines and extensive data processing. However, for users who want a simple, easy-to-share, and attractive timeline, using specialized timeline software may be a better option.
Pros and Cons of Creating Timelines in Boardmix
Boardmix is a powerful online timeline tool that enables users to visually create and share projects, stories, or historical events. Here are the pros and cons of creating timelines in Boardmix.
Pros of Creating Timelines in Boardmix
- Interactivity: Boardmix timelines go beyond displaying text information. Users can insert images, videos, or external links, making timeline content richer and more diverse.
- Collaboration Capabilities: Boardmix supports real-time collaboration, allowing you to invite team members to edit and enhance the timeline together. Each member's modifications are saved and synchronized instantly.
- User-Friendly: With an intuitive user interface and straightforward workflow, Boardmix makes it easy to add, edit, or delete events, as well as change the layout and style of the timeline.
- Cloud Storage: All timeline projects are stored in the cloud, enabling access and editing from any device. Additionally, Boardmix automatically saves your changes, preventing data loss.
Cons of Creating Timelines in Boardmix
- Subscription Service: While Boardmix offers a free version, certain advanced features and larger storage space require a subscription.
- Dependency on the Internet: As a cloud-based tool, Boardmix relies on a stable internet connection to function. Users may be unable to access their timelines in environments without internet connectivity.
- Learning Curve: For users unfamiliar with Boardmix, there might be a learning curve when creating timelines using the platform.
Boardmix is a timeline tool that is very suitable for education and team use. It's easy to use, supports multimedia and collaboration, and is highly customizable. However, this requires trying to learn new features and paying some price for the subscription.
Conclusion
Overall, there are benefits to creating timelines in Excel and Boardmix. Excel is loved by the public for its wide range of applications, and Boardmix provides a more efficient and user-friendly experience than Excel. Which tool you choose is not the point, the point is how to use these tools effectively to improve your project management skills. No matter which tool you choose, you need to understand its core functionality and best practices to truly harness its power.