Mastering the art of creating a flowchart in Google Sheets can offer great utility to professionals across various sectors. Flowcharts simplify intricate processes, facilitate decision-making, and act as an effective tool for problem-solving. In this comprehensive guide, we’ll delve into how you can create a flowchart in Google Sheets, shed light on its limitations, and introduce an easier alternative for creating flowcharts.
What is a Flowchart?
A flowchart is essentially a graphical representation of a process or workflow that employs different shapes interconnected by lines. Flowcharts are excellent tools for visualizing complex processes and presenting them in an easily digestible manner. They find great relevance across various domains like business, education, software development, and engineering due to their potential to simplify and effectively communicate complicated concepts.
How to Create a Flowchart in Google Sheets?
Google Sheets, despite being a spreadsheet software, does offer the ability to create basic flowcharts with its drawing tools. The process involves inserting and formatting shapes to build your process diagram. Here's the step-by-step guide:
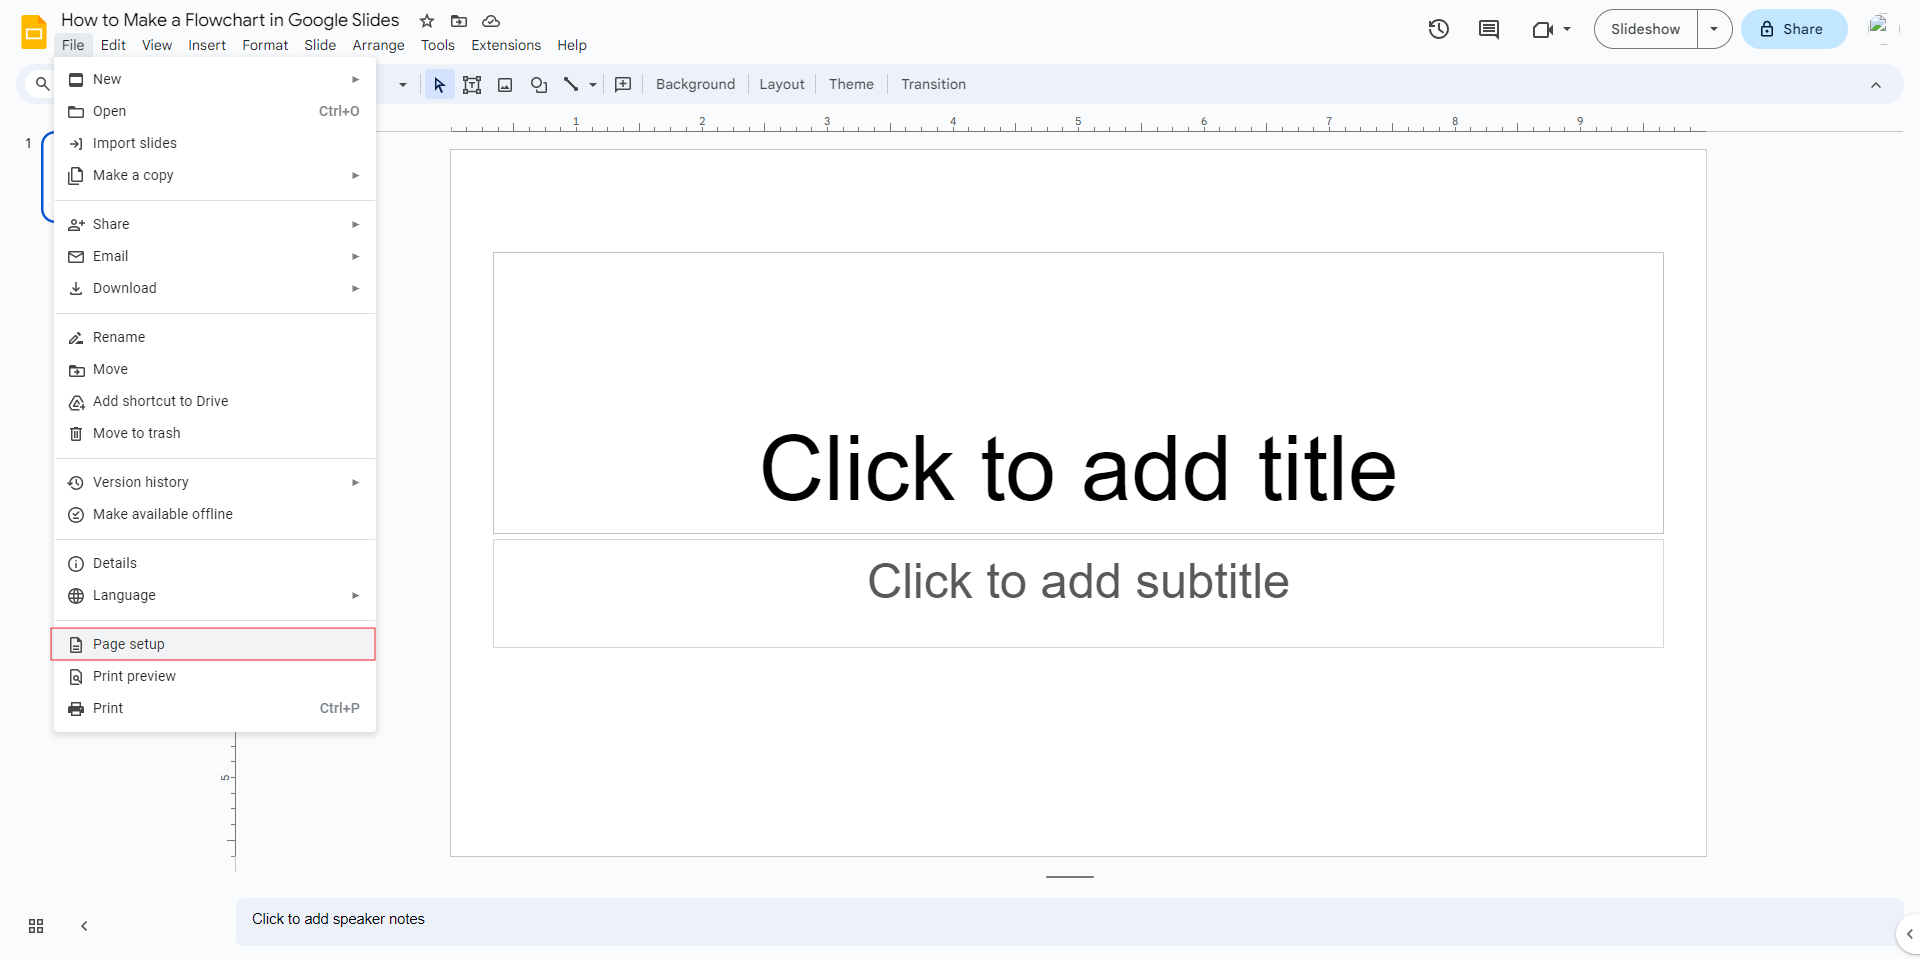
Step 1: Setting up the Workspace
After launching Google Sheets, click on 'File' from the menu and choose 'New' to create a blank spreadsheet. Name it accordingly to avoid confusion.

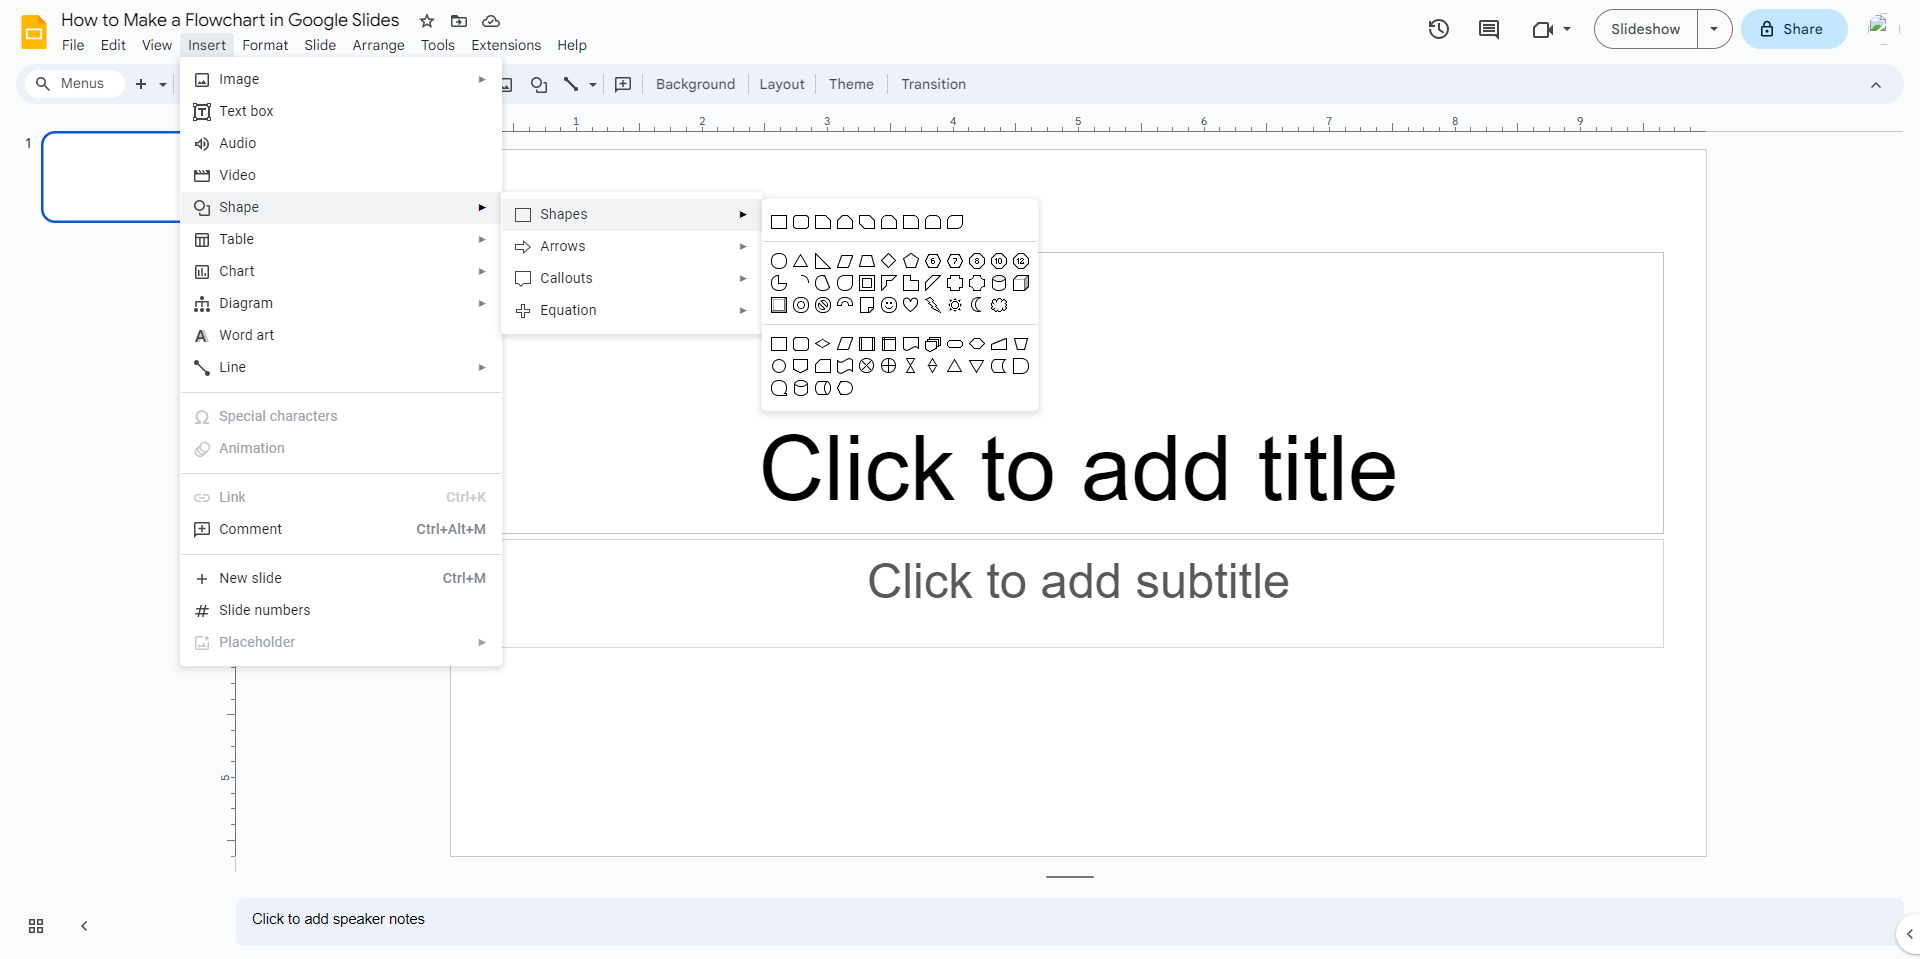
Step 2: Drawing Shapes
For adding shapes that symbolize steps in your process, click 'Insert' from the top menu. Navigate to 'Drawing' and then select 'New.' A canvas will open. Here, you'll see various shape options. Choose the one that fits your needs.
Step 3: Entering Text
To add text within the shape, click on it and start typing. Adjust font size, color, and style as needed for clarity and emphasis.
Step 4: Replicating Shapes
For processes with multiple similar steps, you can replicate the shape by clicking on it and choosing 'Copy.' Position these copies by dragging them across the canvas.
Step 5: Connecting Shapes with Lines
Utilize lines or arrows to show the progression of the process. You can draw these by clicking on the line symbol present in the toolbar and dragging your mouse between two shapes.
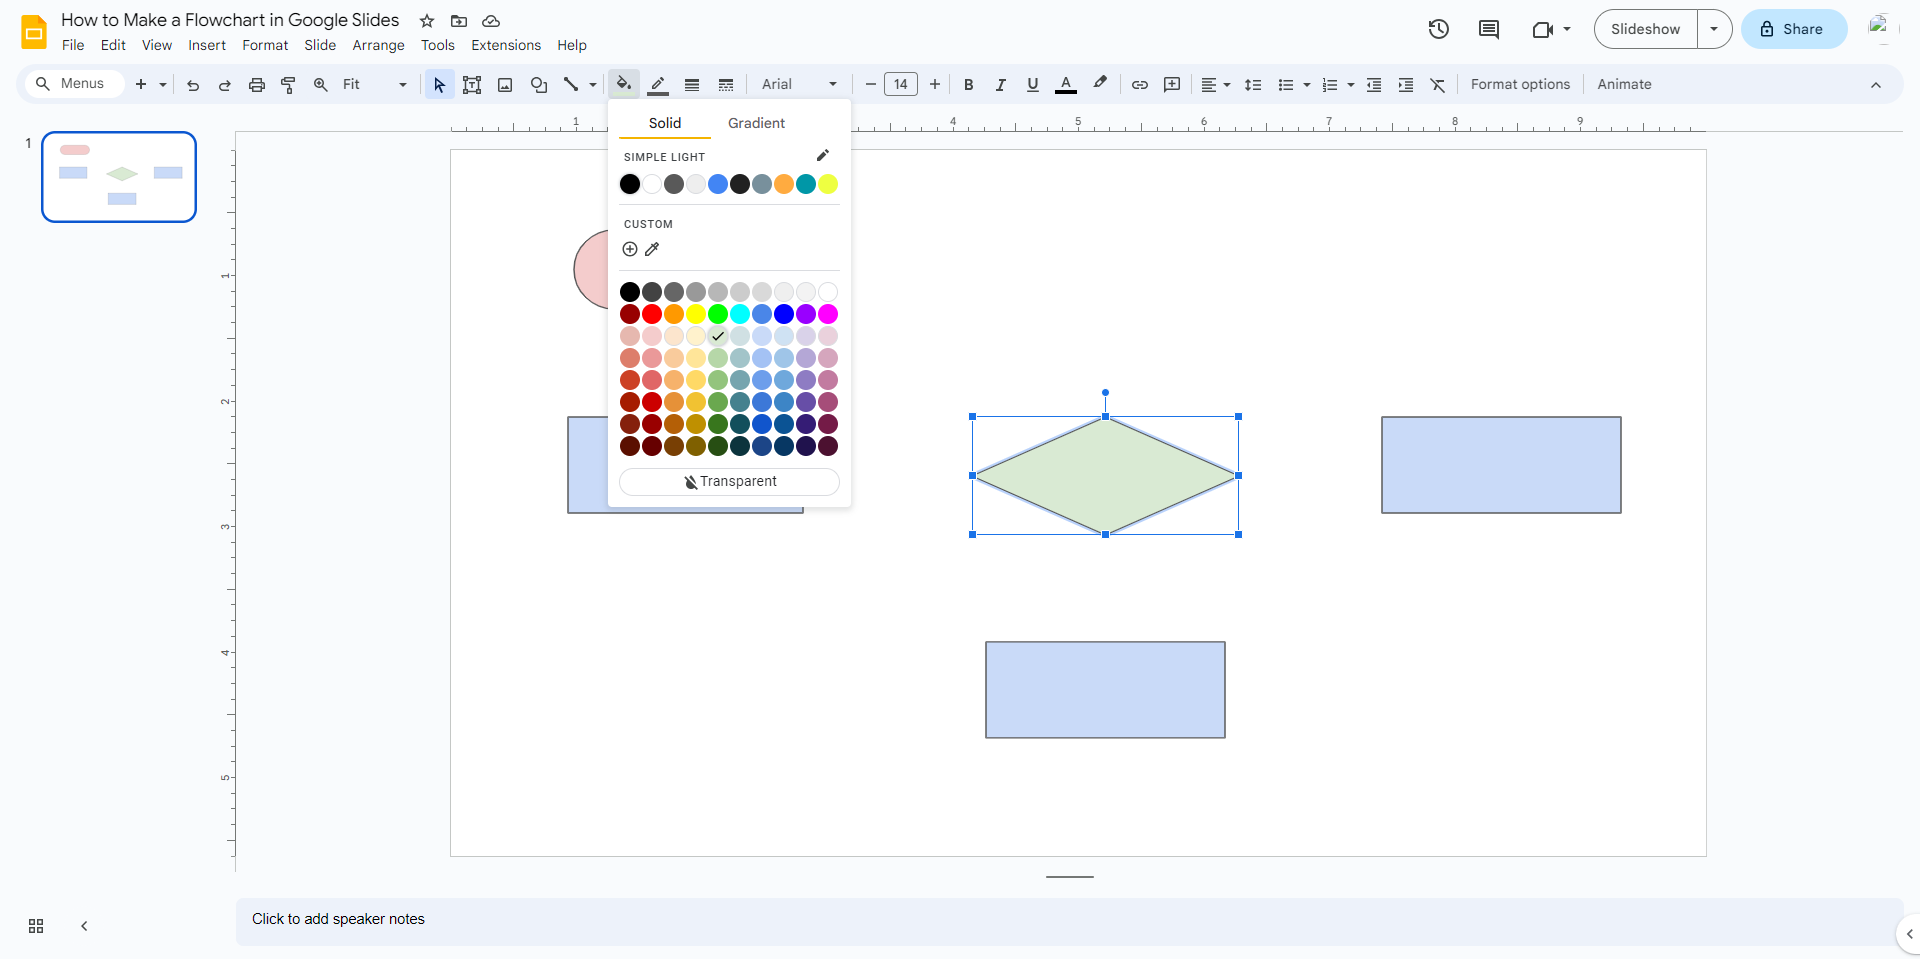
Step 6: Adjusting Shapes and Lines
You can modify shapes and lines by selecting them and dragging the blue squares that appear. Tailor these elements until you are satisfied with the appearance of your flowchart.
Step 7: Saving Your Flowchart
Once you are happy with your flowchart, click 'Save and close.' The flowchart will now appear in your Google Sheets document.
While the process may seem simple initially, mastering it will require practice and patience!
Major Drawbacks of Creating a Flowchart in Google Sheets
Despite Google Sheets' versatility, creating flowcharts within the platform is not without its drawbacks:
- Limited Capabilities: Google Sheets offers limited shapes and lines for designing your flowchart, which might hinder expressing more detailed processes.
- Inefficiency: Creating a flowchart within Google Sheets can be tedious and time-consuming, especially for larger, more complex charts.
- Lack of Collaboration Features: Unlike dedicated diagramming tools, Google Sheets doesn't offer real-time collaboration features that are essential for teamwork.
Create Effortless Flowcharts with Boardmix
When it comes to creating detailed and professional-looking flowcharts with ease, Boardmix steals the spotlight. This versatile diagramming platform redefines the way flowcharts and other diagrams are created, by fusing simplicity with comprehensive functionality.
Boardmix understands that not every user has the time or expertise to create a flowchart from scratch, hence the provision for both pre-built templates and an intuitive interface for creating your own diagrams.
Using Pre-Built or Blank Templates
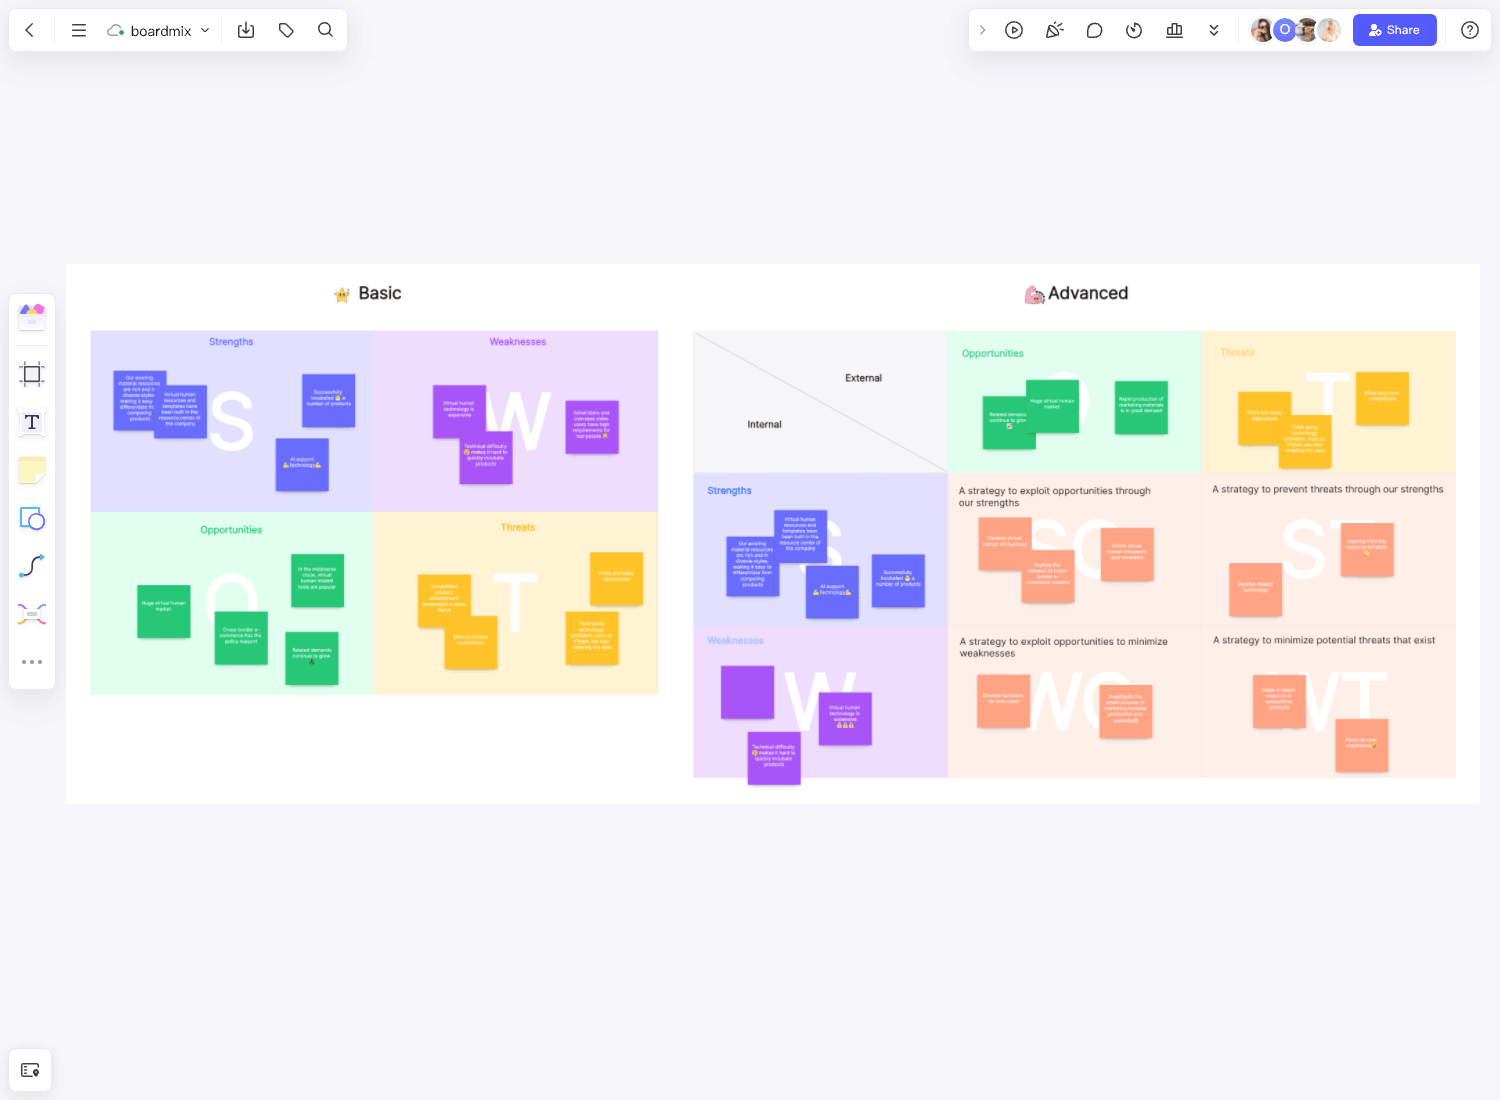
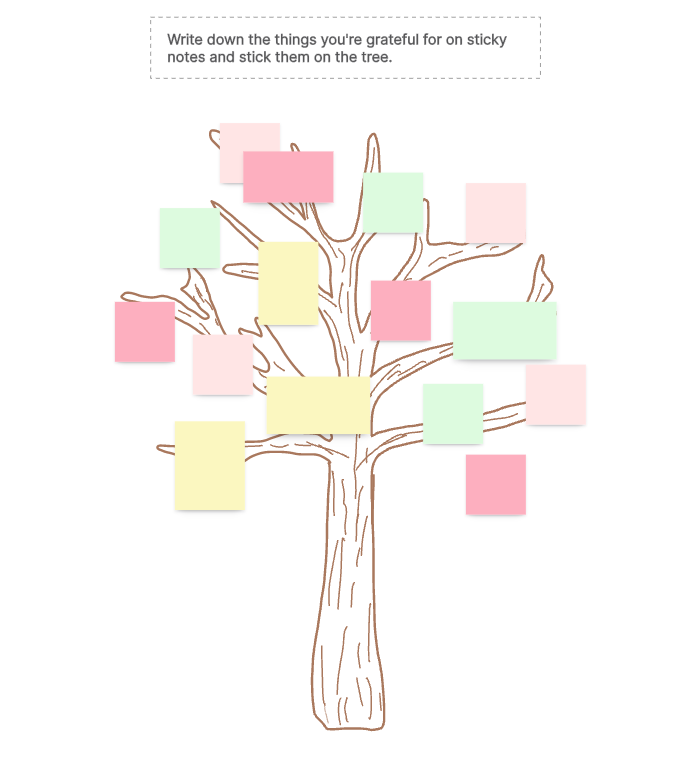
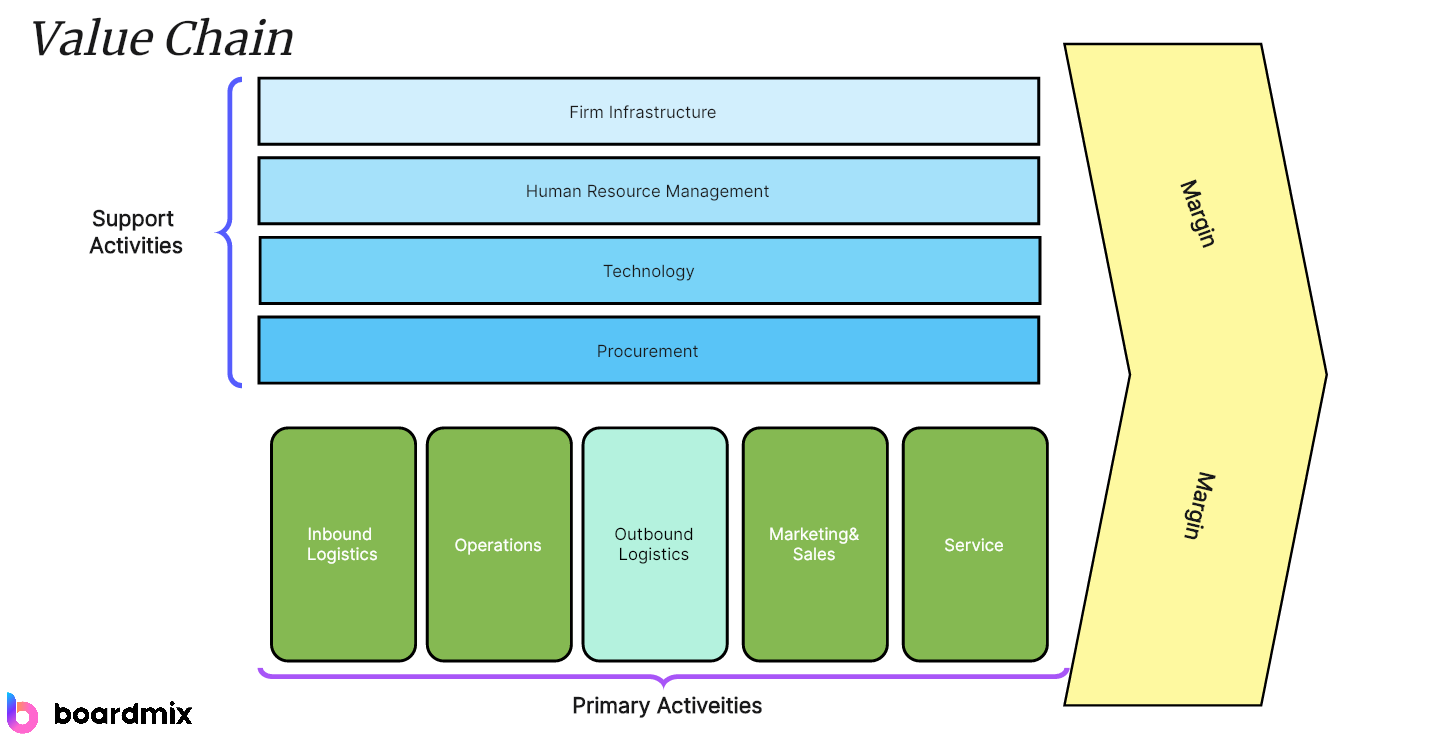
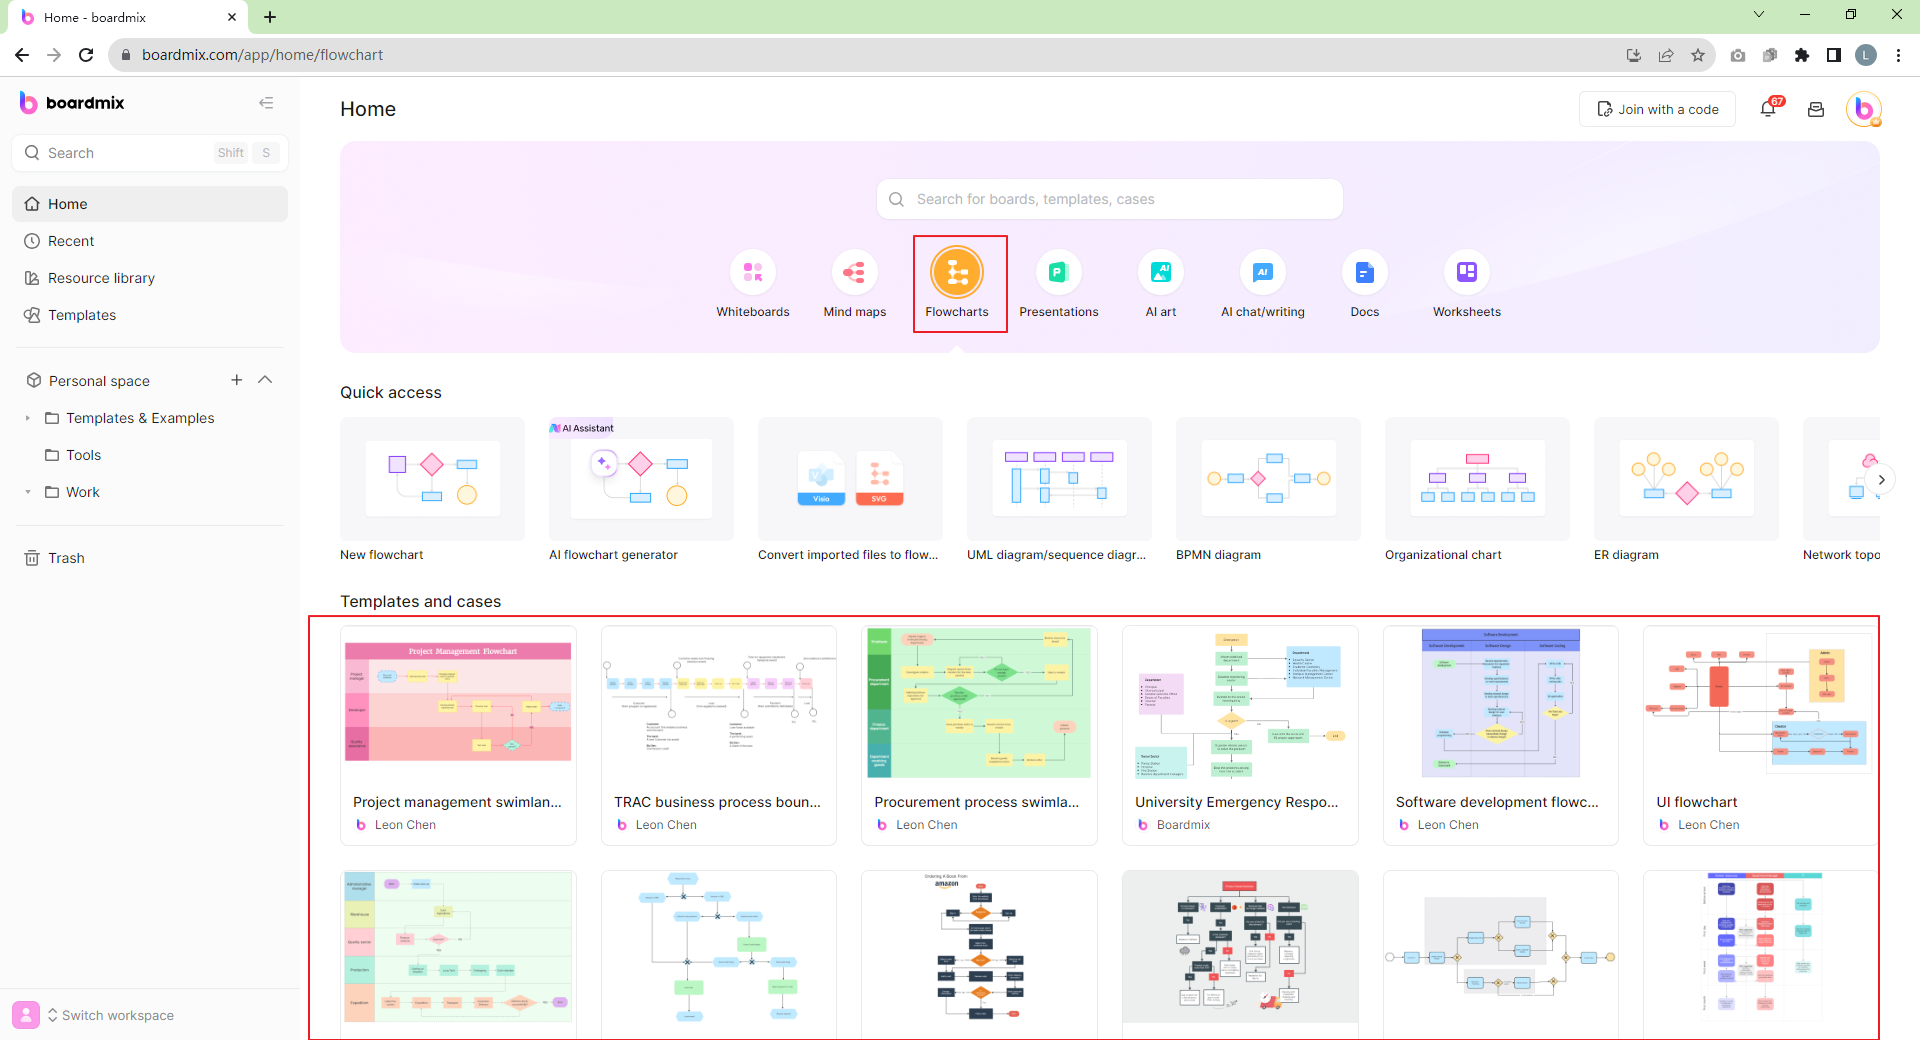
One of the most popular features on Boardmix is its extensive library of pre-built templates. Whether you're working on a straightforward or complex process, you'll find a template that suits your needs perfectly. Here's how to navigate this feature:
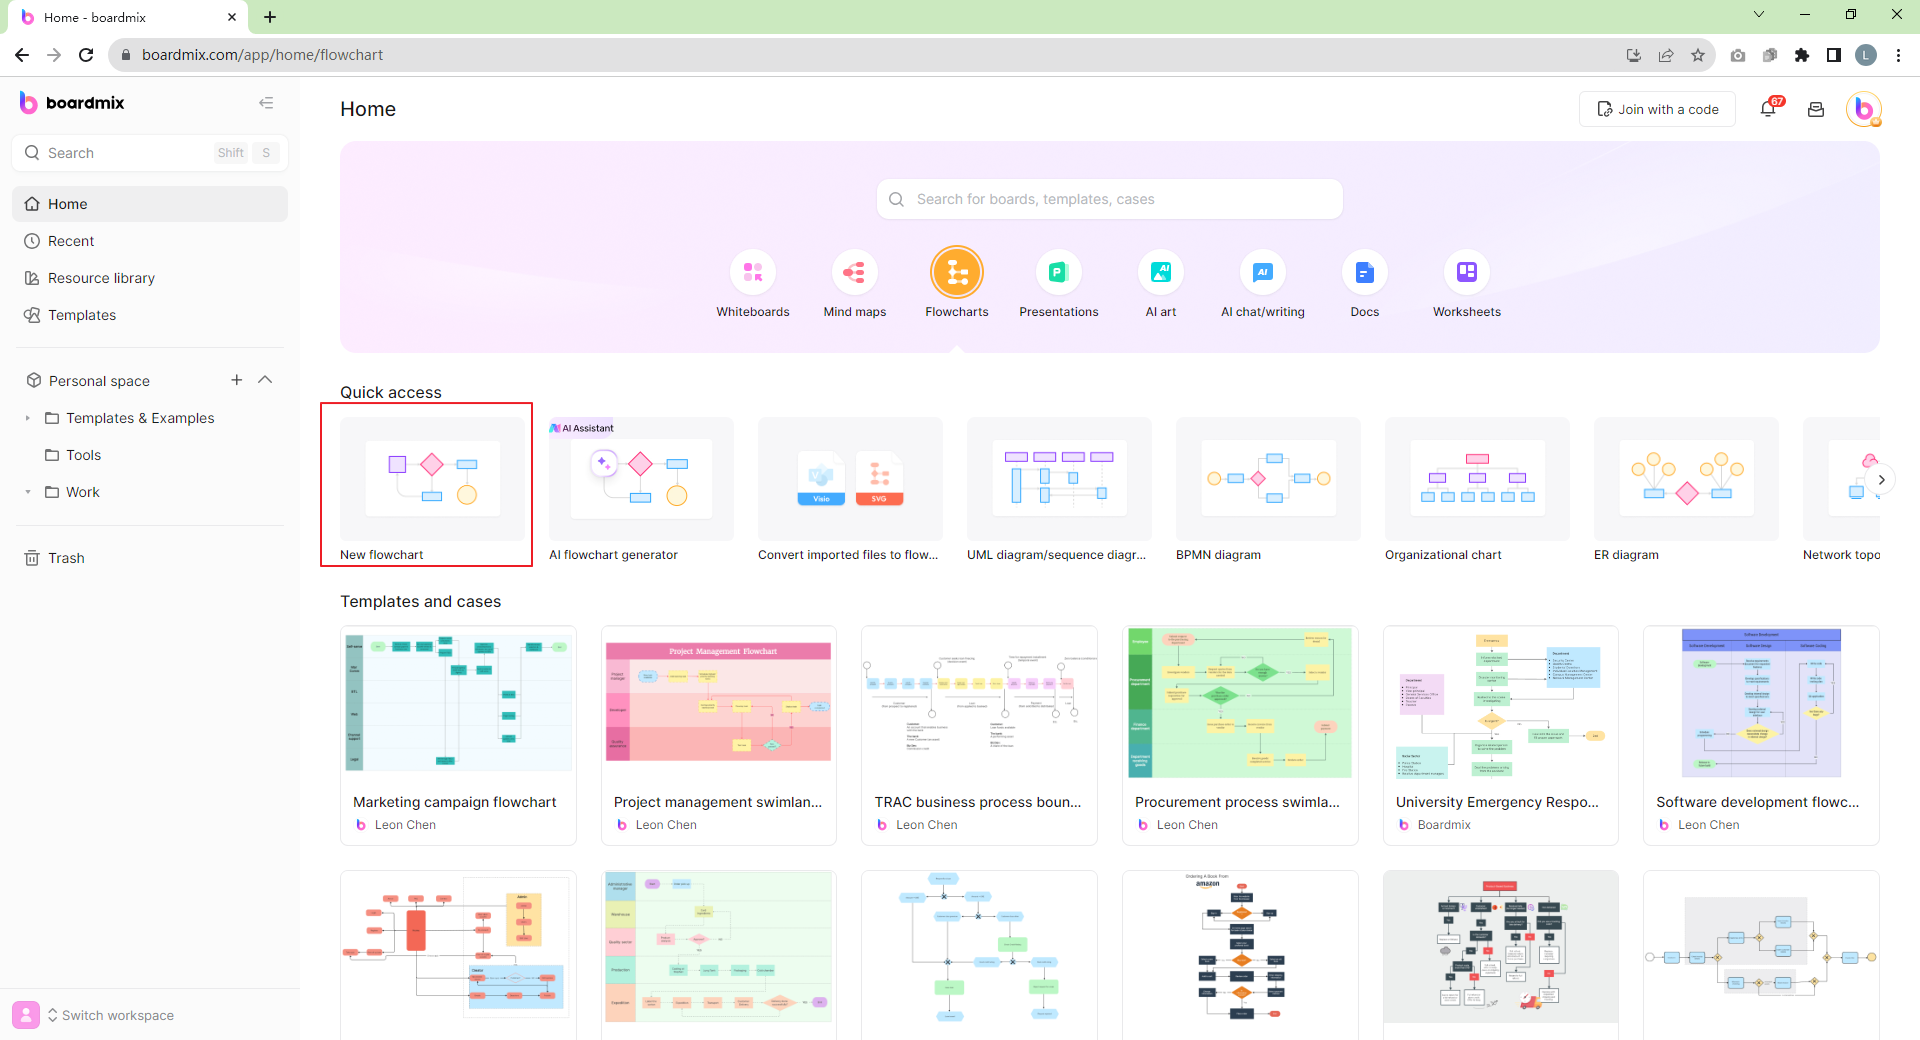
- Choose a Template: After logging into your Boardmix account, find the "Home>Flowcharts" section on your dashboard. Scroll through to choose one that mirrors your intended flowchart.
- Customize Your Template: Every business or process is unique, and Boardmix recognizes this. You can adjust elements within the template, change color schemes, font sizes and types to better align with your brand identity or preference.
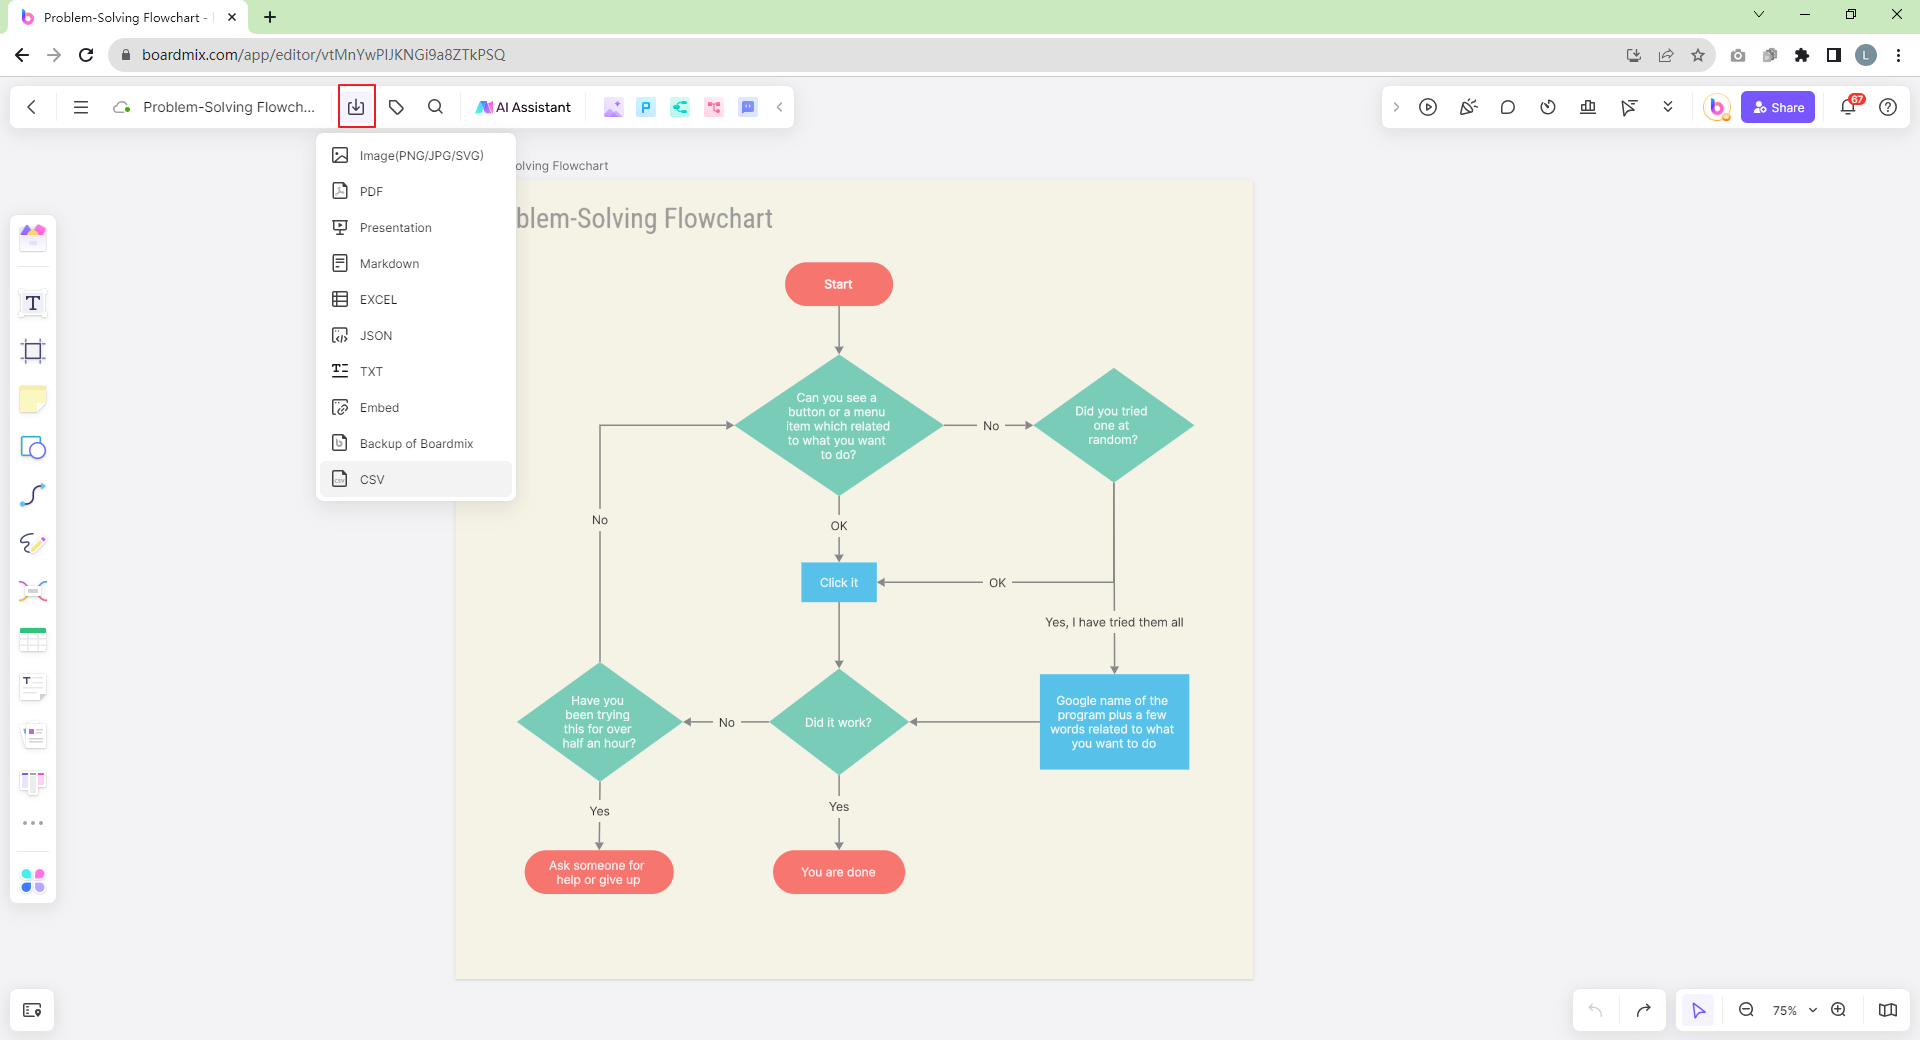
- Save and Share: Once you're satisfied with your customization, you can save your creation to your Boardmix account for future reference or edits. Boardmix also allows you to export your flowchart in various formats such as PDF, PNG, JPEG for easier sharing and presentation.
Creating from Scratch
For those who prefer to personally architect their diagrams, Boardmix provides a blank canvas where you can create your flowchart piece by piece. You'll find a wide array of shapes, connectors and other elements essential for visually illustrating your process.
Here are the steps to follow when creating your flowchart from scratch:
- Create a New Diagram: From your dashboard, click on "New flowchart" or "Whiteboard". This will take you to a clean workspace where you can commence building your diagram.
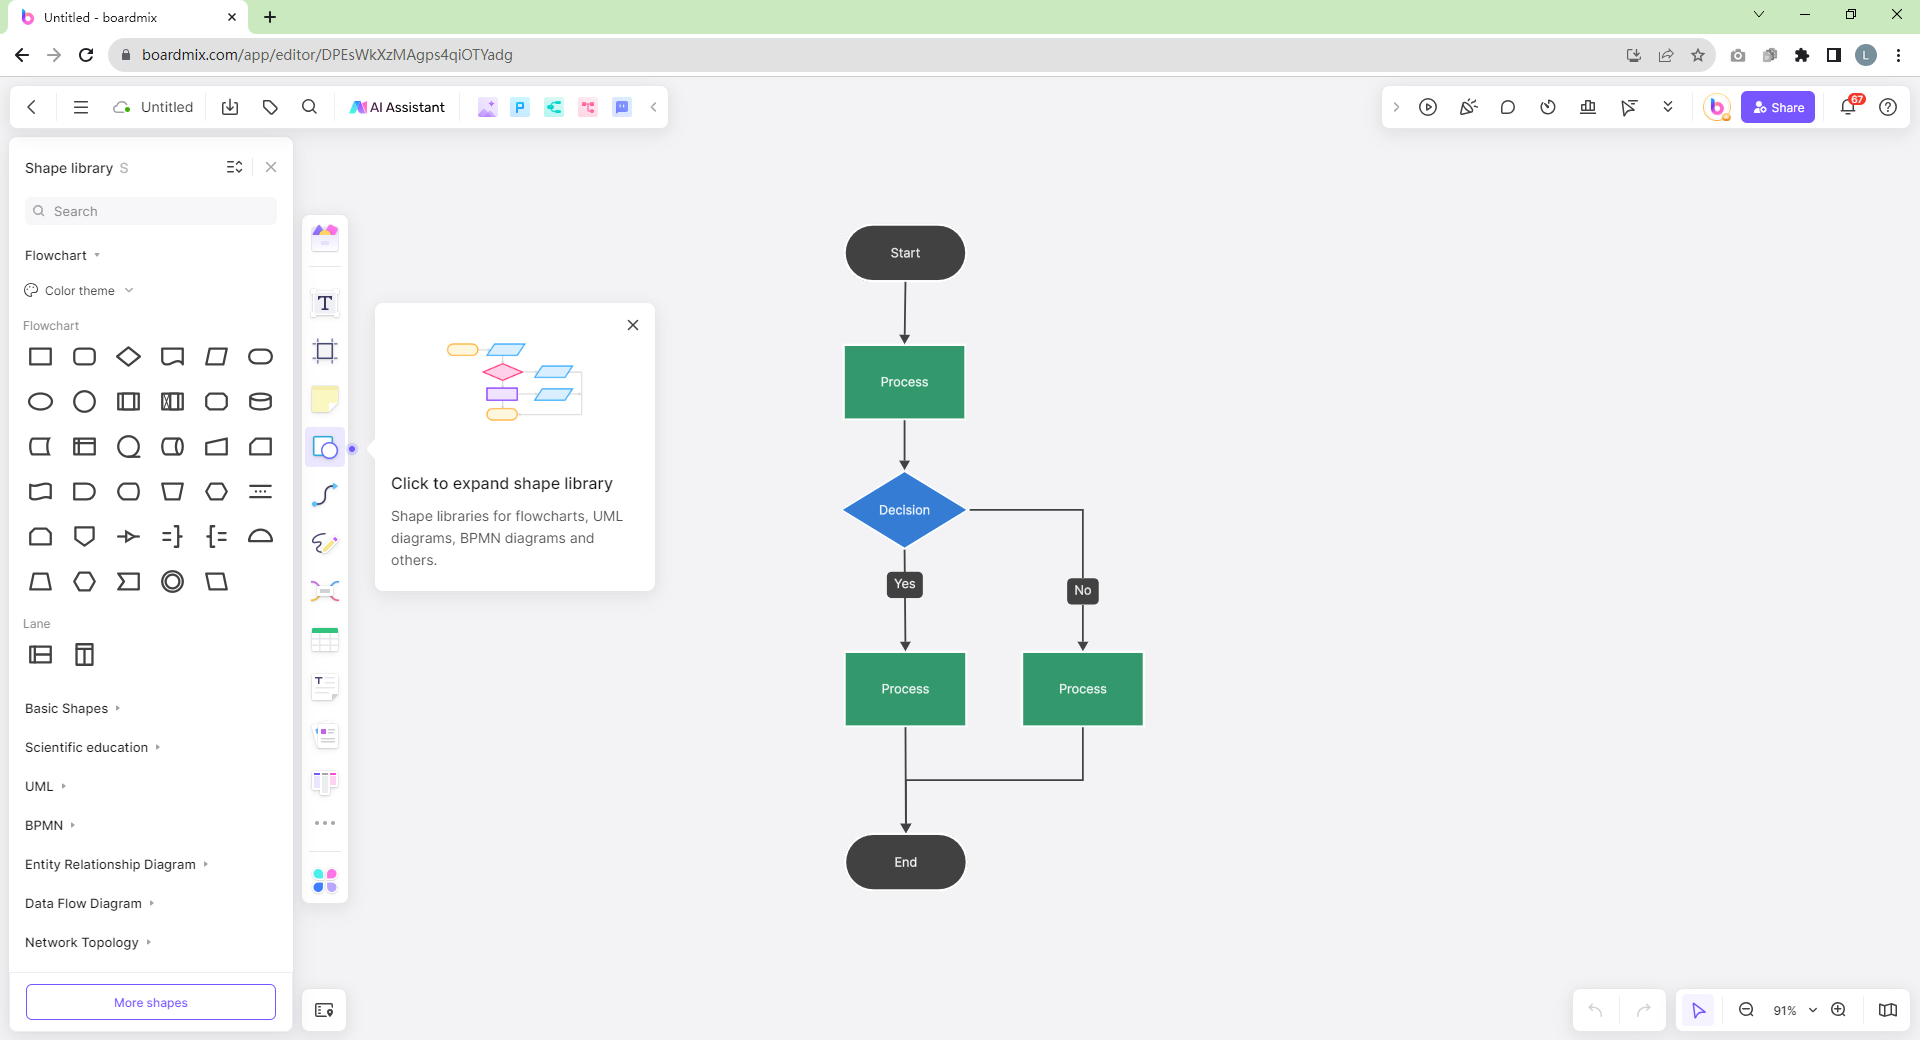
- Select and Place Elements: Using the toolbar located at the left side of the interface, you can select suitable shapes and connectors. Simply drag these onto your canvas and place them in a sequence that reflects your process.
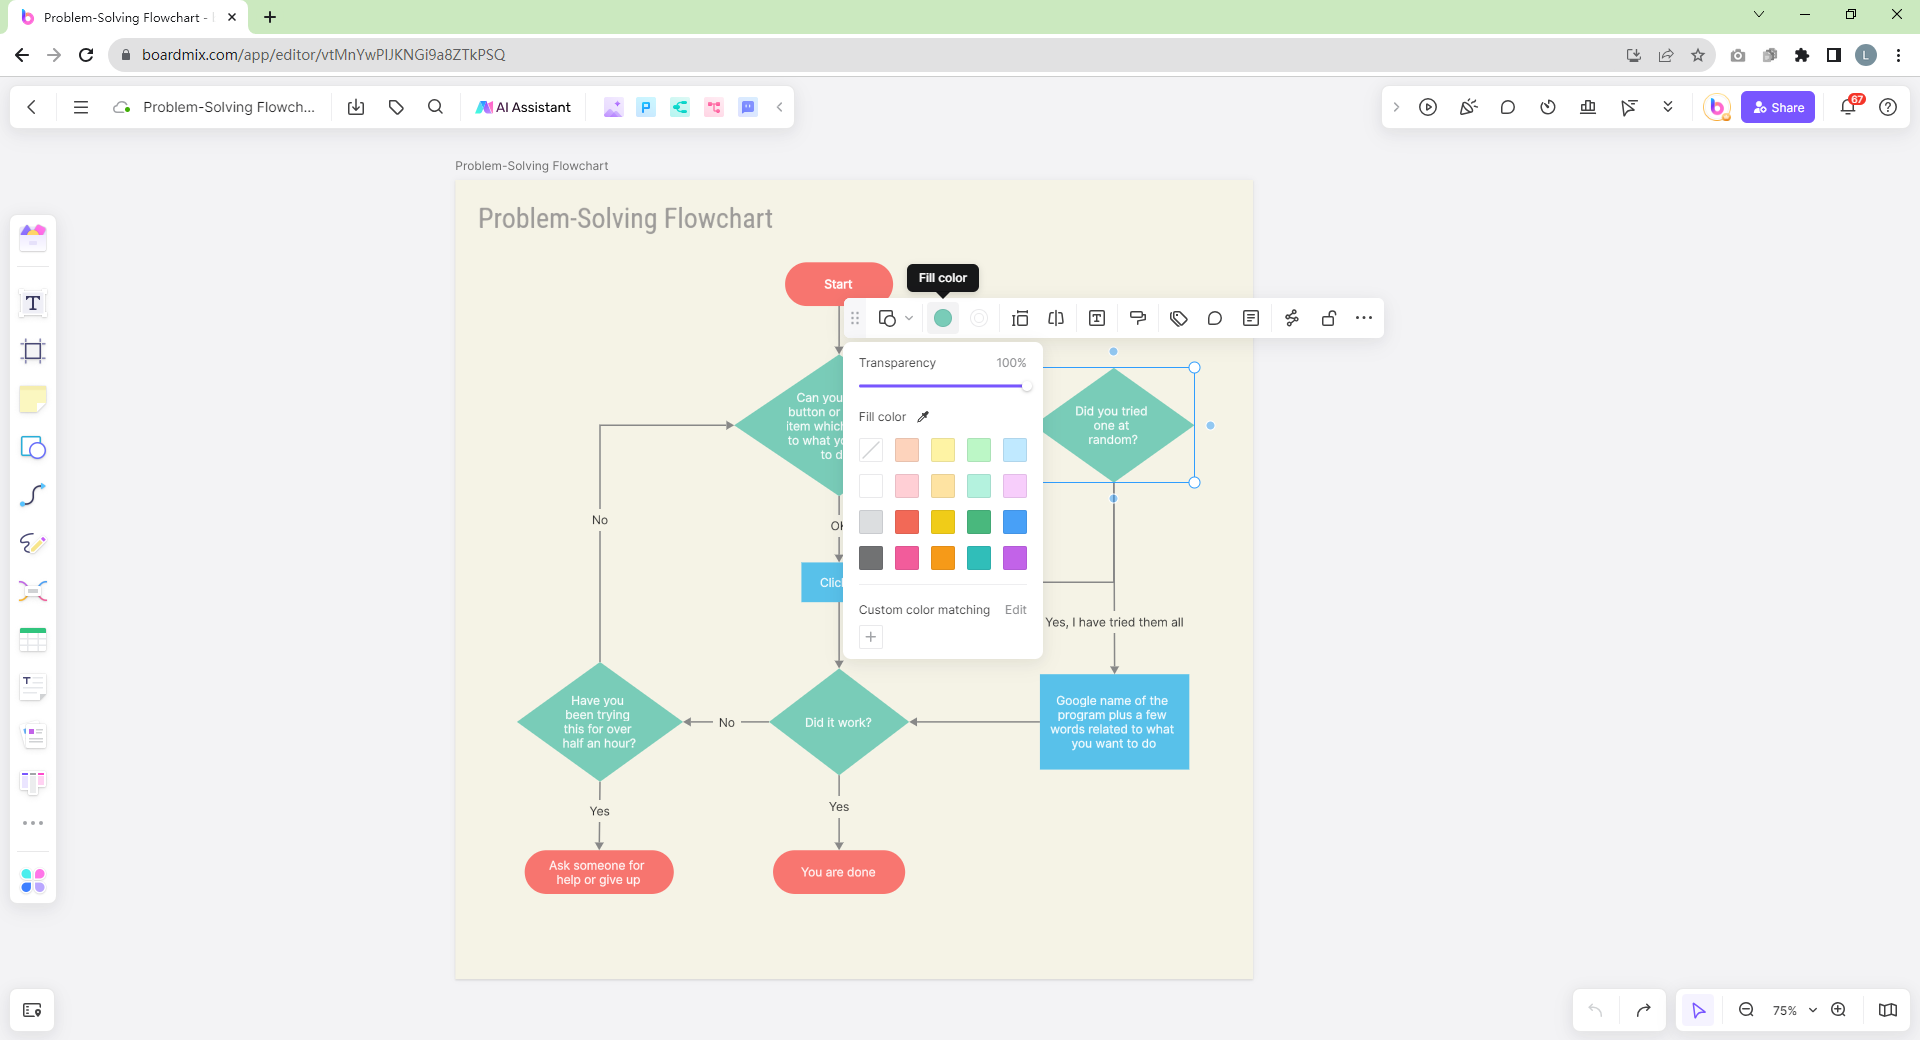
- Add Text: To assign roles or functions to shapes or connectors, just click on them and type in the corresponding text.
- Customize Your Diagram: Asides placing elements correctly, you can also adjust the aesthetics of your flowchart to suit your taste or better engage your audience. This includes playing with color palettes, font sizes and styles and even adding layers for more complex diagrams.
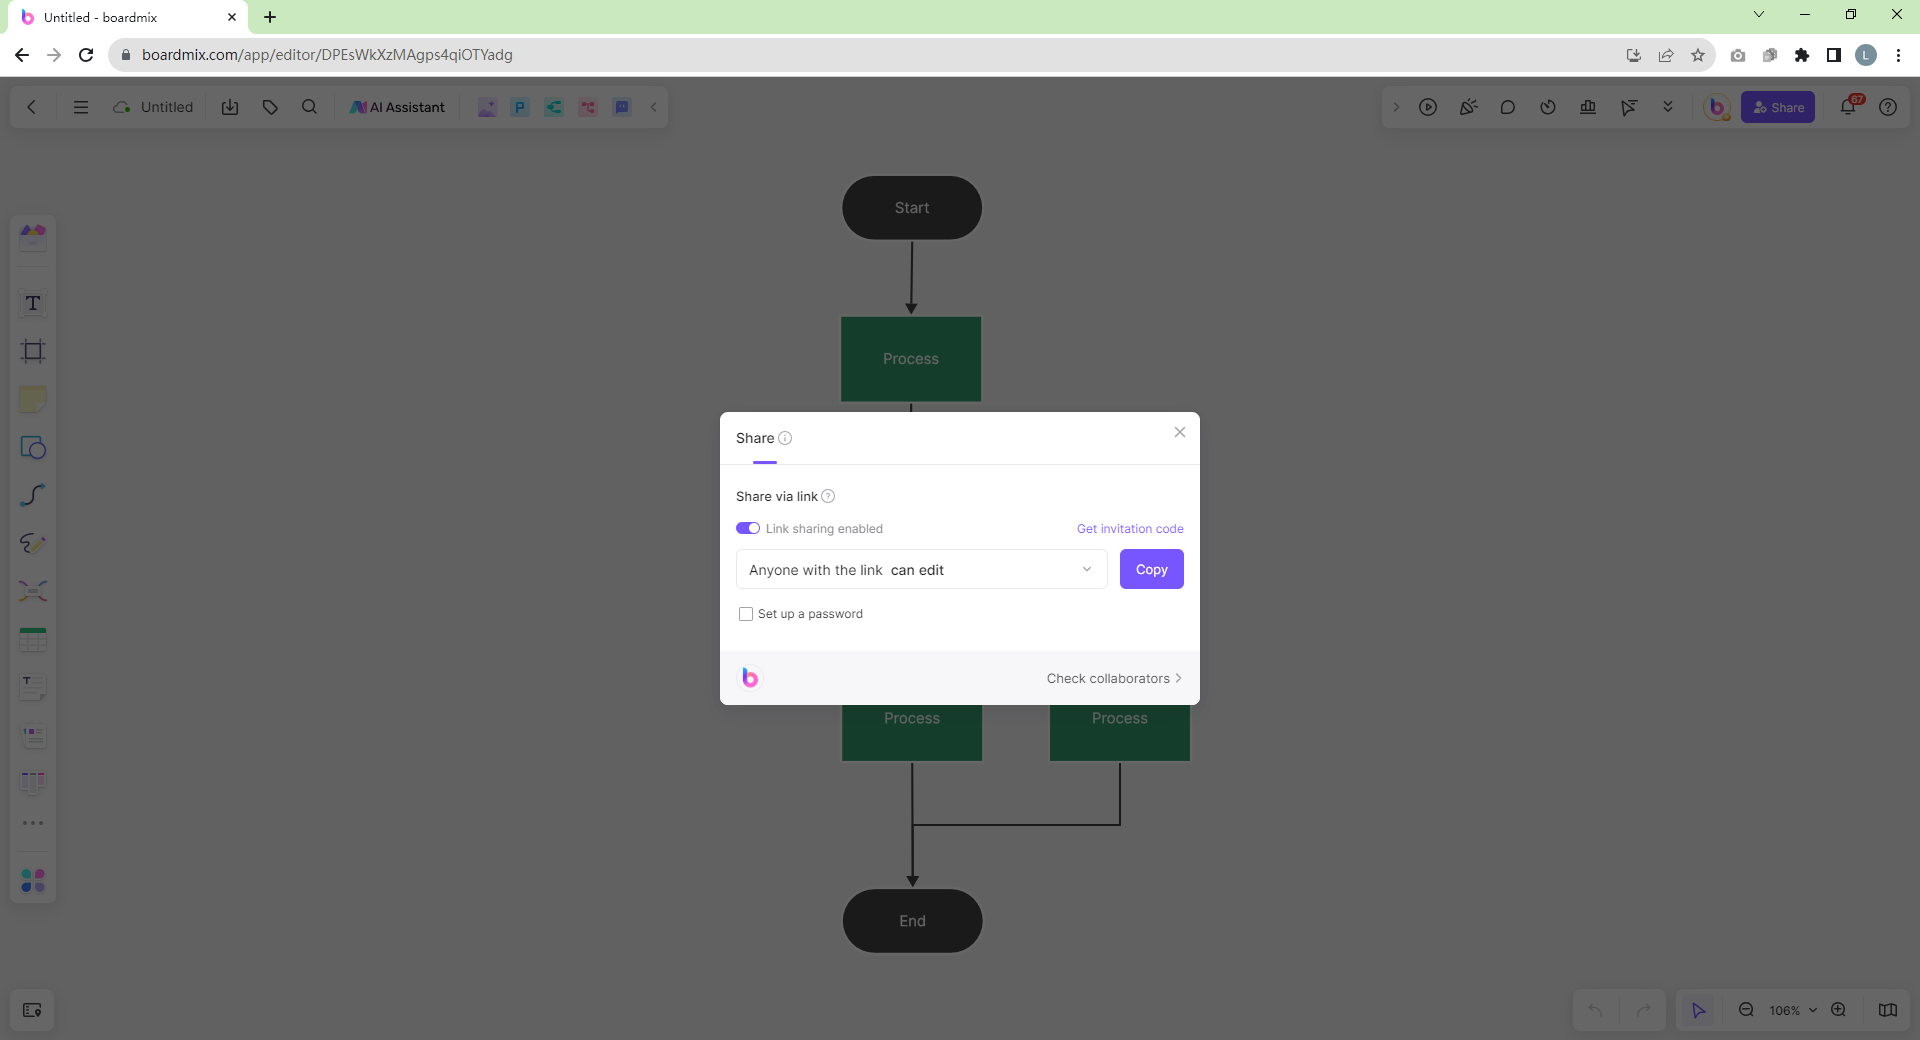
- Save and Share: After crosschecking your flowchart for errors or inconsistencies, you can save it to your Boardmix account for easy access. You can also share it with your team or export it as needed.
In a nutshell, crafting flowcharts with Boardmix promises an experience marked by flexibility, simplicity and efficiency. Regardless of the complexity of the process you wish to illustrate, Boardmix equips you with all you need to create clear, captivating and professional diagrams. Give Boardmix a try today and experience first-hand why it's loved by many professionals worldwide.
Conclusion: Which One is a Better Flowchart Maker: Google Sheets or Boardmix?
While Google Sheets offers some basic capabilities for diagramming, it might not be the ideal choice for more detailed flowcharts due to its limited features and somewhat laborious process. In contrast, Boardmix, with its user-friendly interface and plethora of choices, emerges as a superior choice for crafting flowcharts. Ultimately, the final choice will depend on your specific needs and requirements. We hope this guide sets you on your way to create effective flowcharts that streamline your work!