In an increasingly data-driven world, concept maps serve as invaluable tools for synthesizing and visualizing information. When these graphical tools are combined with popular presentation platforms such as Microsoft PowerPoint, the result is an incredibly powerful medium for expressing ideas. In this detailed guide, we will walk you through the process of creating an effective concept map in PowerPoint and delve into its possible drawbacks. Finally, we'll introduce an easier and quicker alternative to crafting concept maps – Boardmix.
What is a Concept Map?
A concept map is a visual representation of information that depicts complex relationships among ideas or pieces of data. Rooted in the realm of cognitive science, these diagrams serve as a conduit between structured and unstructured data, shedding light on how various elements interconnect. For those seeking to problem-solve, brainstorm, or process workflows, concept maps are invaluable tools.
How to Make a Concept Map in PowerPoint?
Microsoft PowerPoint, despite being widely recognized as a presentation software, offers an array of capabilities for constructing visual aids like concept maps. To create a concept map in PowerPoint, follow these step-by-step instructions:
Step 1: Open a new PowerPoint presentation and select a blank slide.
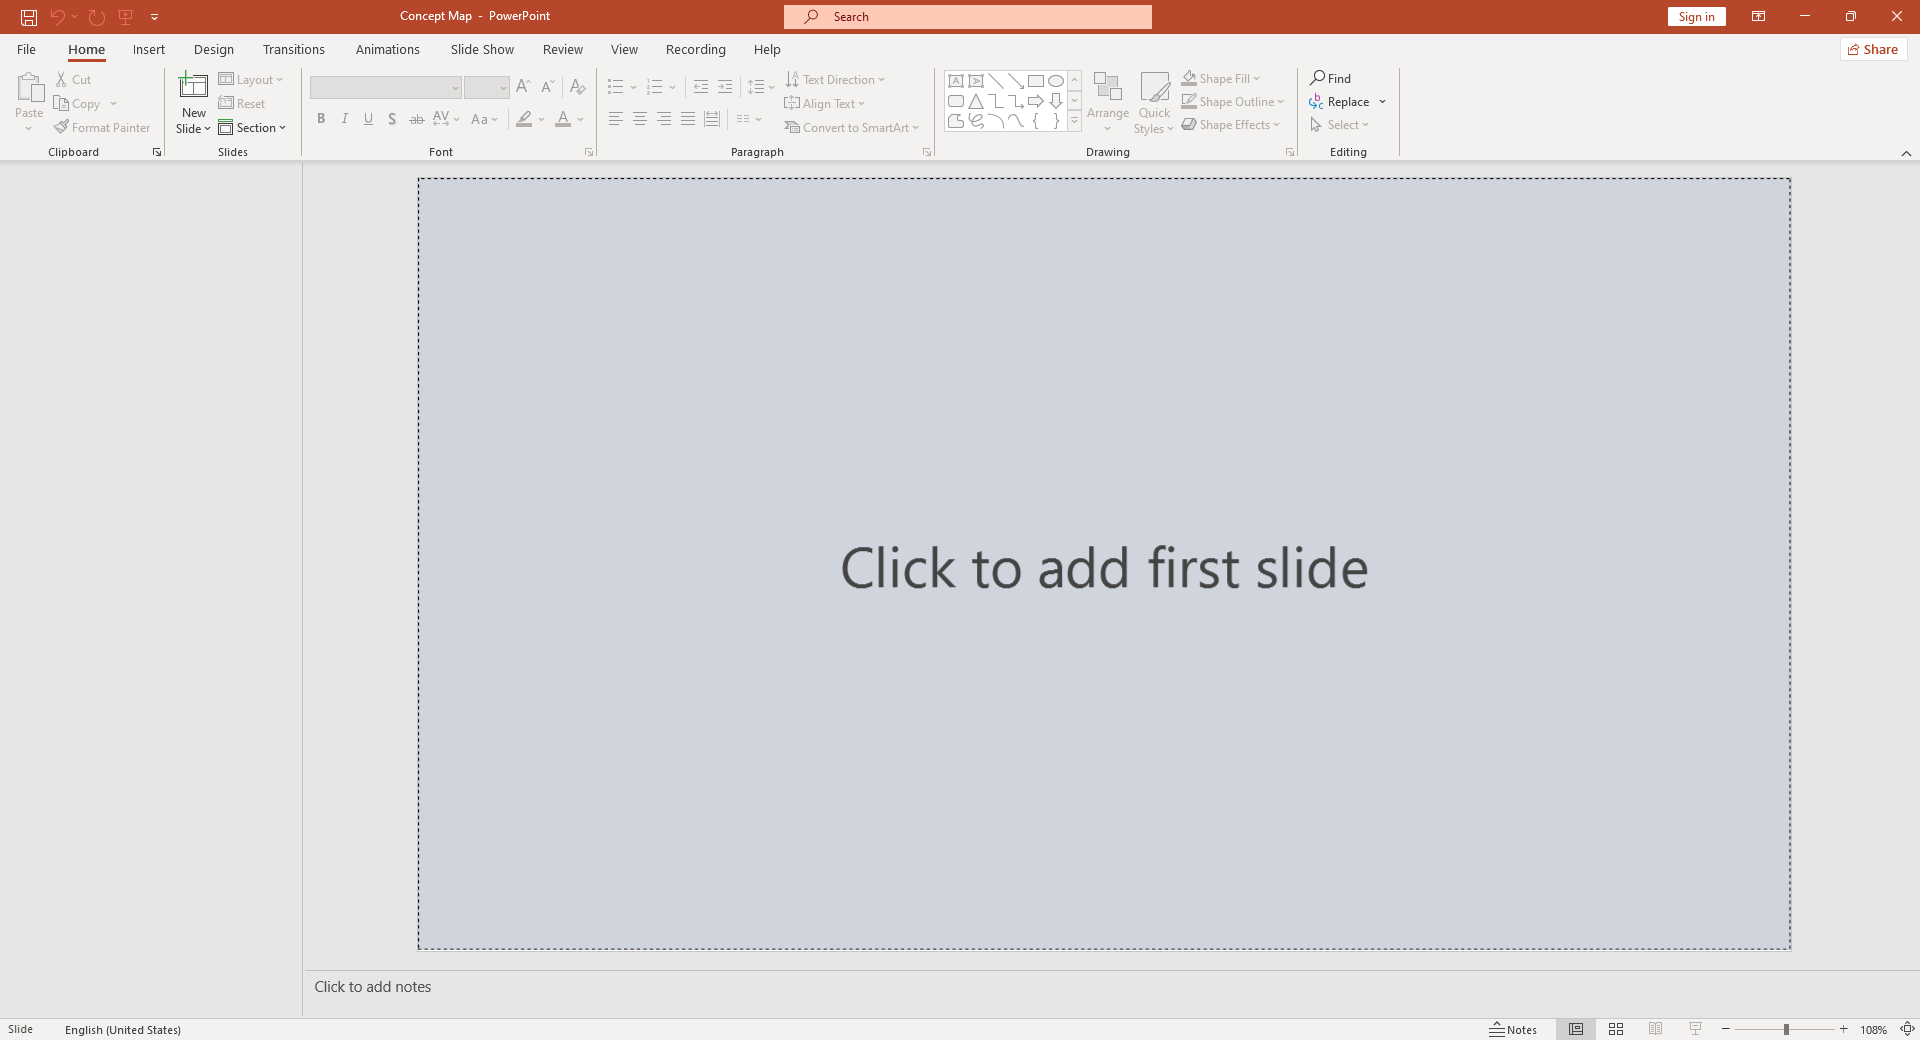
Step 2: Navigate to the "Insert" tab in the top menu, then select "Shapes".
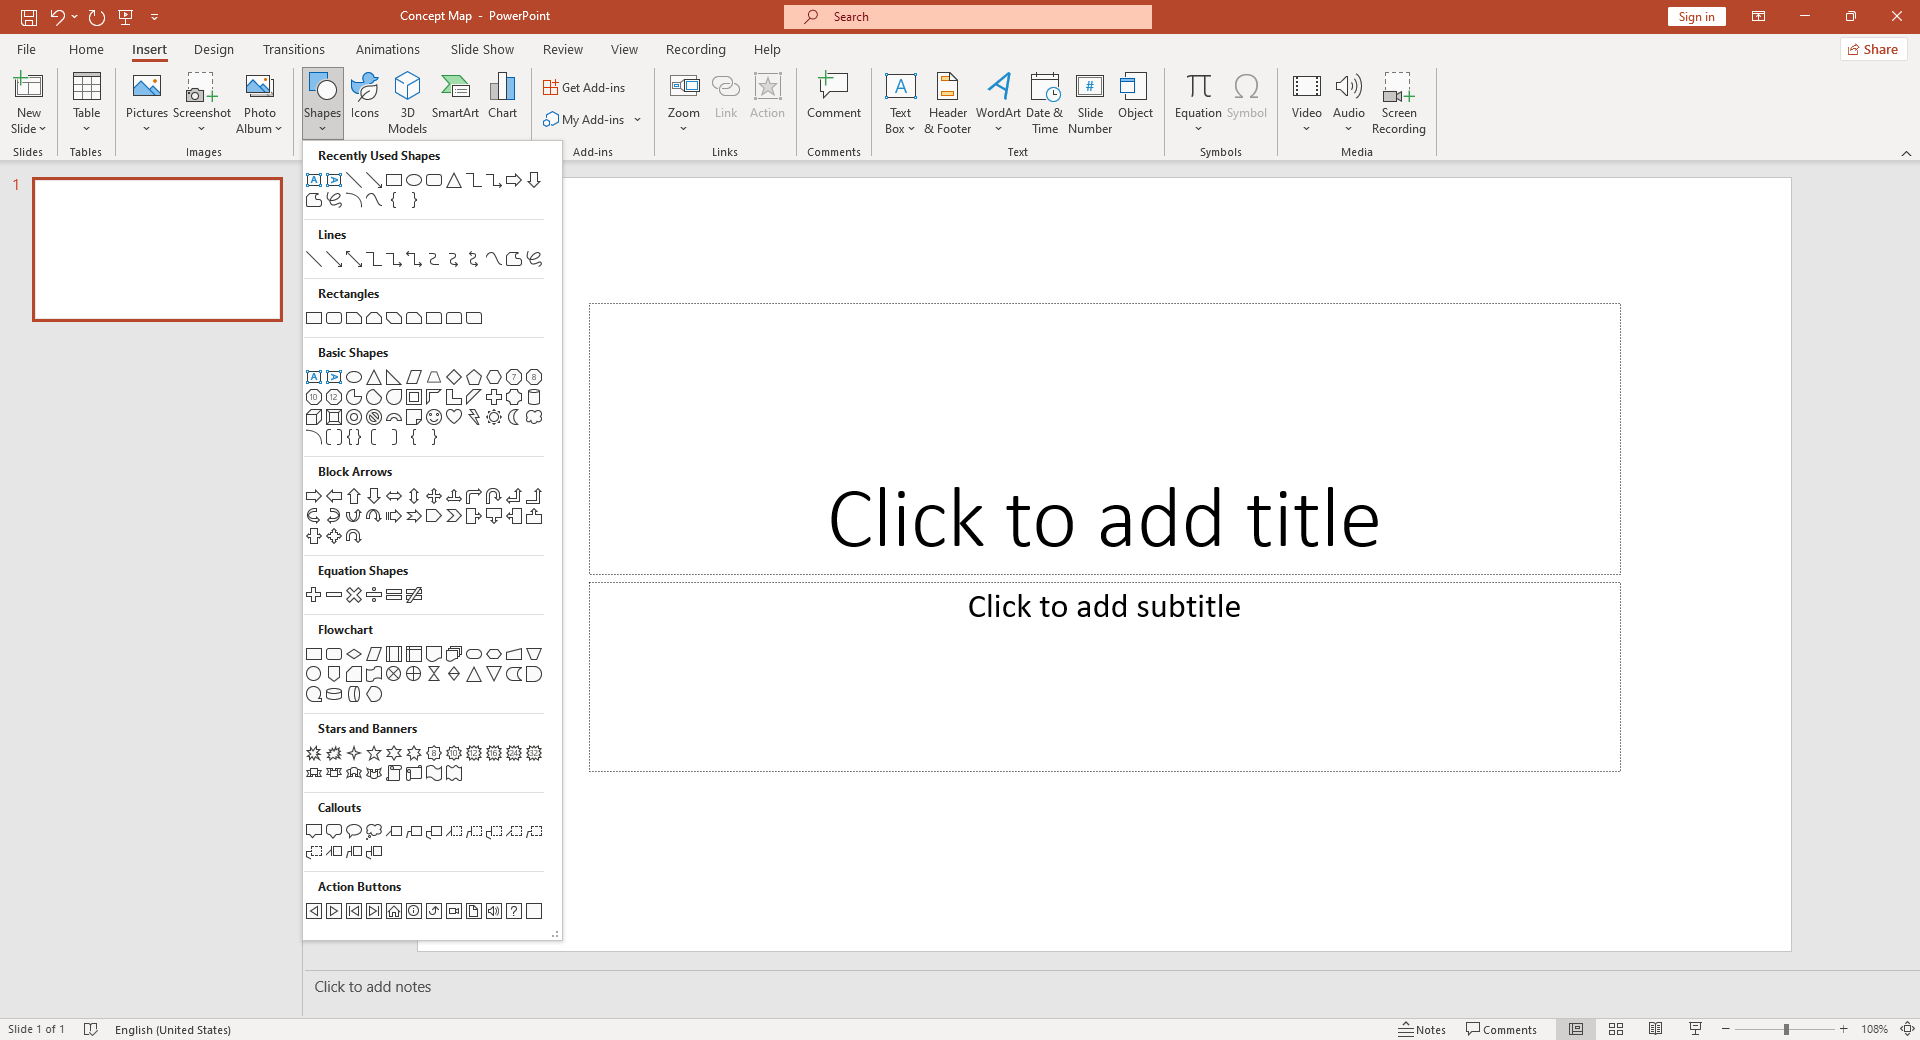
Step 3: Choose a shape to represent the main concept or idea of your map.
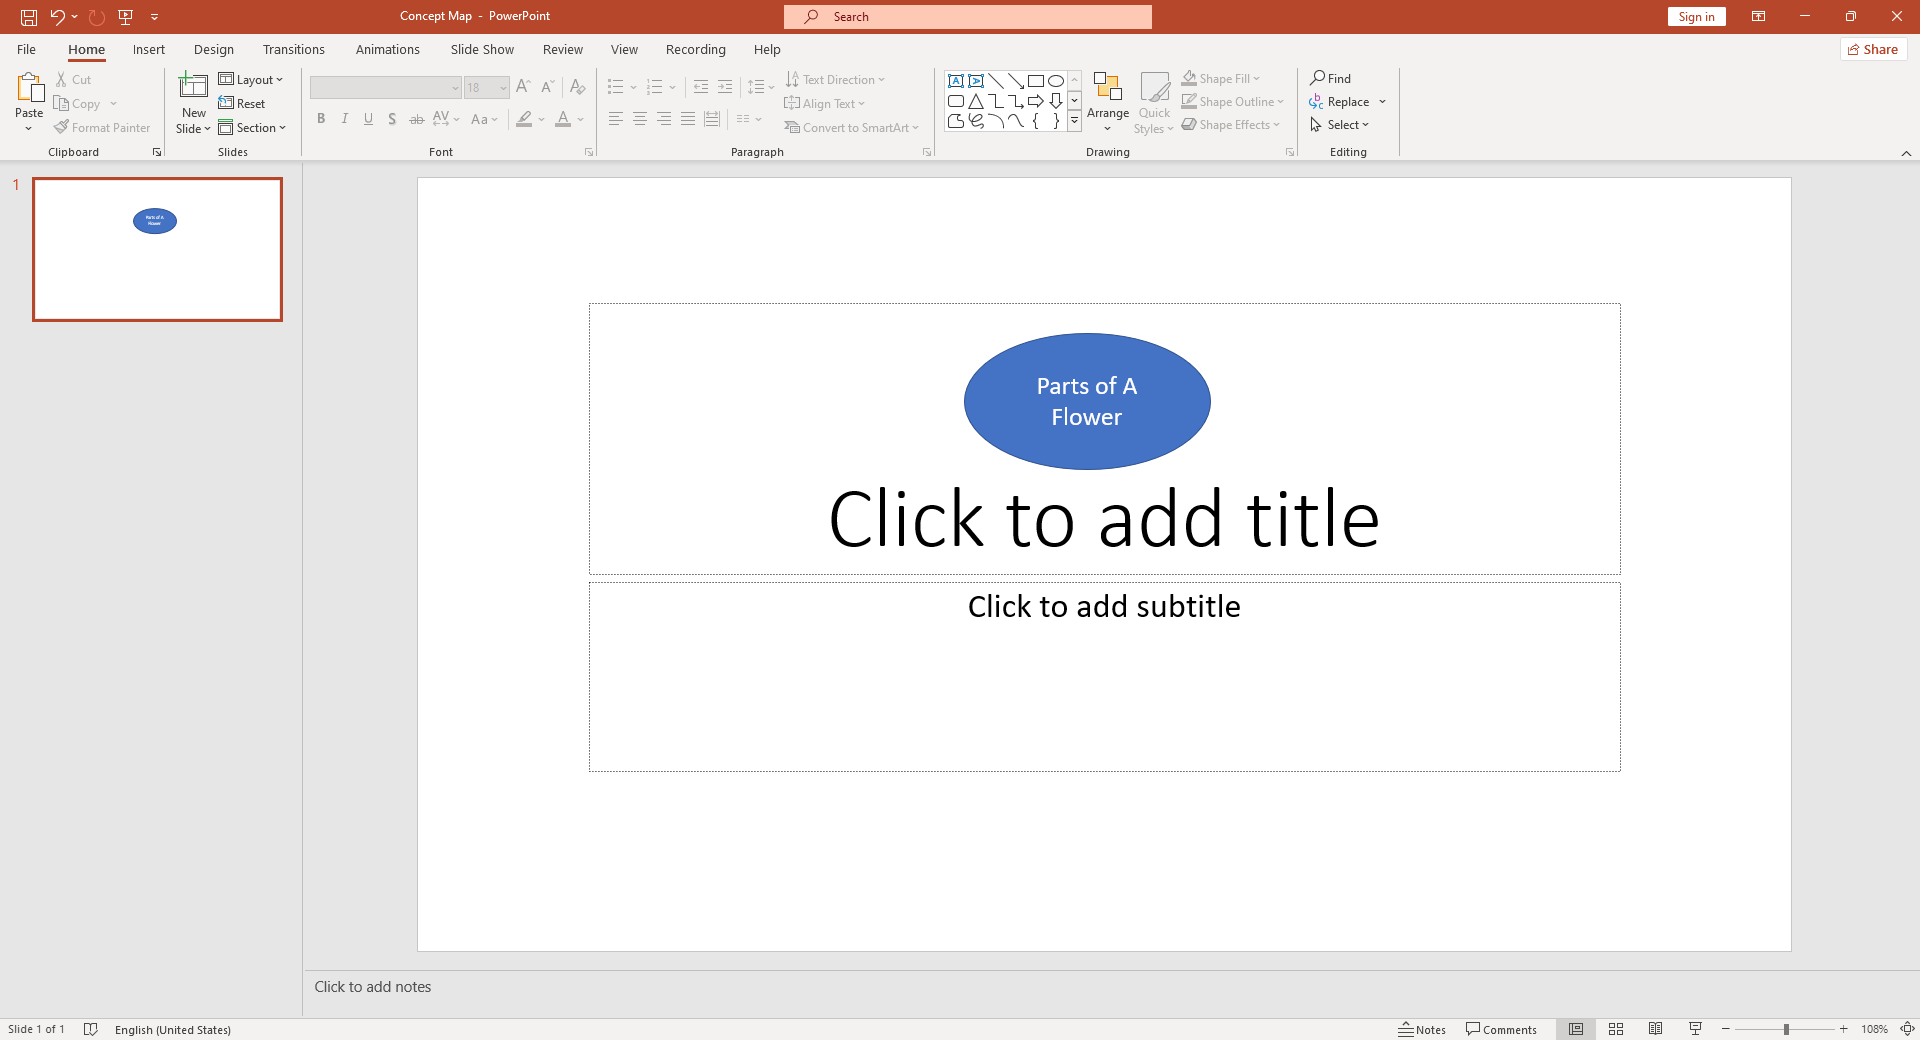
Step 4: Click on the slide where you want your shape to appear and drag your mouse until the shape is of your desired size.
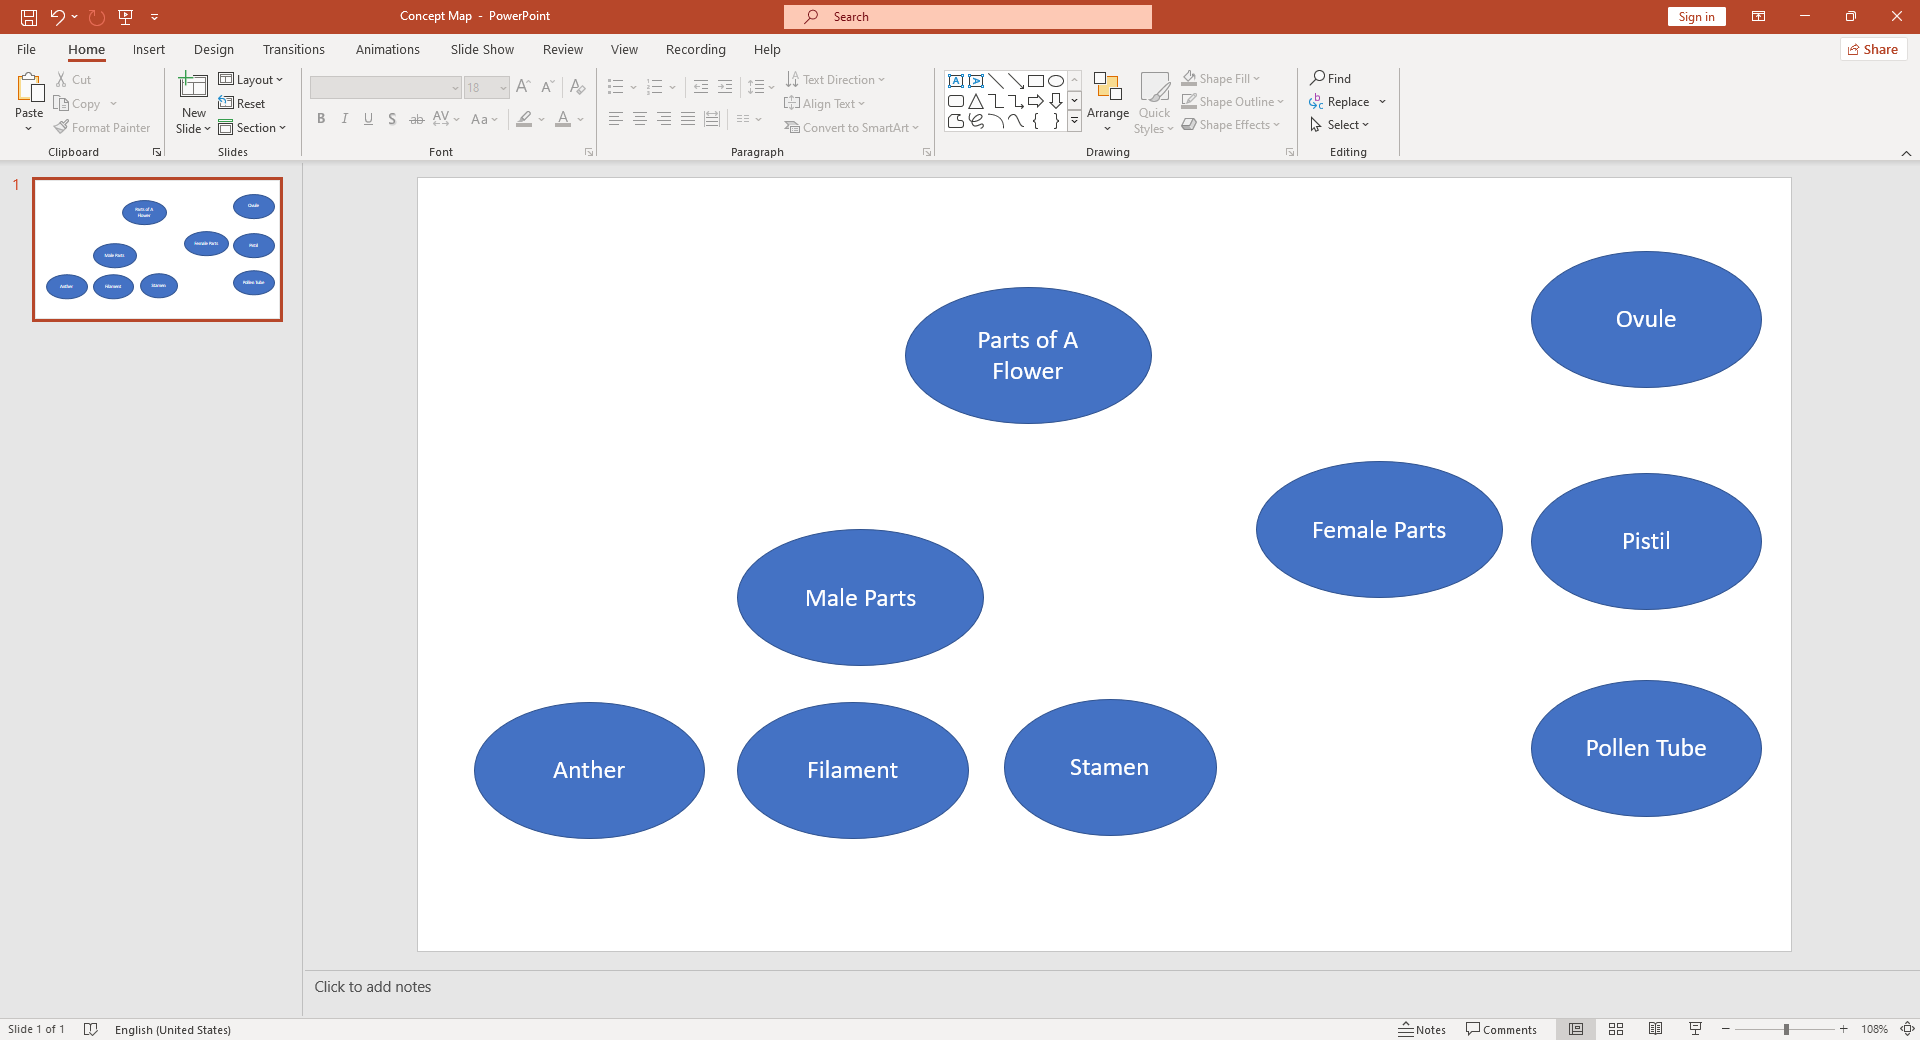
Step 5: Repeat steps 2-4 to add additional shapes for sub-concepts or related ideas.
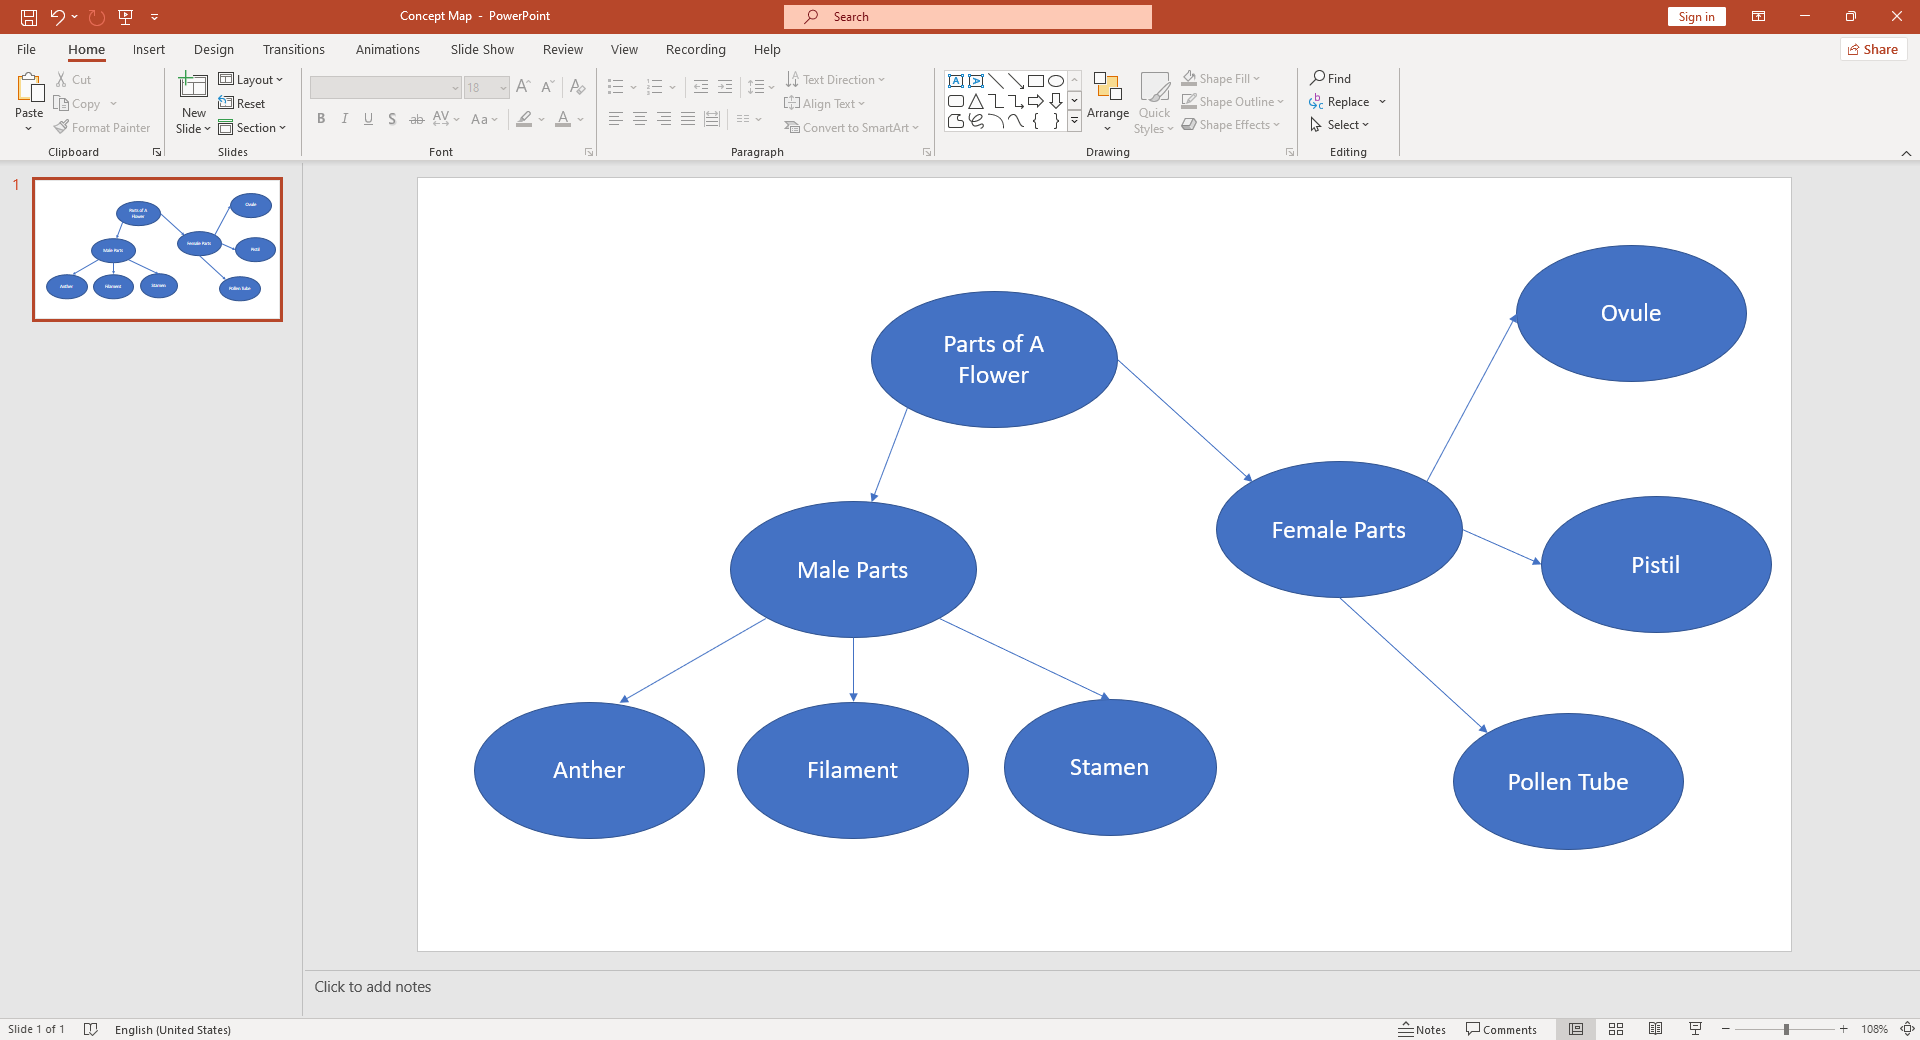
Step 6: To draw connecting lines between your shapes, return to the "Insert" tab, select "Shapes", and then choose a line style.
Step 7: Double-click on each shape to add text. Customize the font, size, and color as desired.
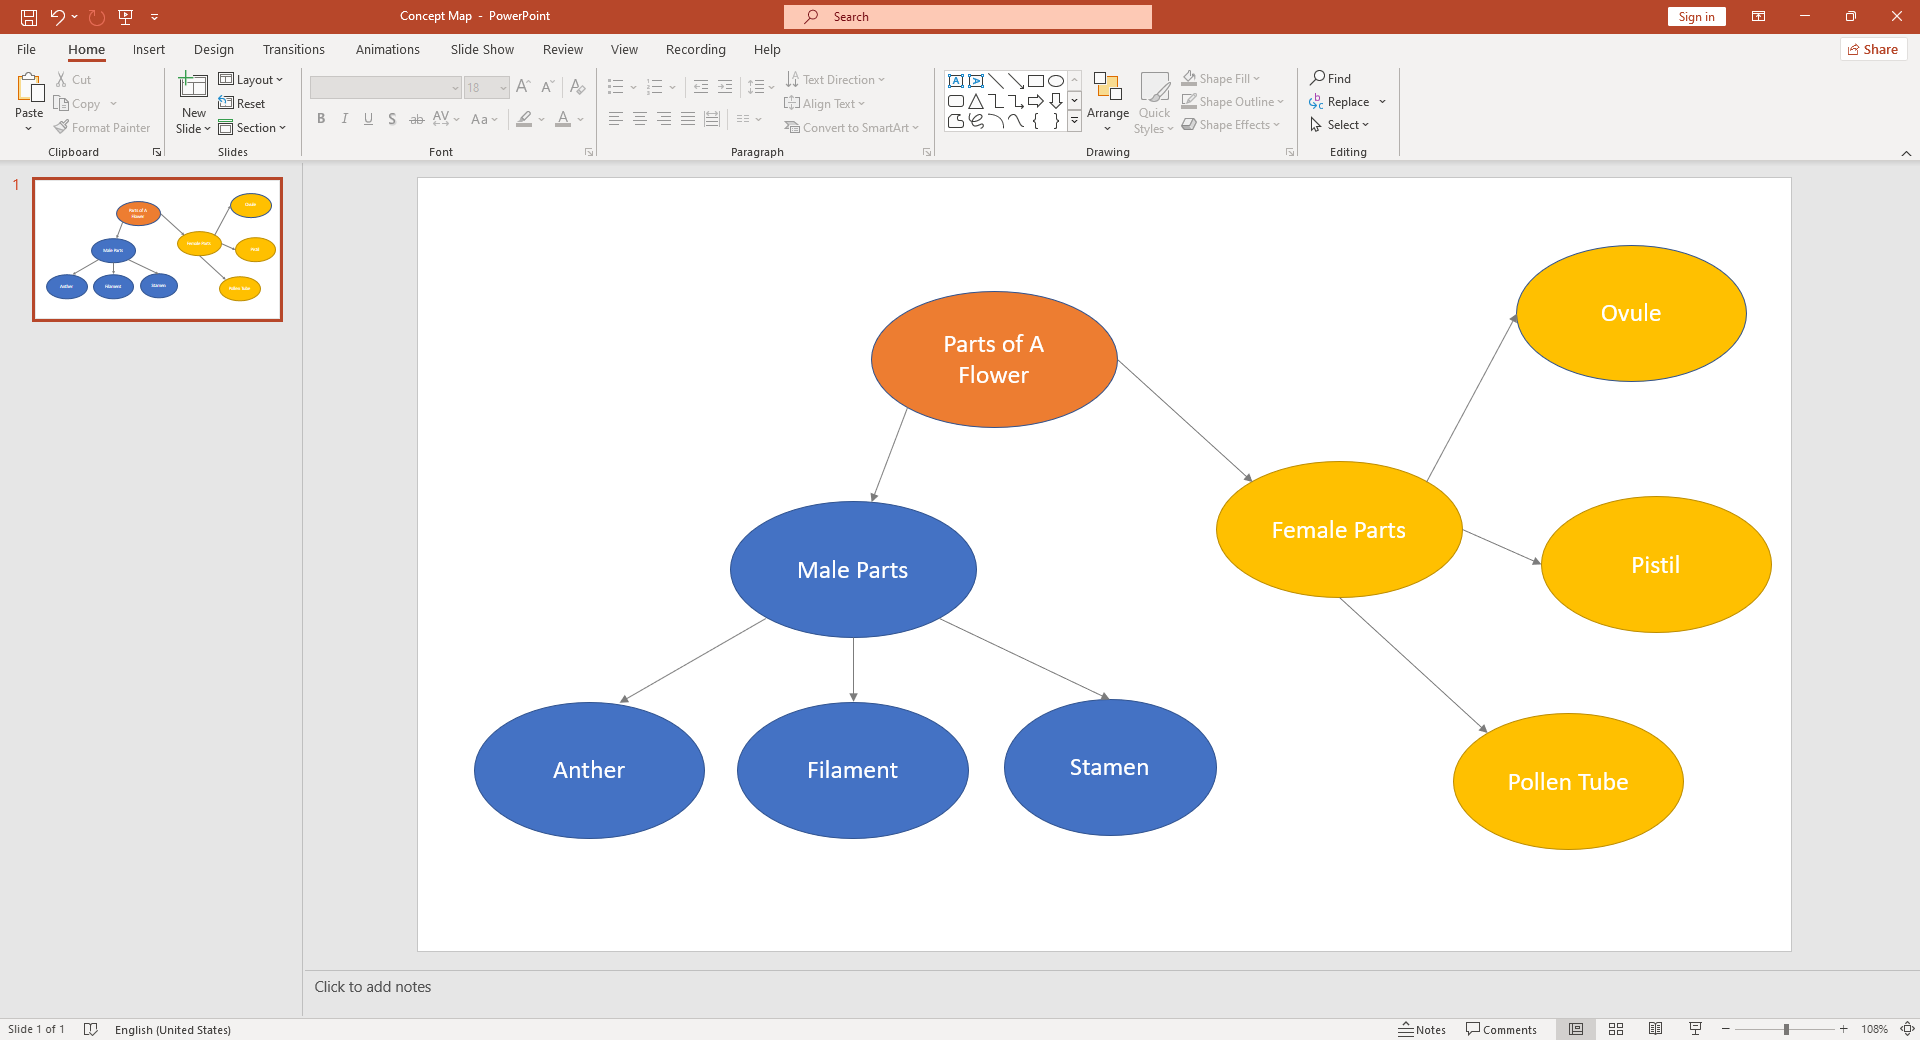
Step 8: Continue adding shapes and lines until your concept map is complete. To reorder or align your shapes and lines, use the options under the "Arrange" section in the "Home" tab.
Remember that this is a simplified guide and crafting an intricate concept map may require more advanced functionalities of PowerPoint.
Major Drawbacks of Creating a Concept Map in PowerPoint
While PowerPoint offers several utilities for designing concept maps, it does come with its share of limitations. Its user interface may not be as intuitive for novice users, making it time-consuming to construct elaborate maps. PowerPoint also lacks advanced features for automatic alignment or distribution of shapes which can lead to additional time spent manually adjusting elements.
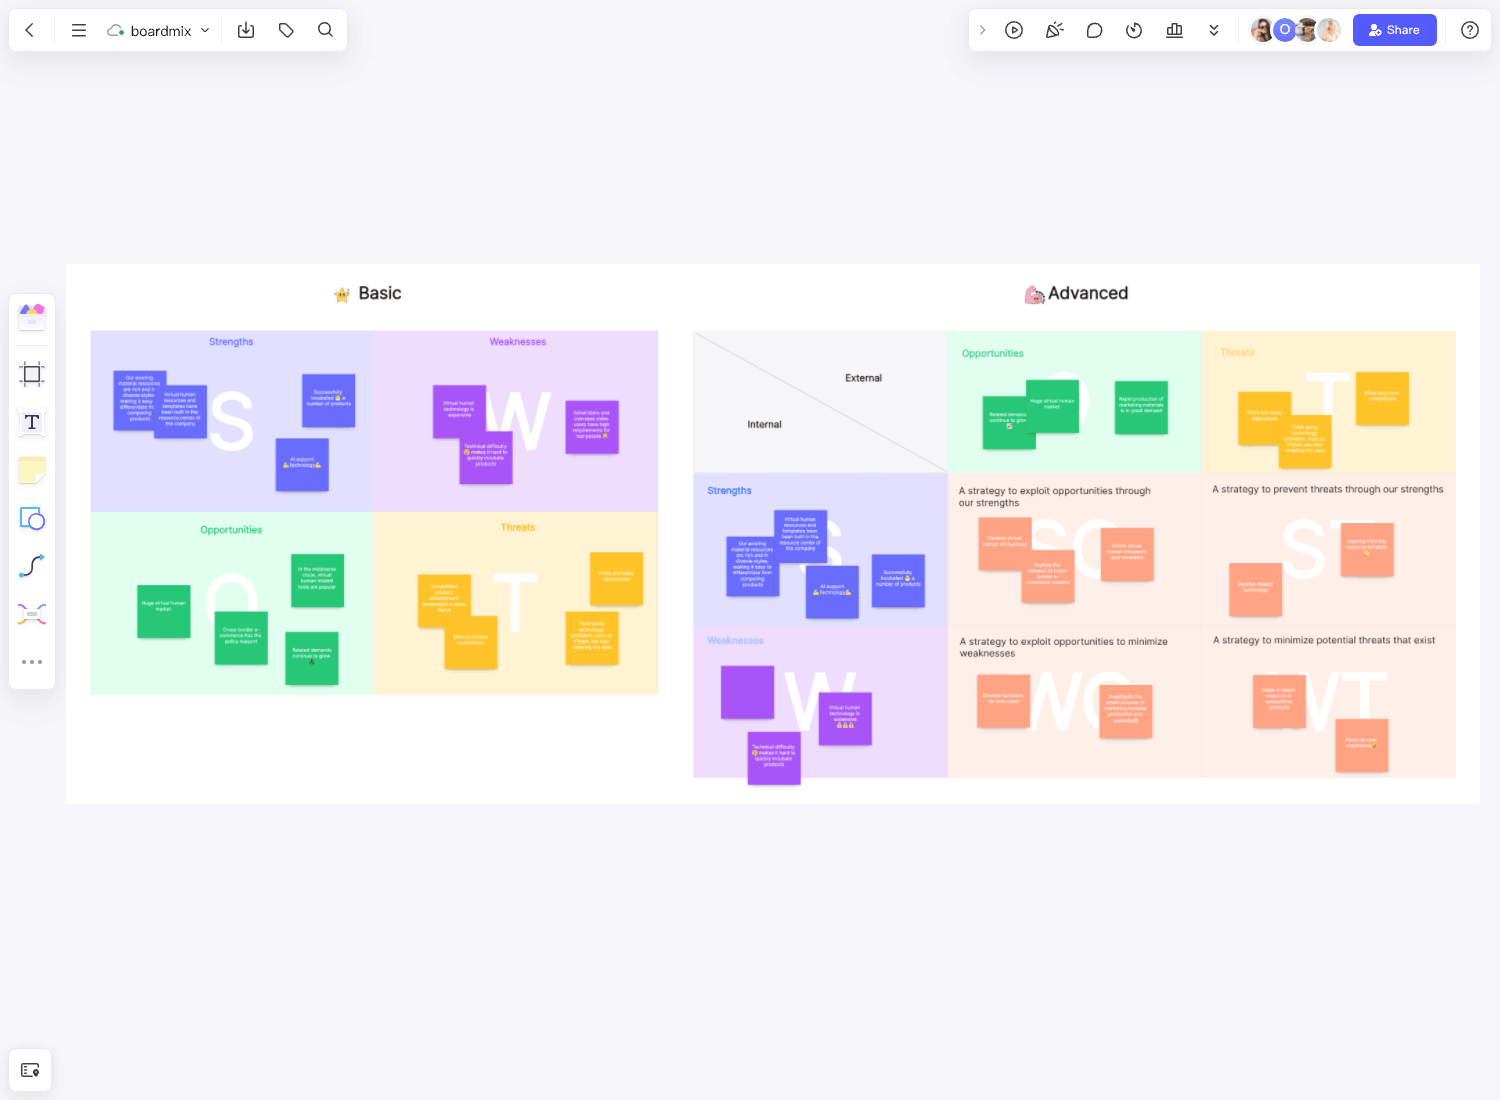
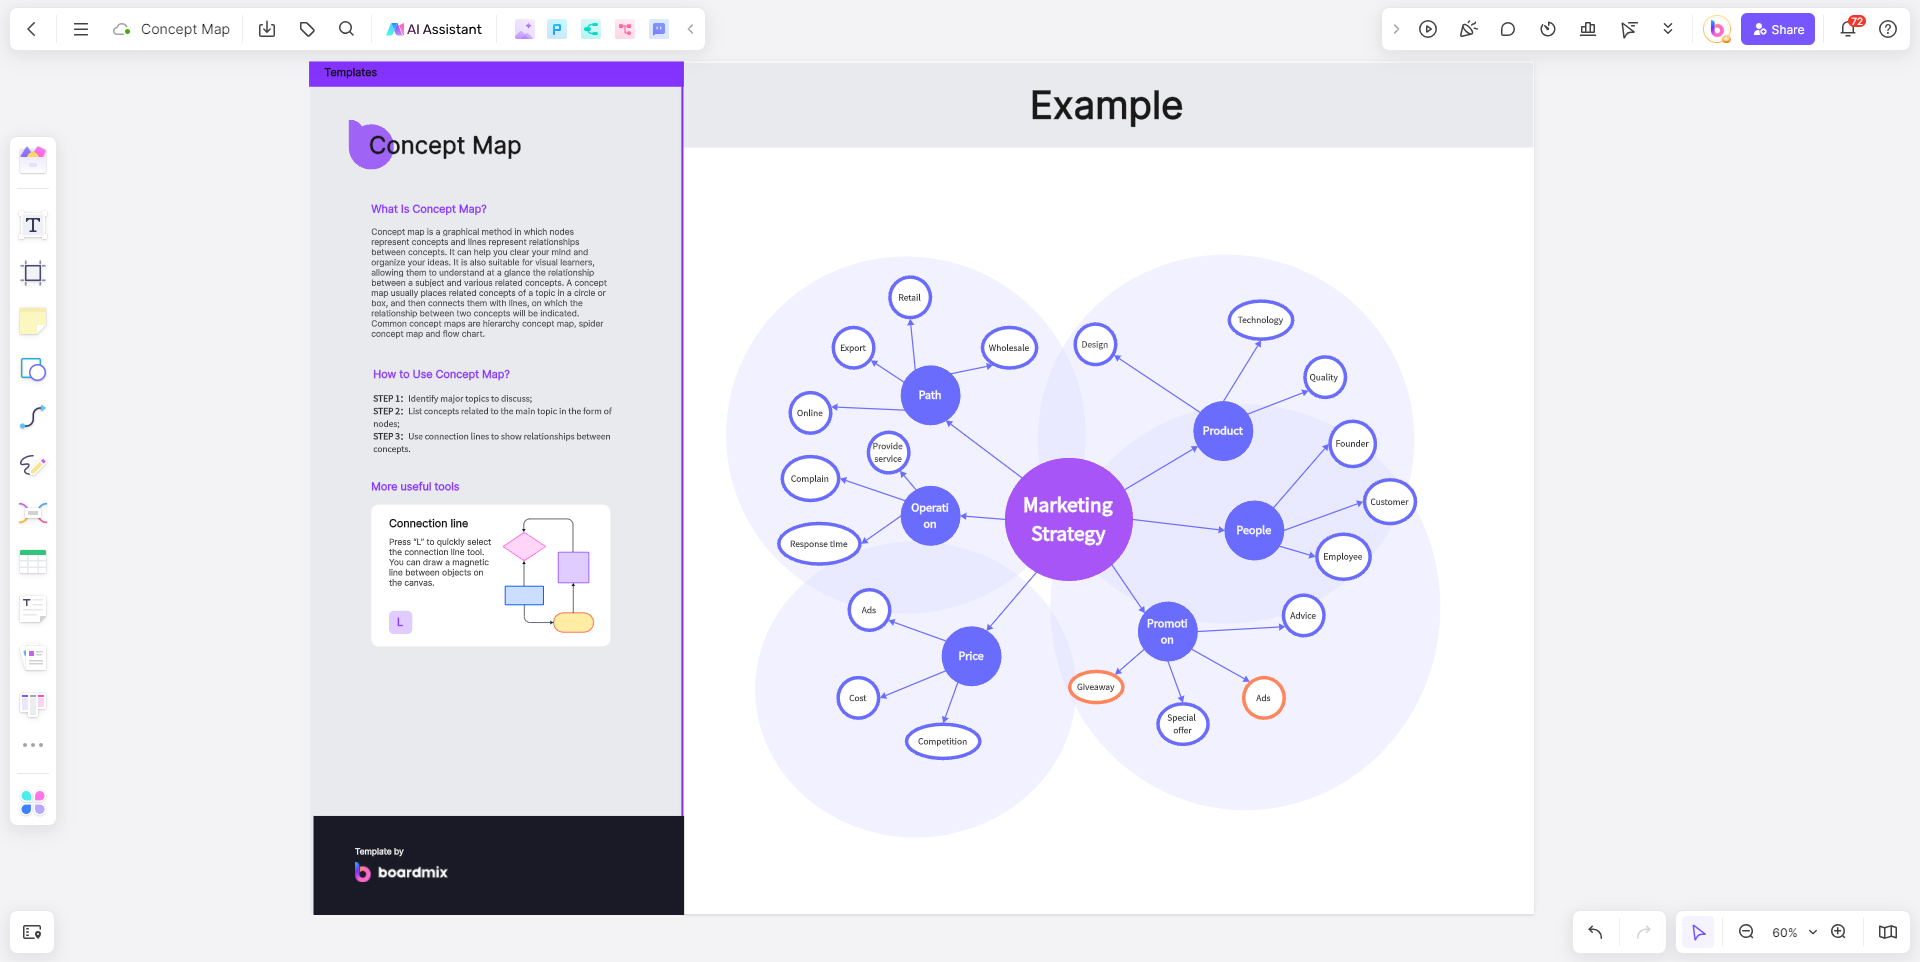
Create Effortless Concept Maps with Boardmix
For those who are after a more seamless, user-friendly alternative to PowerPoint for creating concept maps, look no further than Boardmix. This innovative online tool is tailored specifically for the construction of clear, comprehensive concept maps, which means its feature set is geared directly toward making the process as straightforward and intuitive as possible.
Boardmix offers users two distinct methods to create concept maps:
- Using Pre-Built Templates:This is an ideal choice for beginners or for those seeking to save time. Boardmix boasts an extensive collection of pre-designed templates that cater to a wide array of concepts and topics. All you have to do is select a template that fits your needs and fill in your data. Each template can be easily customized – colors, shapes, and text can be changed according to your preference, giving you a high degree of control over the look and feel of your concept map.
- Creating from Scratch:For those who prefer having complete creative freedom or have unique requirements, Boardmix allows creating a concept map from the ground up. Although this approach may take more time compared to using a template, it offers greater flexibility. You start with a blank canvas onto which you can add, move and resize nodes and connectors, thereby building your map piece by piece. Advanced tools such as auto-align and distribute functions make it easy to keep your map neat and organized.
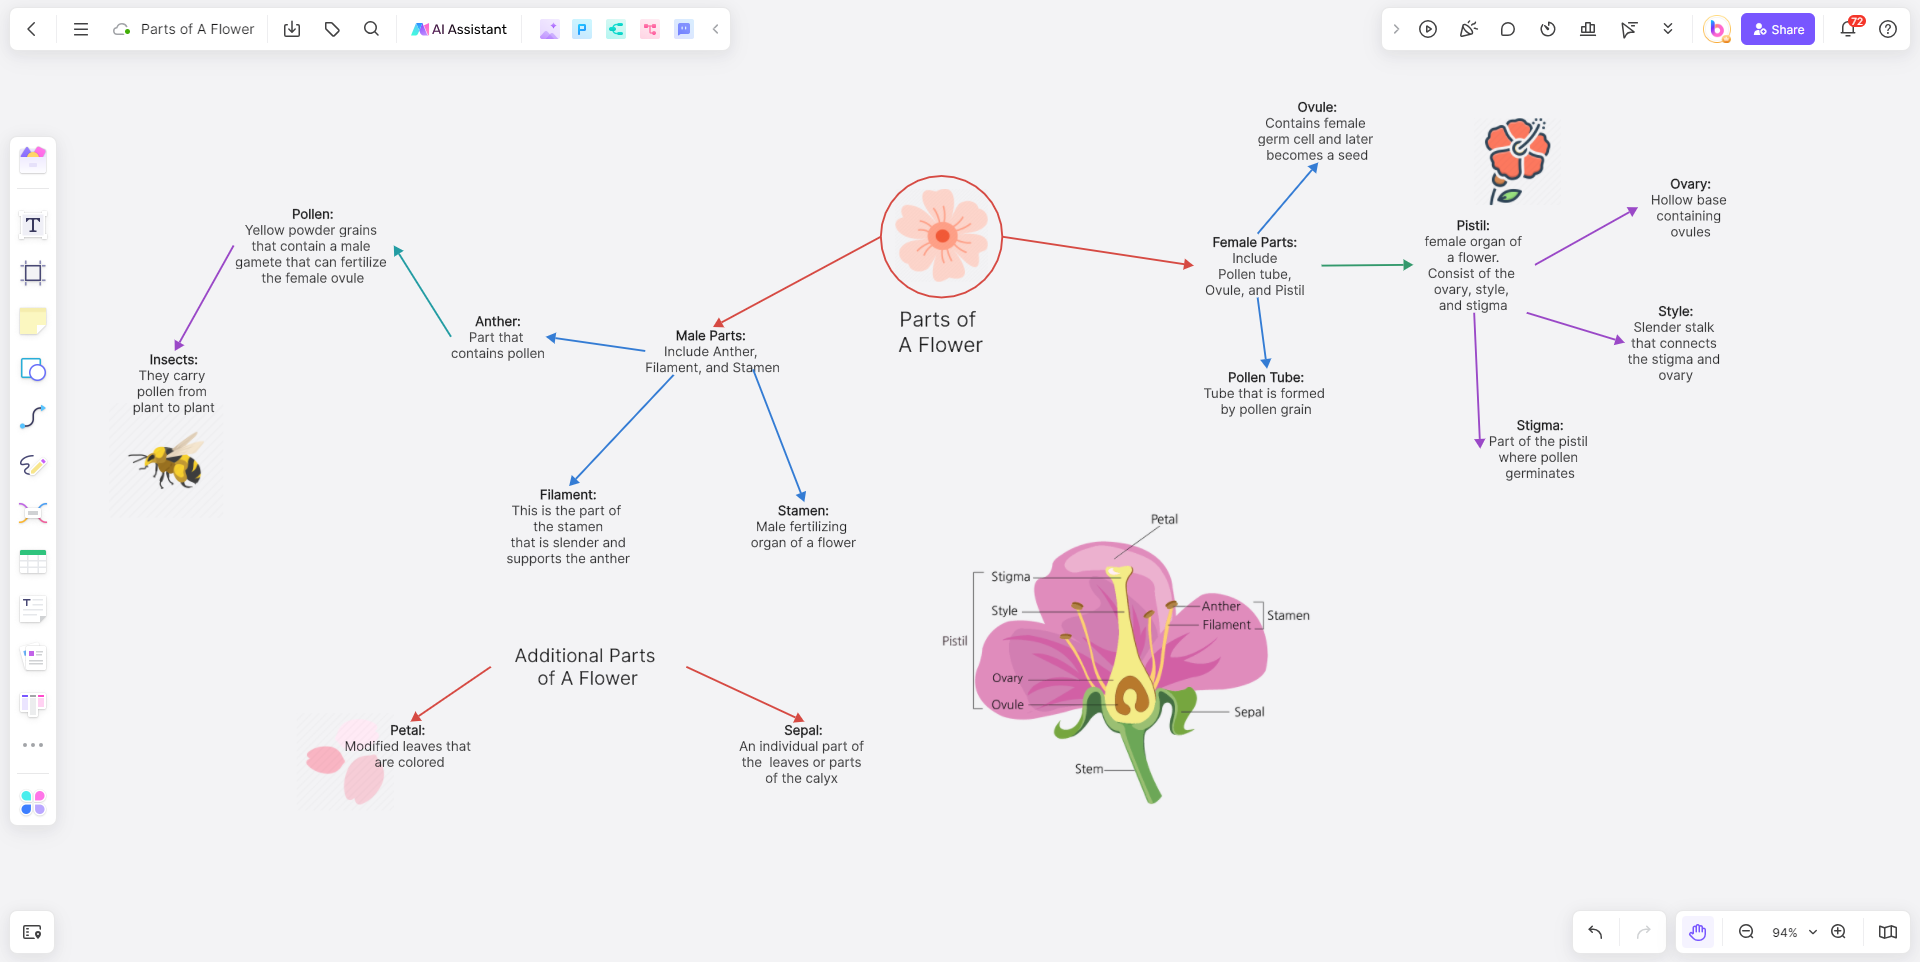
One key benefit of using Boardmix is its collaborative feature. Multiple users can work on the same concept map in real-time, making it perfect for team projects or group brainstorming sessions. Additionally, it supports exporting your concept maps in various formats like JPEG, PNG, PDF, or even as a Boardmix file if you want to work on it later.
Which One is a Better Concept Map Maker: PowerPoint or Boardmix?
Creating concept maps is an art that requires the right balance of creativity and logical reasoning. While PowerPoint provides a familiar platform for crafting these maps, it may not be as intuitive or feature-rich for the task as other dedicated tools like Boardmix. The choice between these two largely depends on your specific needs, comfort level, and the complexity of your concept map. Whatever tool you choose, remember that the most effective concept maps are those that accurately depict complex information in a simple, visually engaging manner.