Crafting a flowchart in Google Slides is a beneficial skill that aids professionals across numerous sectors. It simplifies complex processes, aids in decision-making, and facilitates effective problem-solving. In this guide, we will walk you through how to create a flowchart in Google Slides, reveal its limitations, and provide an easier alternative for making flowcharts.
What is a Flowchart?
A flowchart is a graphical illustration of a process or workflow, symbolized by different shapes interconnected by lines. It serves as an excellent tool for visualizing complex procedures and demonstrating them in a digestible format. Flowcharts play a crucial role in various domains such as business, education, software development, and engineering due to their capability to depict complicated concepts simply and effectively.
How to Create a Flowchart in Google Slides?
Google Slides, a versatile and user-friendly tool, allows you to generate flowcharts without needing any additional software or special expertise. The creation involves the use of the built-in drawing tool. Here's how to go about it:
Step 1: Launching Google Slides
The first step is to open Google Slides on your device. Navigate to your Google Drive and click on "+ New" in the upper left corner. From the drop-down menu, select "Google Slides."

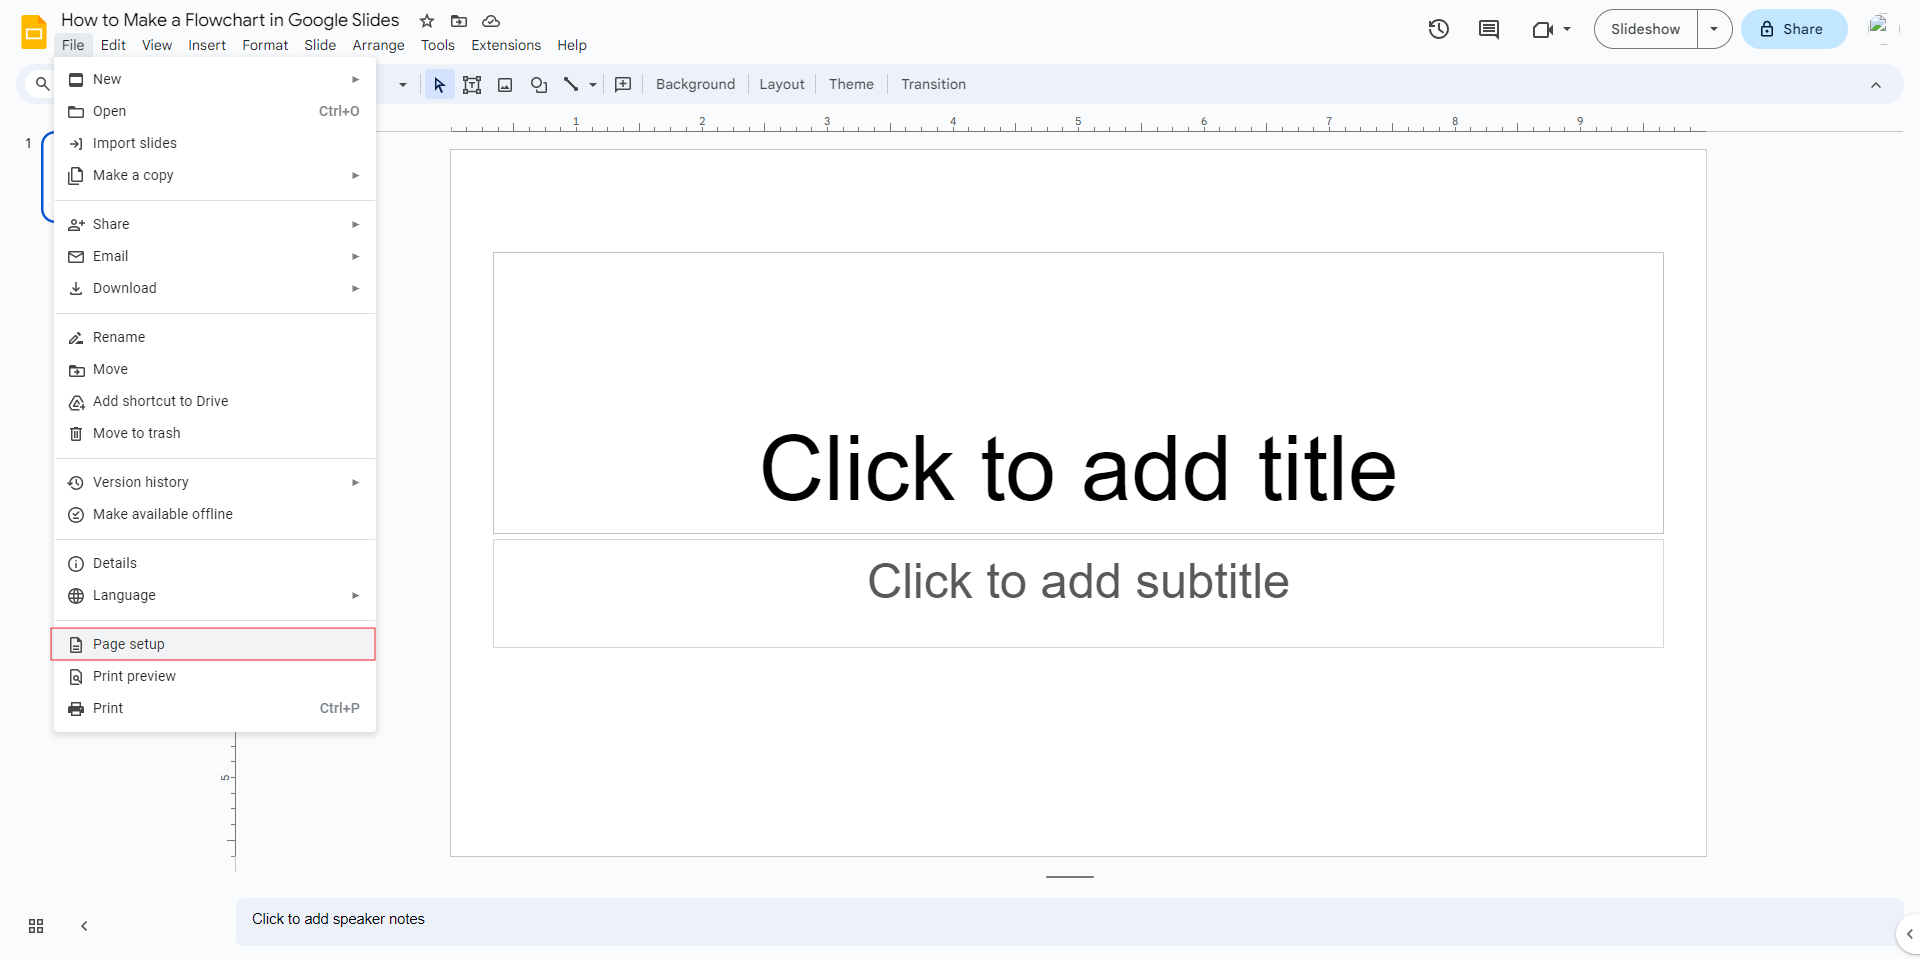
Step 2: Setting up your Slide
Once Google Slides launches, set up your slide by clicking on "File" in the top menu bar and then "Page setup." Here, you can select the standard size for your slide or customize it to your needs.
Step 3: Adding Shapes
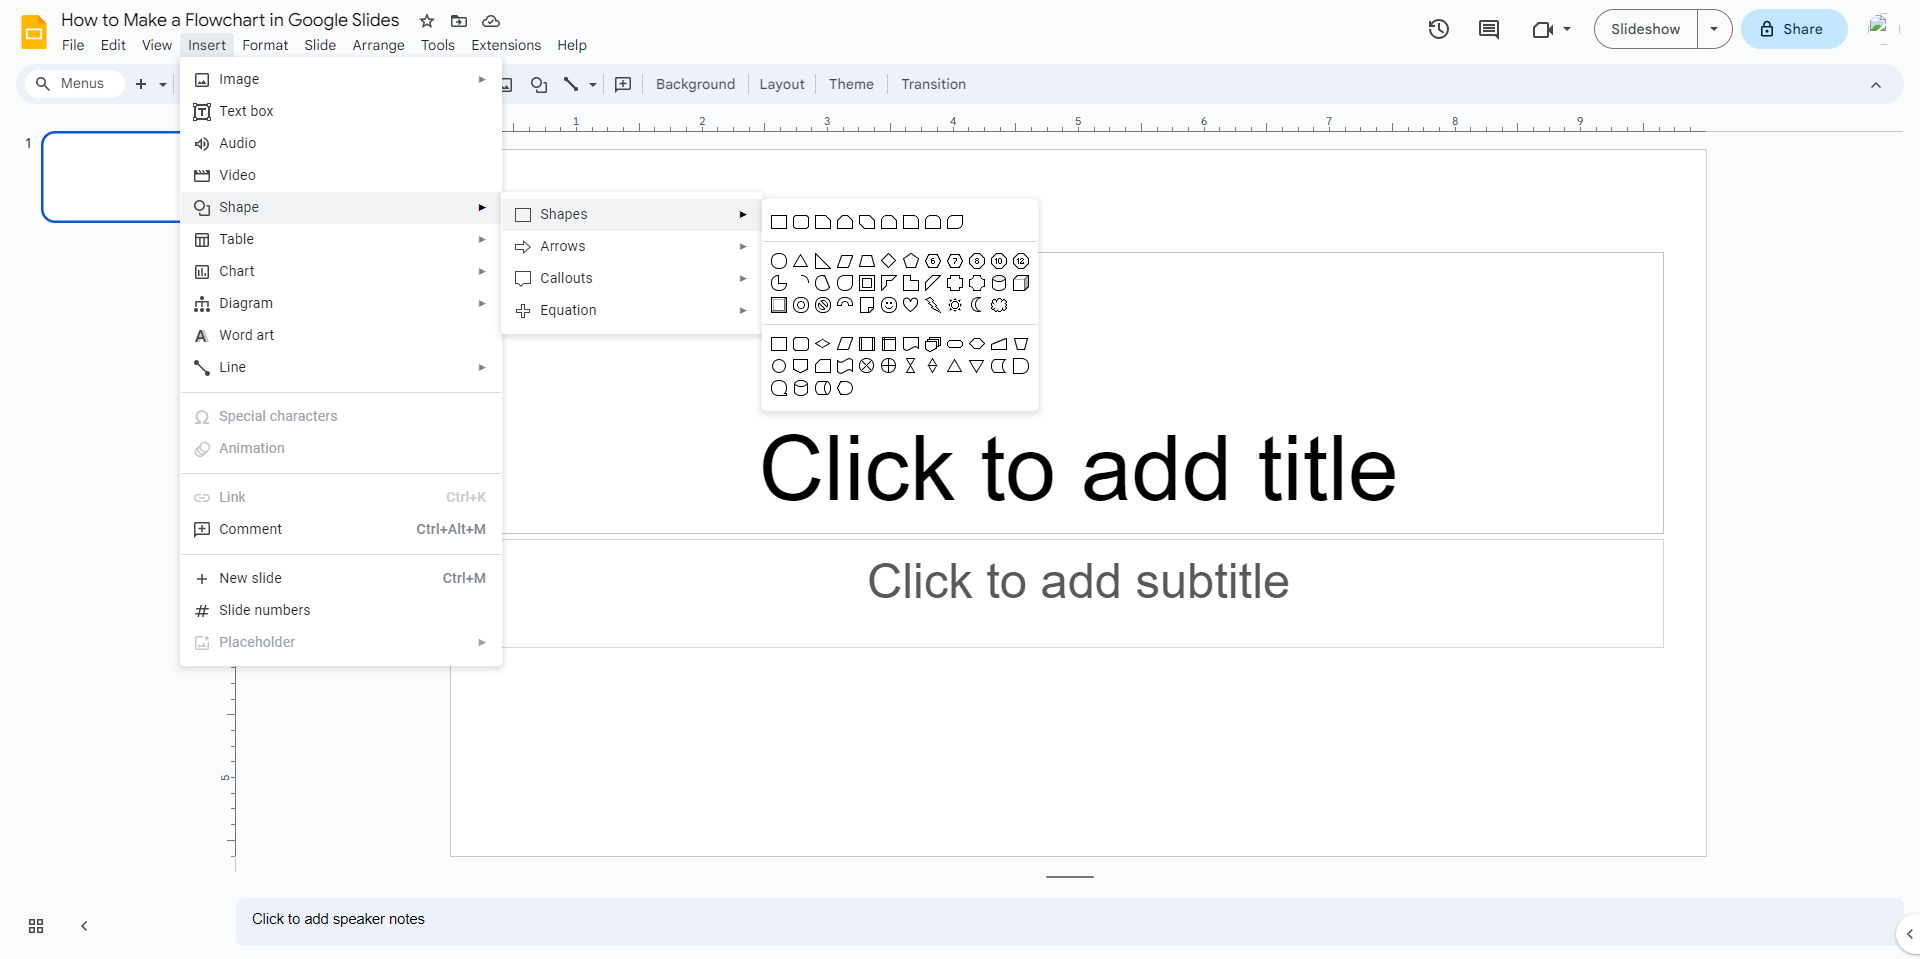
The next step is to start adding shapes to your slide, which will form the basis of your flowchart. Click on "Insert" in the top menu bar, hover over "Shapes," and select from the many available shapes based on the kind of flowchart you want to create.
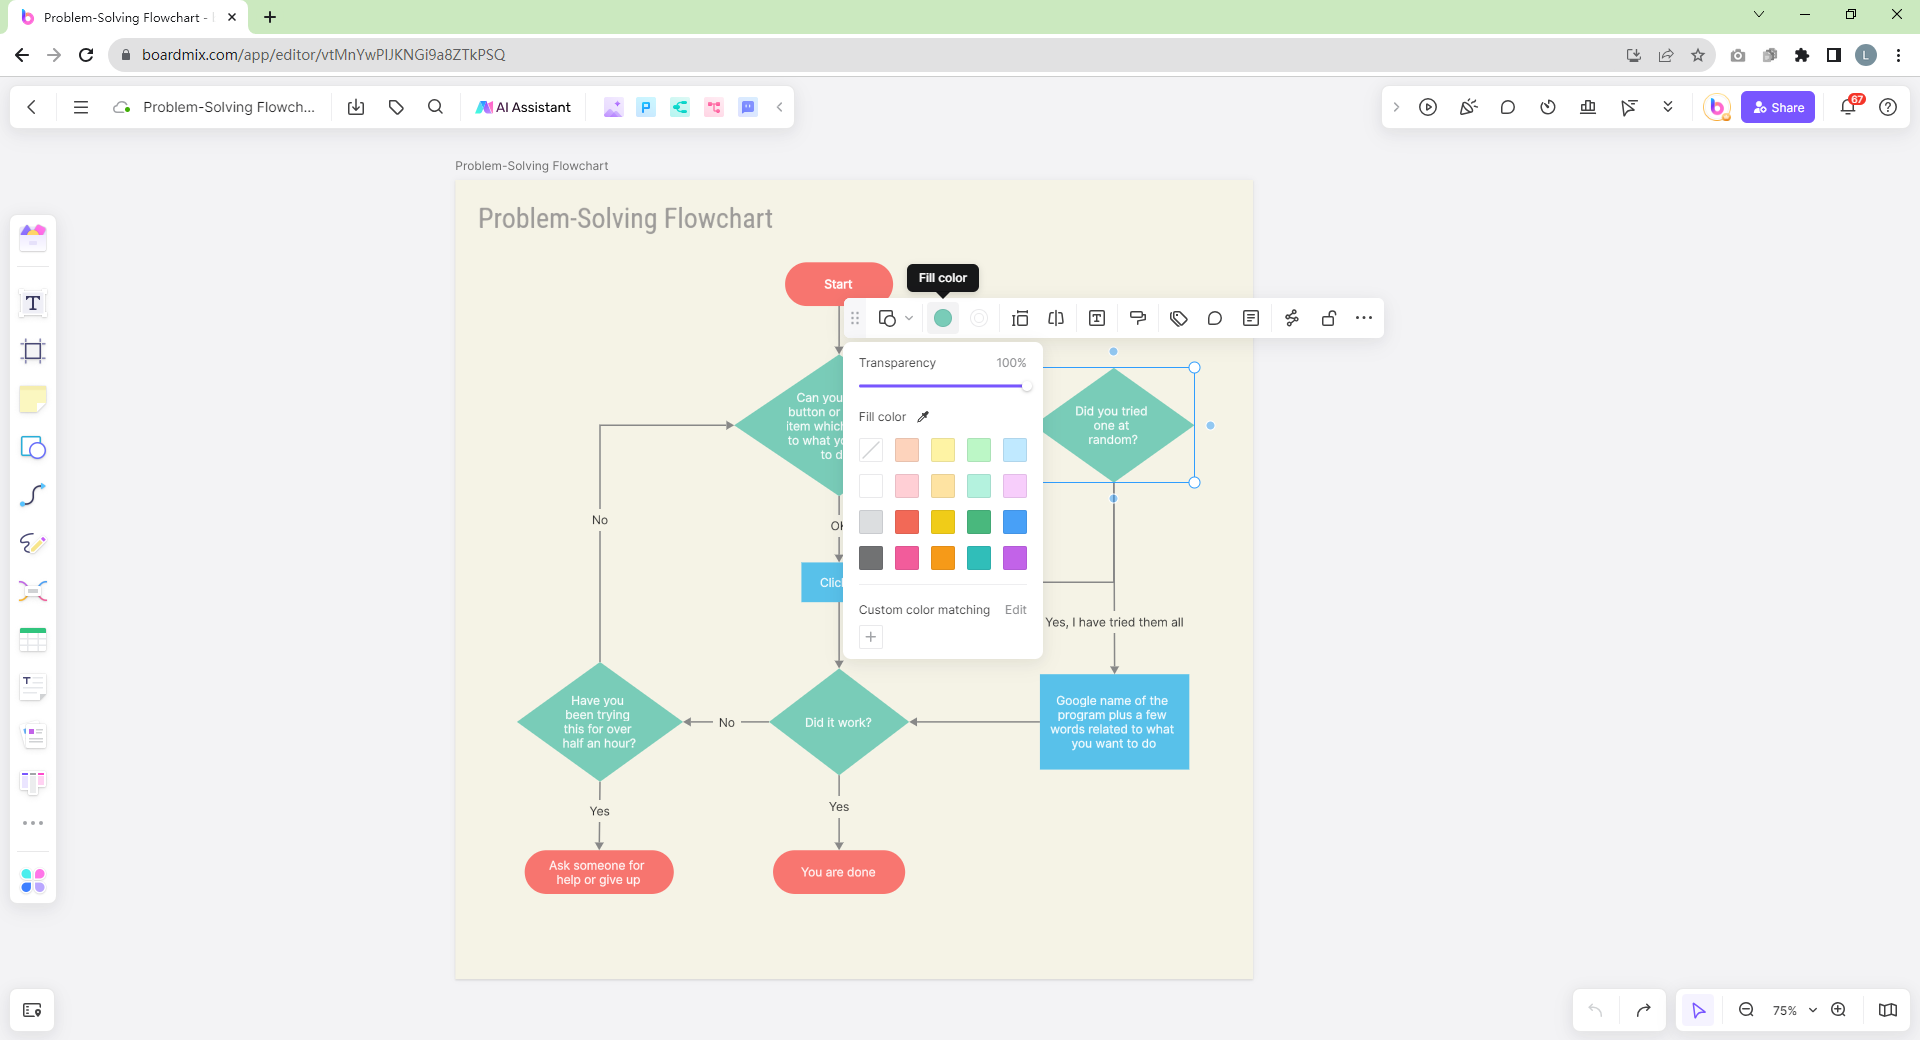
Step 4: Customizing your Shapes
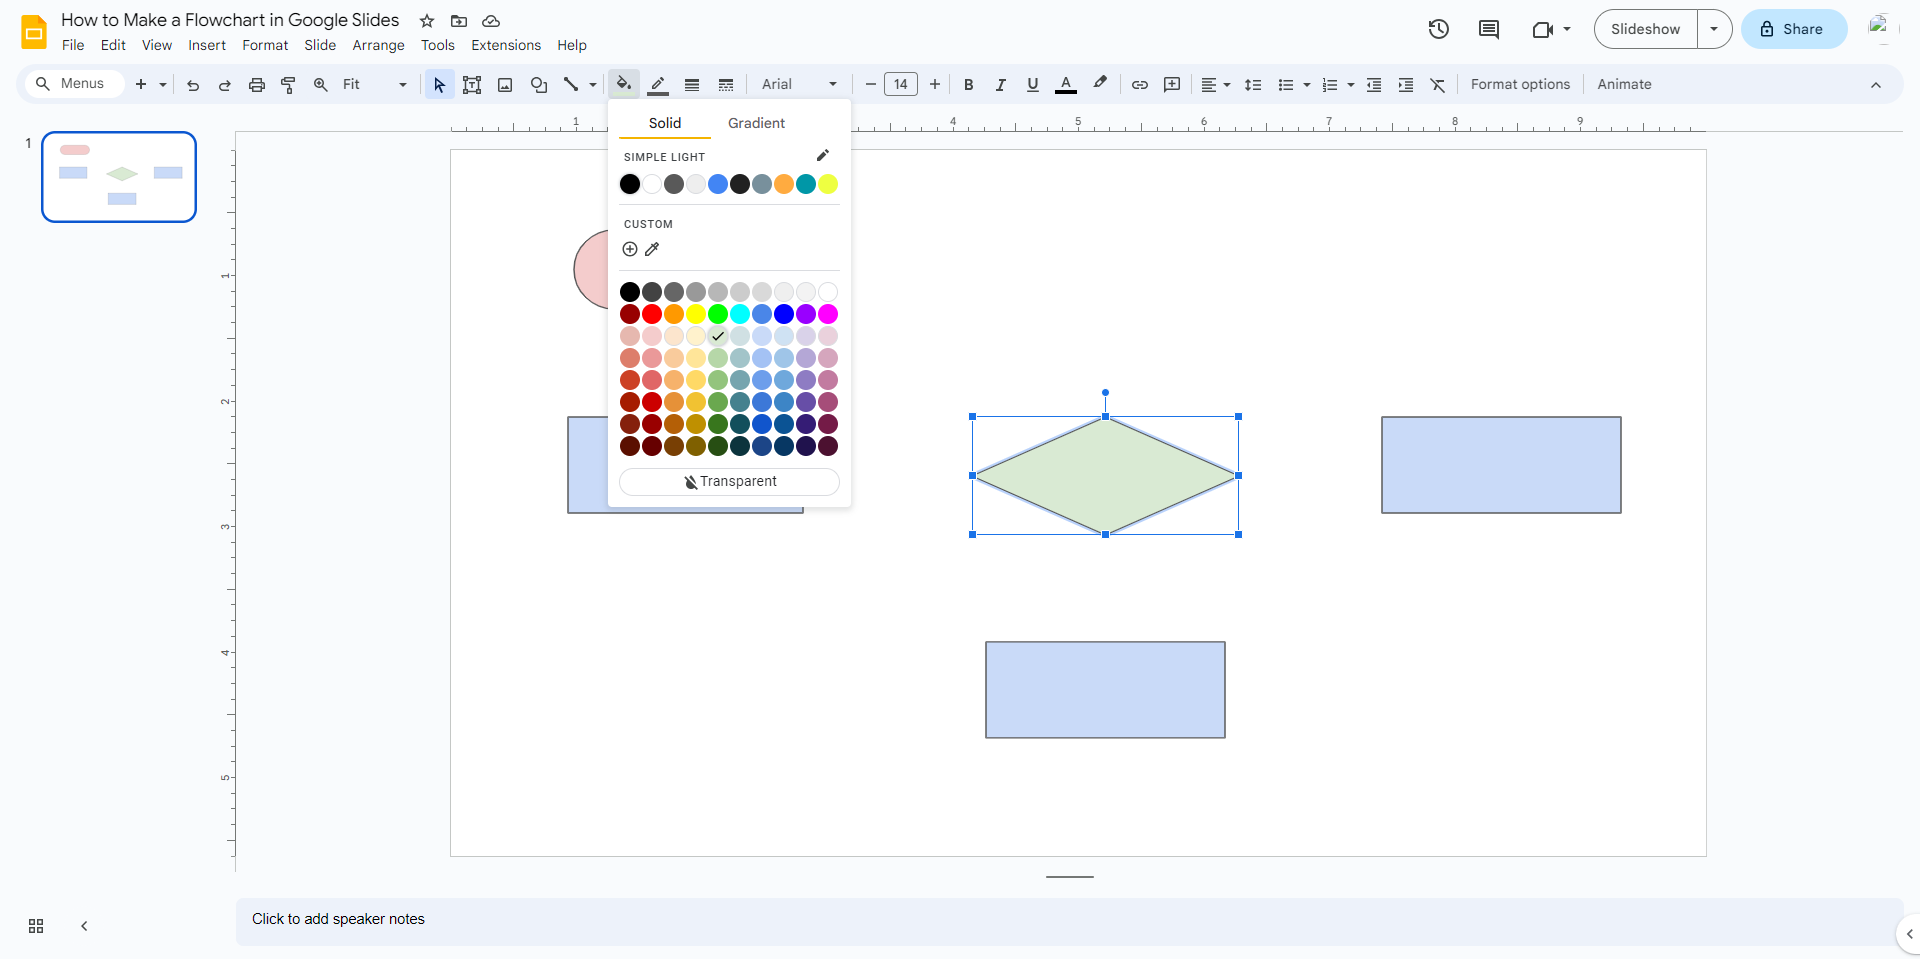
Customize your shapes by adjusting their size and positioning them appropriately on your slide. Additionally, you can change the color of your shapes under "Fill color" in the toolbar. Add text to your shapes by double-clicking on them and typing in your information.
Step 5: Adding Lines and Arrows
Once you have your shapes in place, you can connect them with lines and arrows to indicate the flow of the process. Go back to "Insert," select "Line" or "Arrow," and draw them between your shapes as required.
Step 6: Customizing Lines and Arrows
Customize your lines or arrows by adjusting their thickness and style under "Line weight" and "Line dash," respectively. Change the color of your lines or arrows under "Stroke color" in the toolbar.
Step 7: Final Touches and Review
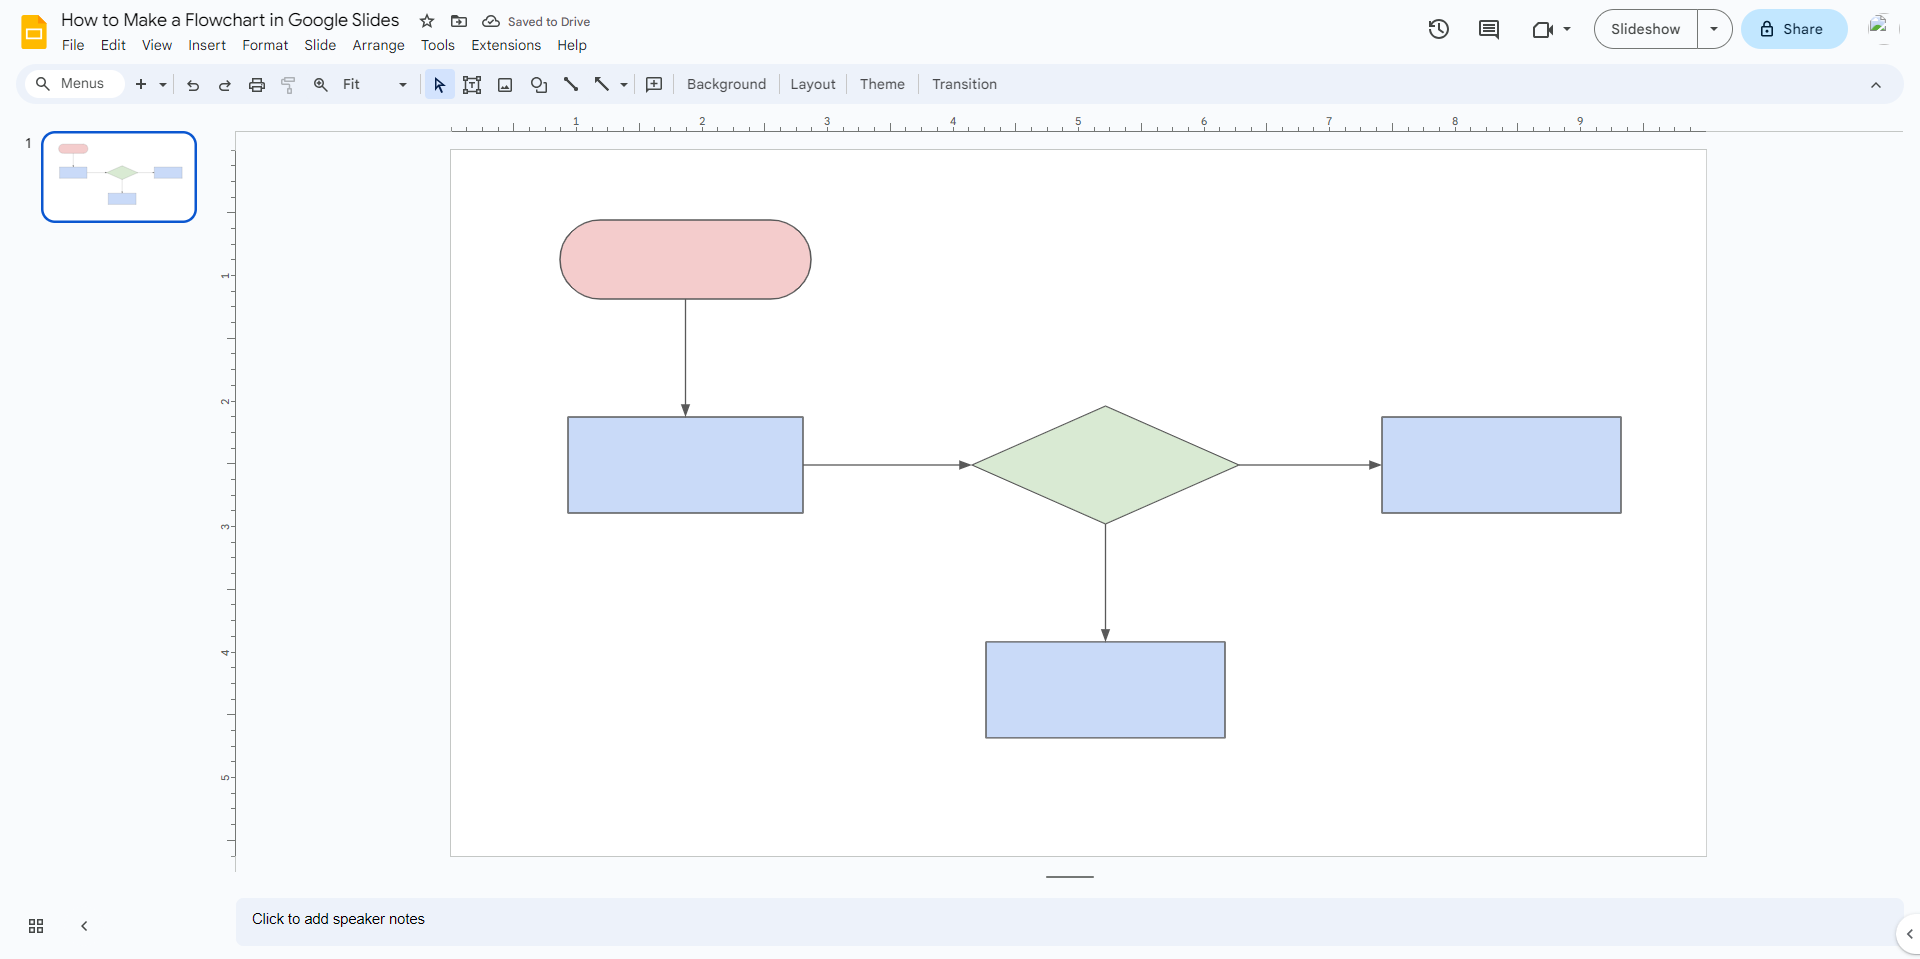
After setting up all shapes and lines, review your flowchart for accuracy. Ensure that it effectively communicates the process or system that you intended to depict. Apply final touches like adjusting alignment, adding additional details, or changing colors as necessary.
Consistent practice will help you master this technique, so don't hesitate to explore until you get the hang of it!
Major Drawbacks of Creating a Flowchart in Google Slides
While it is possible to create flowcharts in Google Slides, it may not be the most efficient method due to the following reasons:
- Limited Tools: Google Slides offers limited shapes and lines, which can restrict your ability to express intricate processes.
- Inefficiency: The process of creating a flowchart in Google Slides can be quite tedious and time-consuming.
- Lack of Collaboration Tools: Unlike dedicated diagramming tools, Google Slides doesn't offer real-time collaboration features that are fundamental for team projects.
Create Effortless Flowcharts with Boardmix
If you've ever grappled with the limitations of Google Slides while creating flowcharts, we'd like to introduce you to Boardmix. It's an intuitive platform designed explicitly for diagramming and boasts of features that make flowchart creation a seamless experience.
Boardmix's primary focus is on usability and user-friendliness, ensuring you have all the tools and functionalities necessary to visually represent even the most complex processes efficiently. So, let's delve deeper into how you can create flowcharts with Boardmix:
Using Pre-Built or Blank Templates
One of the standout features of Boardmix is its vast library of pre-built templates catering to different types of flowcharts. If you're in a hurry or don't know where to start, these templates can be a lifesaver.
Here's how you can use a pre-built template:
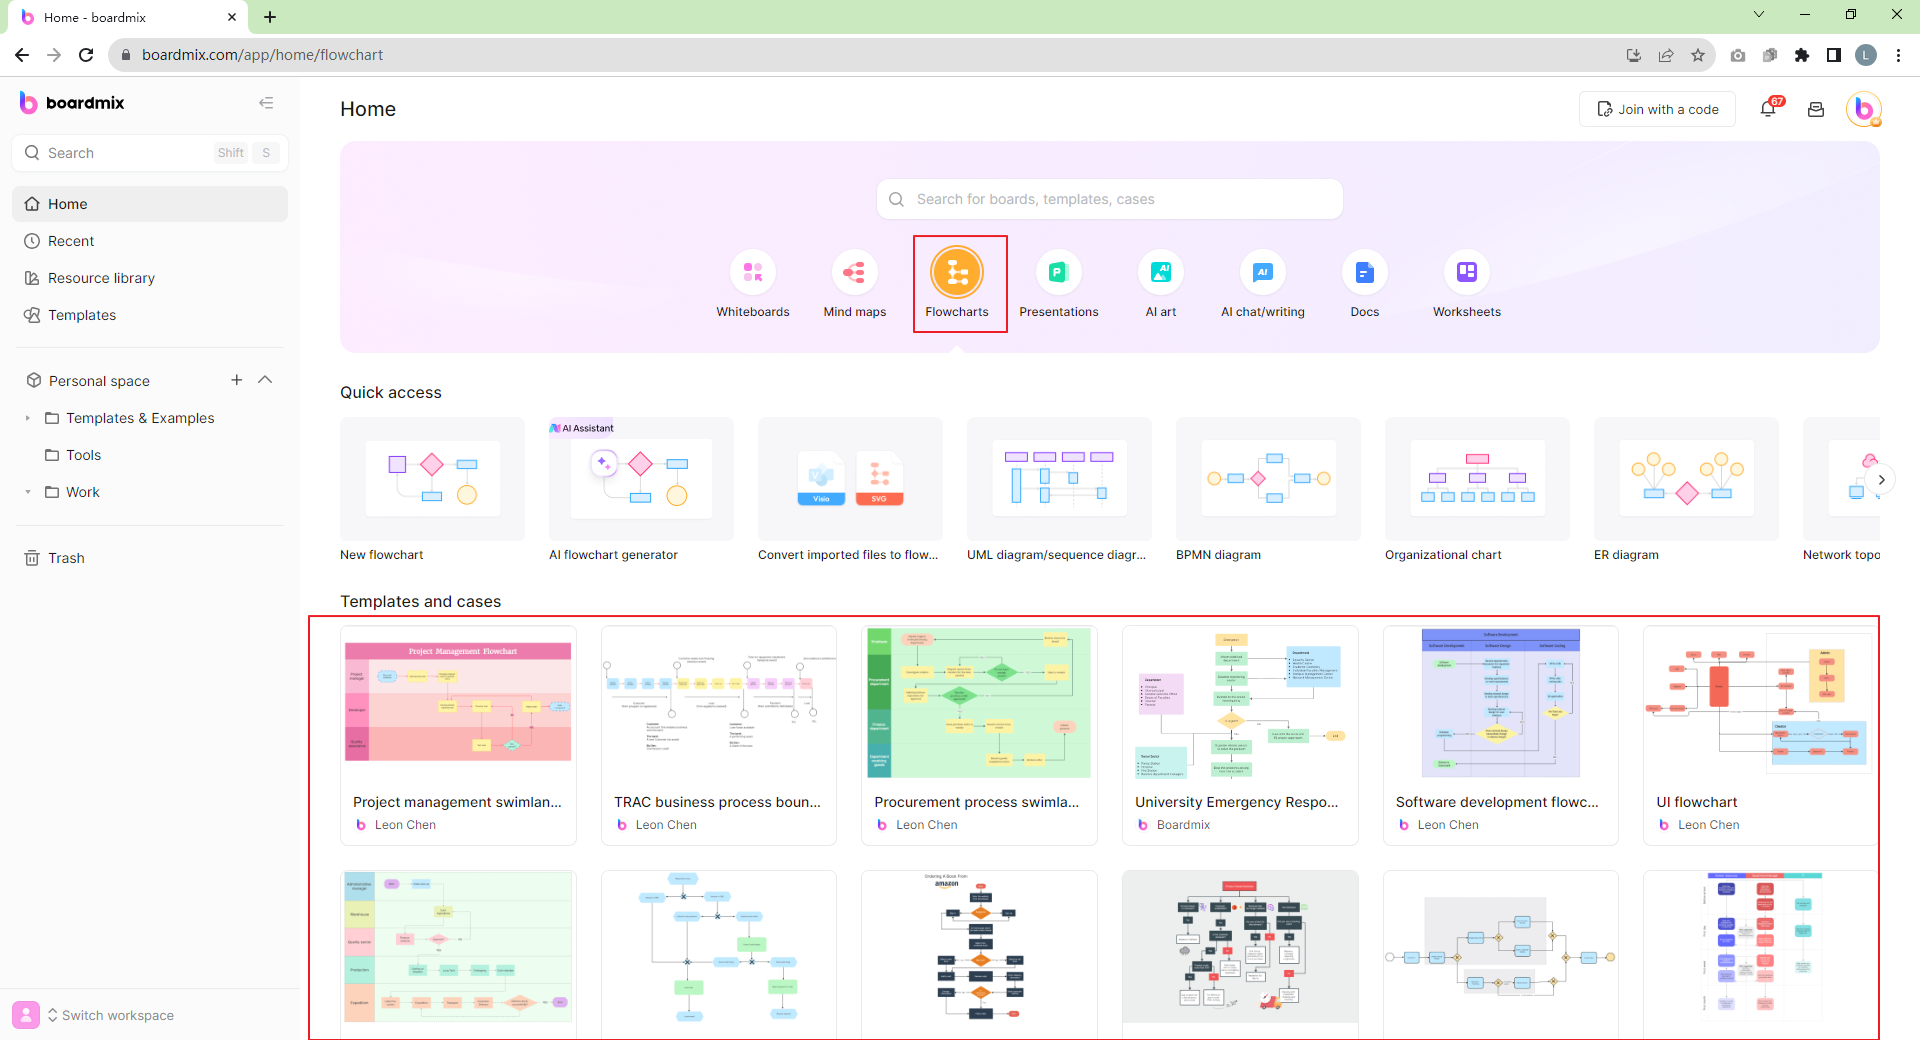
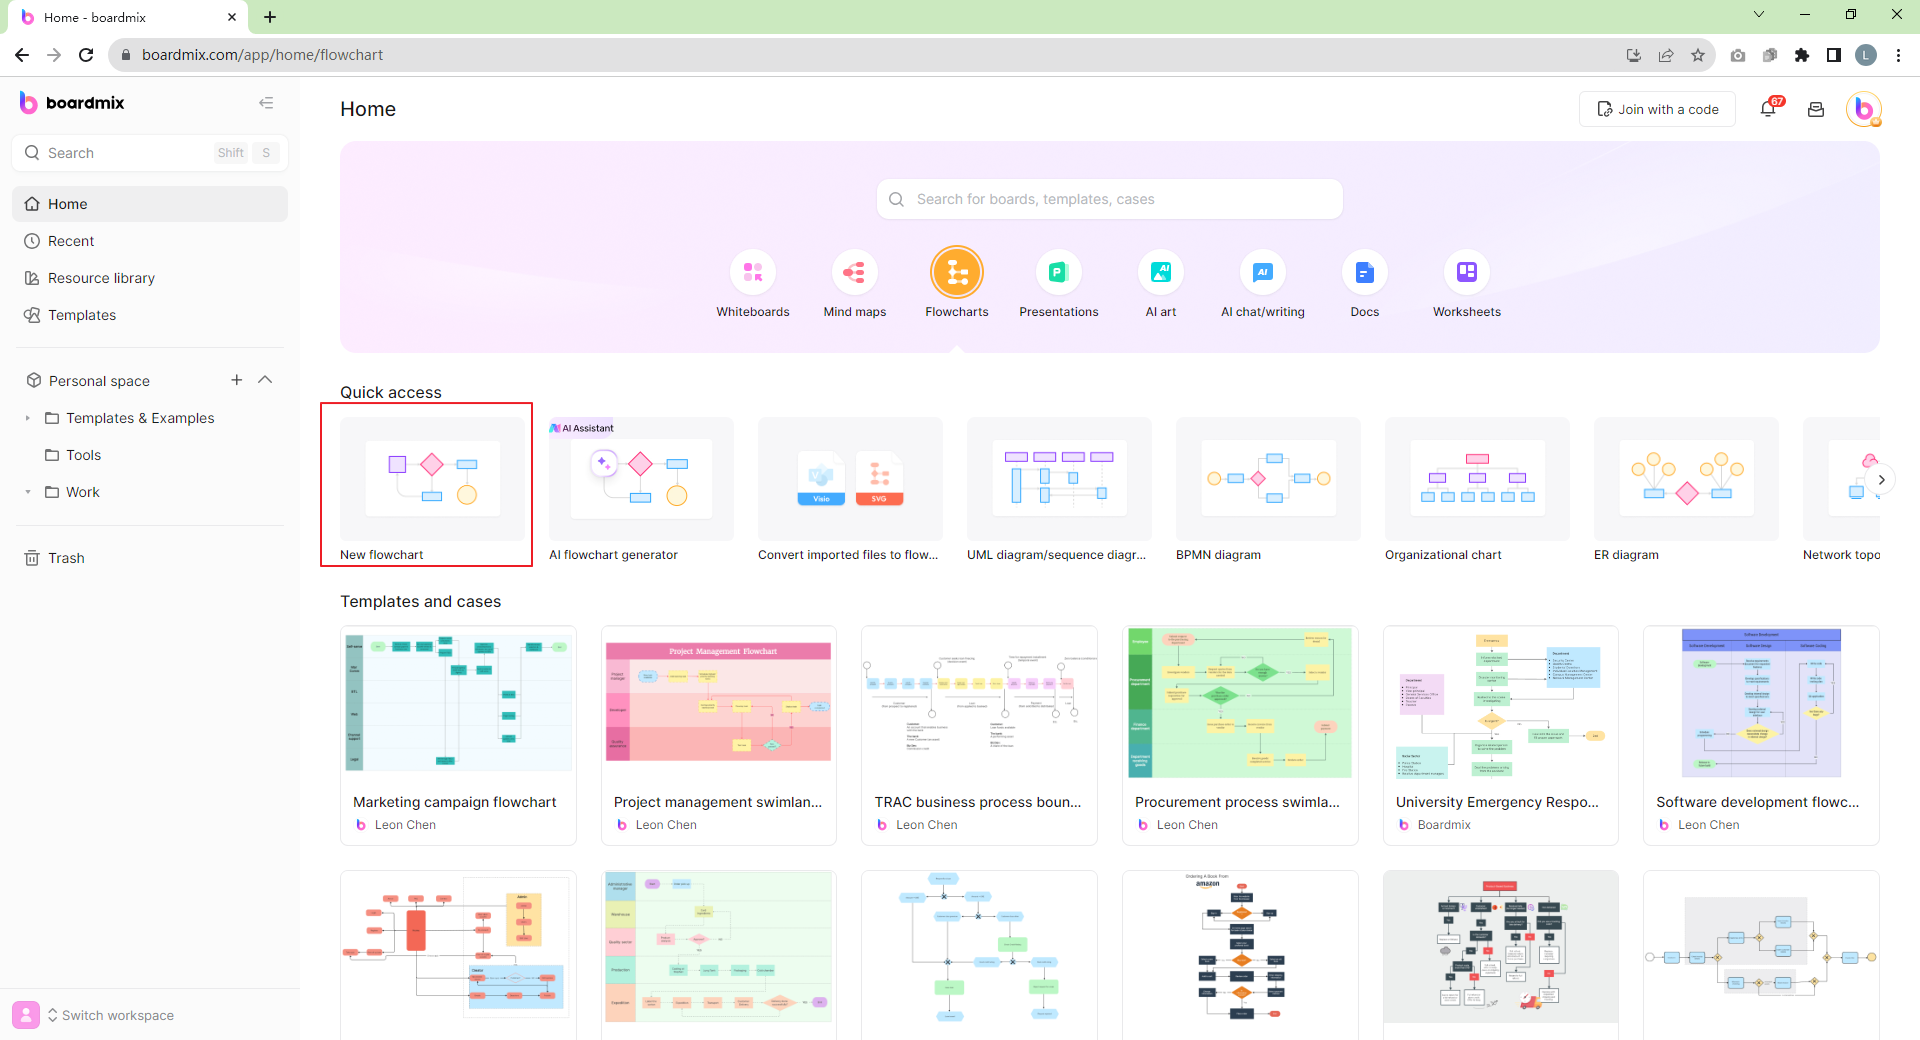
- Choose a Template:Once you're logged in, navigate to the "Home>Flowchart" section from your dashboard and pick one that aligns with your process or use case.
- Customize the Template: Modify the template by adding or removing elements as per your process's requirements. The platform also enables you to adjust colors, font types, and sizes to resonate with your branding.
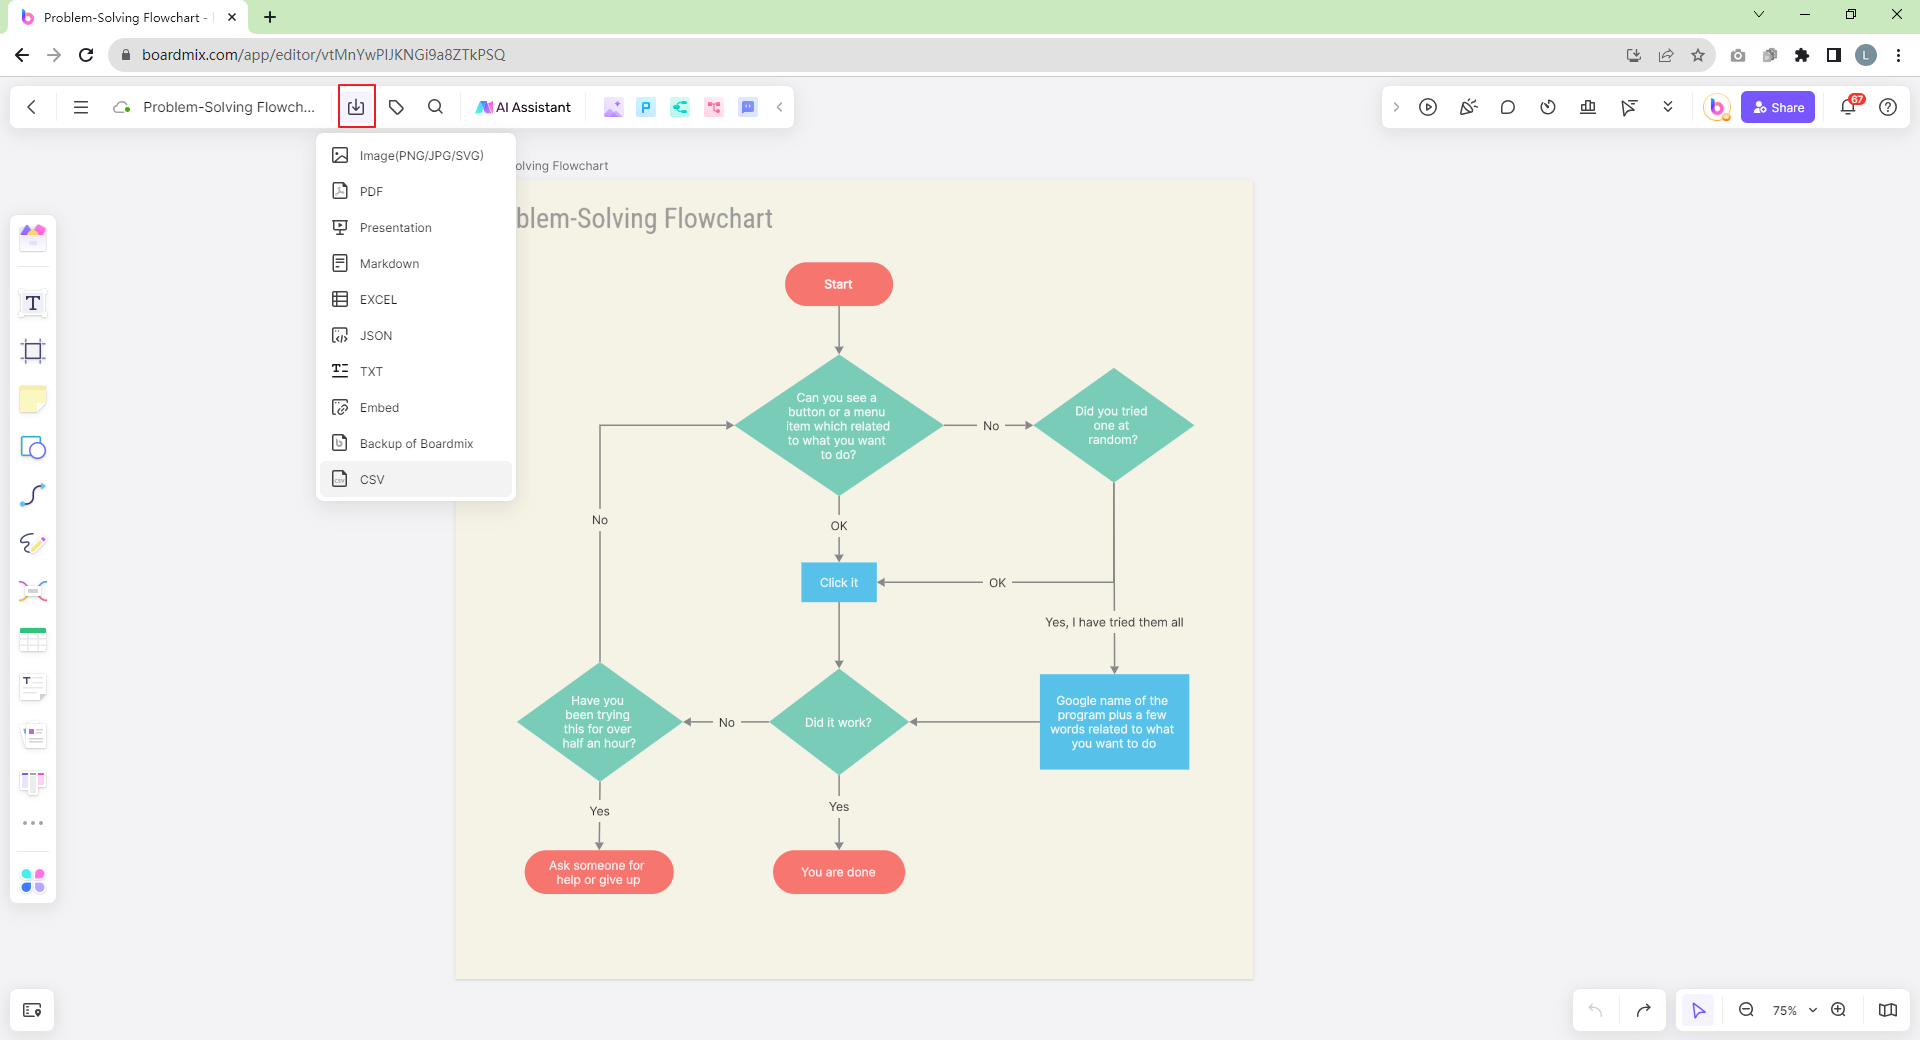
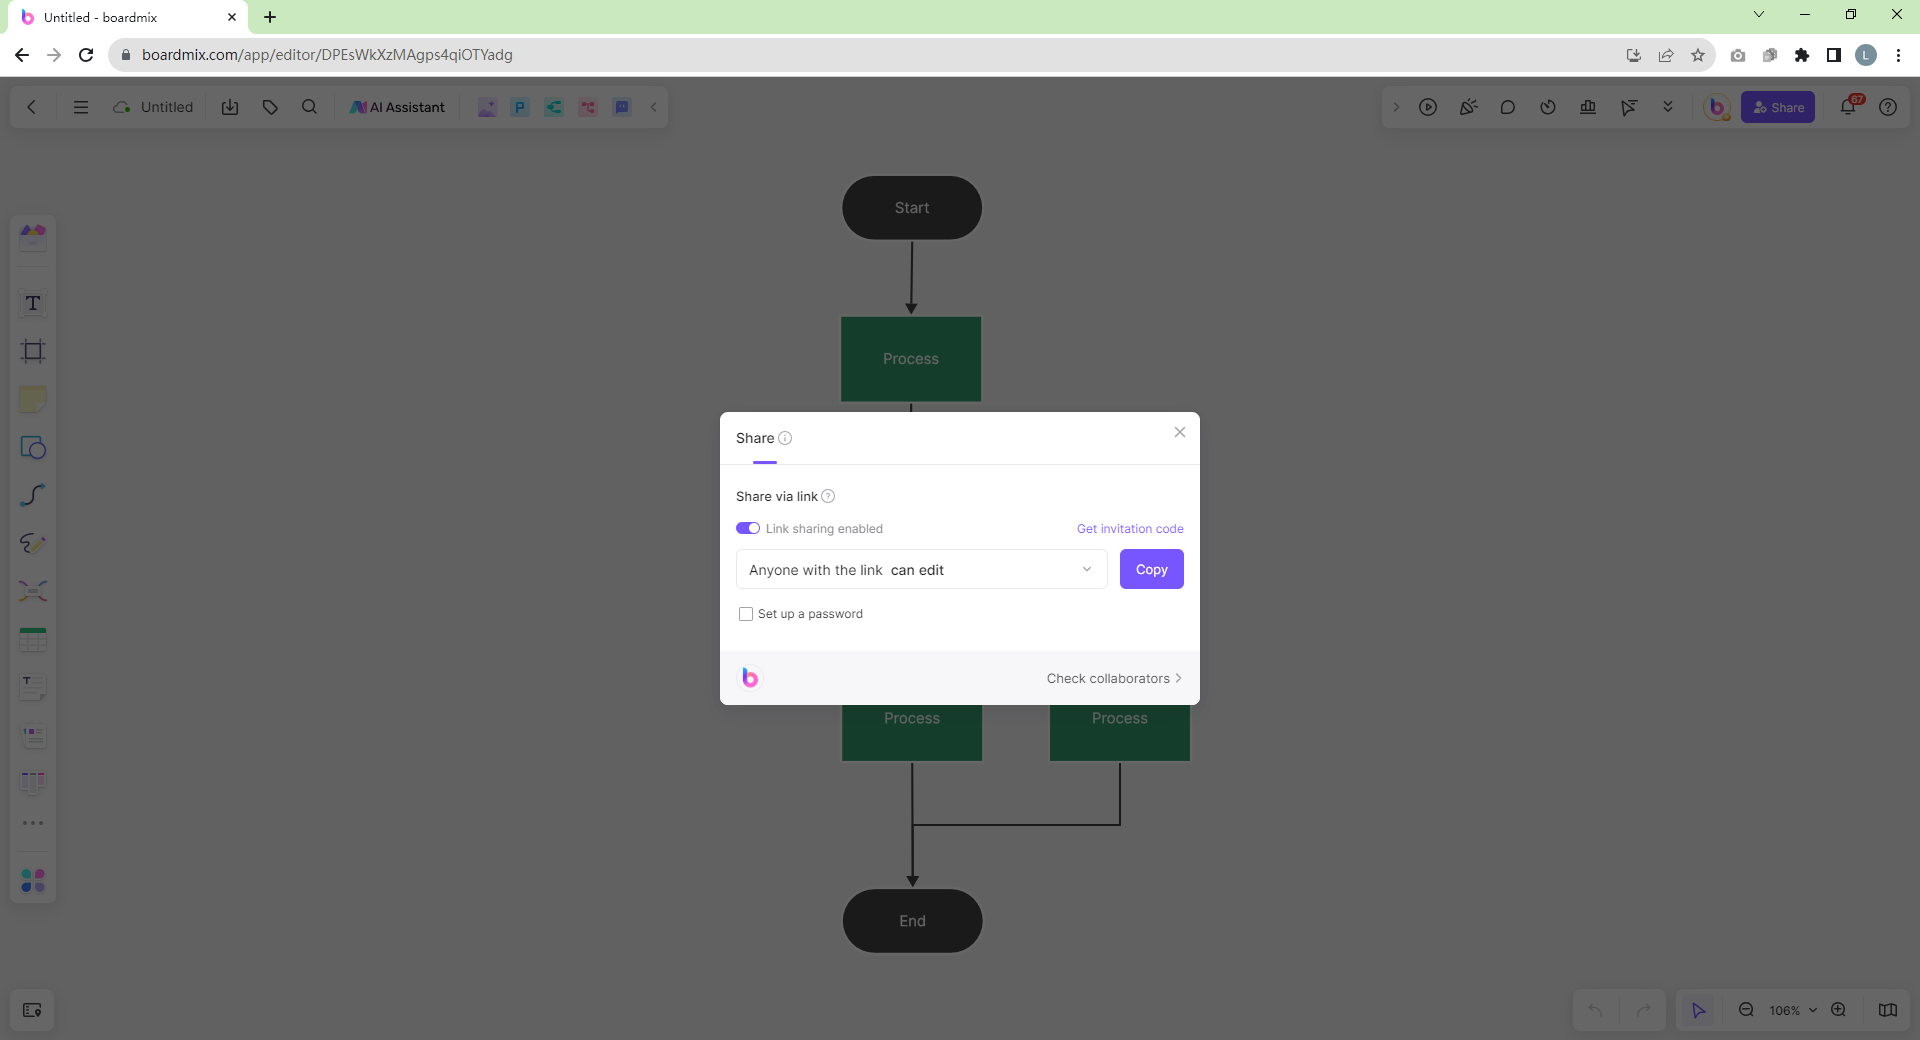
- Save and Share: After perfecting your flowchart, you can save it directly to your Boardmix account. What's more? You can also share the flowchart with your team or export it in various formats like PNG, PDF, and JPEG.
Creating from Scratch
If you prefer starting from scratch, Boardmix provides an easy-to-use canvas where you can build your flowchart block by block. The platform offers a vast selection of shapes, connectors, and design elements that give you the flexibility to visualize your process exactly the way you want.
To create a flowchart from scratch:
- Create a New Diagram: Click "New flowchart" or "Whiteboard" on the dashboard to start fresh.
- Choose Elements: Select shapes and connectors that suit your process from the toolbar on the left side of the interface. Drag these onto the canvas and arrange them according to your workflow.
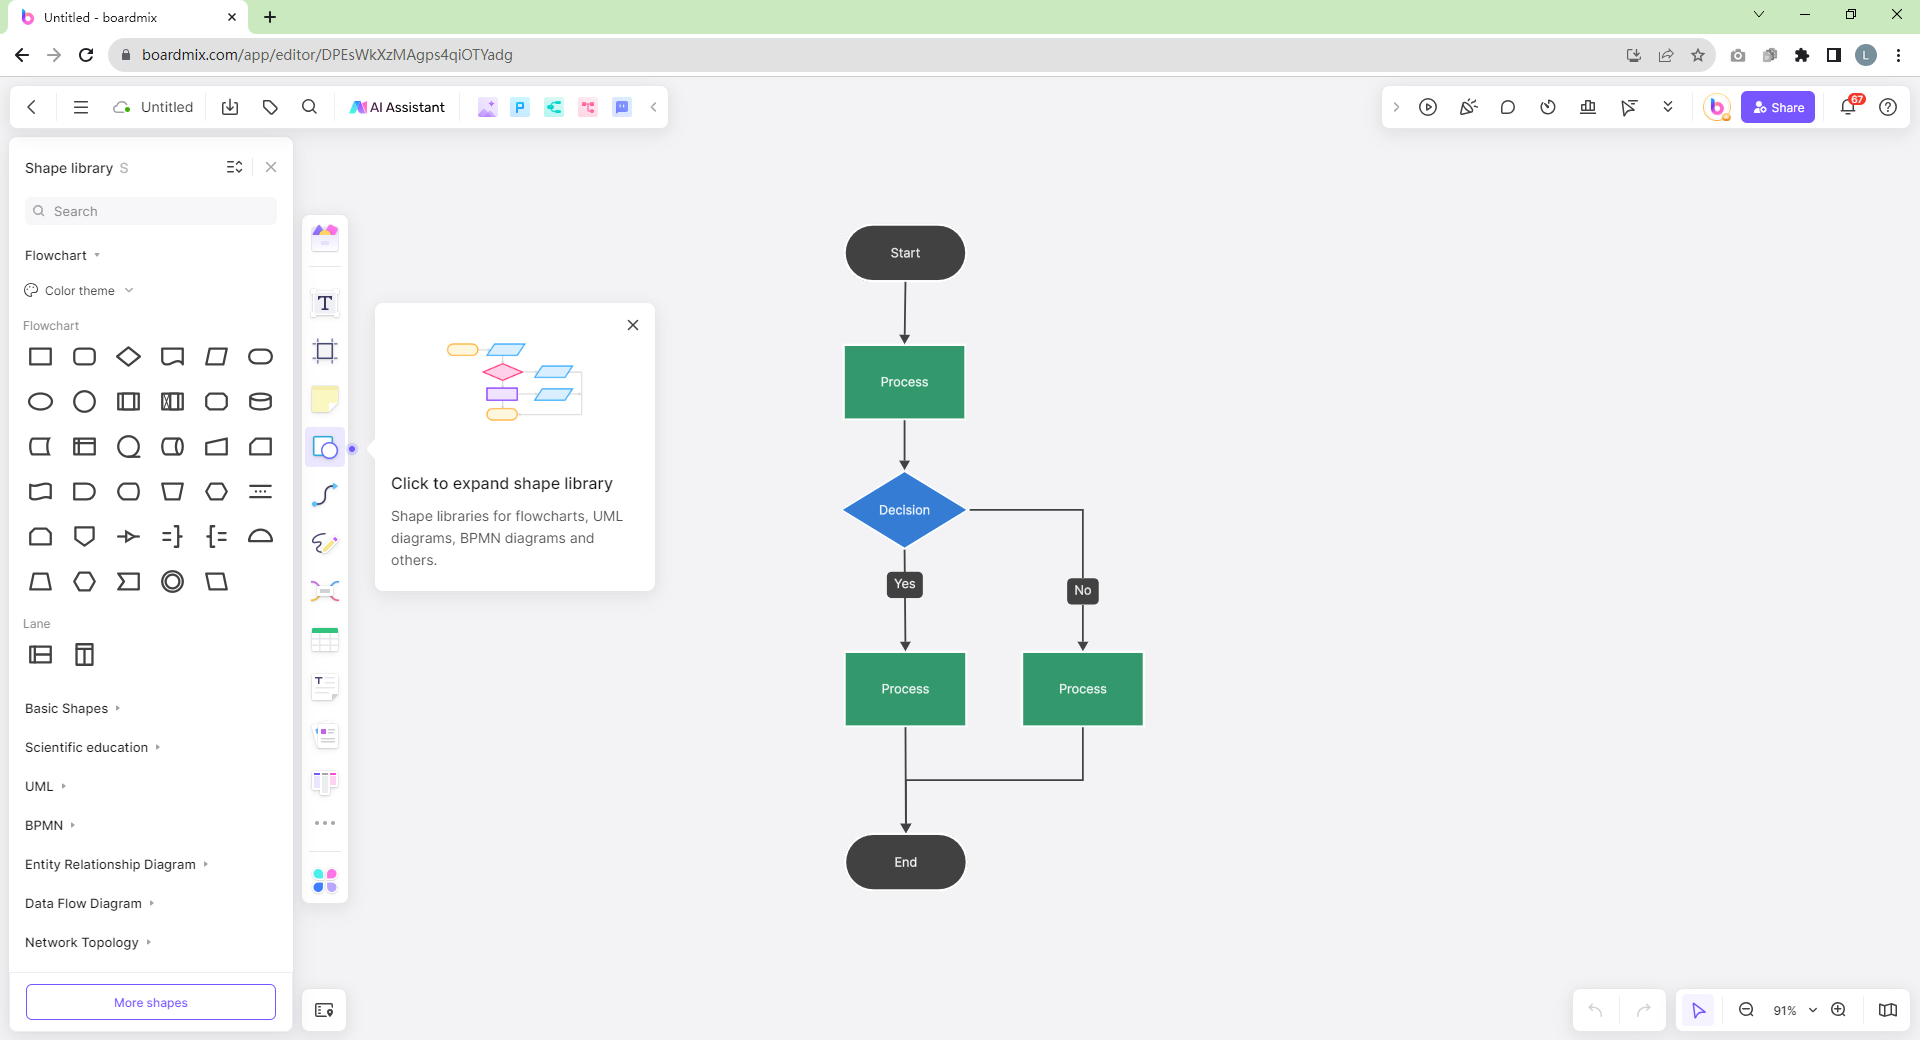
- Add Text: To add text to any shape or connector, just click on it.
- Design: Customize the appearance of your flowchart with colors, fonts, and more. The platform also lets you add layers for more complex diagrams.
- Save and Share: Save the finalized flowchart directly to your Boardmix account, share it with colleagues, or export it as per your preference.
Creating professional-looking flowcharts doesn't have to be an arduous task. Boardmix transcends the limitations of Google Slides with its real-time collaboration features, customization options, and simplicity of use. Whether you're dealing with a complex project or need a visual representation of a simple task, give Boardmix a try today and elevate your diagramming skills to new heights.
Which One is a Better Flowchart Maker: Google Slides or Boardmix?
While Google Slides offers basic diagramming capabilities, its limited features and a somewhat tedious process make it less suitable for intricate flowcharts. Boardmix, with its user-friendly interface and an array of choices, stands as a superior alternative for crafting detailed flowcharts. However, the final choice rests on your specific needs and requirements. Happy diagramming!