How to use Timeline Examples for Students in class?
Timelines are powerful visual tools that help students understand and memorize information while fostering their innovative thinking and skills. Here are specific steps and suggestions on how to use timeline examples for students in the classroom.
1. Set Goals and Themes
Before creating a timeline, teachers need to clarify the goals and themes of the timeline. This could be the sequence of historical events, the process of scientific advancements, the plot of literary works, or even students' personal growth experiences. With clear goals and themes, teachers and students can determine what information they need to collect and how to organize it.
2. Choose the Appropriate Timeline Type
Based on goals and themes, teachers can choose the most suitable timeline type. As mentioned earlier, there are various types such as digital timelines, handcrafted timelines, 3D model timelines, biological evolution timelines, and personal growth timelines. Each type has its characteristics and advantages, allowing selection based on students' age, interests, and curriculum requirements.
3. Prepare Necessary Materials
Gather all the materials needed for creating the timeline examples for student. For handcrafted and 3D model timelines, various arts and construction materials may be required. For digital timelines, computers and relevant software or online tools are essential.
4. Organize and Create the Timeline
Have students start creating their timelines according to the selected type. Teachers can provide guidance and assistance, ensuring each student understands how to create and populate their timeline.
5. Showcase and Share the Timelines
After completing the timeline examples for student, provide an opportunity for students to showcase and share their work. This not only allows students to learn from each other but also cultivates their expression and communication skills.
6. Reflect and Evaluate
Lastly, engage in reflection and evaluation activities. Have students review their creative process, reflect on the knowledge they gained, and assess whether their timelines meet the set goals. Teachers can use this feedback to adjust future teaching activities.
This approach not only enhances understanding of course content but also provides students with a creative learning experience through timeline examples.
5 Creative Timeline Examples for Students
Timelines are effective visual tools used to display the sequence of events, processes, or stories. For students, whether planning projects, studying historical events, or presenting personal experiences, creating timelines offers a deeper understanding. In 2023, let's explore five innovative student timeline examples.
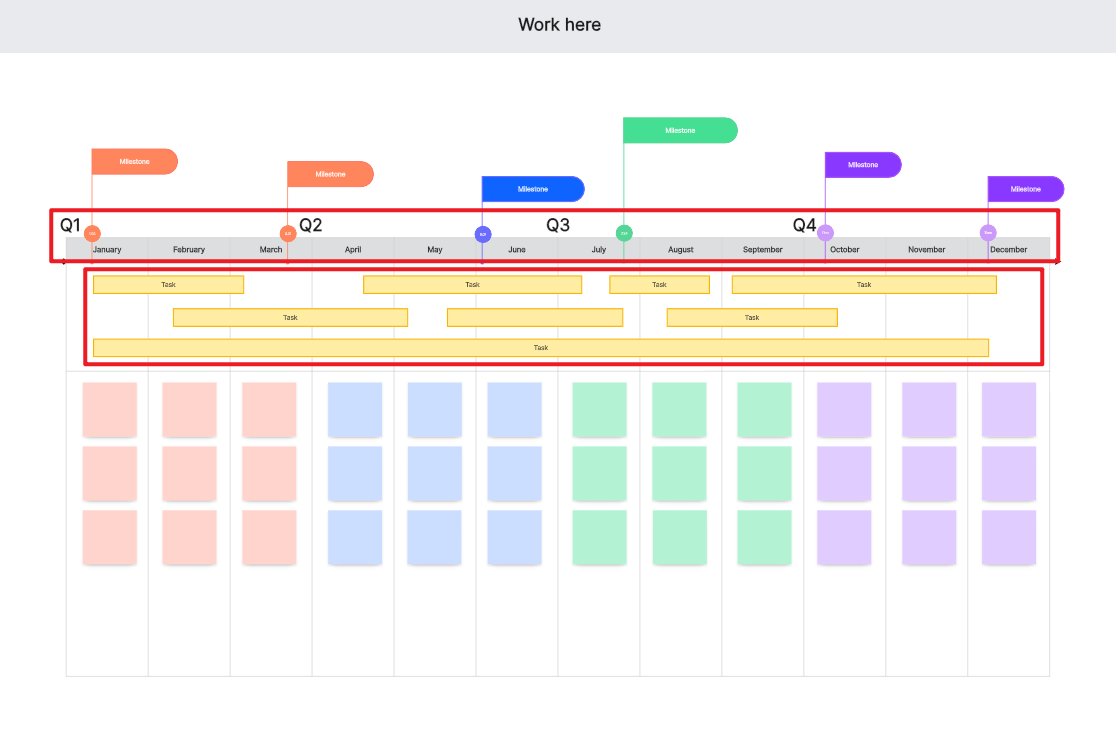
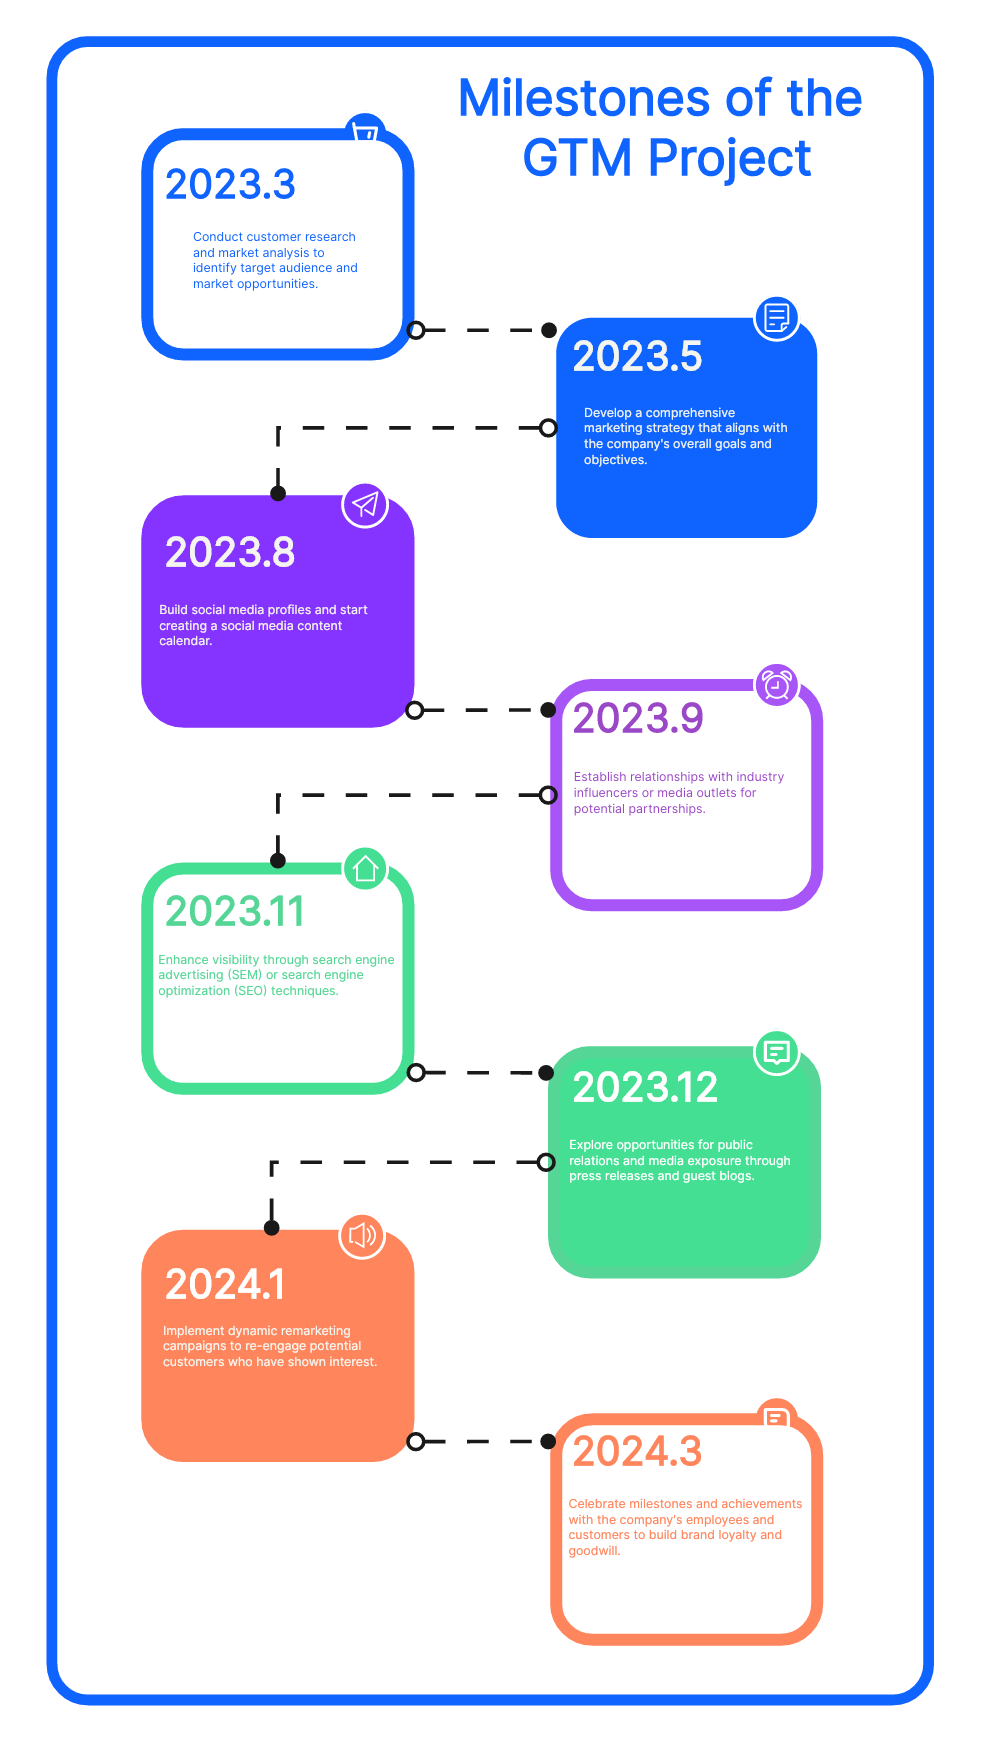
1. Interactive Digital Timeline
With technological advancements, students increasingly utilize digital tools to create timelines. Using online timeline tools such as Tiki-Toki or Timeline JS, students can develop interactive, dynamic timelines. These timelines can incorporate not only text and images but also multimedia elements like videos, audio, and maps.
Example: In a history project, students can create an interactive timeline on World War II, detailing crucial battles and events with relevant images, audio, or video materials.
2.Handcrafted Timeline:
While digital timelines are convenient and engaging, traditional handcrafted timelines still possess a unique charm. Students can use various materials like cardboard, colored pens, and stickers to craft personalized timelines.
Example: In an art class, students can create a timeline depicting the career of a famous artist. Each node could be adorned with paintings or photos showcasing the artist's creative evolution.
3.3D Model Timeline:
3D model timelines offer a novel representation. Students construct three-dimensional models, with each model representing a significant node on the timeline.
Example: In a geography class, students can craft a 3D model timeline illustrating the history of tectonic plate movements. The model may include changes in topography, such as mountain ranges, rifts, and volcanoes, vividly showcasing the process of crustal evolution.
4.Biological Evolution Timeline:
Specifically designed for biology studies, this timeline allows students to research and present the evolutionary processes of living organisms.
Example: Students can create a timeline depicting the evolution of dinosaurs, covering various species from the Jurassic to the Cretaceous period. This aids in a better understanding and memorization of the history of dinosaurs.
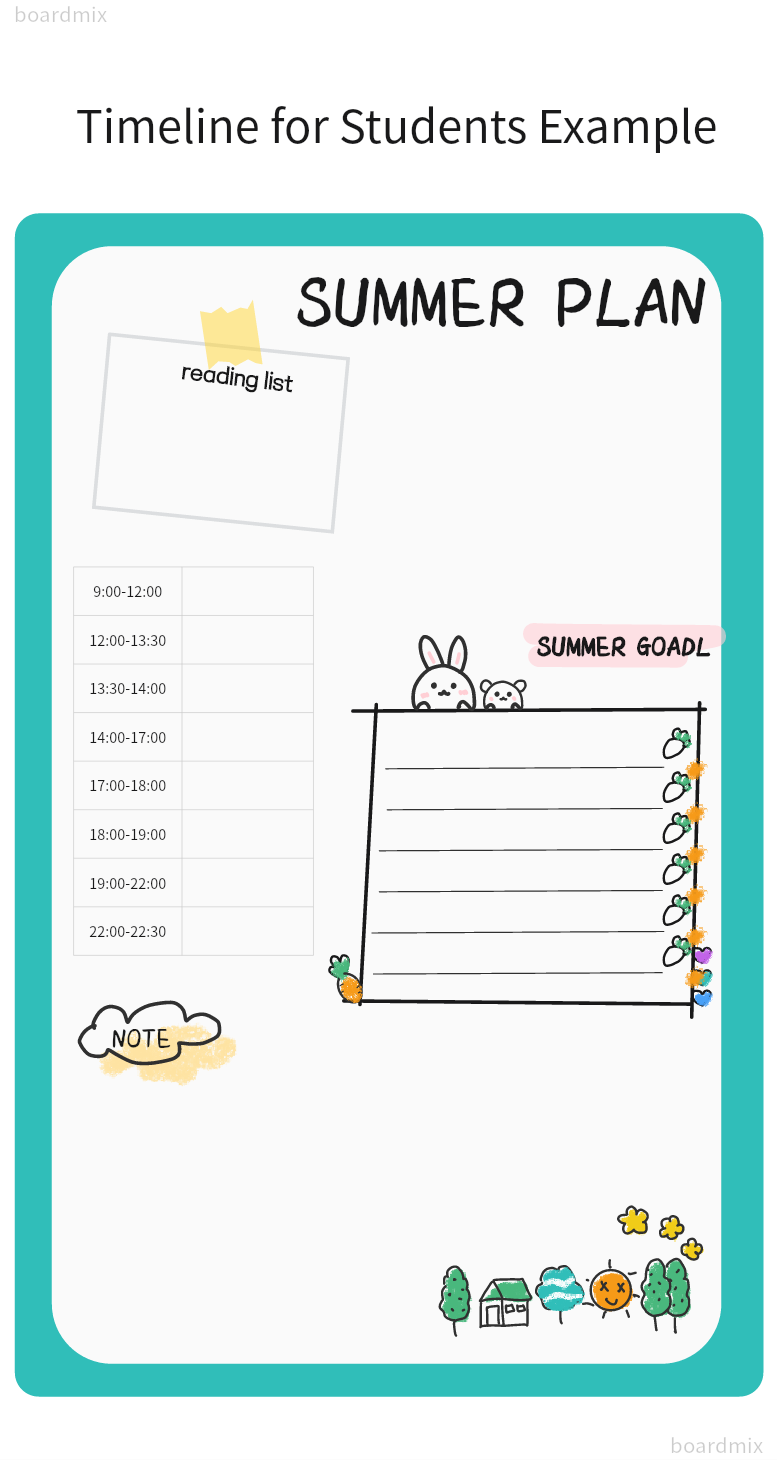
5.Personal Growth Timeline:
The most personalized timeline for each student is their own growth timeline. Students can use this timeline to review and summarize their learning, life experiences, and personal development.
Example: In a writing class, students can create a timeline showcasing the progression of their writing skills. It could include completed works, received feedback, and achievements, facilitating better reflection and planning for their learning journey.
These are five innovative student timeline examples, aiming to inspire and encourage more students to utilize timeline tools for learning in creative and personalized ways.
How to Create Timelines for Students in Boardmix?
Boardmix is an online educational tool that enables teachers and students to collaboratively create and share various visual content. Here are the steps on how to make student timeline examples in Boardmix.
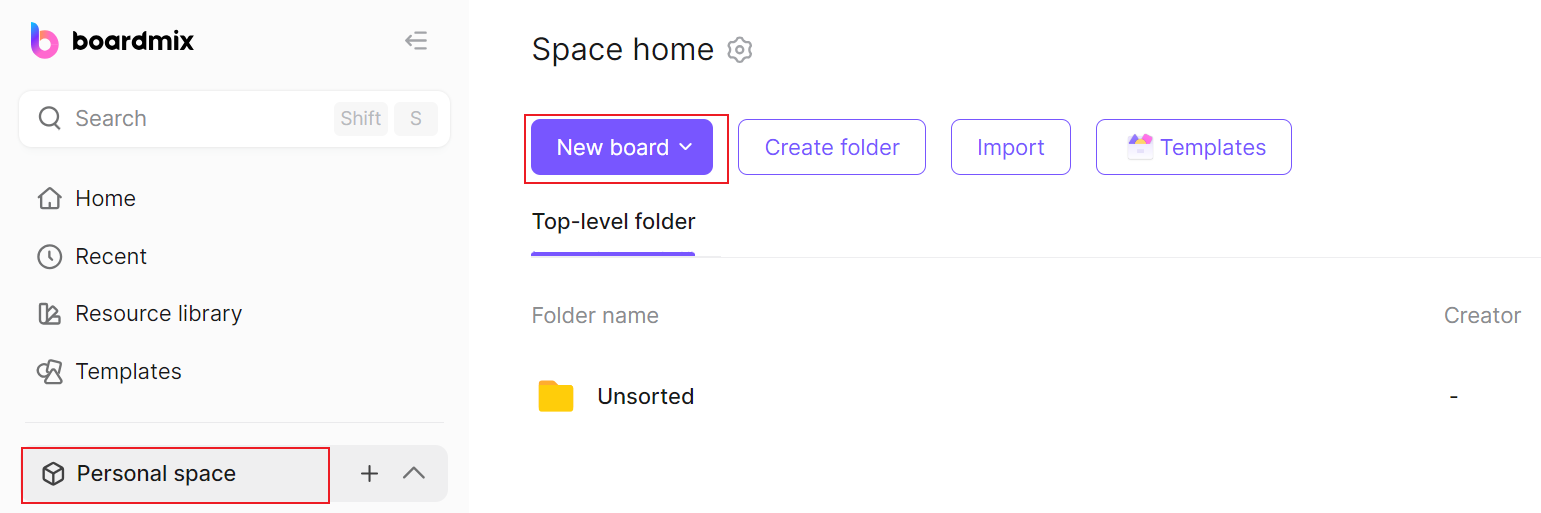
1. Log in and Create a New Boardmix Project
First, visit the official Boardmix website and log in to your account. If you don't have an account, you can register for a new one. Then, click on the "Create New Project" button on the page to start a new timeline project. Or search for Timeline template on the boardmix and you can edit it online directly.
2. Set Project Theme and Background
On the new project page, enter your project name, such as "Student Timeline." Next, choose a background image or color for your timeline.
3. Add and Edit Timeline Nodes
On the project page, click the "Add Node" button on the toolbar to add a new event or phase to the timeline. In the pop-up window, enter the node's title, date, and detailed description. You can also upload or select images, videos, and other multimedia resources to enhance the visibility and interactivity of the node.
4. Adjust Timeline Layout and Style
Boardmix allows you to freely adjust the layout and style of your timeline. For instance, you can change the timeline's direction, adjust the size and position of nodes, and modify text fonts and colors. Customize your timeline examples for student to suit your teaching needs and students' reading habits.
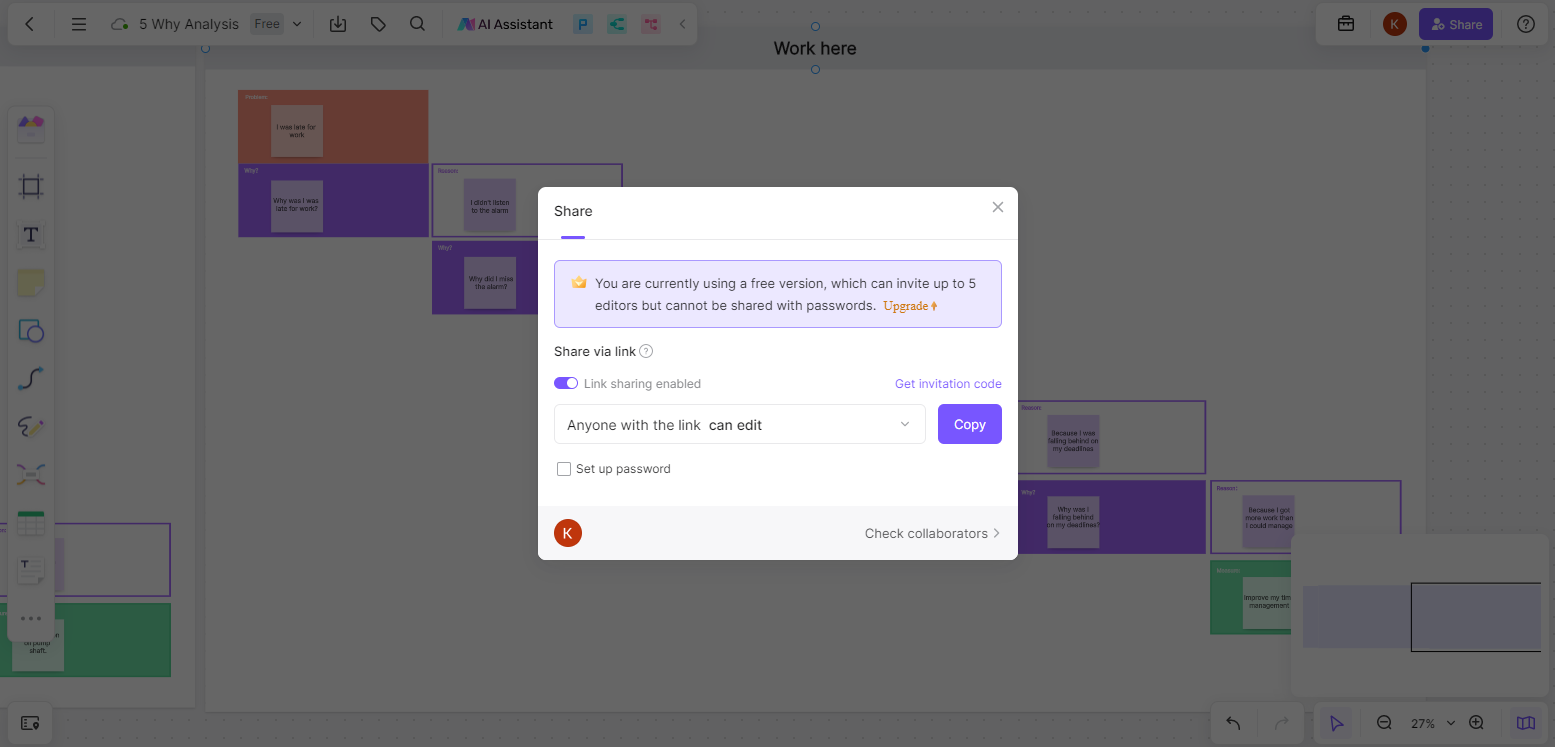
5. Save and Share the Timeline
Finally, when you've finished editing the timeline, remember to click the "Save" button on the toolbar to save your work. Then, you can choose to make your timeline project public or share it. Copy the project link or send it to students and other teachers via email, social media, etc.
Following these steps, you can successfully create an innovative and effective student timeline in Boardmix.