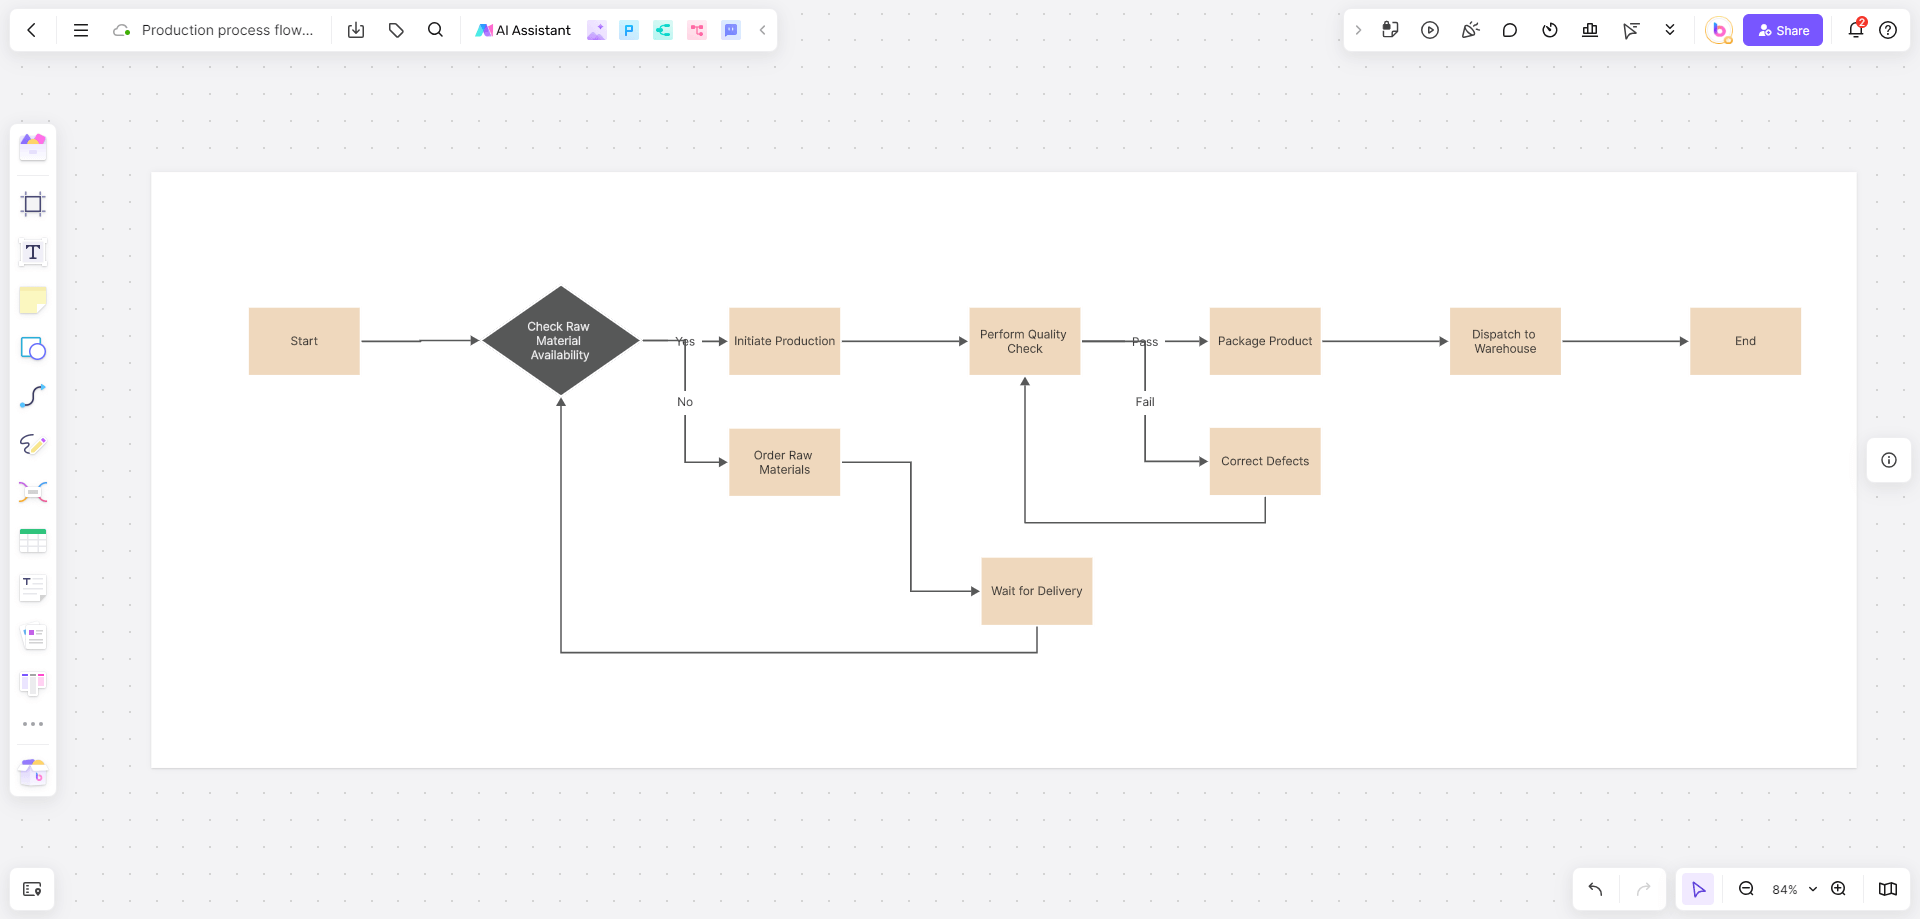
Flowcharts are a commonly used tool in both daily office work and study, helping us to display and understand various processes and workflows. MS Office Word, as one of the most common office software, includes features for creating flowcharts. This article will provide a detailed guide on how to create flowcharts in Word, making it easy for you to get started and achieve clear visualizations of your processes.
How to Create a Flowchart in Word
Creating the Canvas
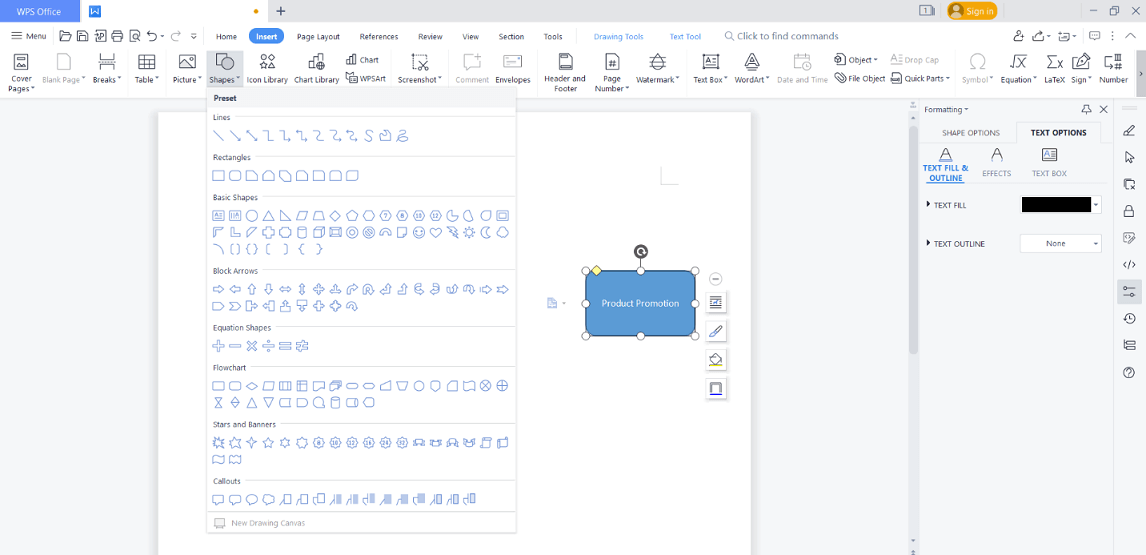
First, click on the "Insert" tab, then select the "Shapes" option, and click on "New Drawing Canvas." This will create a blank canvas, ready for you to start drawing your flowchart.
Making the Flowchart
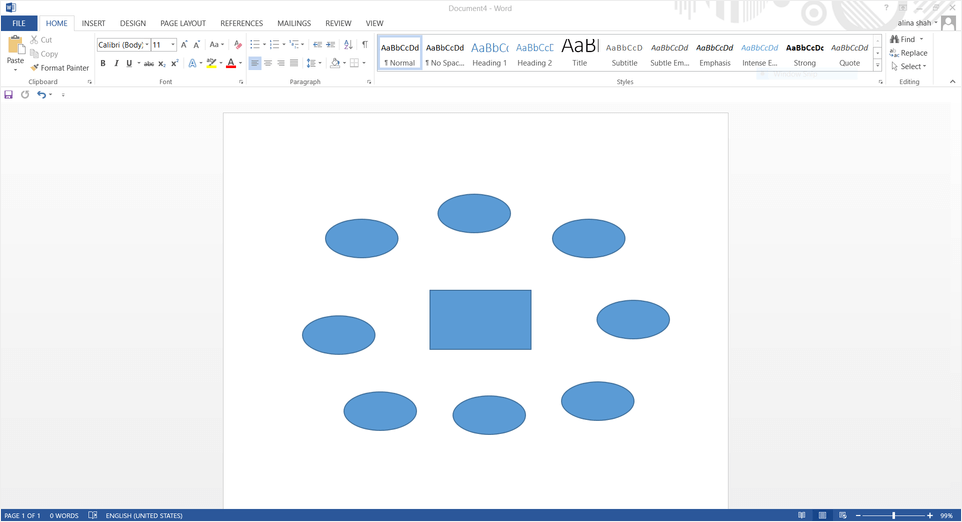
Based on the specific process, fill in the relevant content for each symbol. Then, use the connector tool to link the various steps, forming a complete workflow diagram. Here are the simplified steps: create the canvas, select shapes, add symbols, fill in content, and connect the process.
Using Online Software for Flowcharts
While Word is suitable for simple flowcharts, more complex flowcharts typically require professional tools like Boardmix. Boardmix comes with built-in professional flowchart symbols that can be directly dragged and dropped. You can freely adjust the theme colors and shapes, making it easy and convenient to create complex flowcharts.
Advantages of Using Boardmix
Boardmix offers several advantages over traditional tools like Word:
-Ease of Use: Boardmix's intuitive interface makes it easy to add and connect symbols and shapes.
-Customization: Freely adjust the size, position, and style of elements. Change colors, line thickness, and fonts to enhance clarity and aesthetics.
-Collaboration: Supports real-time collaboration, allowing team members to share and edit flowcharts simultaneously.
-Automation: Features Boardmix AI, which can automatically generate flowcharts, saving you time and effort.
Step-by-Step Guide to Creating a Flowchart in Boardmix
Logging into Boardmix
Open the Boardmix website or download the client, register or log in to your account, and enter the workspace.

Creating a New Canvas
Select to create a new canvas or whiteboard, and set the appropriate dimensions and layout for your flowchart.
Adding Flowchart Elements
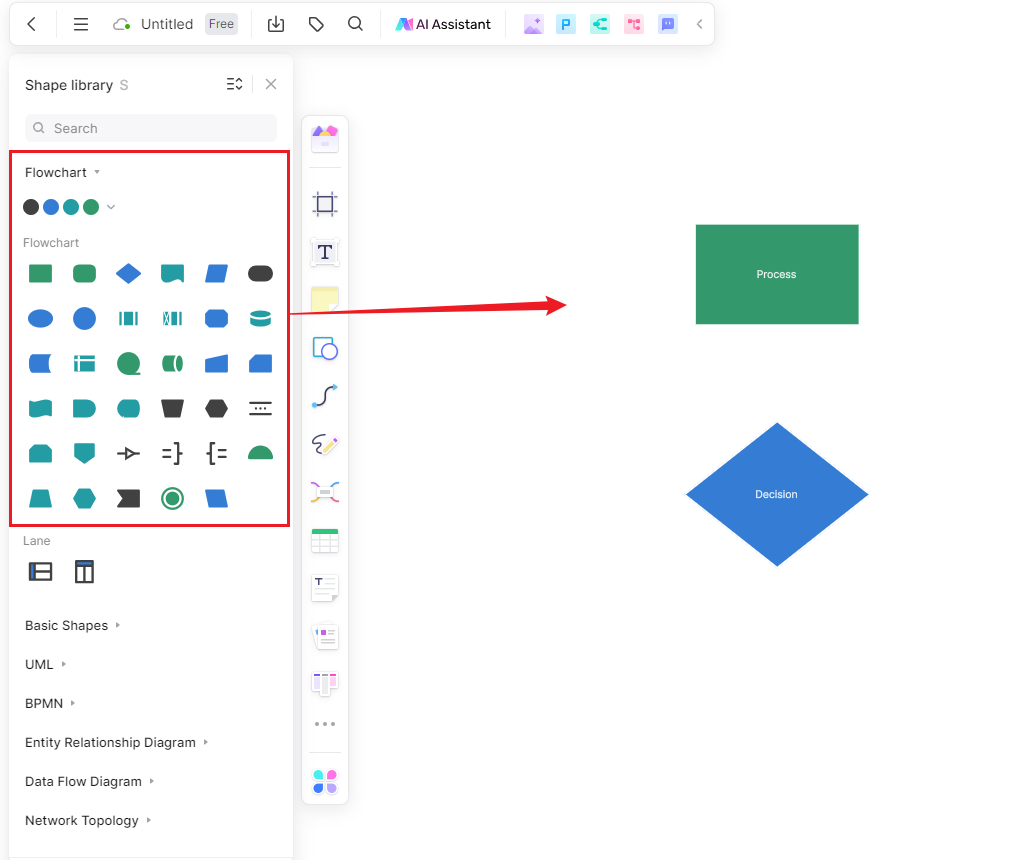
In the toolbar, find the flowchart symbol library within the shape tools. Select symbols that represent different meanings, such as rectangles, diamonds, ovals, etc., and start drawing the various steps and elements of your flowchart.
Connecting Flowchart Steps
Use arrows or connector tools to establish connections between steps, indicating the sequence and relationships of the process.
Adding Text and Annotations
Use the text tool to add text labels to each step and connector line, describing specific content or explaining details. You can label step names, responsible persons, timeframes, and other information.
Adjusting and Beautifying the Diagram
Adjust the size, position, and style of flowchart elements as needed. You can change colors, line thicknesses, fonts, etc., to make the diagram clearer and more visually appealing.
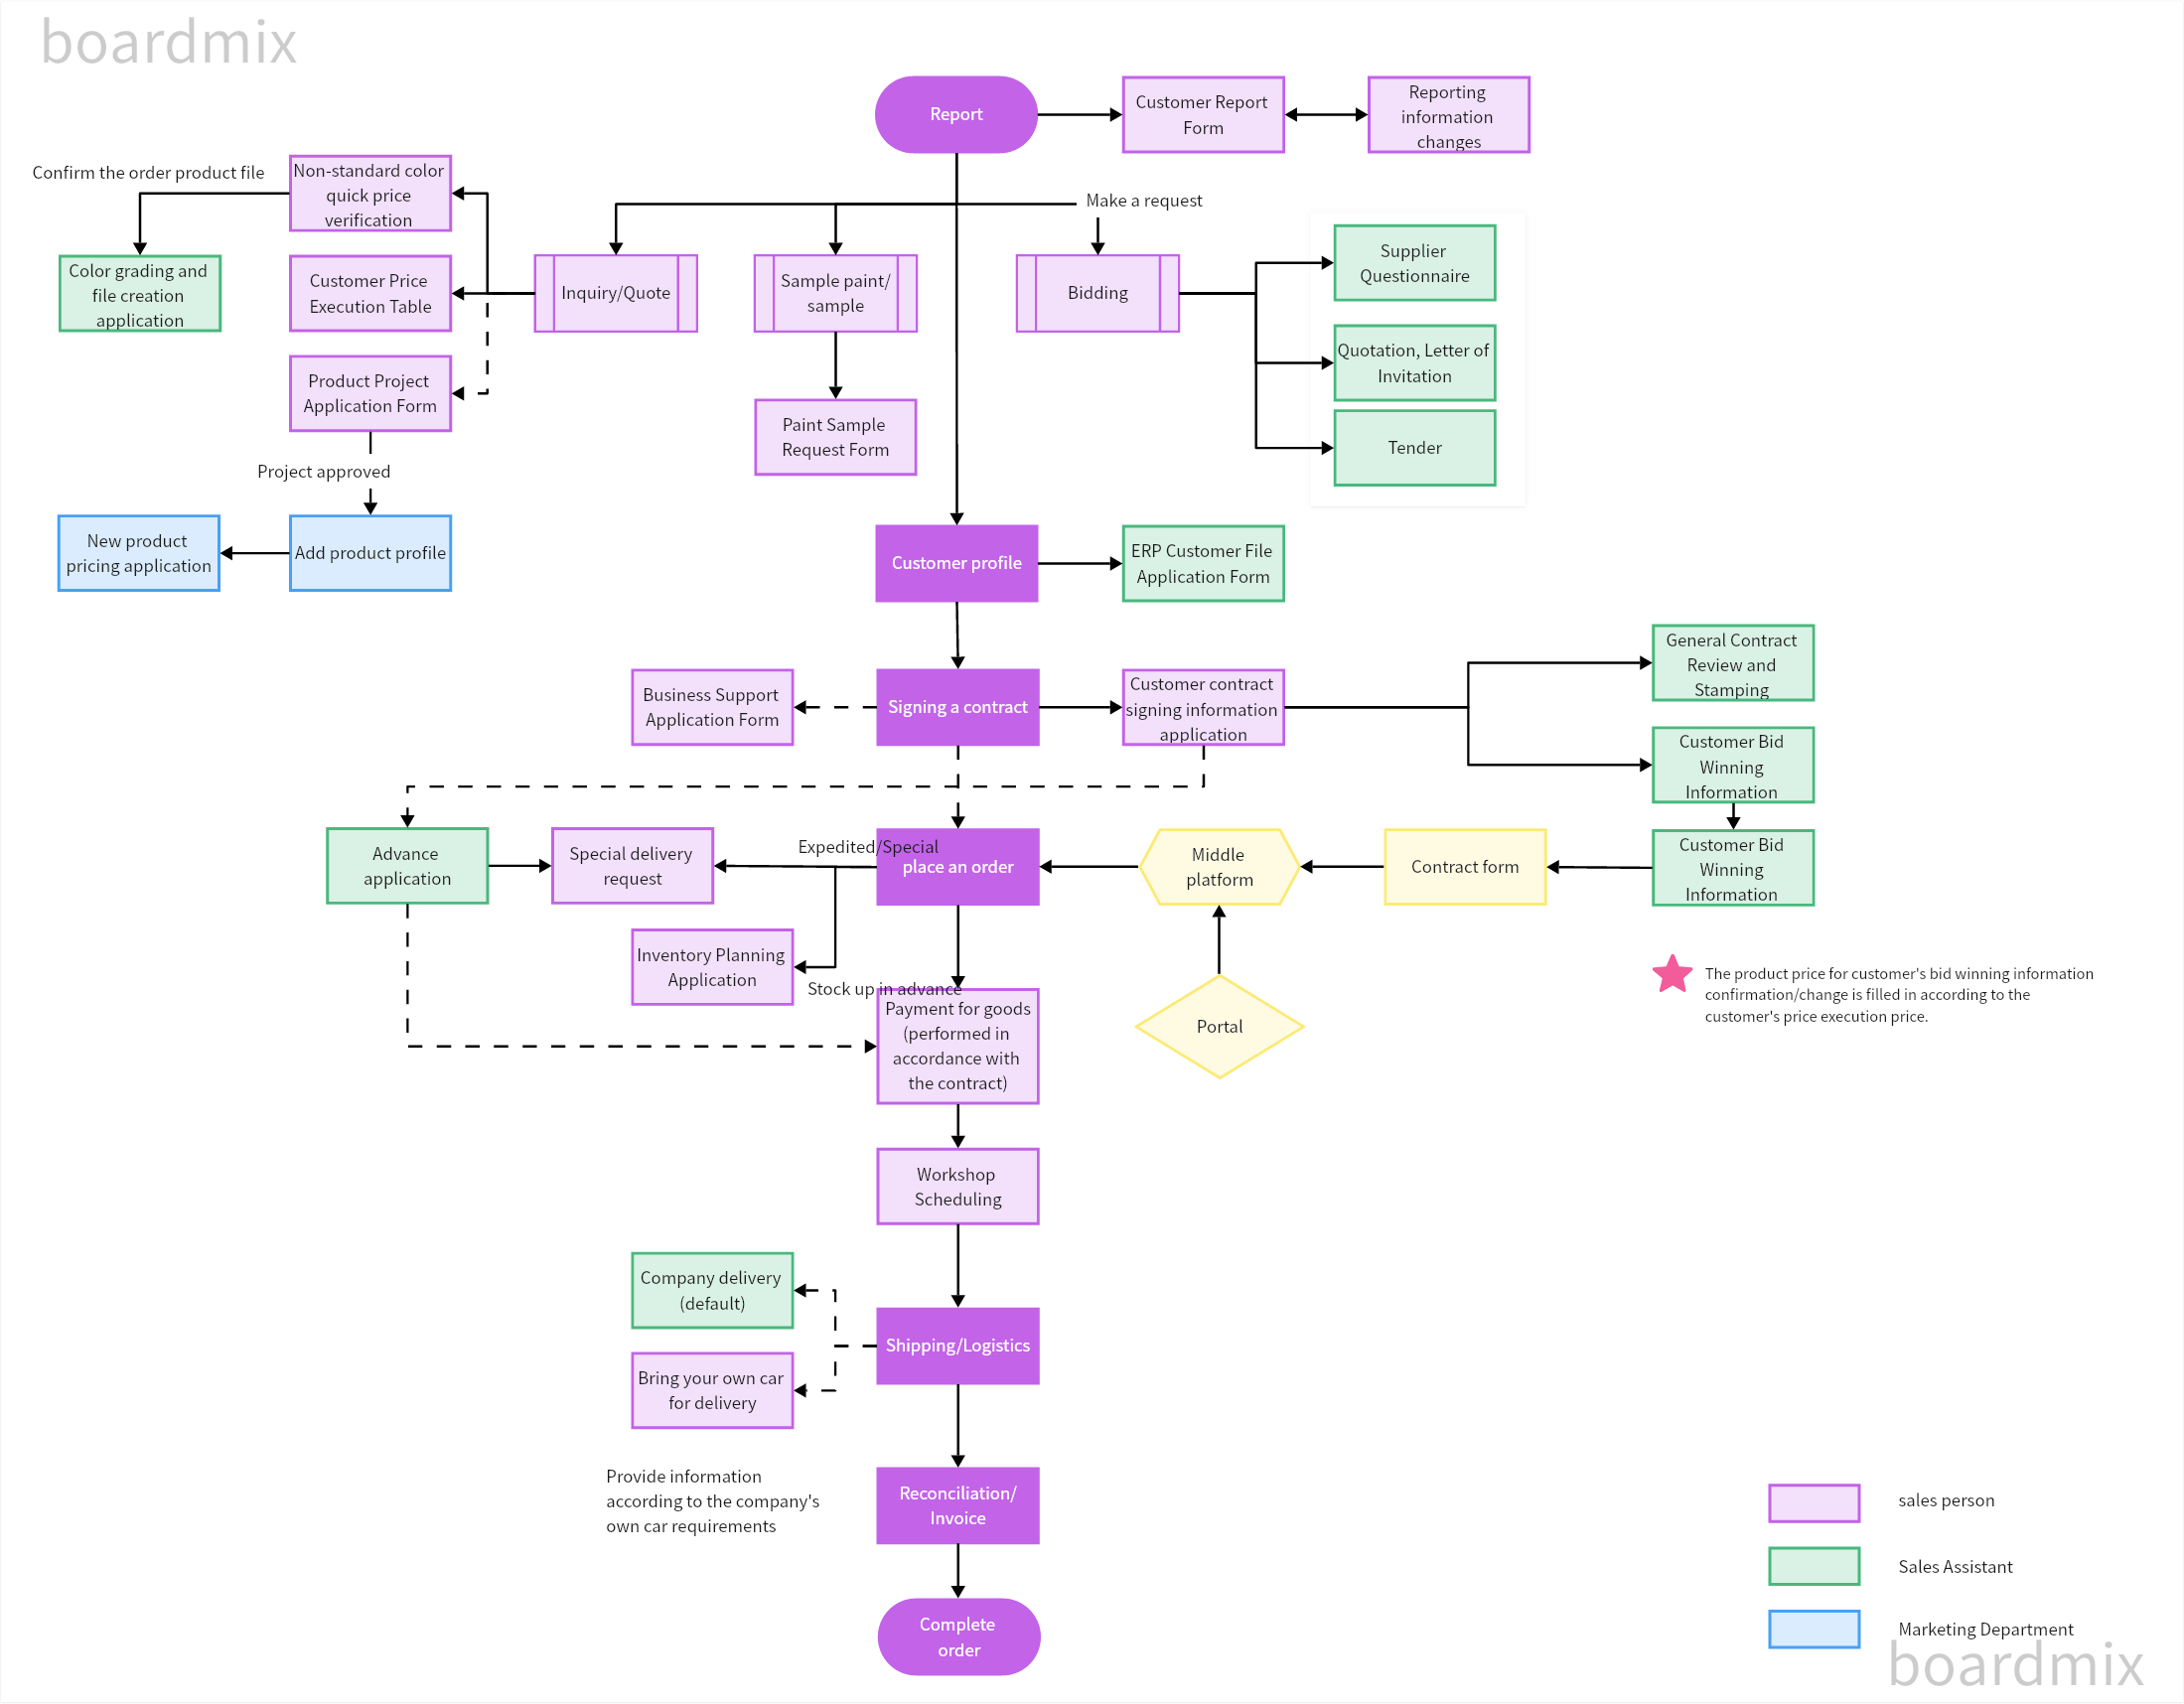
Exporting and Sharing
After completing the flowchart, you can export it as an image, PDF, or other common formats for saving or sharing with others.
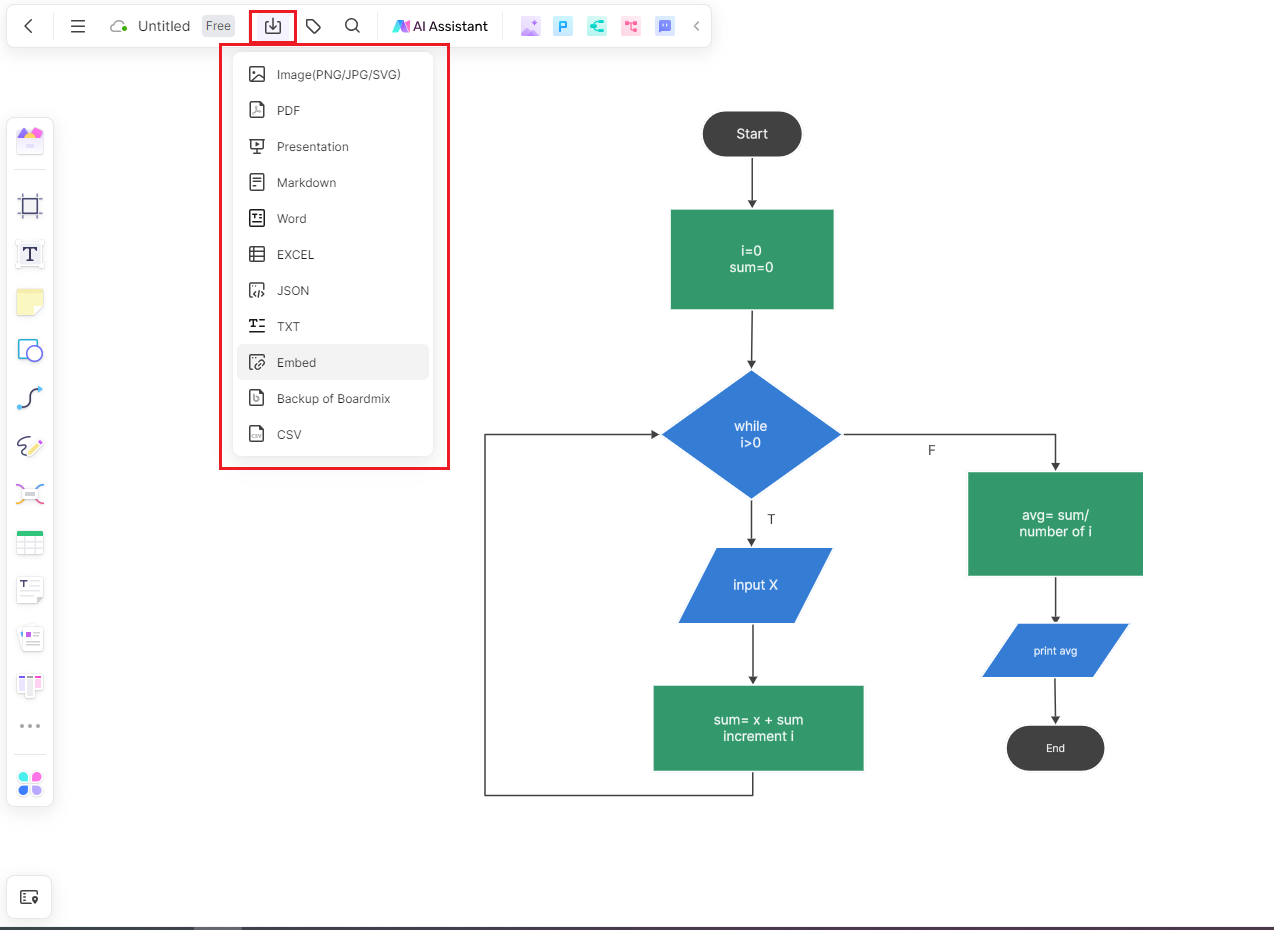
With Boardmix's intuitive interface and rich drawing tools, creating flowcharts becomes simple and enjoyable. You can quickly add various symbols and shapes, easily connect steps, and adjust layouts. Additionally, Boardmix supports team collaboration, enabling members to share and edit flowcharts in real time, promoting cooperative work. Plus, with Boardmix AI, you can automatically generate flowcharts, enhancing productivity and enabling smart office work.
By following these guidelines, you can effectively utilize both Word and Boardmix to create detailed and professional flowcharts, improving your workflow visualization and collaboration.


