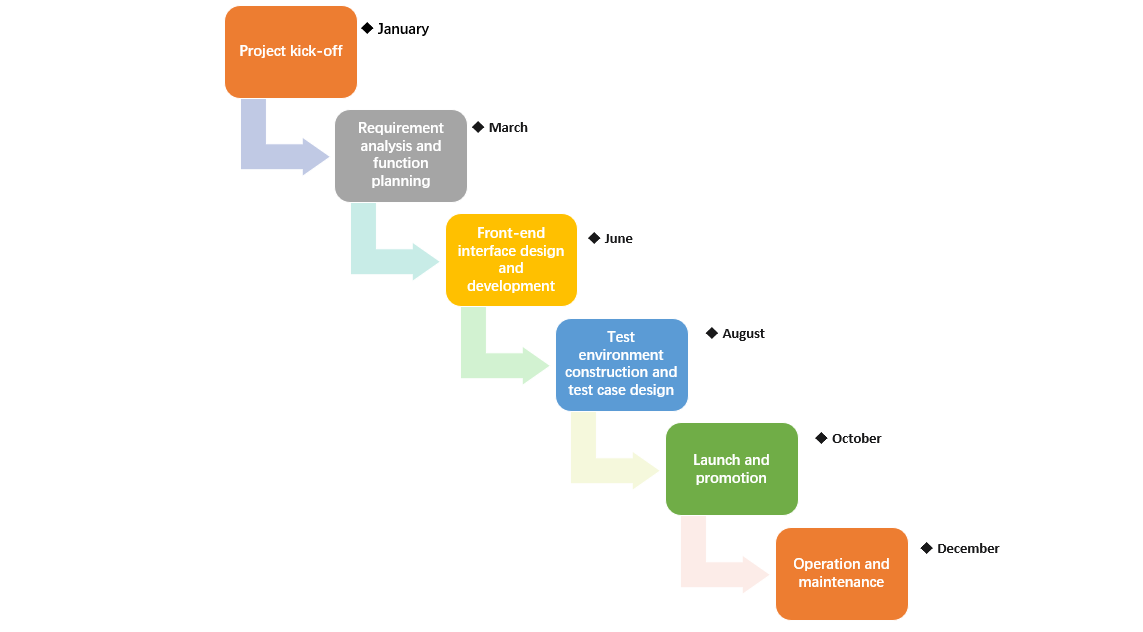
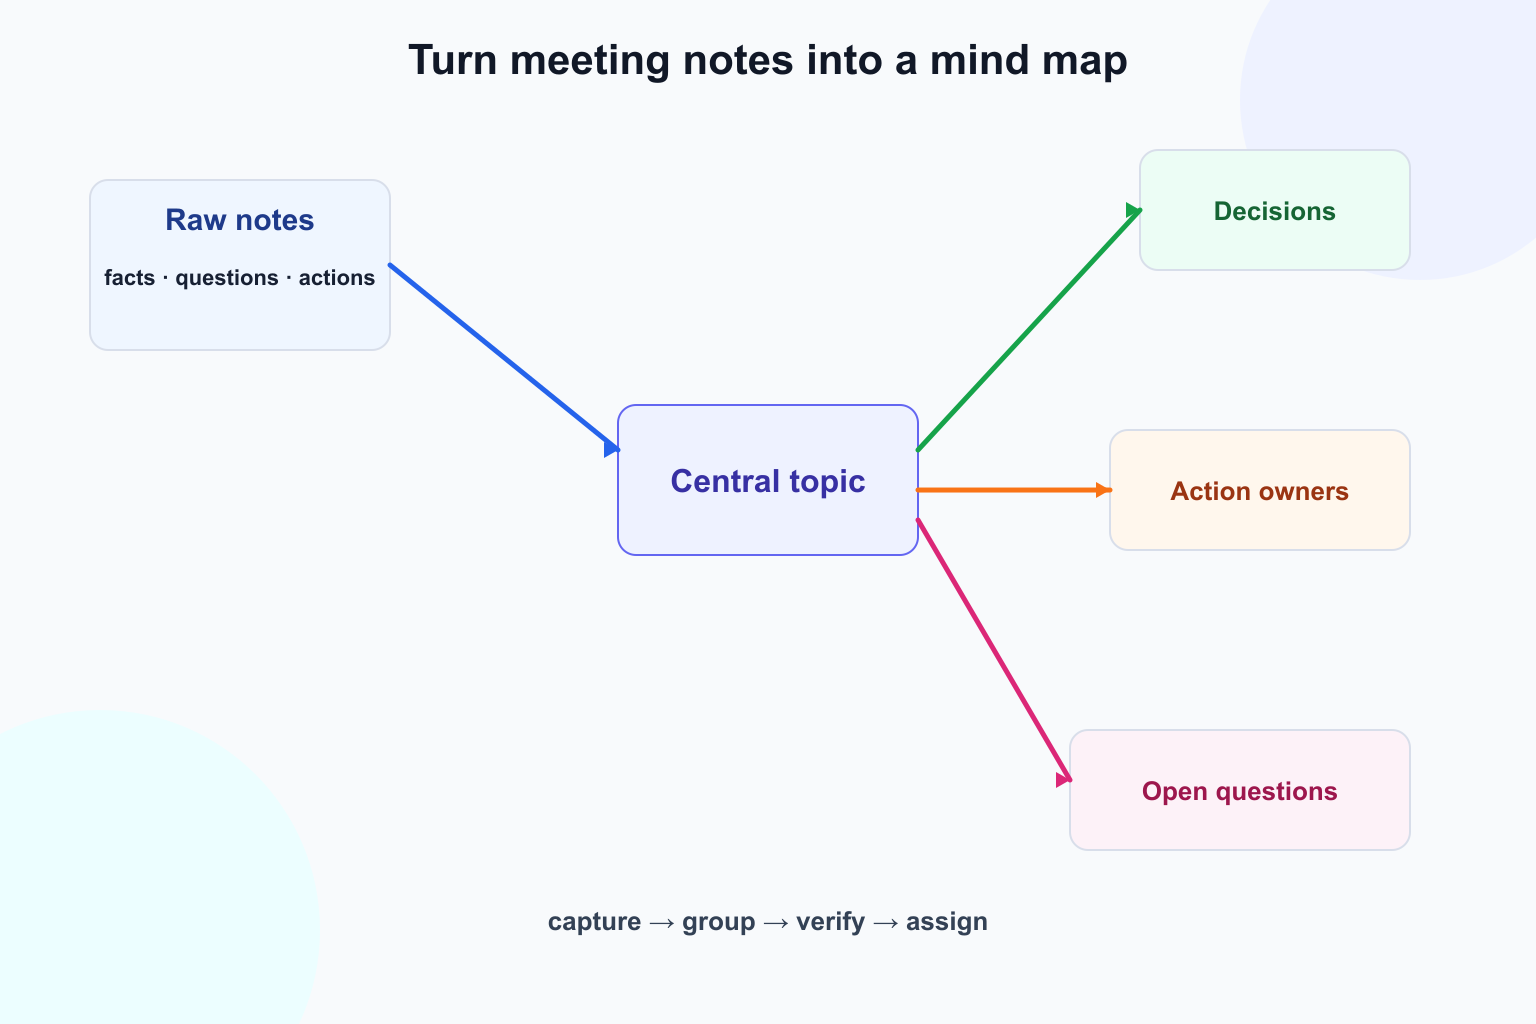
A historical timeline is a chronological, source-backed visual record of events. It answers a reader's first questions - what happened, when did it happen, and what context helps explain it - without treating a simple sequence as proof that one event caused another.
This guide explains how to define a useful scope, verify dates, choose significant events, and turn the result into a readable timeline. It also includes world, U.S., and technology examples plus a practical Boardmix workflow. Use the examples as starting points, then check the original sources before publishing or teaching from them.
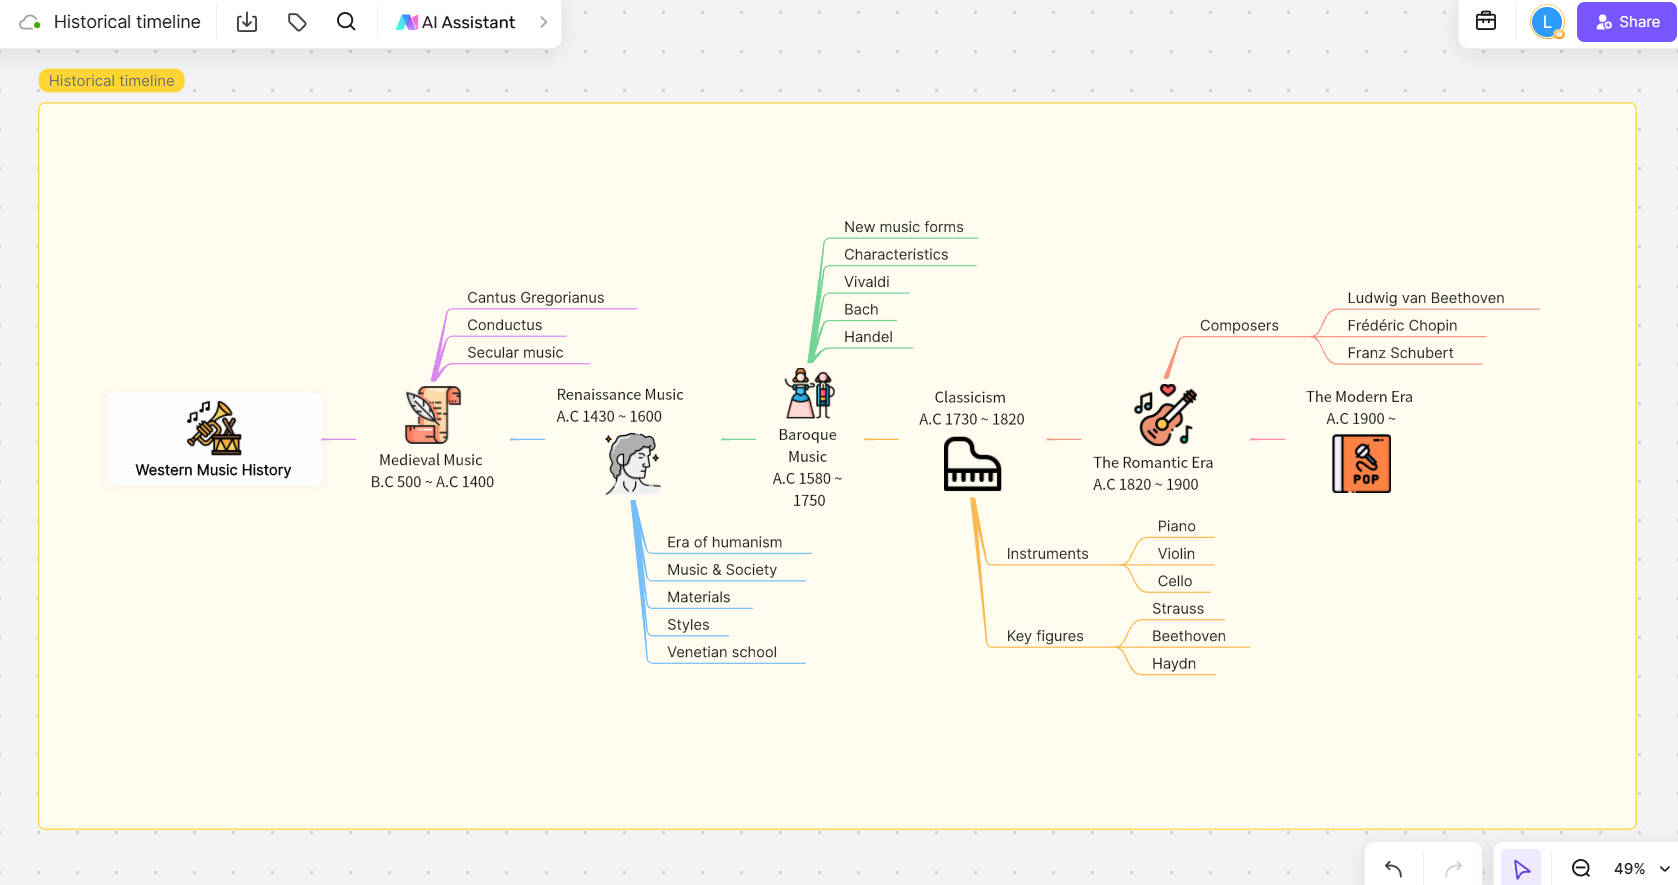
Create a historical timeline on Boardmix
What Is a Historical Timeline?
A historical timeline arranges events from a defined past period in chronological order. Each entry normally has a date or date range, a short event label, and enough context to explain why the entry belongs in the story. A timeline may cover a civilization, a social movement, a company, a technology, or a single year; the subject and audience determine the scale.
A general timeline can describe any sequence, including a project plan or a process. A historical timeline is different because its entries refer to past people, places, decisions, and evidence. For a general definition and broader timeline types, see what a timeline is; this page focuses on historical research and interpretation.
Five elements of a useful history timeline
- Scope: State the topic, geography, audience, and start and end dates before you collect events.
- Date or range: Use BCE/CE consistently, preserve a range when an event spans years, and mark approximate or disputed dates instead of inventing precision.
- Event: Name the action or change in a few words so the timeline can be scanned.
- Context: Add the people, place, consequence, or question that makes the entry meaningful.
- Evidence: Keep a source note for every important claim, especially when different sources disagree.
Scale is the design rule behind all five elements. A thousand-year timeline cannot give every decade the same amount of space, while a one-year timeline may need weeks or days. Choose a visual interval that matches the question, and explain any jumps in time so the gaps are not mistaken for missing history.
Why Use a Historical Timeline?
Timelines make sequence visible, but their value is more than memorizing dates. They help readers compare developments, locate turning points, and ask better questions about evidence and perspective.
- Chronology and context: A date anchors an event among the institutions, conflicts, technologies, and communities around it.
- Comparison: Parallel tracks can show what was happening in two regions or fields at the same time.
- Pattern finding: Clusters, long gaps, and repeated changes can suggest a question for deeper research.
- Learning and recall: A compact visual structure gives students and teams a framework for revisiting a longer narrative.
- Evidence literacy: A source column makes it clear which entries are documented facts, interpretations, or claims that need more checking.
Use a timeline as an invitation to investigate, not as a substitute for a full account. The linear format can imply a single inevitable path or a cause-and-effect relationship when the evidence only shows that events happened in sequence. Compare perspectives and label interpretation where it matters. The DoHistory timeline guide makes this limitation explicit, while the Library of Congress primary-source timeline shows how chronology can be paired with original documents.
For classroom or public-facing work, include voices that a short milestone list might omit. A clear note about selection criteria - whose experiences are represented, which dates are approximate, and which sources were prioritized - makes the timeline more trustworthy.
How to Create a Historical Timeline
The most reliable workflow separates research from layout. Build a small, traceable event list first; only then choose colors, spacing, and visual decoration.
- Define the question and scope. Write one sentence describing what the timeline should help the reader understand. Set the geography, people or system, start and end dates, and intended audience.
- Gather and log sources. Prefer primary sources when they are available, then use reputable secondary sources to provide context. Record the title, publisher, URL, and access date while you research instead of trying to reconstruct citations later.
- Select significant events. Keep events that answer the question or explain a transition. Remove duplicates, trivia, and entries that cannot be supported. If an event is important but its exact date is uncertain, keep the uncertainty visible.
- Normalize the dates. Decide whether the timeline uses BCE/CE or another convention. Use a consistent format for single dates, ranges, circa dates, and periods before year 1. Sort by the actual date, not by the order in which you found the sources.
- Choose a layout and scale. Use a linear layout for one sequence, parallel lanes for simultaneous regions or themes, and a vertical or scrollable layout when labels need more room. Use proportional spacing when the interval itself matters; use grouped periods when readability matters more.
- Write concise event cards. Put the date, event, context, and source close together. A one-line label can link to a longer note, but do not make the reader guess what an entry means.
- Review, credit, and share. Ask a subject-matter reader to check dates and wording. Test the mobile view, keyboard access, image descriptions, links, and exports before you publish.
A copyable research record can look like this:
Date | Event | Context or why it matters | Source | Confidence
1492 CE | Columbus reaches the Caribbean | Begins sustained European contact and colonization in the region | Primary/secondary source URL | High
c. 500 BCE | Event with an approximate date | Explain why the date is estimated | Source URL | Medium
Keep the source record even after the visual is finished. It makes updates easier and prevents a polished design from hiding a weak or outdated claim.
Build the visual in Boardmix
Once the event list is checked, Boardmix can provide a shared canvas for arranging cards, adding images and links, and reviewing the story with collaborators. The exact templates and plan limits can change, so test the current workspace before promising a particular export or collaboration feature.
Step 1: Choose a timeline template. Start with a layout whose scale fits the period. A blank canvas is useful for parallel lanes; a ready-made timeline is faster for a single sequence.

Step 2: Add dates and event details. Enter the verified date or range, a concise label, and the context that explains the event. Keep the source link in the card or in a companion reference list.

Step 3: Customize for meaning. Use color, icons, or lanes to distinguish themes only when the legend is obvious. Keep contrast high and do not rely on color alone to communicate a category.

Step 4: Review the complete sequence. Check date order, spacing, labels, and the relationship between parallel tracks. Ask another reader to identify any ambiguous or unsupported entry.
Step 5: Share or export the reviewed version. Confirm the current workspace's sharing permissions and export options, then keep the source list with the final image or link so future edits remain traceable.
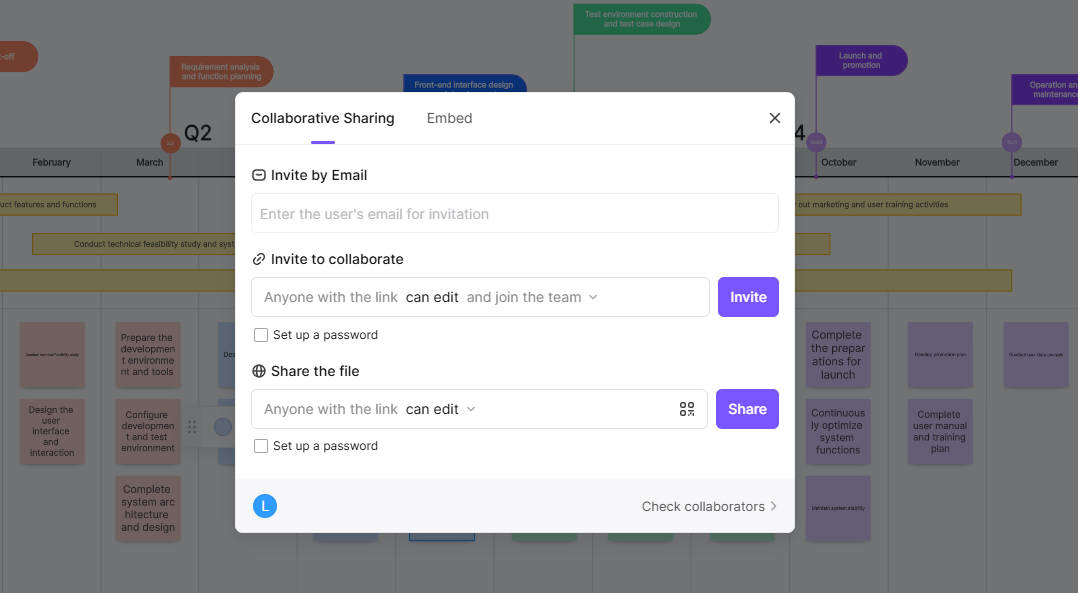
You can also compare workflows for creating a graphic timeline in PowerPoint and creating a timeline in Word. Those formats are useful for a document or presentation; a collaborative canvas is better when several people need to comment on the evidence and structure.
Historical Timeline Examples
The following examples demonstrate how a concise event list can be organized. They are not complete histories: use the scope, source, and confidence fields from the workflow above before treating any list as authoritative.
Example 1: World history timeline
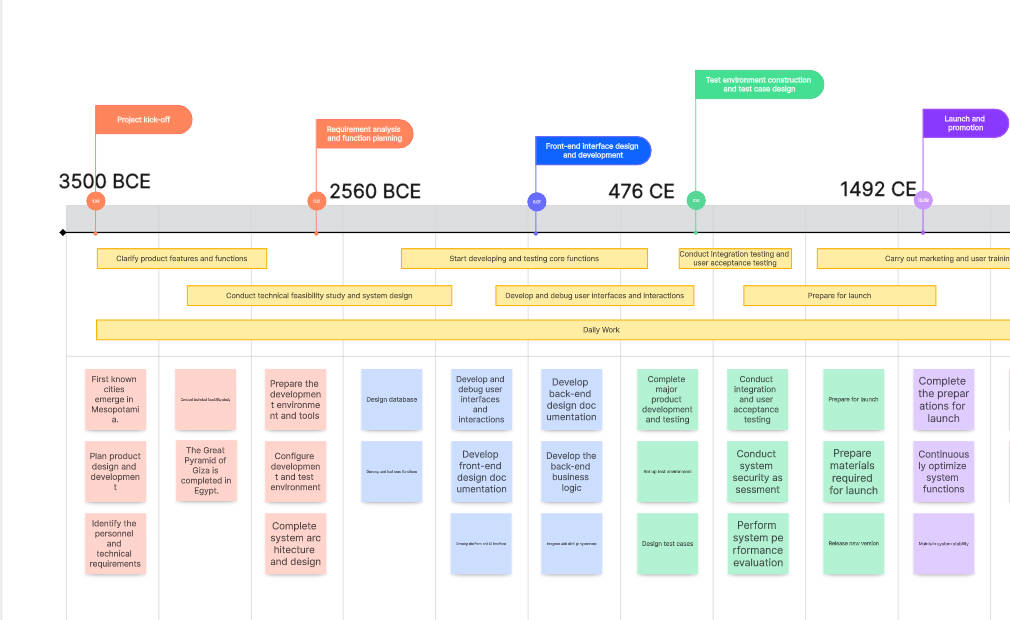
A broad world-history timeline needs large time intervals and careful wording. One possible set of anchors is:
- c. 3500 BCE: Early cities and writing systems develop in Mesopotamia.
- c. 2560 BCE: The Great Pyramid of Giza is completed in Egypt.
- 476 CE: The deposition of Romulus Augustulus is often used as a marker for the end of the Western Roman Empire, although transitions were gradual.
- 1492 CE: Columbus reaches the Caribbean, beginning sustained European contact and colonization in the Americas.
- 1914-1918 CE: World War I reshapes borders and global politics.
- 1969 CE: Apollo 11 carries the first humans to the Moon.
- 1991 CE: The Soviet Union dissolves; many historians use this as a marker for the Cold War's end.
Notice the qualifiers: a marker is not the same as a universally accepted beginning or end, and the 1492 entry avoids describing an inhabited region as if it had no prior history. Add regional lanes when a single global line would hide simultaneous developments.
Create the world history timeline on Boardmix
Example 2: U.S. history timeline
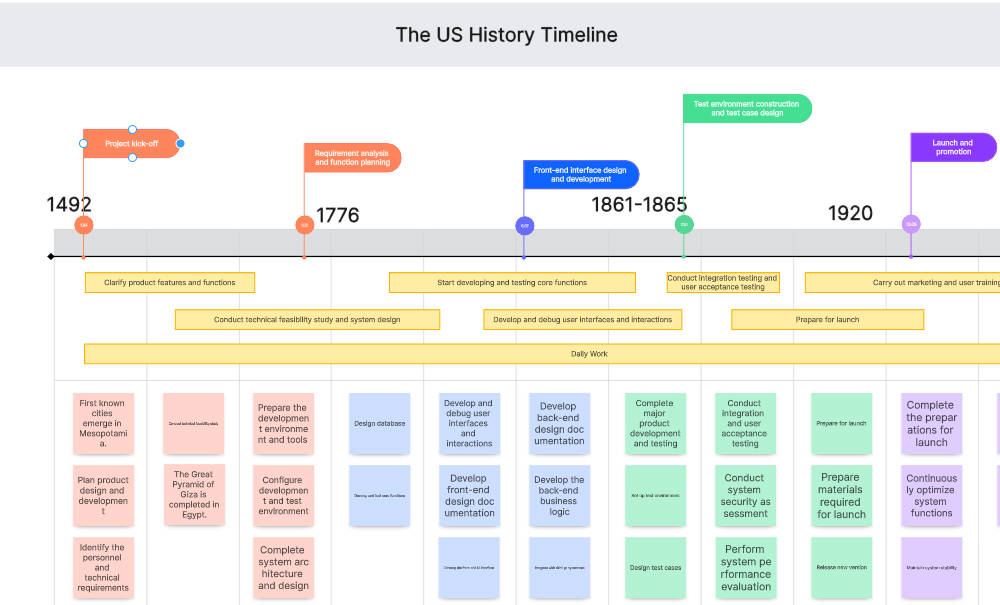
A U.S. history timeline can combine political milestones with social, Indigenous, labor, cultural, and technological history. A short illustrative sequence might include:
- 1492: Columbus reaches the Caribbean; Indigenous societies and histories predate European arrival and should be represented in the chosen scope.
- 1776: The Declaration of Independence is adopted.
- 1861-1865: The Civil War is fought; the 13th Amendment abolishes slavery in the United States in 1865.
- 1920: The 19th Amendment is ratified, prohibiting denial of the vote on the basis of sex, although many people remained disenfranchised by other laws and practices.
- 1963: Martin Luther King Jr. delivers the I Have a Dream speech during the March on Washington.
- 1969: Apollo 11 lands on the Moon.
- 2008-2009: Barack Obama is elected in 2008 and inaugurated in 2009 as the first Black U.S. president.
For primary documents and classroom-ready eras, compare the Library of Congress primary-source timeline and the National Archives teaching aids. Their source materials show why a milestone should be connected to evidence and multiple perspectives.
Create the US history timeline on Boardmix
Example 3: Google development timeline
A company timeline should distinguish incorporation, product launches, acquisitions, and later reorganization. For example:
- 1998: Google is incorporated after the search project developed by Larry Page and Sergey Brin.
- 2000: Google launches AdWords, its advertising platform.
- 2004: Google goes public and Gmail is introduced.
- 2006: Google acquires YouTube.
- 2015: Alphabet Inc. becomes Google's parent company in a corporate restructuring.
- 2019: Google reports a quantum-computing milestone; label the entry as a company claim and link to the underlying technical publication when using it in a research timeline.
- 2023: Google introduces Bard, which later evolves into the Gemini product family; keep the product name and date tied to the source being cited.
For a first-party chronology, consult Google's official company history, then add independent sources for claims that are disputed or promotional. A product timeline is strongest when it records what changed and why it mattered, not just a sequence of launch dates.

Create the Google development history timeline on Boardmix
Digital Historical Timelines: Tools, Sources, and Sharing
Digital timelines can be static images, scrollable web pages, interactive maps, or collaborative canvases. Choose the format according to the reader's job: a printable classroom handout needs a stable layout, while a research project may need expandable notes, source links, and parallel tracks.
Keep three layers separate:
- Evidence layer: the source, quotation, archive reference, or dataset behind an entry.
- Interpretation layer: the explanation of significance, relationship, or uncertainty.
- Presentation layer: spacing, color, icons, images, and interactions that help the reader navigate.
That separation makes revisions safer. If a date changes, update the evidence and interpretation first, then adjust the visual. Add descriptive alt text to screenshots, use headings and real links, maintain keyboard-visible focus, and provide a text alternative when an interactive canvas contains information that cannot be reached another way.
Boardmix is useful as a collaborative review space around the timeline: place the event cards on a shared canvas, add source notes beside them, invite comments, and connect a timeline to a map, flowchart, or research question. Verify the current workspace before relying on a specific template, import, embed, or export behavior, because product capabilities and plan limits can change.
If a timeline will be published publicly, record the last research date and make the source list easy to find. A visible “last checked” note is helpful, but it should supplement - not replace - citations and a clear explanation of scope.
Historical Timeline FAQs and Takeaway
What is a historical timeline?
It is a chronological visual record of selected events from a defined past period, with dates, context, and sources that help the reader understand the sequence.
How many events should a history timeline include?
Include enough events to answer the question and show meaningful transitions. A short classroom or executive timeline may use 5-15 anchors; a research timeline can be longer if it groups entries and preserves readable spacing.
How should I show BCE, CE, and uncertain dates?
Choose one convention and state it. Use BCE/CE consistently, preserve date ranges, and write “c.” or “circa” when a date is approximate. Do not convert an uncertain date into a precise one just to make the layout look tidy.
Which sources are best for a historical timeline?
Use primary sources when possible, then reputable museums, archives, libraries, academic publications, and carefully edited reference works for context. Save the exact citation and link for every claim that a reader may want to verify.
Which timeline layout should I choose?
Use a single line for one sequence, parallel lanes for simultaneous themes or regions, and grouped periods when a long time span would make proportional spacing unreadable. Explain the scale and legend so the design does not mislead.
Can I make a historical timeline online?
Yes. A collaborative canvas such as Boardmix can help you arrange event cards, attach source notes, review the story with others, and export a final version. Test the current template and sharing options, and keep the research record beside the visual.
Takeaway: A strong historical timeline starts with a precise question and verified evidence. Define the scope, select significant events, show uncertainty, choose a scale that fits the story, and review the finished visual with another reader. The result will be easier to learn from, easier to update, and more honest about what the evidence can support.
Historical dates, source links, and product references were reviewed on September 24, 2026. Recheck the linked sources and current Boardmix workspace before using this guide for a published or instructional timeline.