A swimlane diagram is a flowchart that groups activities by the person, team, or system responsible for them. Each participant has a lane, tasks sit inside the appropriate lane, and arrows show the sequence and handoffs. Lanes can run horizontally or vertically.
This type of process map is useful when a workflow crosses several roles and it is unclear who does what. The five steps below use a food-delivery example and show how to organize the process on a Boardmix canvas.
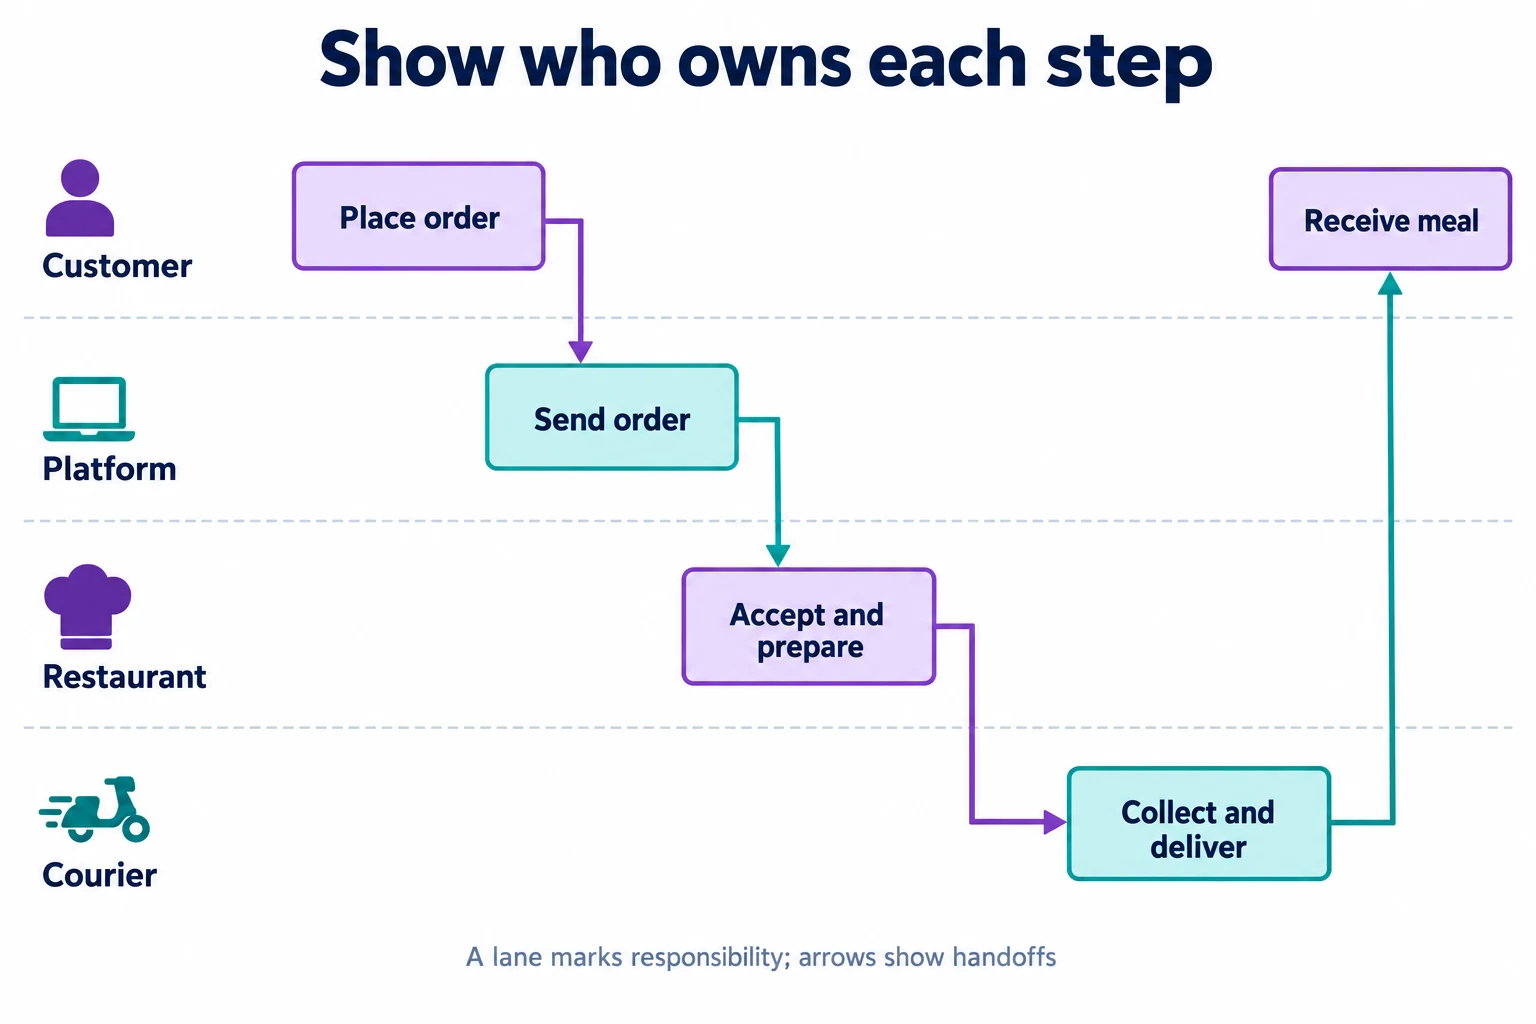
Swimlane diagram example: food delivery
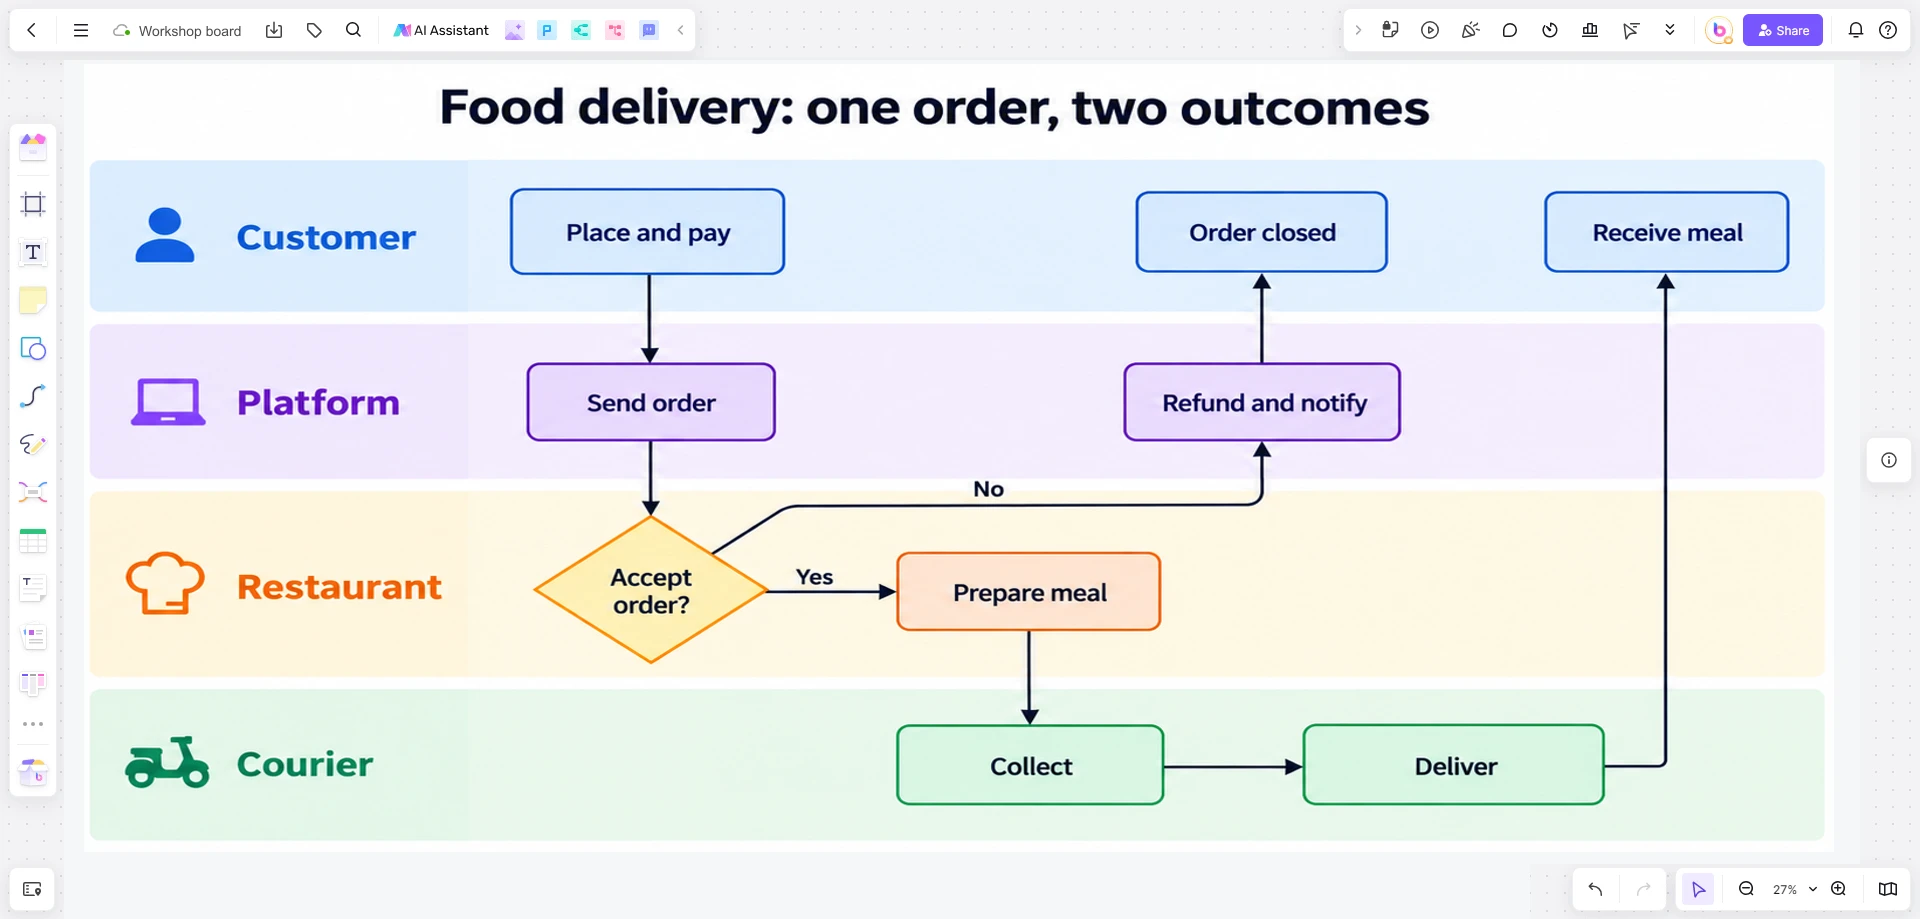
The example has four participants: customer, platform, restaurant, and courier. The customer places an order, the platform sends it to the restaurant, the restaurant prepares the meal, and the courier collects and delivers it.
To develop that simple route, suppose payment is taken when the order is placed. If the restaurant rejects the order, the platform must refund the payment and notify the customer. If it accepts, collection waits until the meal is ready and a courier is assigned. These assumptions define this drawing example; actual providers may organize payment and dispatch differently.
What are swimlane diagrams used for?
Microsoft's cross-functional flowchart guidance describes placing steps in lanes representing the responsible functional unit. That relationship helps a team:
- Clarify responsibility: show who performs each activity, including work that otherwise falls between departments.
- Understand the process: connect tasks in sequence without losing track of their owners.
- Investigate bottlenecks: identify handoffs, waiting points, duplicate work, and missing information for further examination.
In the delivery example, the restaurant supplies the rejection reason, but the platform notifies the customer. If both actions matter, draw separate tasks in the appropriate lanes. A connector shows a relationship; it does not prove the handoff happens immediately or establish the cause of a delay.
How to draw a swimlane diagram in five steps
Step 1: gather the basic information
Before drawing, identify the process, its participants, its start and finish, and its main activities. For this example, the boundary is “order submitted to meal delivered or rejection confirmed.” Finding a restaurant and resolving a later complaint are outside that boundary.
List the four roles—Customer, Platform, Restaurant, Courier—and their activities, including placing, accepting, preparing, collecting, and delivering the order. Short notes on a Boardmix canvas can help the team organize the information before connecting it.
Decide whether you are documenting the current process or designing a future one. If couriers are assigned manually today, show that work rather than replacing it with a desired automated step.
Step 2: plan the lanes or use a template
Create a lane for each responsible role. Horizontal lanes work well for a left-to-right flow; vertical lanes work well for a top-to-bottom flow. Choose one direction and keep it consistent. You can draw the bands with shapes or start from the Boardmix swimlane flowchart template.
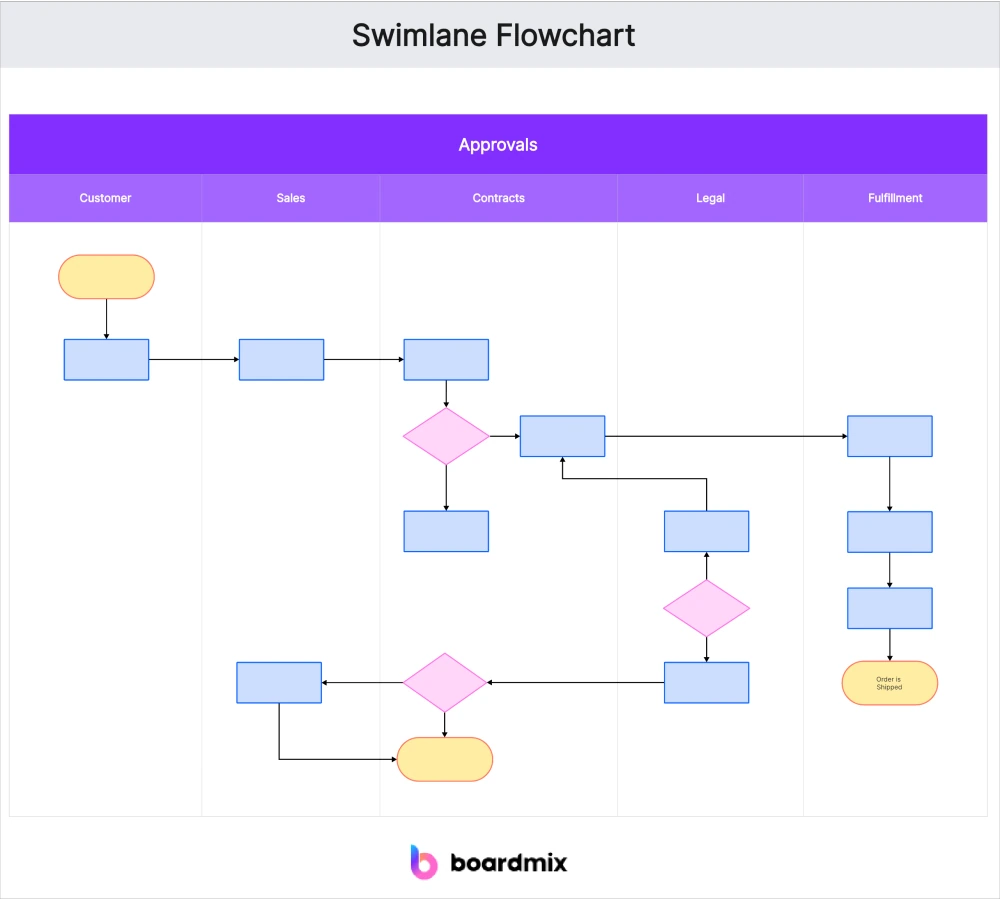
Use role labels at a consistent level. Mixing a named person with a whole department can make ownership ambiguous. If two roles contribute to one activity, identify the responsible role and note the support, or separate their actions.
Step 3: identify the starting point
Place the start marker in the customer's lane, followed by “Place order.” Connect it to “Record payment and send order” in the platform's lane. Keep each task in the lane that performs it, not the lane of the person who benefits from it.
Use short verb-object labels. “Prepare meal” tells a reader what happens; “Restaurant processing” leaves the action unclear.
Step 4: complete the process and label decisions
Add a decision diamond for “Accept order?” in the restaurant's lane, with Yes and No connectors. The Yes route leads to preparation and courier collection; the No route leads to a refund and customer notification by the platform.
If preparation and courier assignment run in parallel, collection needs both to be ready. Show that joining condition. Consider a separate route for courier unavailability if it is important to the process: does the platform retry assignment, escalate, or cancel?
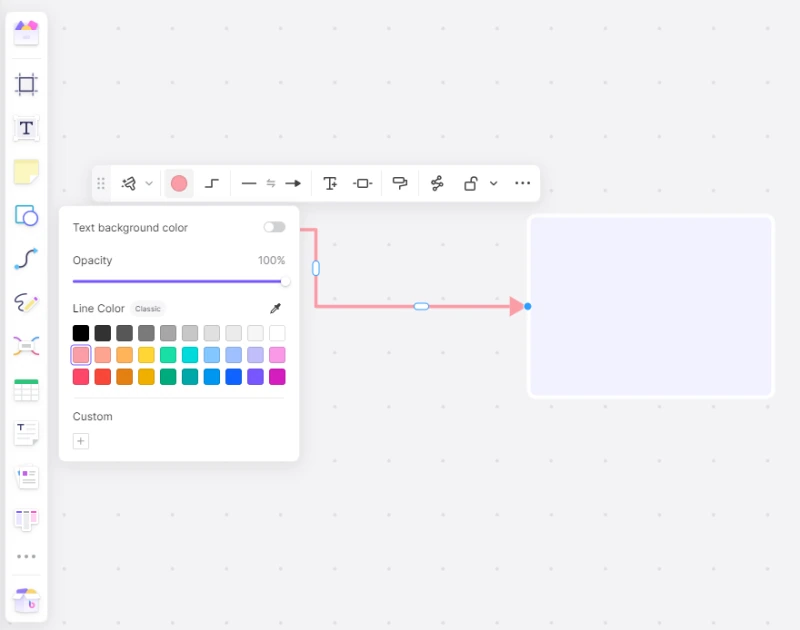
Follow every branch to a clear outcome. Do not send all exceptions back to the start unless the real process actually restarts there.
Step 5: review the diagram with the people doing the work
Ask someone from each role to trace a completed order. Where did they receive the work? What information was missing? What happened when the restaurant could not accept it? Use those answers to correct the activities, ownership, and sequence.
Trace both the normal and rejection routes. An unlabeled decision branch or an arrow ending between shapes is an unresolved question. If you identify a useful improvement, draw the proposed future state separately so it is not mistaken for the current process.
Describe what moves across each handoff
| Handoff | Information needed | Question to resolve |
|---|---|---|
| Platform to restaurant | Order details and payment status | What confirms receipt of the order? |
| Restaurant to courier | Order identifier and collection location | How does the courier select the correct package? |
| Courier to customer | Delivery location and completion evidence | What happens if the customer cannot be reached? |
These details help the team distinguish missing information from unavailable capacity or unclear ownership. When a handoff depends on another team's planned work, a dependency-mapping workshop can help clarify the input and delivery commitment.
Keep the drawing readable
Give a complex subprocess its own diagram instead of shrinking dozens of shapes into one lane. Use color to reinforce meaning and text labels to carry it. For other layouts, compare the swimlane diagram examples.
Boardmix provides a shared canvas for arranging lanes, connecting tasks, and discussing the process with your team. Draw a swimlane diagram in Boardmix for one workflow whose handoffs currently cause confusion.