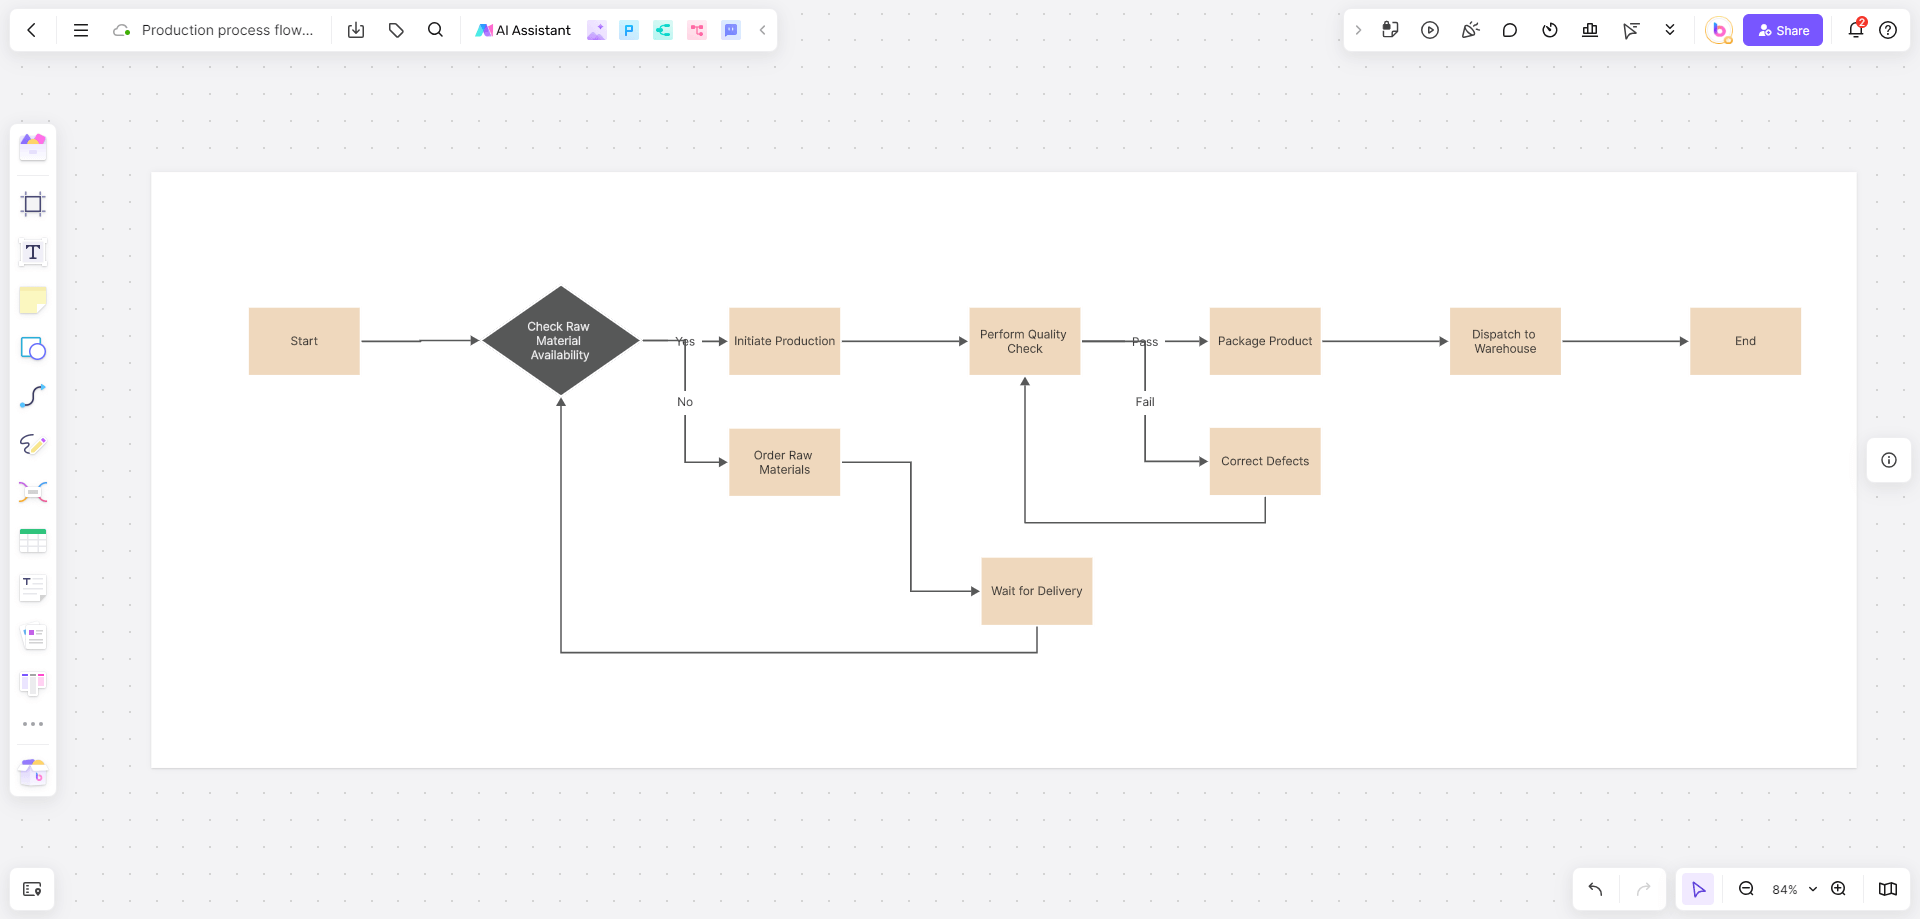
A Figma flowchart is a useful tool that represents how a system flows from start to finish. This type of diagram is widely used in UX design since it allows you to examine an overview of the developing system. In addition to this, a flowchart Figma can also be used to indicate the flow of any type of process or algorithm. For this reason, it has numerous applications, making it one of the diagrams that you will use the most.
What makes the Figma flowchart so effective is the visual representation of the diagram’s elements. The online diagram maker uses visually-pleasing templates that allow you to create an easy-to-follow flowchart.
Below, you will learn how to draw a Figma flowchart that you can share with your team and higher-ups. In addition to this, you will find out about an alternative that can create your flowchart, as well as numerous other diagrams you might need for the duration of your project.

Brief Introduction to Flowchart
The first step to creating a Figma flowchart, and any other type of chart, is to understand its uses. This way, you can determine which diagram is the best in each scenario, and the elements that you need to add to your flowchart Figma.
Generally speaking, a Figma flowchart is a structured view of a system, process, or algorithm. In fact, it can be used to describe every process you might think of, thus becoming one of the most flexible tools you have at your disposal.
The main users of the flowchart are the following:
- It analyzes the required steps of a system or process,
- It highlights potential problematic steps that might lead to loops and bottlenecks,
- It ensures that all team members are on the same page,
- It showcases what the next step of the process should be.
If you need one of the following things, then the Figma flowchart is the right tool for you. Apart from its uses though, you also need to understand its notation. This is the only way to create a flowchart that everyone can interpret.
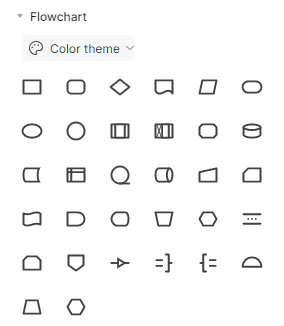
The symbol most commonly used in flowcharts are the following:
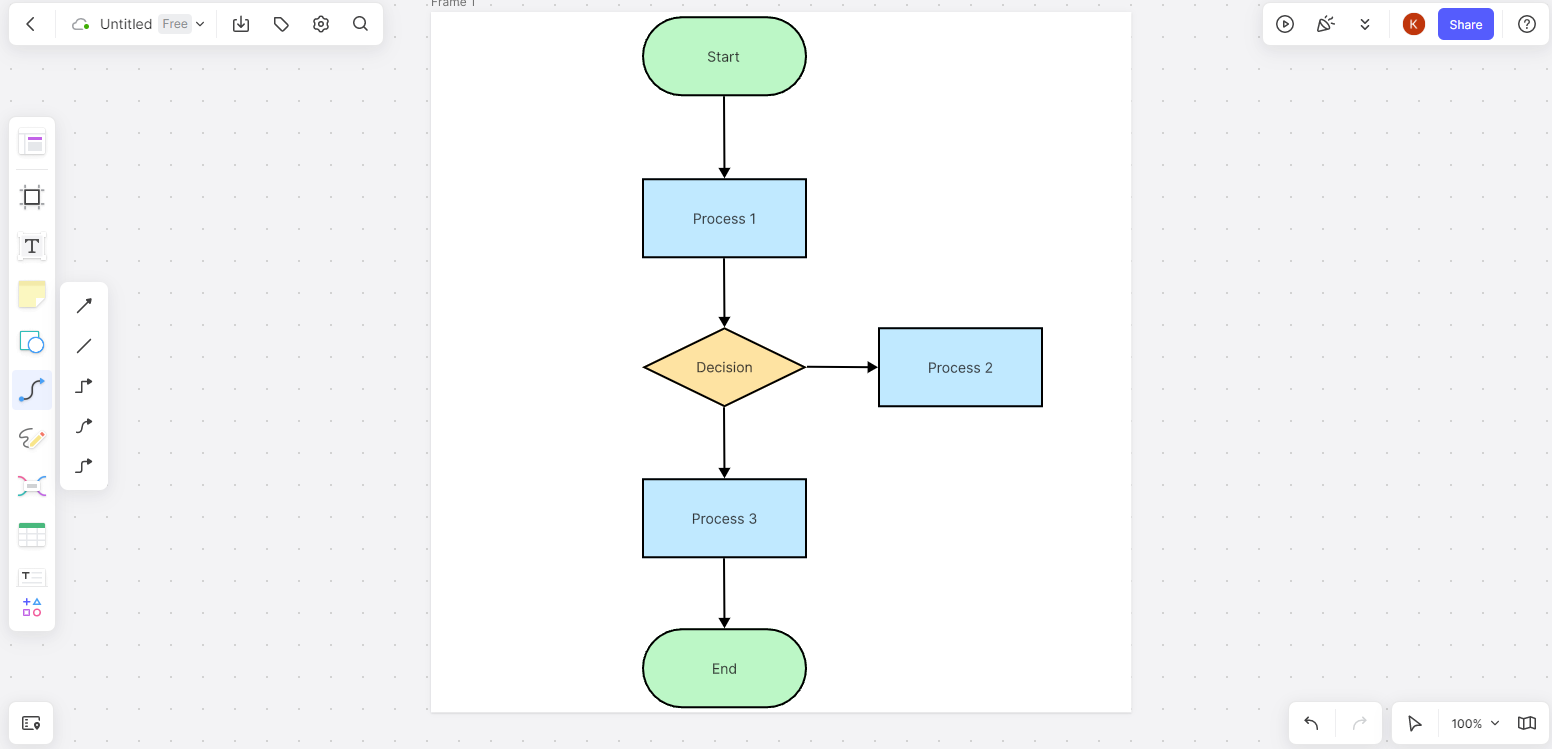
- Start/End symbol – with this symbol, you show the initial and the terminal point of your system. To indicate it, use a rounded rectangle shape.
- Process symbol – with this symbol, you indicate all the processes that happen while the system is running. You can notate a process with a rectangle.
- Decision symbol – with this symbol, you are creating a node that requires decision-making. In most cases, this decision is either yes/no or true/false. You can add this type of symbol by using a diamond.
- Input/output symbol – with this symbol, you show the steps in the process where you need to input or export data. You can notate it with a rhomboid shape.
How to Make a Figma Flowchart
As you can see, a Figma flowchart has several applications. If you believe that this flowchart is the one that best suits your demands, then the only thing you have to do is to draw it. The process is rather quick since you only have to do a couple of steps. Below, we will explain what you need to do to get an efficient Figma flowchart.
Step 1 – To create a flowchart in Figma, you must first sign up. This will take you to your dashboard, where you can start creating your own flowchart.
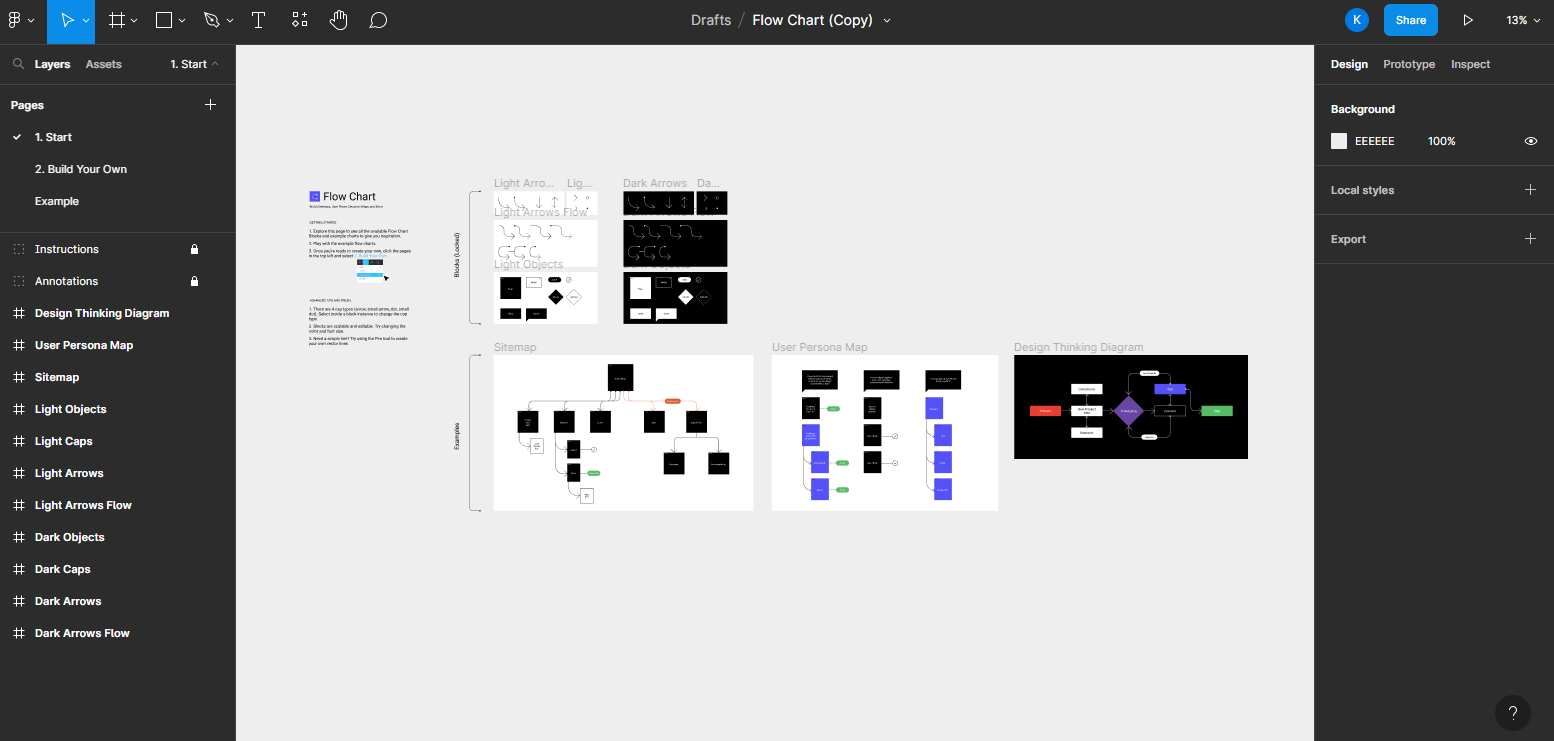
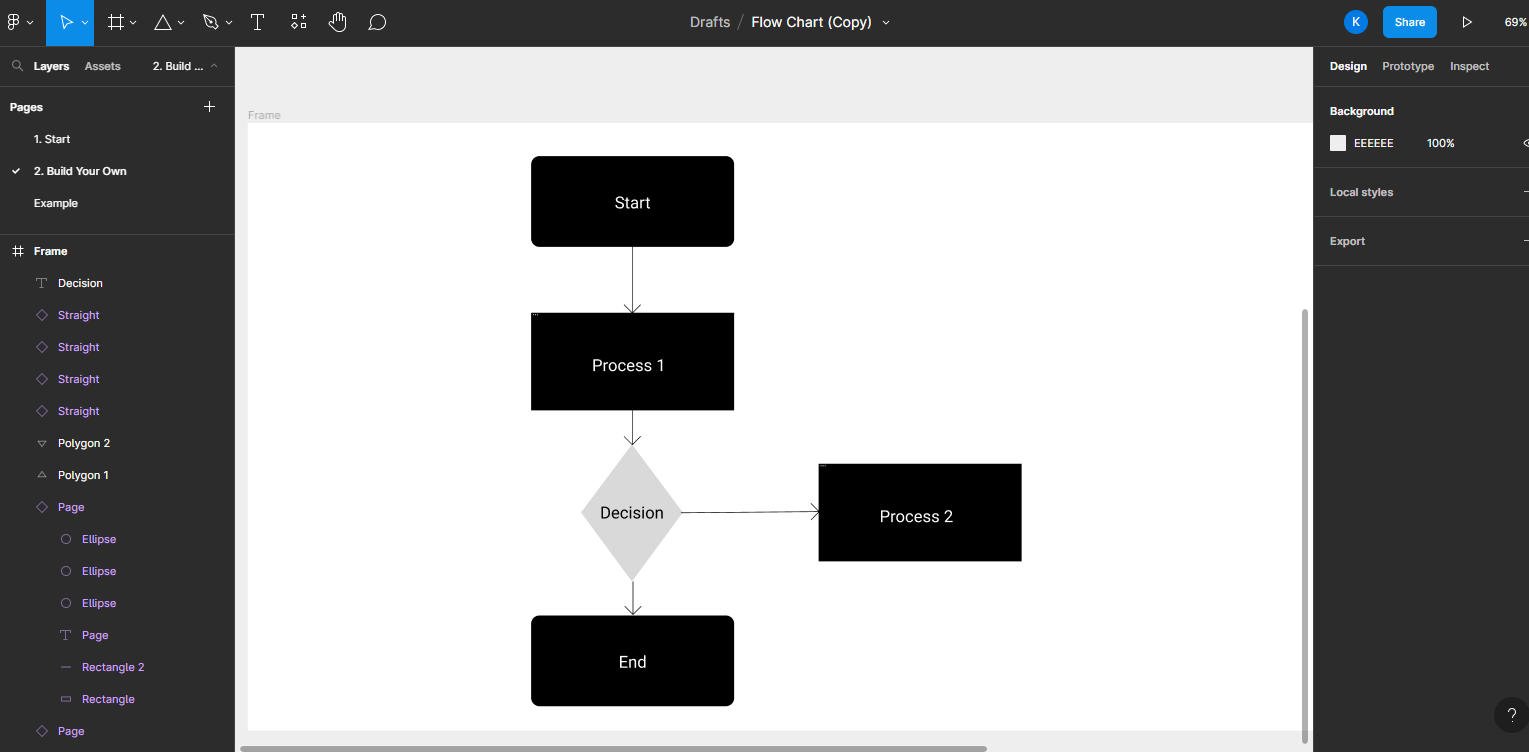
Step 2 – Click the Build Your Own page from the side toolbar and start placing the appropriate shapes.
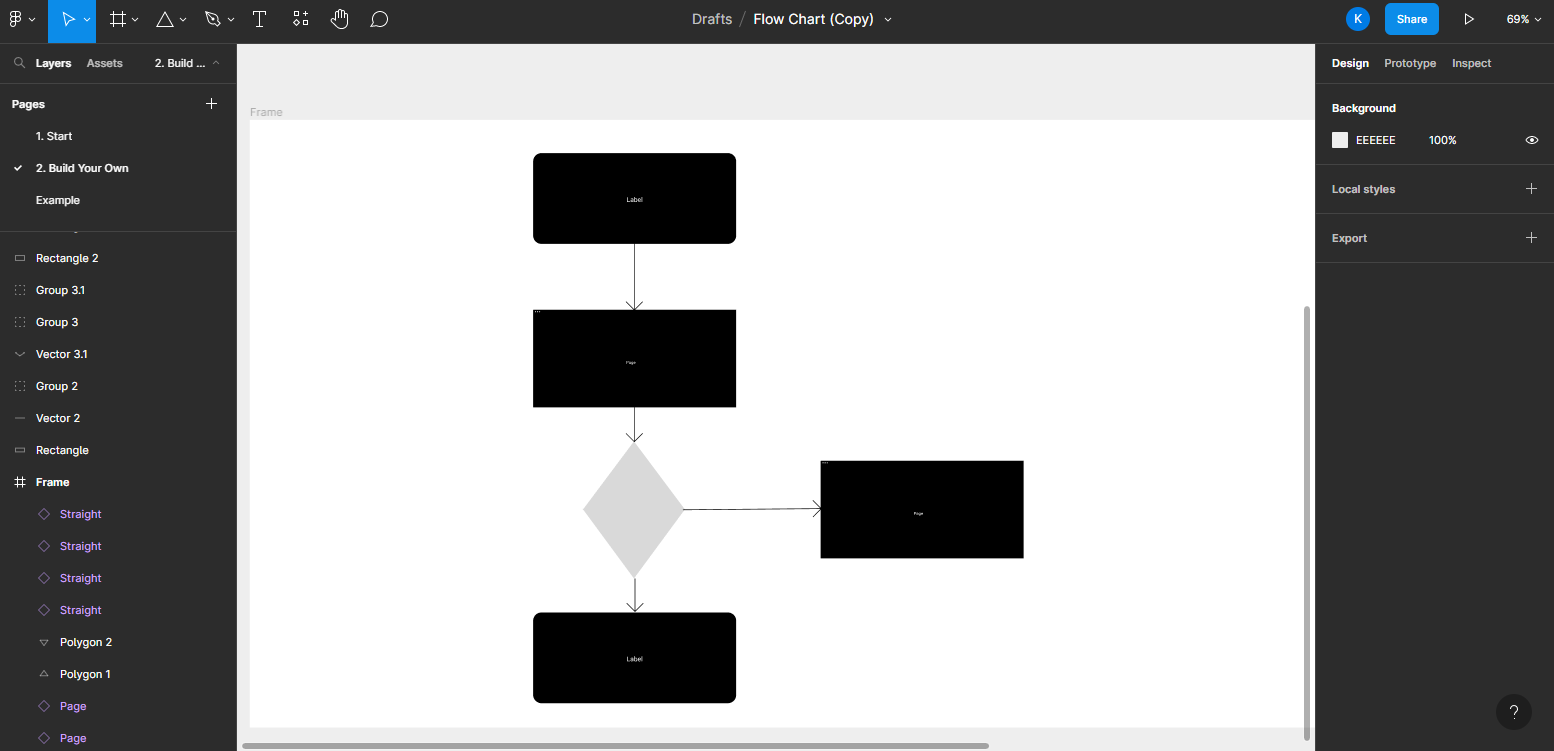
Step 3 – Insert the appropriate text to show the steps in the flowchart Figma.
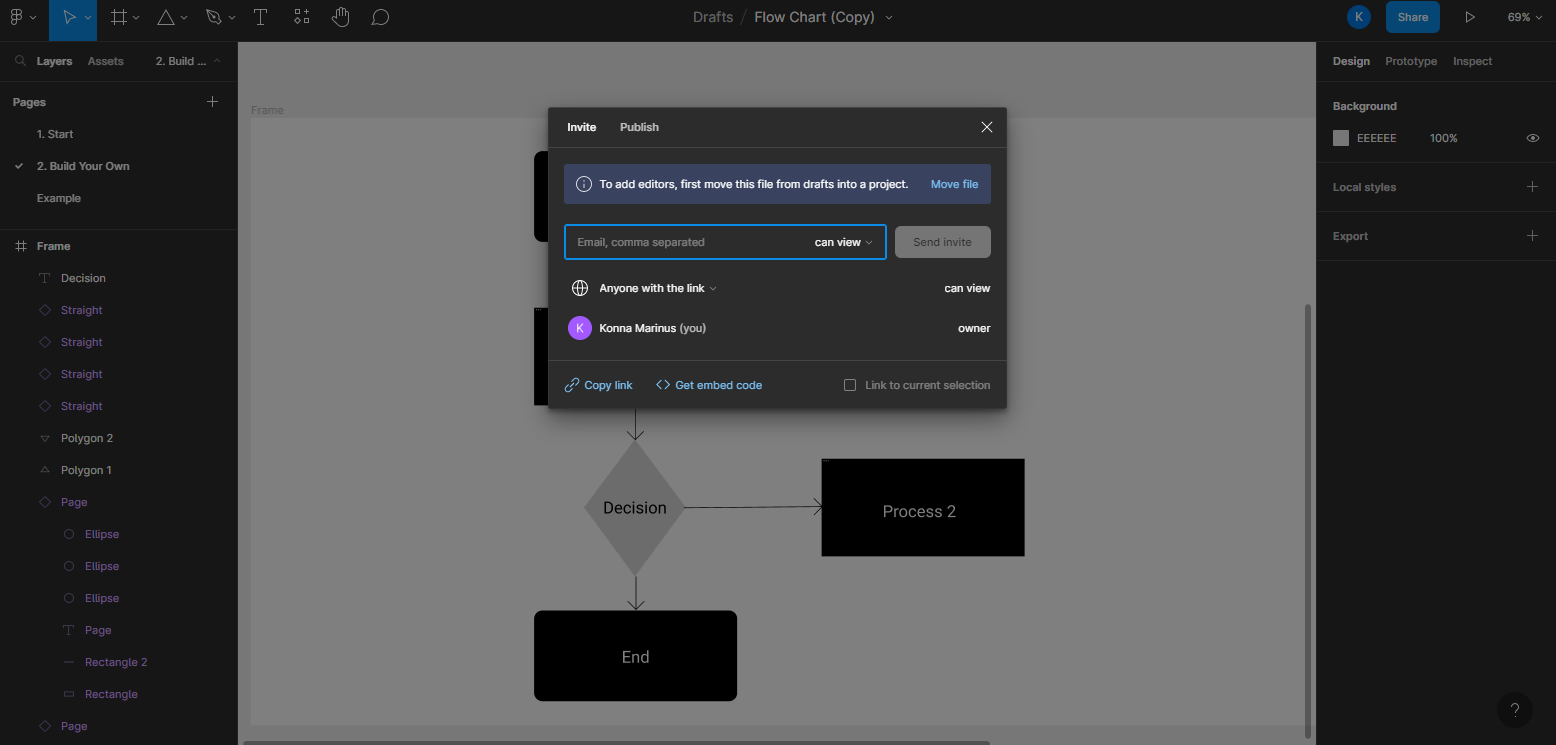
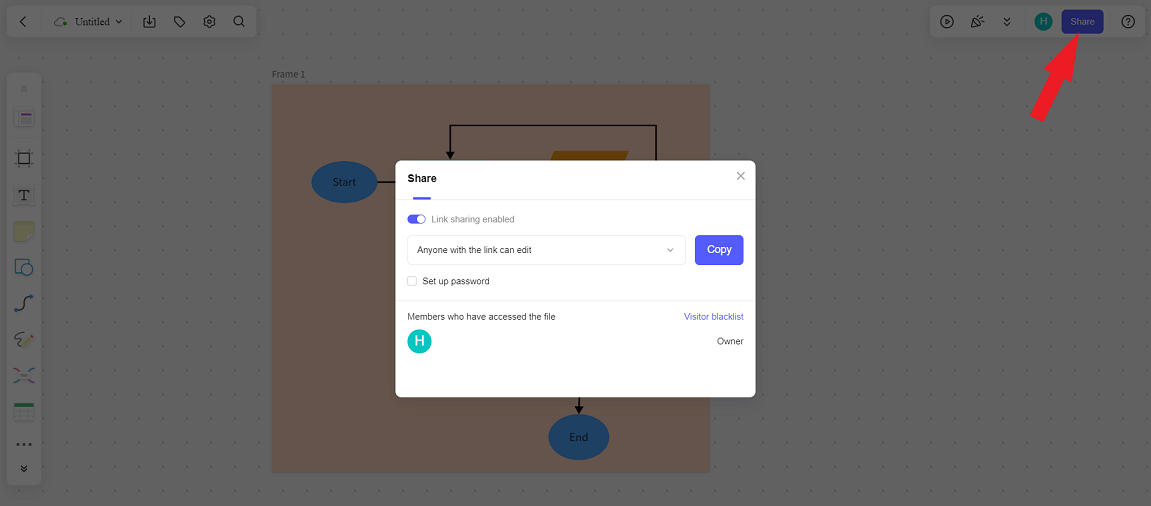
Step 4 – Once your Figma flowchart is ready, you can share it with your team members. You can decide whether the users with the link can only view or edit the file.
Pros and Cons of Making Flowcharts in Figma
There is no denying that the Figma flowchart became so widely used because it has several benefits. Nevertheless, it also has some limitations that you need to be aware of while creating it. This ensures that you will know what to expect when you draw a flowchart in Figma.
Make a Flowchart Using Boardmix
Introduction to Boardmix
Considering the benefits and drawbacks of Figma, you might be wondering whether there is an alternative for creating your Figma flowchart. This need becomes even more critical when you consider that Figma is a tool dedicated to vector graphic design. Therefore, it is only a solution that you can use for a limited time since you won’t have access to tools that are specifically developed for diagramming.
This is where Boardmix excels. This online collaborative diagram maker has several common elements with Figma, as it is a web-based tool that allows real-time collaboration. However, its main focus is diagramming, thus proving to be a superior option for creating flowchart. Boardmix is a tool that you can start using for free and you can access to all the tools you need to create a fully-functional and professional diagram.

Furthermore, Boardmix has introduced a rich library of templates for all sorts of diagrams that you might need to create to enhance your project. With this online tool, you can create your flowchart in a matter of minutes.
Make a Flowchart Using Boardmix
As we have already mentioned, creating a flowchart with Boardmix is an easy and effortless process. Below, we will explain the steps that you must follow to create one for your system:
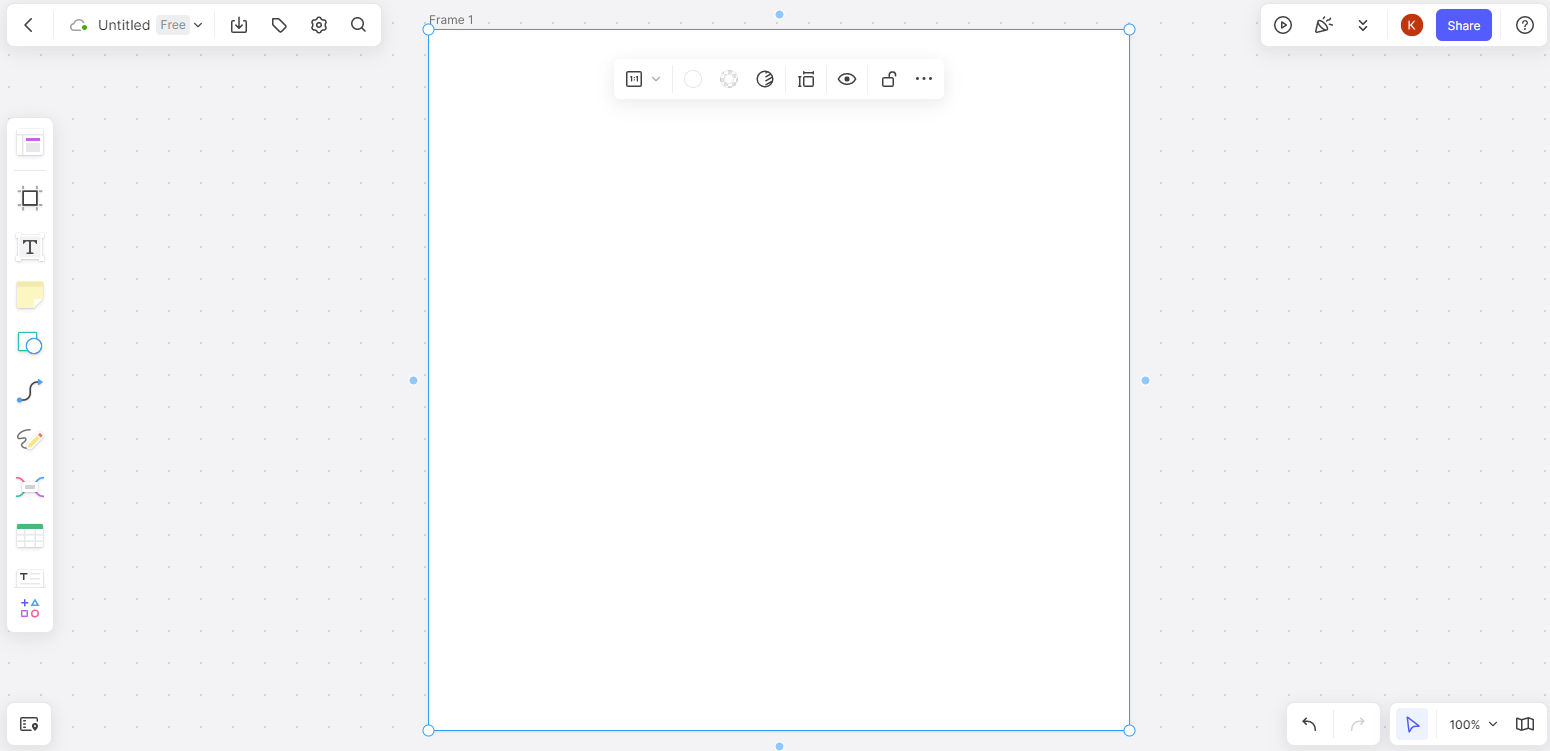
Step 1 – Create your account and load a new whiteboard. You can start creating your flowchart on the infinite canvas or place a frame.
Step 2 – Add the desired shapes to your diagram. Alternatively, you can also find a flowchart template in the tool’s library.
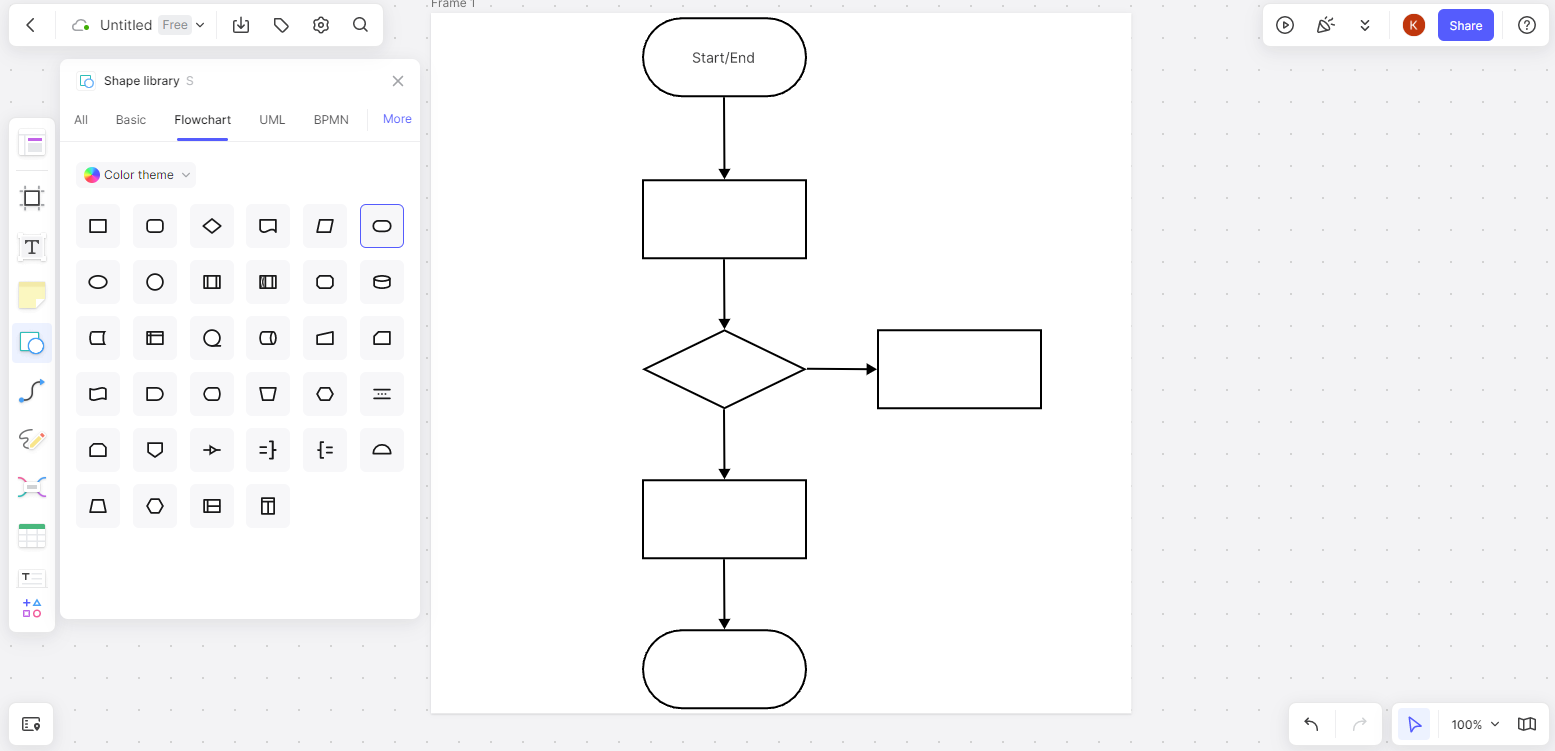
Step 3 – Customize your flowchart to make it as clear as possible.
You are now ready to share it with your team via the link or export the whole file in various formats.
Wrapping Up
A flowchart is a tool that you are going to use in many instances. You can learn how to create one in Figma, or an alternative that focuses on diagramming. Boardmix is the best online collaborative diagram maker to create any type of diagram your team might need. All of its features aim to make your work easier and more effective. Sign up to Boardmix for free to make the first step toward efficient diagramming.


