Mind map is an illustration of a main idea/process and all its relationships in a graphical way. Organizations across the world use mind maps to have a structured view of their ideas and processes for effective decision-making. In fact, mind maps are even used in the education sector to create and present visual views of notes, lectures, research, etc. Considering the importance of mind maps, there are multiple tools that can be used to make mind maps. In this article, we will specifically discuss how to make a mind map in Word through three different methods. In the end, the article also presents the best alternative to make appealing mind maps easily and instantly.
Part 1. How to Make a Mind Map in Microsoft Word - 3 Methods
Microsoft Word is a globally known word-processing software for creating, viewing, and sharing documents. Due to its many integrated features, it can also be used to make mind maps. So, let's explore the three ways to make a mind map in Word. As an example, we will discuss how to make a product promotion mind map in Word.
#1 Create a Mind Map in Microsoft Word Using Basic Shapes
Microsoft Word provides tons of different shapes that you can use to design mind maps. So, follow the below steps to create a mind map in Word using basic shapes:
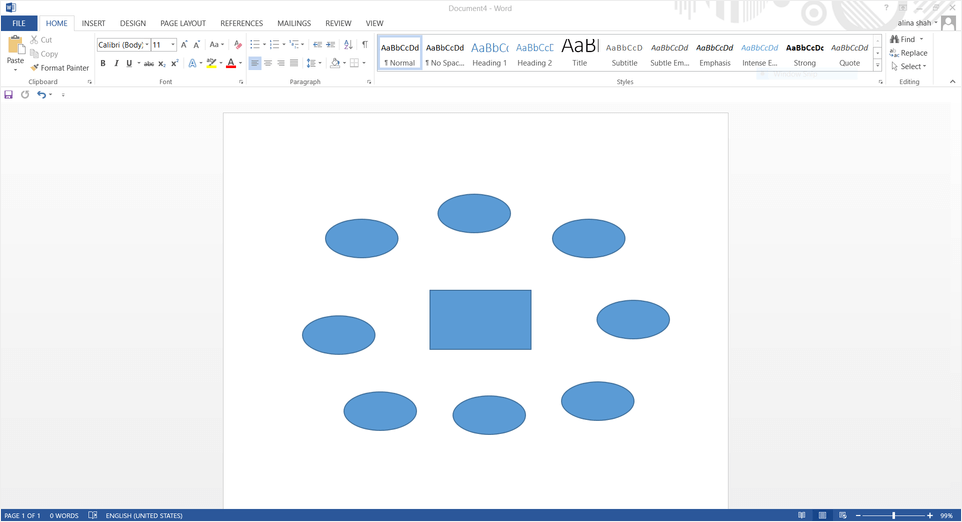
Step 1. Launch Microsoft Word and click "Blank document".
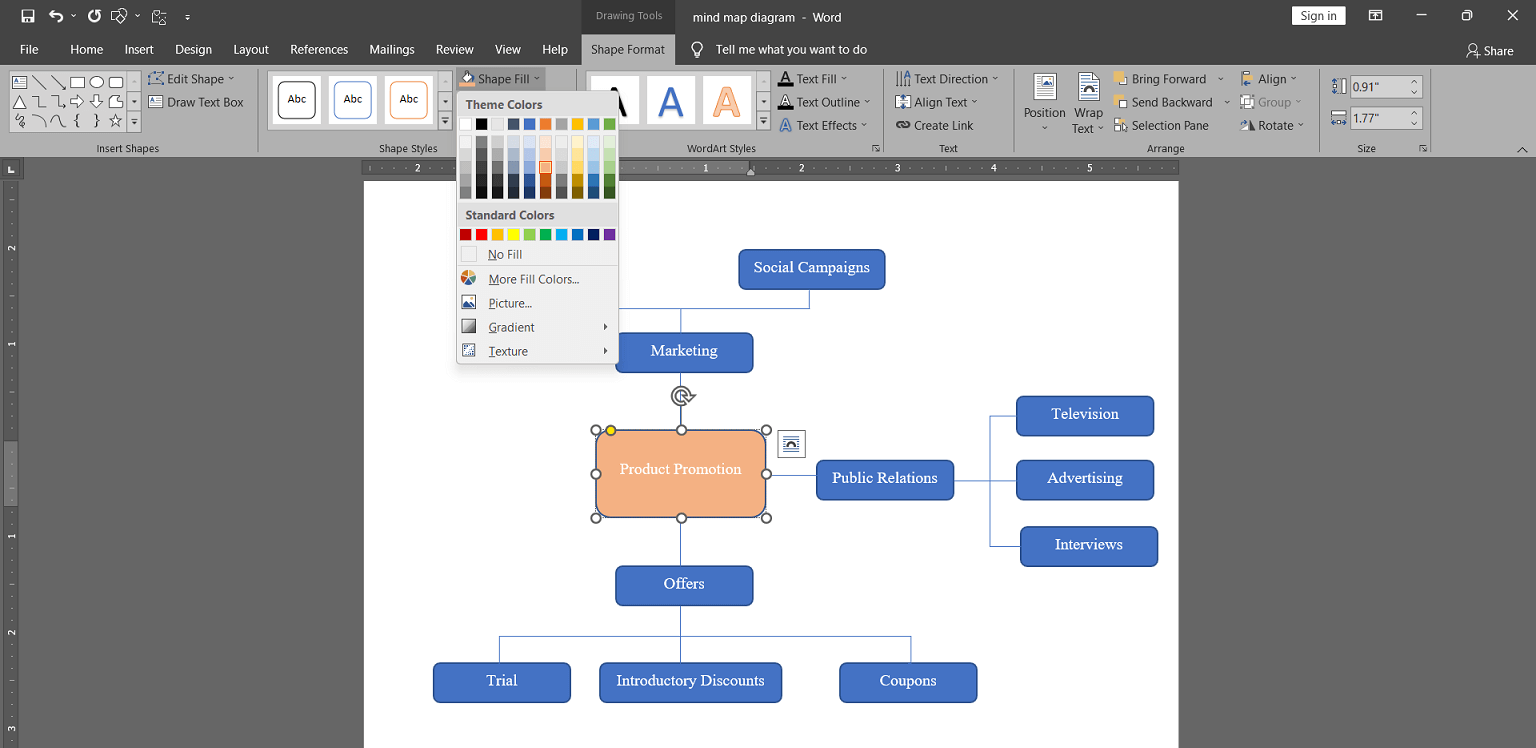
Step 2. Under the "Insert" tab from the top menu bar, click "Shapes" and select the rectangle or rounded rectangle shape from there. Afterward, drag the mouse on the sheet to paste the shape with the desired size. Also, double-click the shape to rename it. Continue adding shapes to the document until all are added.
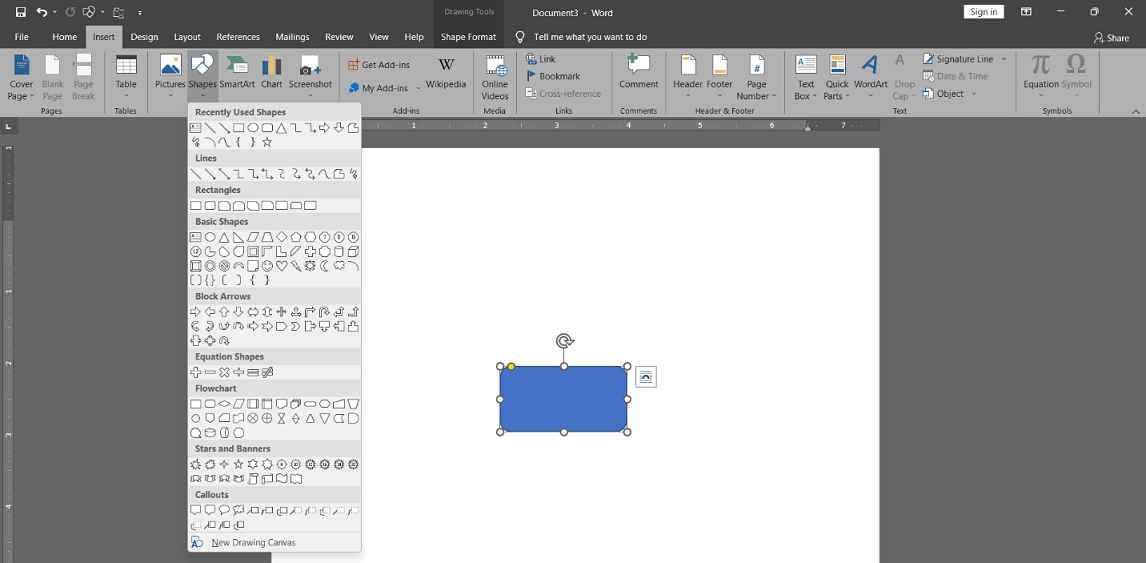
Step 3. Once the shapes are added, now you have to connect them. To do that, click "Shapes" under the "Insert" tab and then select "Elbow connector" under the "Lines" section. Now drag your mouse between two shapes to connect them. Continue adding lines until all shapes are connected.
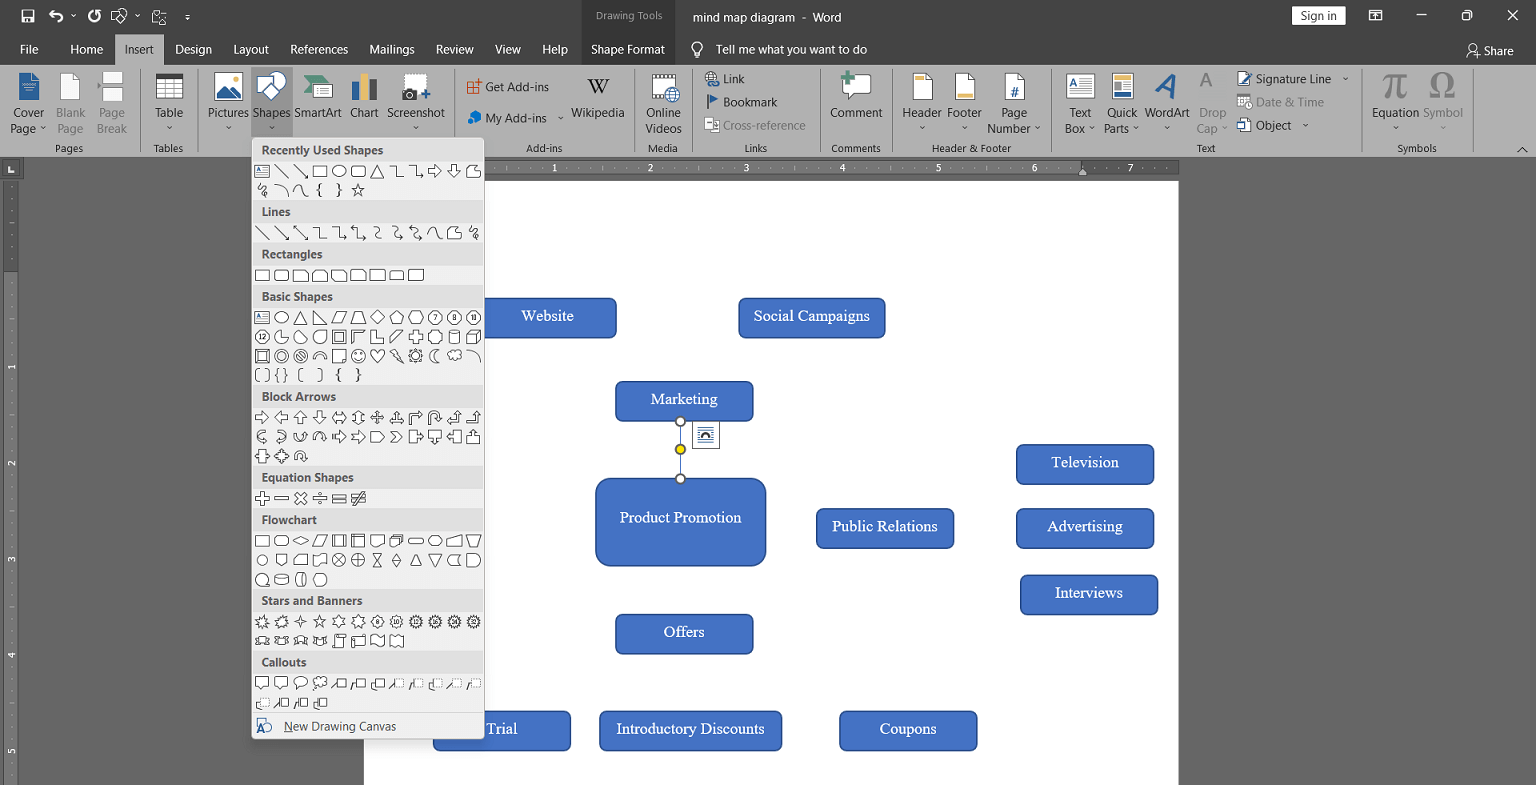
Step 4. To enhance the visual aspects of the mind map, you can change the color of the shapes. To do that, select any one of the shapes. Afterward, under the "Shape Format" tab, click "Shape Fill" and then choose the color of your choice. This way, you can customize the mind map to make it look more appealing.
Step 5. Once you have finalized the mind map, click File > Save as and then provide the location on your PC where you want to save it.
This way, you can easily create a mind map in Word using basic shapes.
#2 Create a Mind Map in Microsoft Word Using Text-based Format
Instead of using shapes as discussed above, you can also create a mind map in Word in a text-based format. In this format, the mind map will look the same as above but without using any shapes. Follow the below steps to create a text-based mind map in Word:
Step 1. Launch Microsoft Word and click "Blank document".
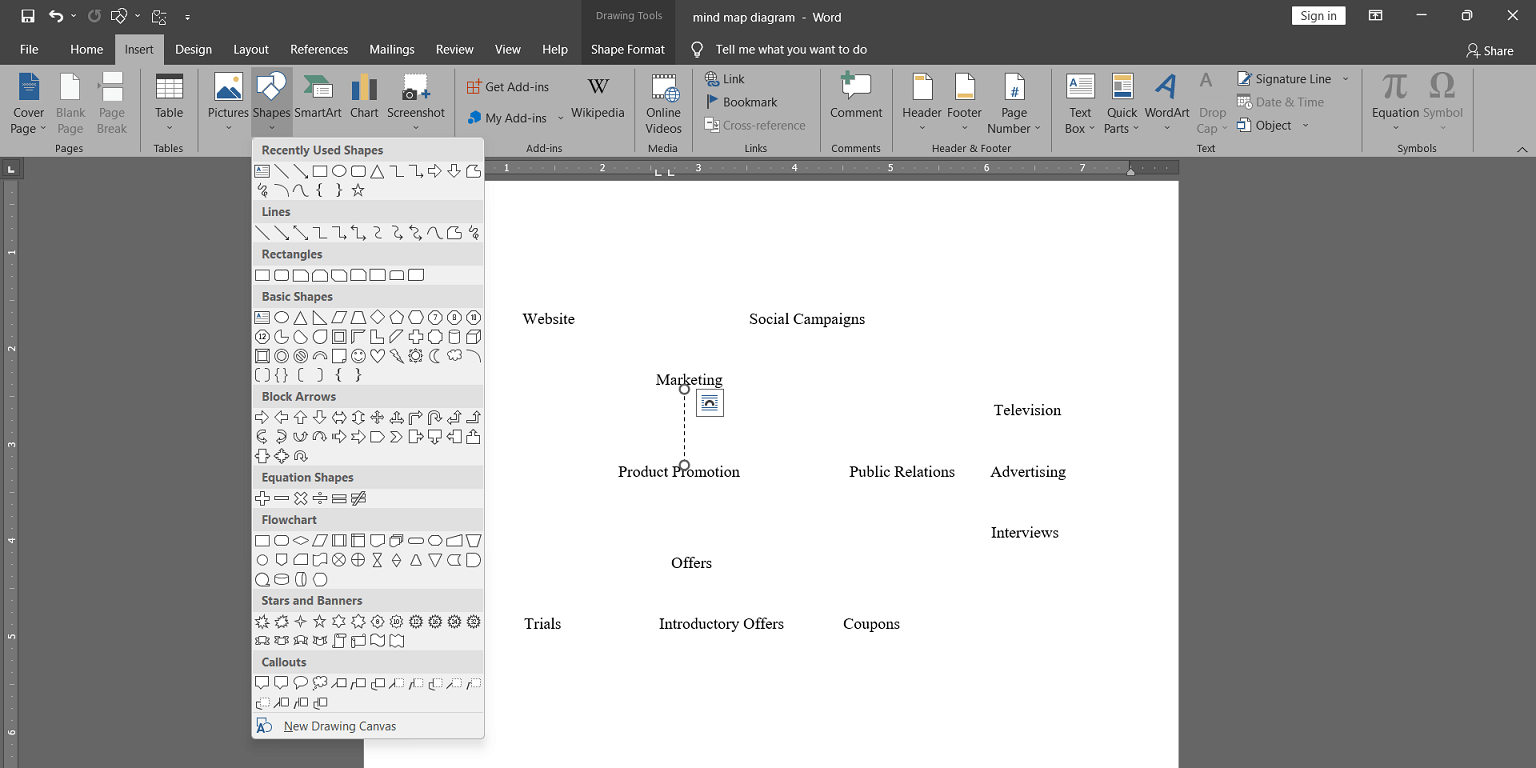
Step 2. Double-click the mouse at the center or anywhere in the document and type the name (or main block title) of the mind map.
Step 3. Double-click the mouse slightly above the previous position and type the text representing the next element of the mind map. Continue adding text in various positions in the document until all texts are added.
Step 4. Click "Shapes" under the "Insert" tab and select "Line" under the "Lines" section. Now drag your mouse between two texts to make a connection between them. Afterward, you can even change the style of the line to "Dash" style or any other you like under the "Shape Styles" section. Continue adding lines until all texts are connected.
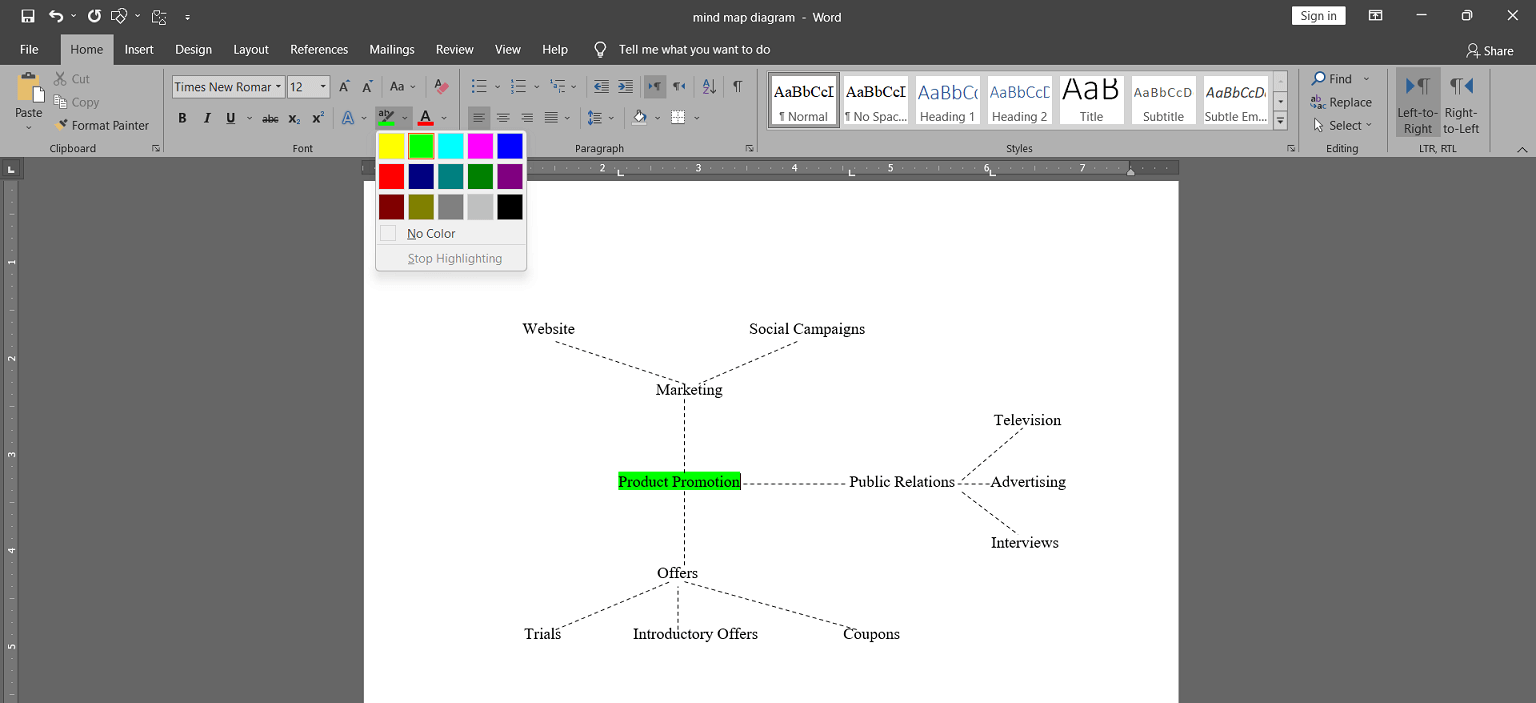
Step 5. You can highlight the text to enhance the visualization. To do that, click the "Highlight" icon under the "Home" tab and then choose the color of your choice.
Once you have finalized the mind map, click File > Save as and then provide the location on your PC where you want to save it. This way, you can create a mind map in Word using texts and lines.
#3 Create a Mind Map in Microsoft Word Using SmartArt
SmartArt is an integrated feature in Microsoft Word that provides a set of different graphics that you can customize to present your information in a graphical way. Therefore, the SmartArt feature can be used to create a mind map in Word. Follow the below steps to use SmartArt to create a mind map in Word:
Step 1. Launch Microsoft Word and click "Blank document".
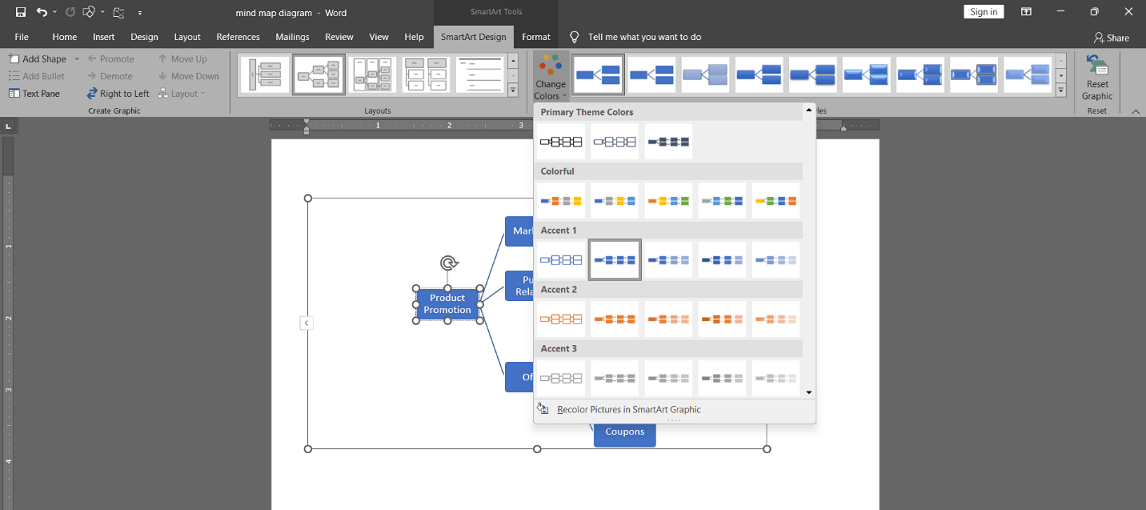
Step 2. Under the "Insert" tab from the top menu bar, click "SmartArt". Choose "Horizontal Hierarchy" under the "Hierarchy" tab. It will paste the Horizontal Hierarchy template into the document.

Step 3. Double-click the boxes to rename them. If you want to add additional boxes, right-click a box, click "Add Shape", and pick the appropriate option. Complete your mind map with all the boxes and texts you want to input.
Step 4. To enhance the visualization, SmartArt also provides different color combinations for different stages. To access it, select any box and then click "Change Colors". Now pick the color structure that you like.
Once you have finalized the mind map, click File > Save as and then provide the location on your PC where you want to save it. This way, you can create a mind map in Word using the SmartArt feature.
Part 2. How to Make a Mind Map in WPS Word
Other than Microsoft Word, if you are using WPS Word for creating documents, you can also use it to make a mind map. Just like MS Word, it also allows you to create diagrams using different shapes, lines, etc. So, follow the below steps to make a mind map in WPS Word:
Step 1. Launch WPS Word, click "Document", and then click "Blank".
Step 2. Under the "Insert" tab from the top menu bar, click "Shapes" and select the rectangle or rounded rectangle shape from there. Afterward, drag the mouse on the sheet to paste the shape with the desired size. Also, double-click the shape to rename it. Continue adding shapes to the document until all are added.
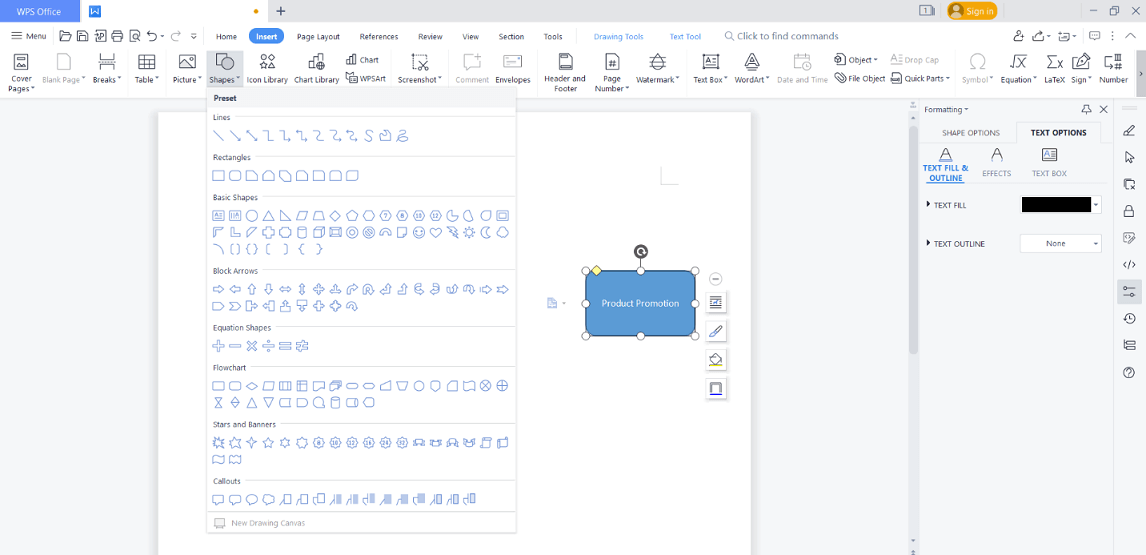
Step 3. Once the shapes are added, now you have to connect them. To do that, click "Shapes" under the "Insert" tab and then select "Elbow connector" under the "Lines" section. Now drag your mouse between two shapes to connect them. Continue adding lines until all shapes are connected.
Step 4. To enhance the visual aspects of the mind map, you can change the color of the shapes. To do that, select any one of the shapes. Under the "Drawing Tools" tab, click "Fill" and then choose the color of your choice. This way, you can customize the mind map to make it look more appealing.

Once you have finalized the mind map, click Menu > Save as and select the format in which you want to save the file on your PC. This way, you can create a mind map in WPS Word.
Part 3. Collaborative Mind Map Maker with Free Templates
Until now, we have discussed how to make mind maps in Microsoft Word and WPS Word. However, you might have noticed that both MS Word and WPS Word are not ideally meant to create mind maps. That's why their capabilities are also limited and require more manual efforts to create a mind map. But what if I tell you that you can create a mind map easily and collaboratively for free with access to advanced features and much more? Yes, that's exactly what Boardmix has to offer.
Boardmix is an online collaborative mind map maker tool that provides a one-stop solution to easily create simple to complex mind maps with many free templates. It offers a click-based user-friendly interface with a rich set of shapes, icons, and other features.
Moreover, its intelligent design automates most of the mind map creation stages to help create appealing mind maps. Some of the other key features of Boardmix are as follows:
- Provides infinite canvas for creating multiple mind maps
- Drag-and-drop interface
- Version control management
- Real-time collaboration with unlimited participants
- Dedicated chat box for effective interaction between collaborators
- Free for individuals and small teams
- Demo mode to demonstrate the diagram
- Timer to control conference length
- Multiple export formats, such as PNG, JPG, PDF, and bdx
In short, Boardmix is a best-in-class web-based collaborative tool for creating mind maps.
Conclusion
Mind maps make it a lot easier to present ideas and processes. You can easily create mind maps in Word by following the methods discussed in this article. However, the only issue with creating a mind map in Word is the lack of advanced and automated features for easy creation of mind maps. Therefore, if you are looking for instant and quick designing of mind maps in a collaborative environment, then Boardmix is the best choice for you. Its drag-and-drop interface, dozens of shapes/icons, and plenty of advanced features all make it an ideal choice for creating mind maps.