A user story map is a tool that helps agile teams keep track of what they need to do in order to offer what the users will expect from the system. In reality, a user story diagram combines all user stories to guide you through the system’s development.
In recent years, we have witnessed more and more agile teams adopting the user story map because it brings them numerous benefits. If you want a diagram that will give you an overview of your system by including all the features and tasks that a user will expect in it, then you should try it out. It will allow you to work on multiple levels to create a complete project backlog, thus complementing your agile framework.
In this article, you are going to learn more about the user story diagram, its advantages, and elements, and how to create one for your project. Let’s get started.
Pros and Cons of User Story Map
The user story map is yet another tool that you can use to enhance the productivity of your team. With its implementation, you can help your team work faster and produce better work. However, as in every other tool, there are also some limitations to the user story diagram that you need to be aware of.
Components of User Story Map
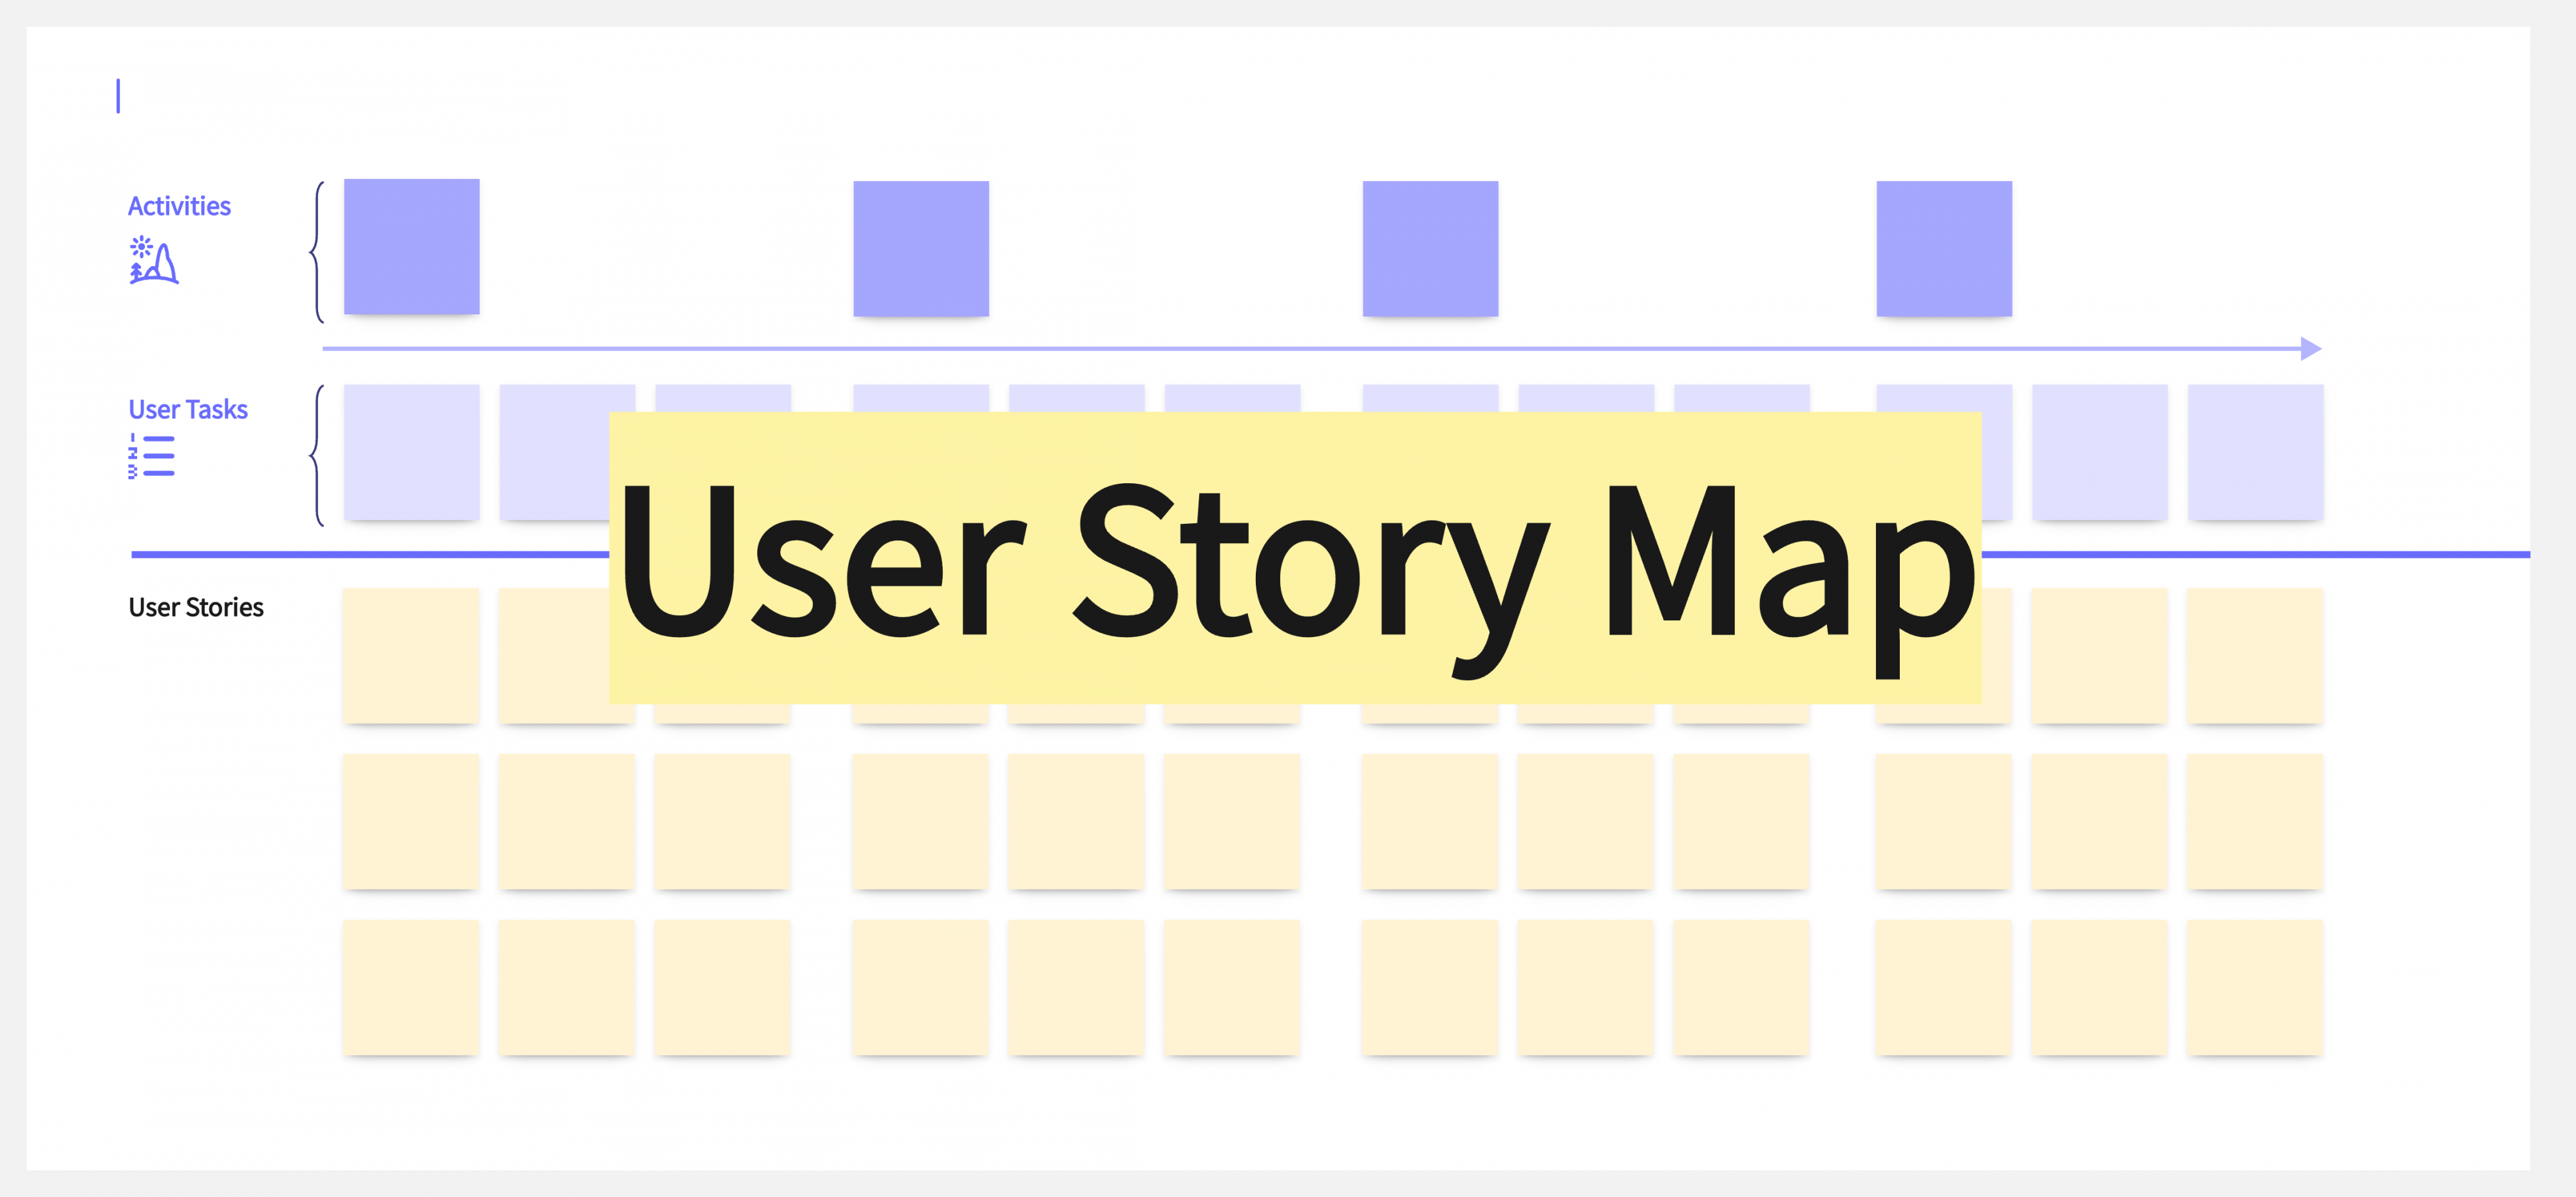
If you want to draft a user story diagram, you must first learn its basic components. By doing this, you will gain a better understanding of this tool so that you make the most out of it. In general, a user story map contains three basic elements, which are the activities, the user tasks, and the user stories.
#1 Activities

The first component of the user story diagram indicates the tasks that sit on the highest level. In essence, these activities are the basic structure of the system as they represent the goals that users want to achieve. The activities are usually very limited in number in a user story map.
#2 User Tasks
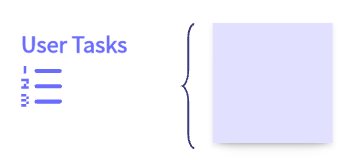
The next component of a user story diagram is the user tasks. These are smaller tasks that need to be completed before the user can achieve one of the activities. However, they are still big enough to contain multiple other tasks. For this reason, user tasks sit in the middle of your user story map.
#3 User Stories

The last component of the user story map is the user stories. These elements are often called details as they sit at the bottom of the user story diagram. The user stories are all the small tasks that a user might complete while trying to achieve the overarching goal that has been determined in the activities.
User Story Map Vs. User Journey Map
Upon reading about the user story diagram, you might wonder if it’s similar to the user journey map. The truth is that even though the user story map and the user journey map have some similarities, they serve different purposes.
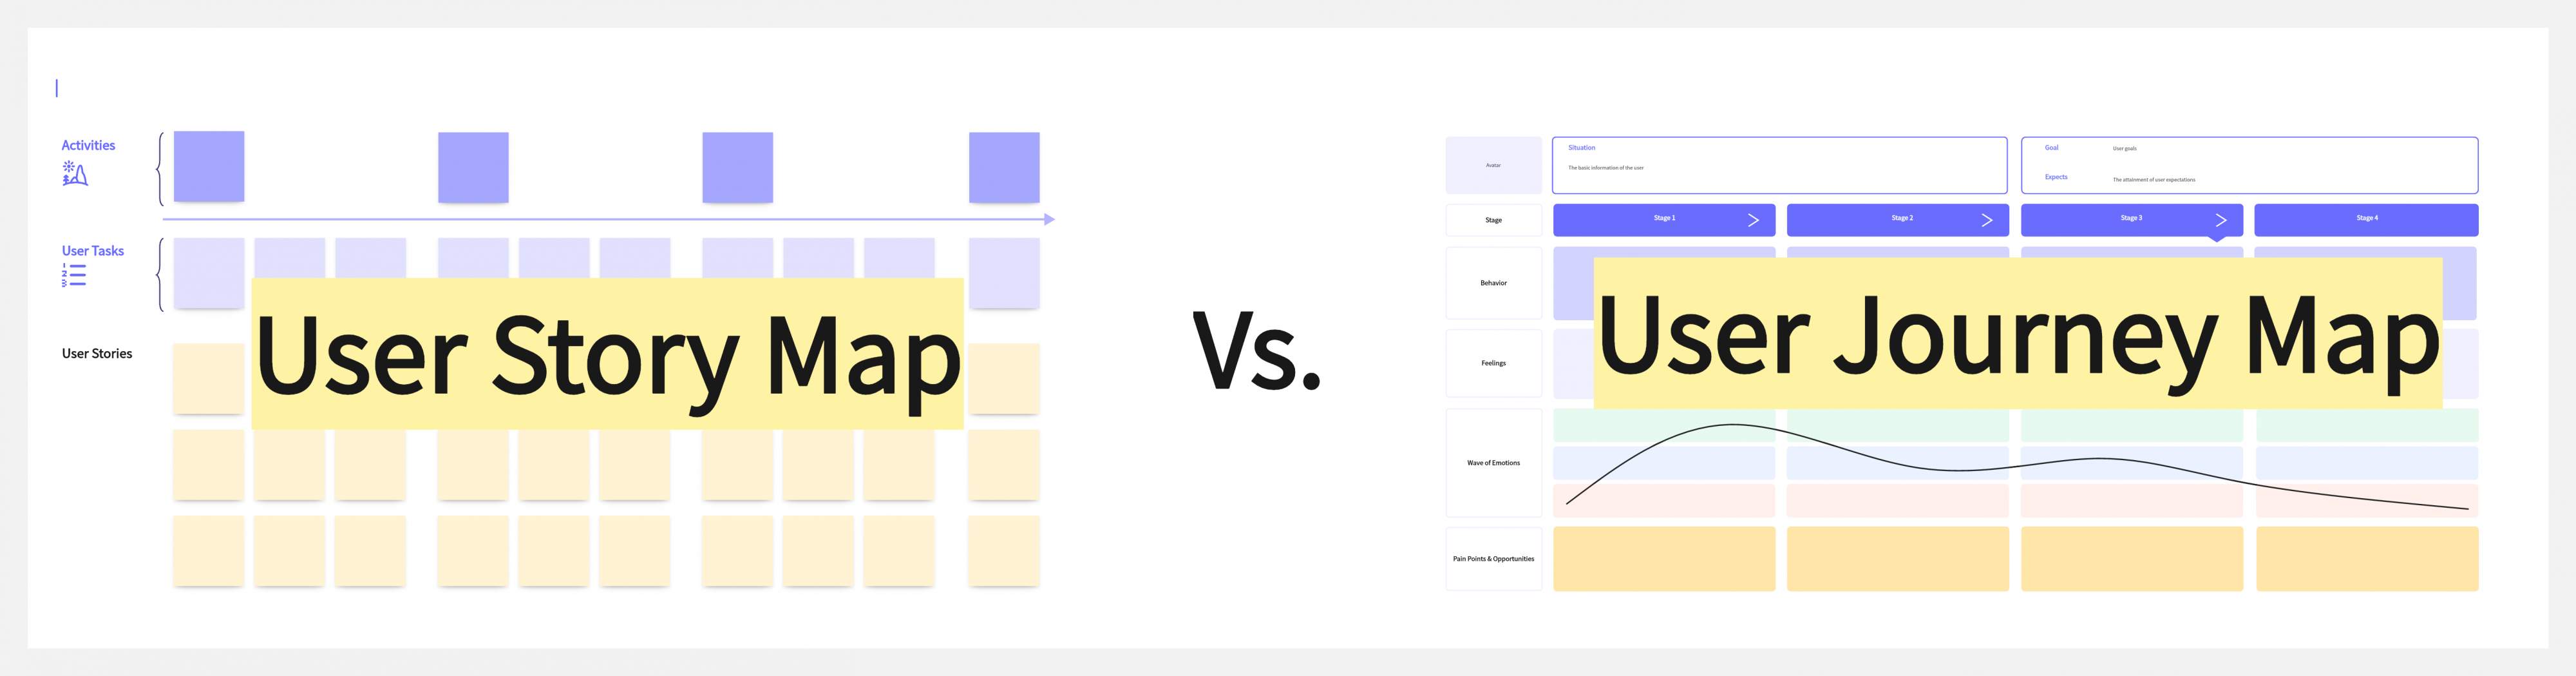
On one hand, the user journey map focuses on the perspective of the user. This means that it takes into consideration the users’ actions, feelings, and reactions along with the steps they take to complete a task.
On the other hand, the user story diagram puts its main focus on the perspective of the system. In more detail, it tries to uncover all the possible tasks that are required for the user to complete the task. In reality, a user journey map can be used as the base for creating a user story map.
How to Make a User Story Map with Boardmix
Boardmix is an online collaborative whiteboard that allows you to create your user story map in no time. The tool possesses a drag-and-drop editor that has a smooth learning curve.

Furthermore, all of your team members can also collaborate on the user story diagram to ensure that you have included all the required tasks. Here are the steps to craft this diagram using Boardmix:
Step 1 – Create the Project’s Activities

First of all, you need to decide which are your project’s main activities. Once you have determined the activities, you can create the shapes and place them at the top of the whiteboard.
Step 2 – Find and Create the User Tasks
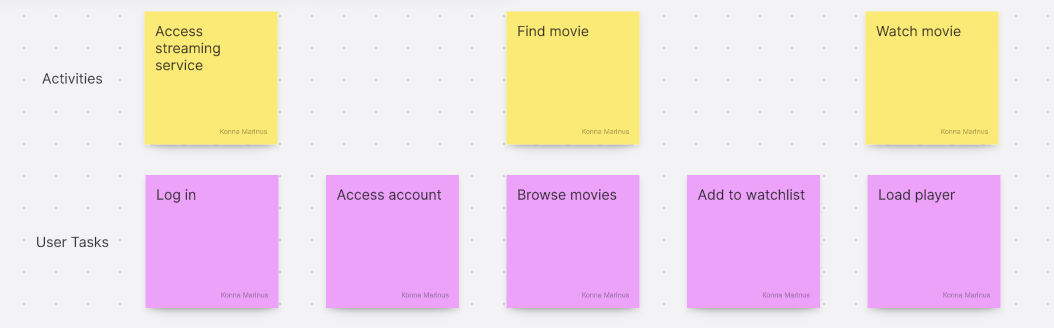
The next step to create a user story diagram is to create the user tasks. These are subtasks that you must place on the second level. To make the levels easy to tell apart, you can select shapes of different colors.
Step 3 – Create User Stories
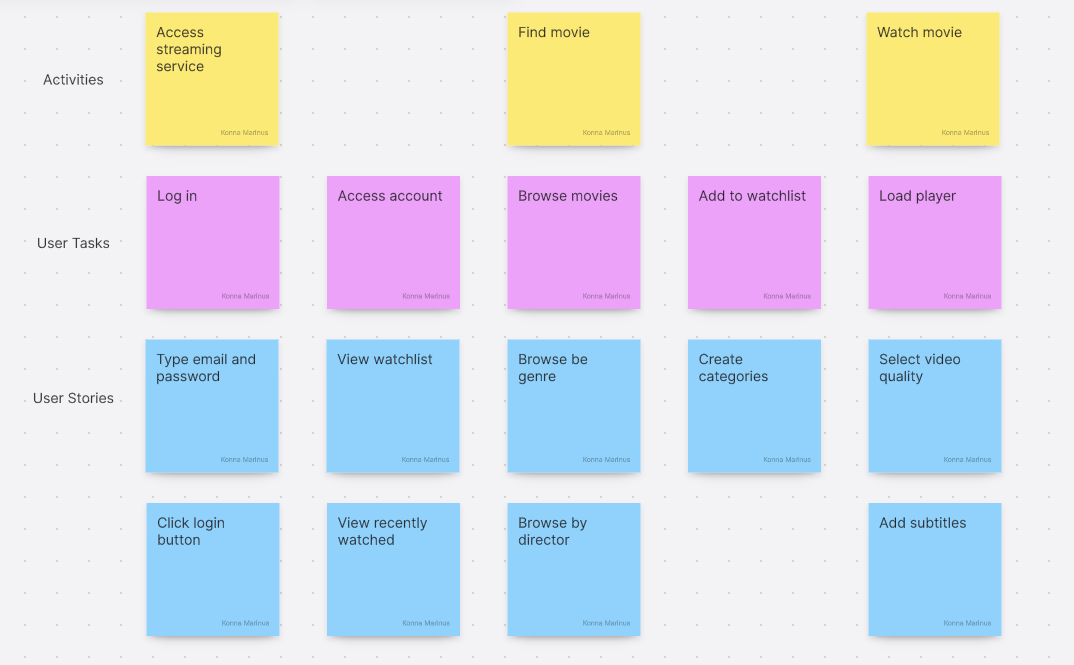
The following step is to add all relevant user stories. You will find the third level of your diagram contains the most tasks. Create all of them and select a different color for the shapes.
Step 4 – Manage User Stories
Before finalizing your diagram, you can evaluate the importance of each user story. Move the elements around to indicate their priority.
Step 5 – Share Your User Story Diagram
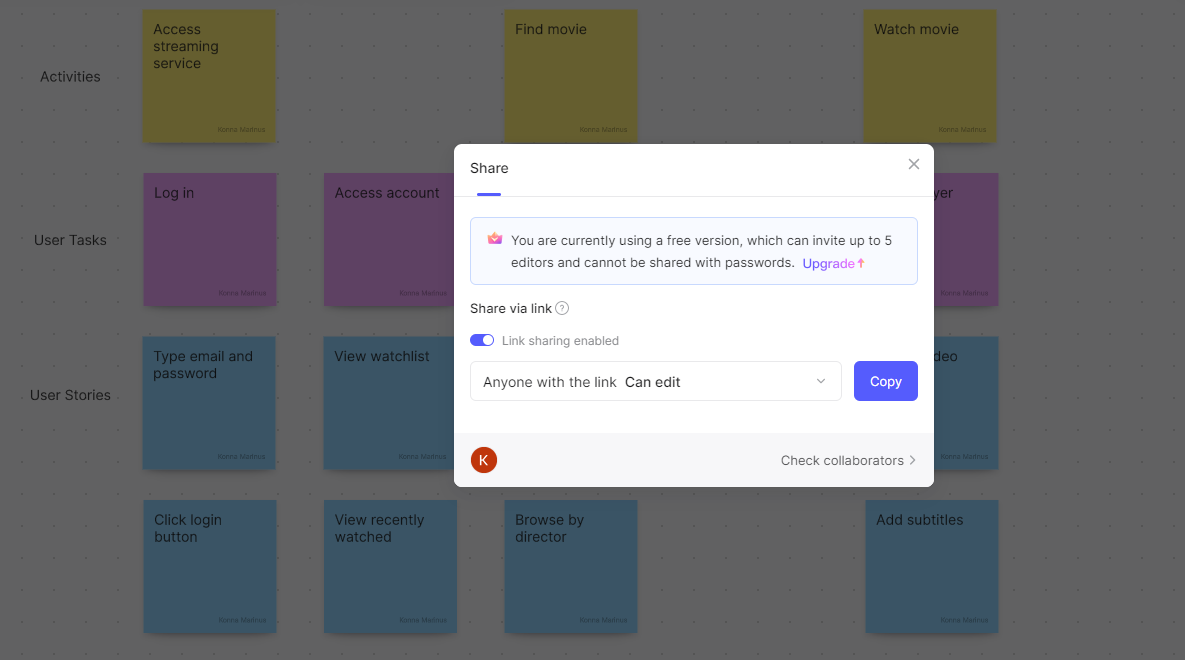
Finally, share the diagram with everyone involved. If there are changes that you need to implement, you can simply edit it.
Wrapping Up
Now you know everything about the user story map and how to create one. Boardmix is the best web-based whiteboard tool that you are going to use to create this diagram, as well as numerous other charts. Find the most suitable plan for your case today to boost your team’s creativity through this intuitive platform!