




To create a Miro board, sign in, choose the team or space where it should live, select + Create new > Board, and start with a blank board or a template. You can then add content, organize the canvas, set sharing permissions, and check which options your plan supports.
This guide covers the current creation flow, everyday board editing, sharing and privacy, duplication, export, ownership, and deletion. Miro can change labels and plan rules, so use the linked help pages as the final reference when a control is not visible.
What Is a Miro Board?
A Miro board is an online workspace for brainstorming, planning, workshops, diagrams, and visual documentation. It gives a person or team one canvas for text, sticky notes, images, shapes, connectors, and other objects.
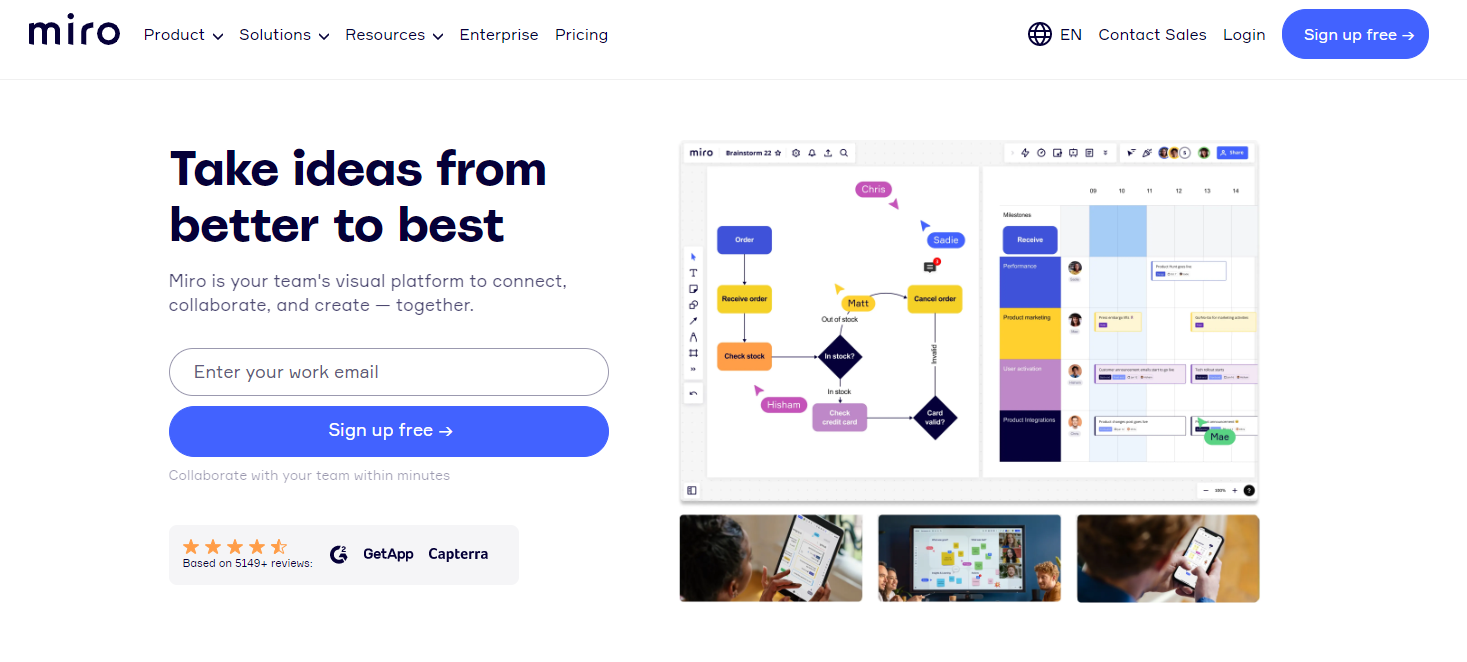
How to Create a Miro Board
Create a blank board or use a template
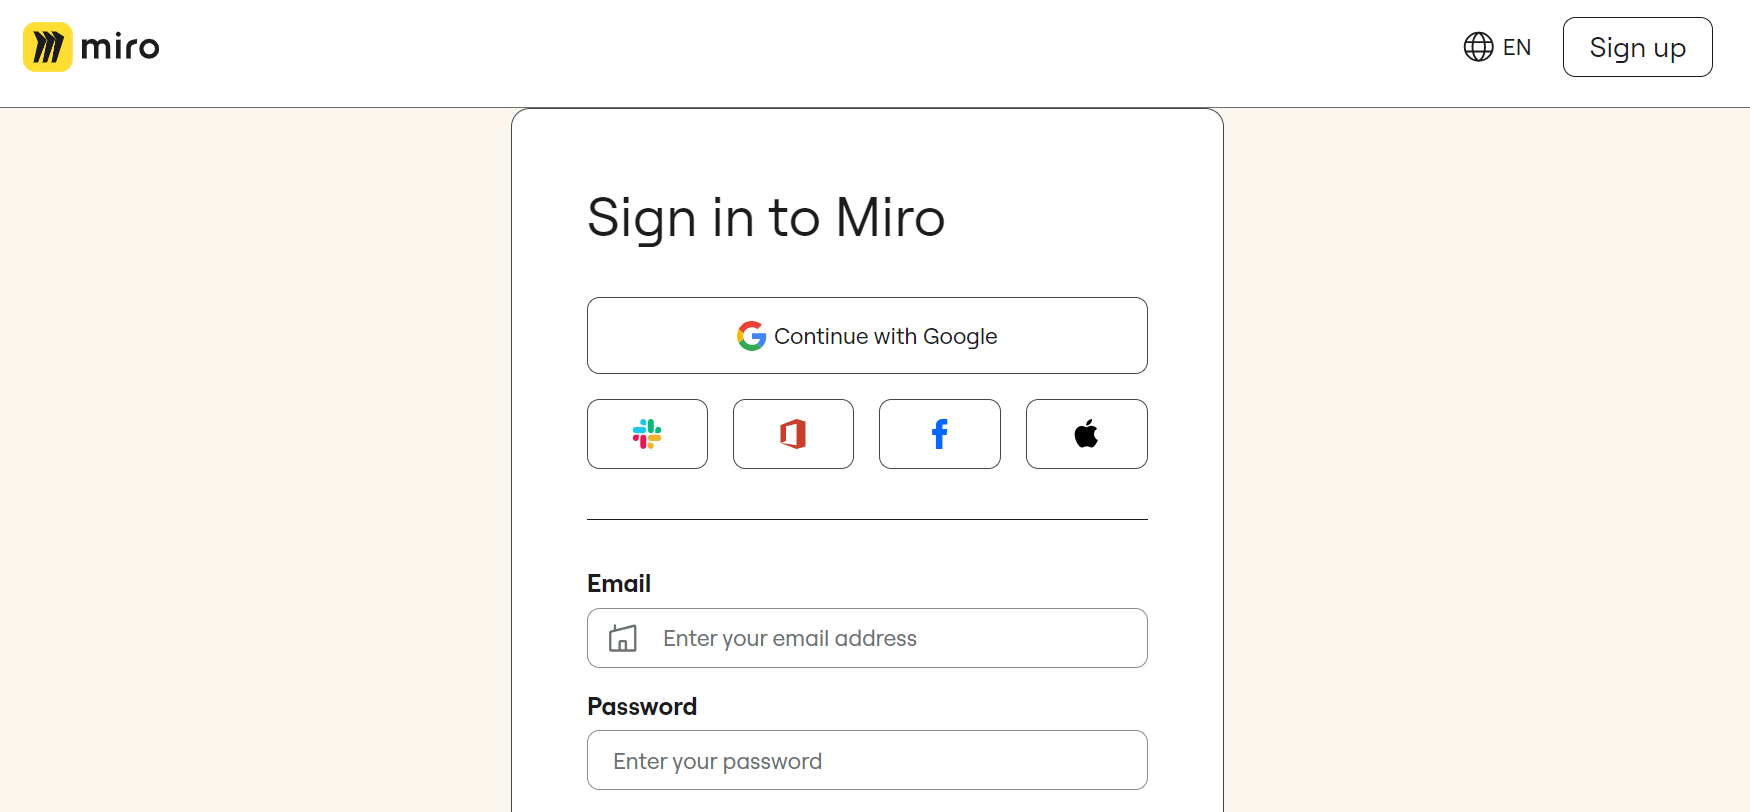
- Sign in to Miro and open your dashboard.
- If you belong to more than one team, select the team that should own the board. Open a space first if your workspace uses spaces.
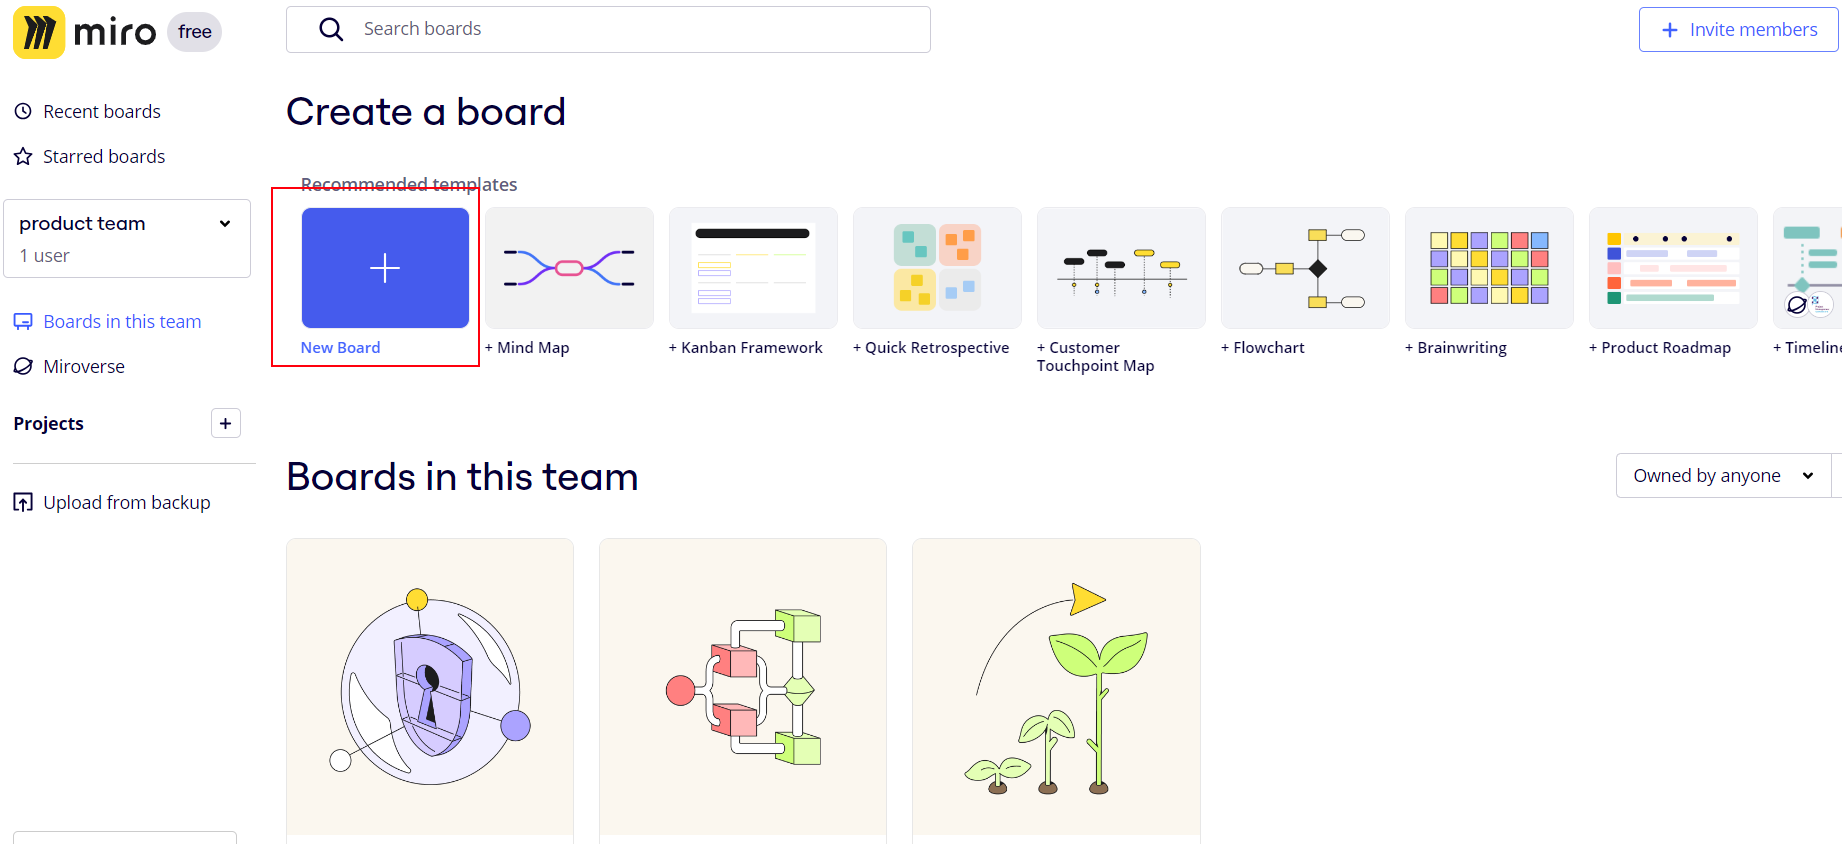
- Select + Create new, then choose Board. The exact label can vary by Miro version.
- Choose a blank board or start from a template. Give the board a descriptive name so collaborators can find it later.
- Add the first object, such as a sticky note, text box, shape, or connector. You can keep building on the canvas immediately.
The dashboard screenshot below is retained as a visual reference for the sign-in and board-creation step.
Start from a template
A template can give a workshop or planning session a useful structure before the team joins. Review the frames, prompts, and permissions before sharing the board. A blank board is usually better when you need a custom information architecture or a private working draft.
Use the miro.new shortcut
You can also type miro.new in a browser address bar to start a board. If you belong to multiple teams, choose the team where the new board should be saved. This shortcut still requires you to sign in when the session is not authenticated.
If you cannot create a board
Check that you are a member of the selected team, have a license that can create boards, and are not blocked by a team setting. A Free team that has reached its active-board limit may also prevent a new board from being created.
How to Add Content and Organize a Miro Board
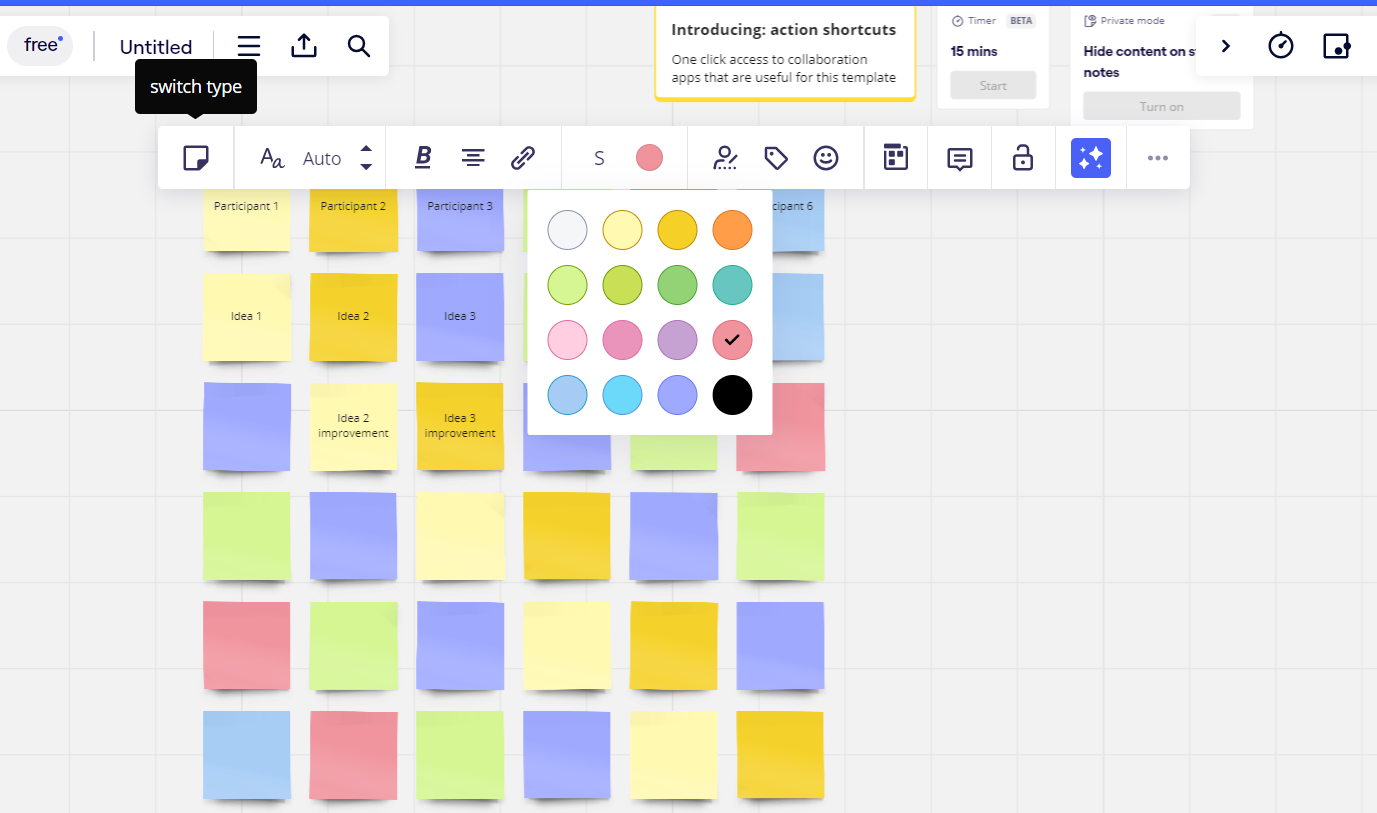
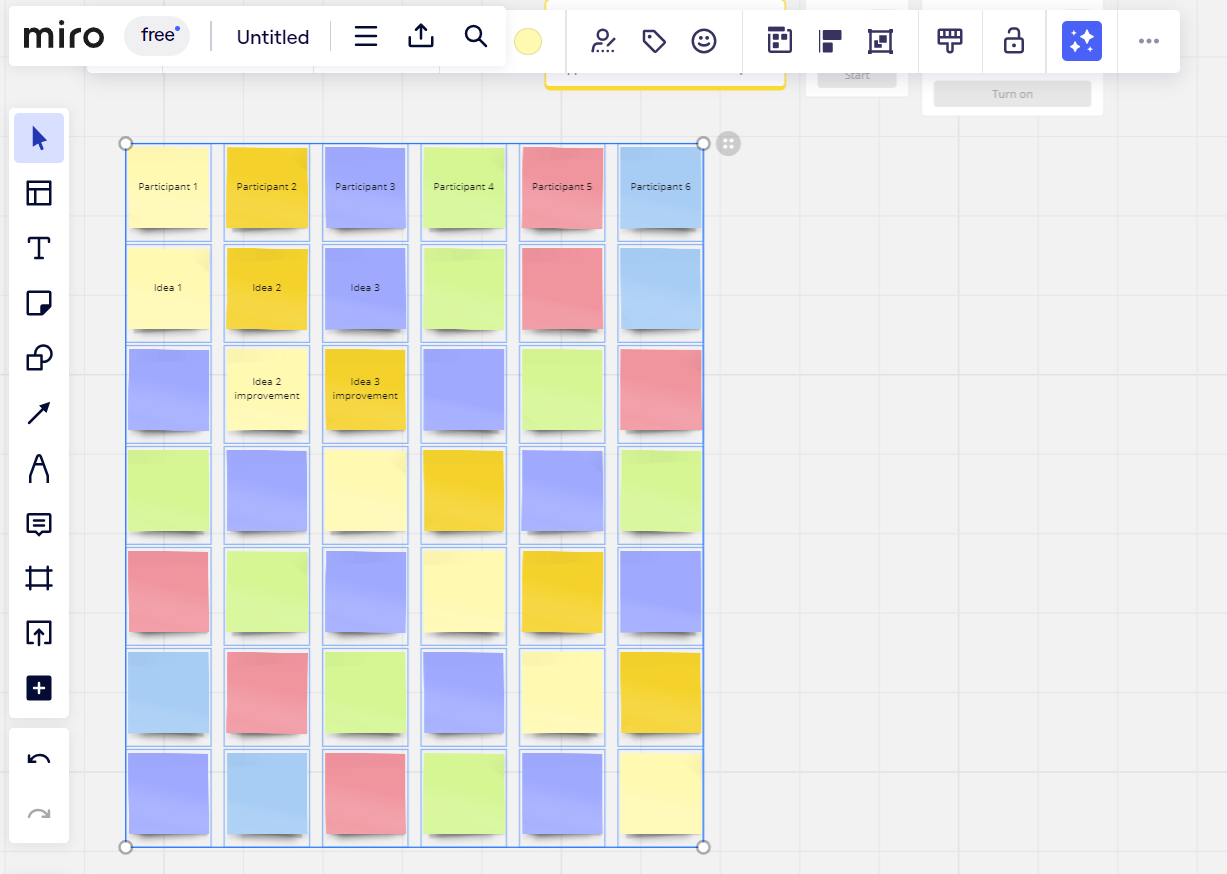
Open the board and use the toolbar to add sticky notes, text, shapes, images, connectors, or freehand drawings. Group related objects into frames, name each section, and leave enough space for collaborators to work without covering one another's content.
Edit, move, and duplicate objects
Select an object to edit its text or style. Drag it to move it, select several objects to group them, and use the board menu to duplicate a board when you need a reusable starting point. The available actions depend on your access level.
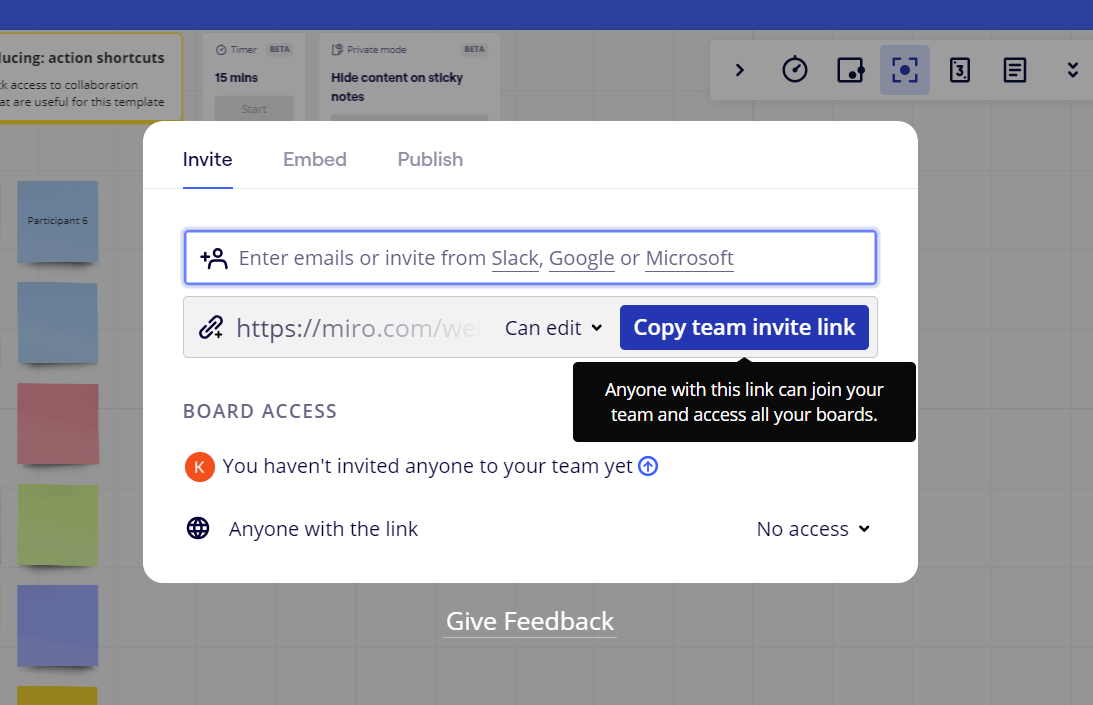
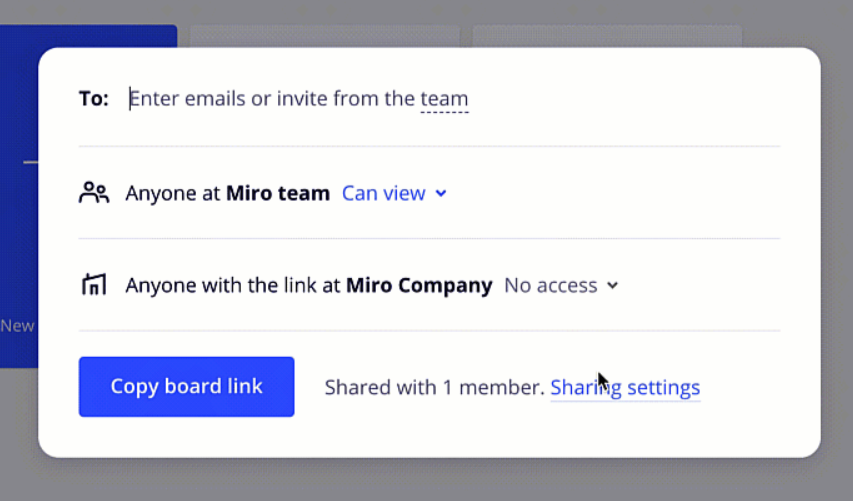
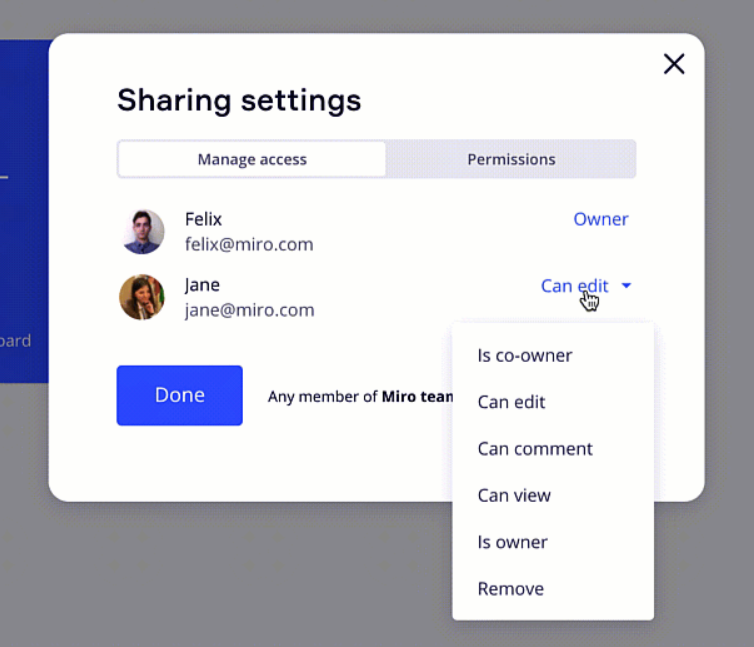
How to Share a Miro Board and Set Access
Invite people or share a link
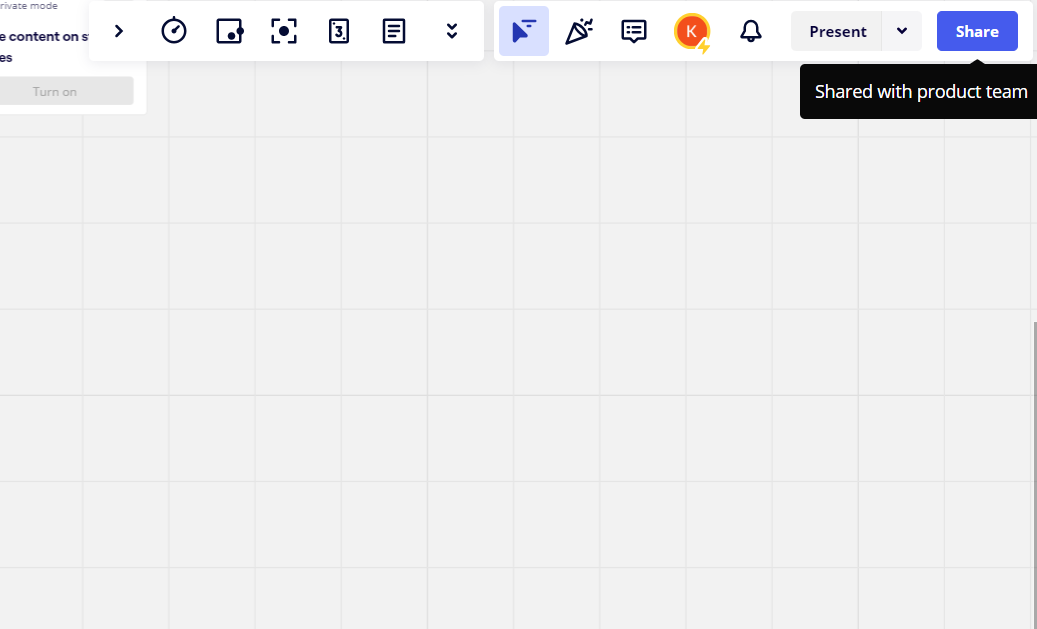
- Open the board and select Share.
- Invite people by email or choose the link-sharing option available to your plan.
- Choose the lowest access level that fits the task: view, comment, or edit.
- Before sending the link, review who can access the board and whether people outside the team are allowed.
Private boards depend on the plan
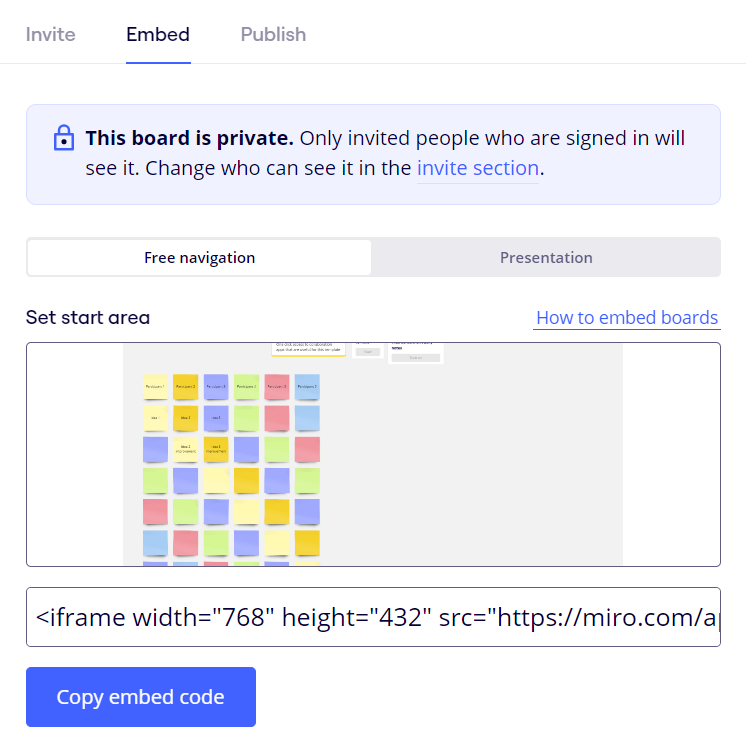
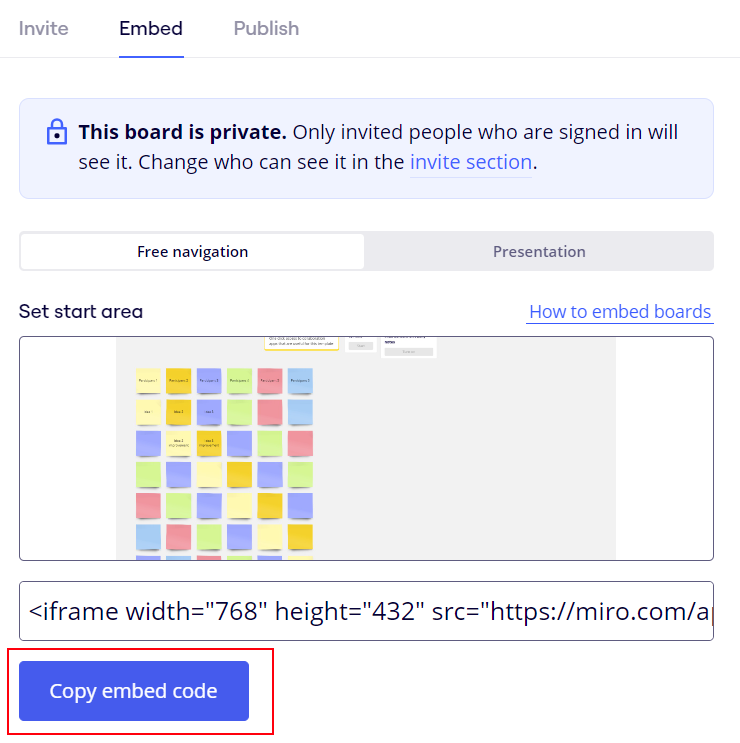
Do not treat an embed code as a privacy setting. Miro's current Free plan makes boards visible to the team by default, while private-board controls and more granular access are plan-dependent. Open the access settings and confirm the current rule for your team before adding sensitive work. See Miro's guide to making a board private for the current controls.
The existing screenshots below are retained as visual references for the sharing flow; labels may differ in the current interface.
Transfer ownership only when permitted
Some workspaces let an owner transfer a board from the sharing settings. If the option is missing, check your role and plan rather than assuming every collaborator can become the owner. The existing screenshots show the location of the control in an older workflow.
How to Duplicate, Export, or Delete a Miro Board
Duplicate a board
Open the board menu and choose the duplicate or copy action when your role allows it. Rename the copy before inviting collaborators so the original and the working version are easy to distinguish.
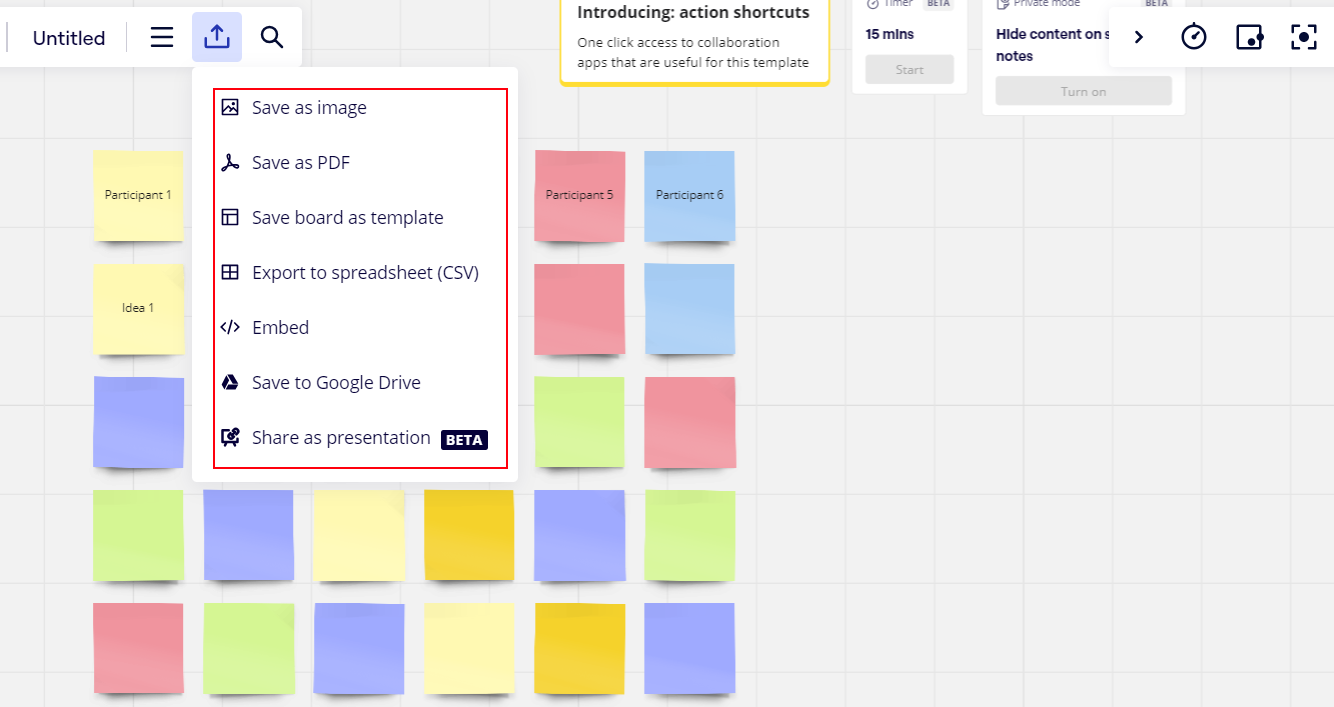
Export or print a board
Miro may offer PDF or image export from the board menu, but export formats and quality can depend on the plan and the board content. Check the menu for the account you are using, then review the exported file before distributing it.
To print a board, export it to a printable format first and then use your operating system's print dialog. A large canvas may need to be split into frames or pages for readable output.
Delete a board carefully
- Open the board you want to remove and open the main board menu.
- Choose the board-management or delete action shown for your role.
- Confirm the action only after checking that the board is no longer needed or has been backed up.
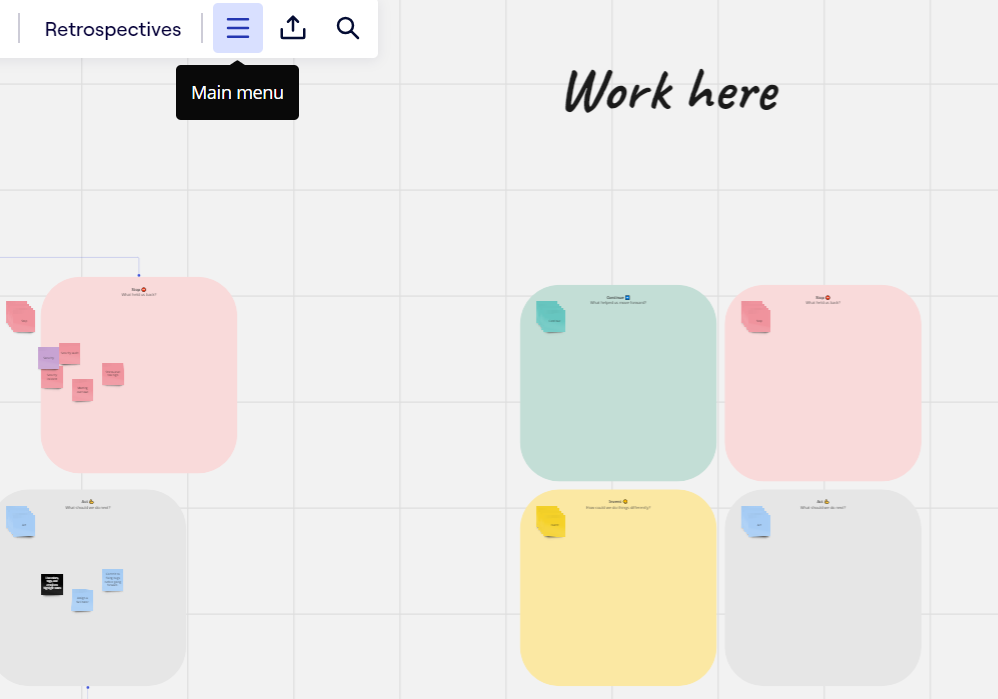
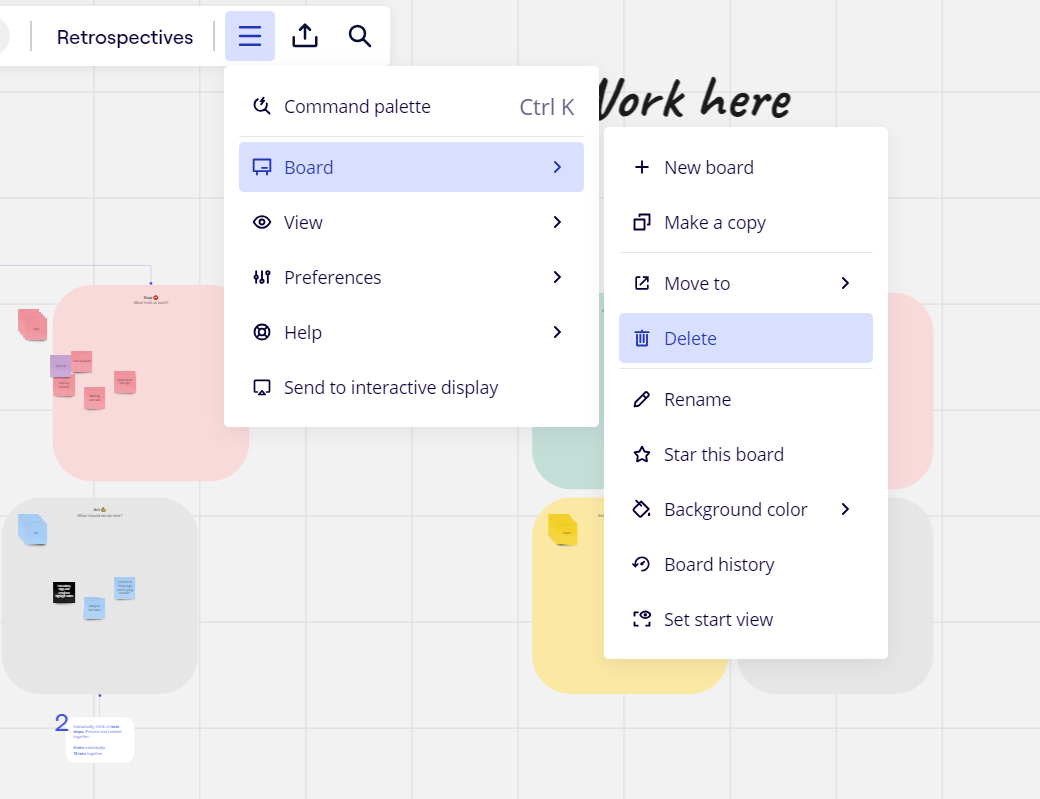
Deletion and recovery rules can vary by workspace. Do not assume that a deleted board is immediately or permanently unrecoverable; check the current workspace help before removing important work.
For the latest creation and access steps, compare the workflow with Miro's official board-creation guide and access-rights guide.
Miro Board FAQs
Does Miro save a board automatically?
Miro is designed to save changes online as you work. Wait for the board to finish syncing before closing a tab, especially after adding a large image or importing content.
Can I make a Miro board private on the Free plan?
Free-team boards are visible to the team by default. Private-board and more granular access controls depend on the plan, so verify the sharing settings before adding confidential material.
Can I copy or duplicate a Miro board?
Usually, yes, when your role and plan allow duplication. Use the board menu, then check that the copy has the intended owner, permissions, and template content.
Can I download or print a Miro board?
PDF or image export may be available from the board menu, with formats and quality varying by plan. Export first, then print the file if you need a paper copy.
A Practical Boardmix Workflow
If your goal is to map ideas, organize workshop input, or review a plan with collaborators, Boardmix provides an online whiteboard for those workflows. Its current pricing page lists the Free plan's workspace, board, object, storage, export, and version-history limits; compare those limits with your actual use case instead of assuming that every plan is unlimited. A feature and workflow comparison is available in Boardmix vs Miro.
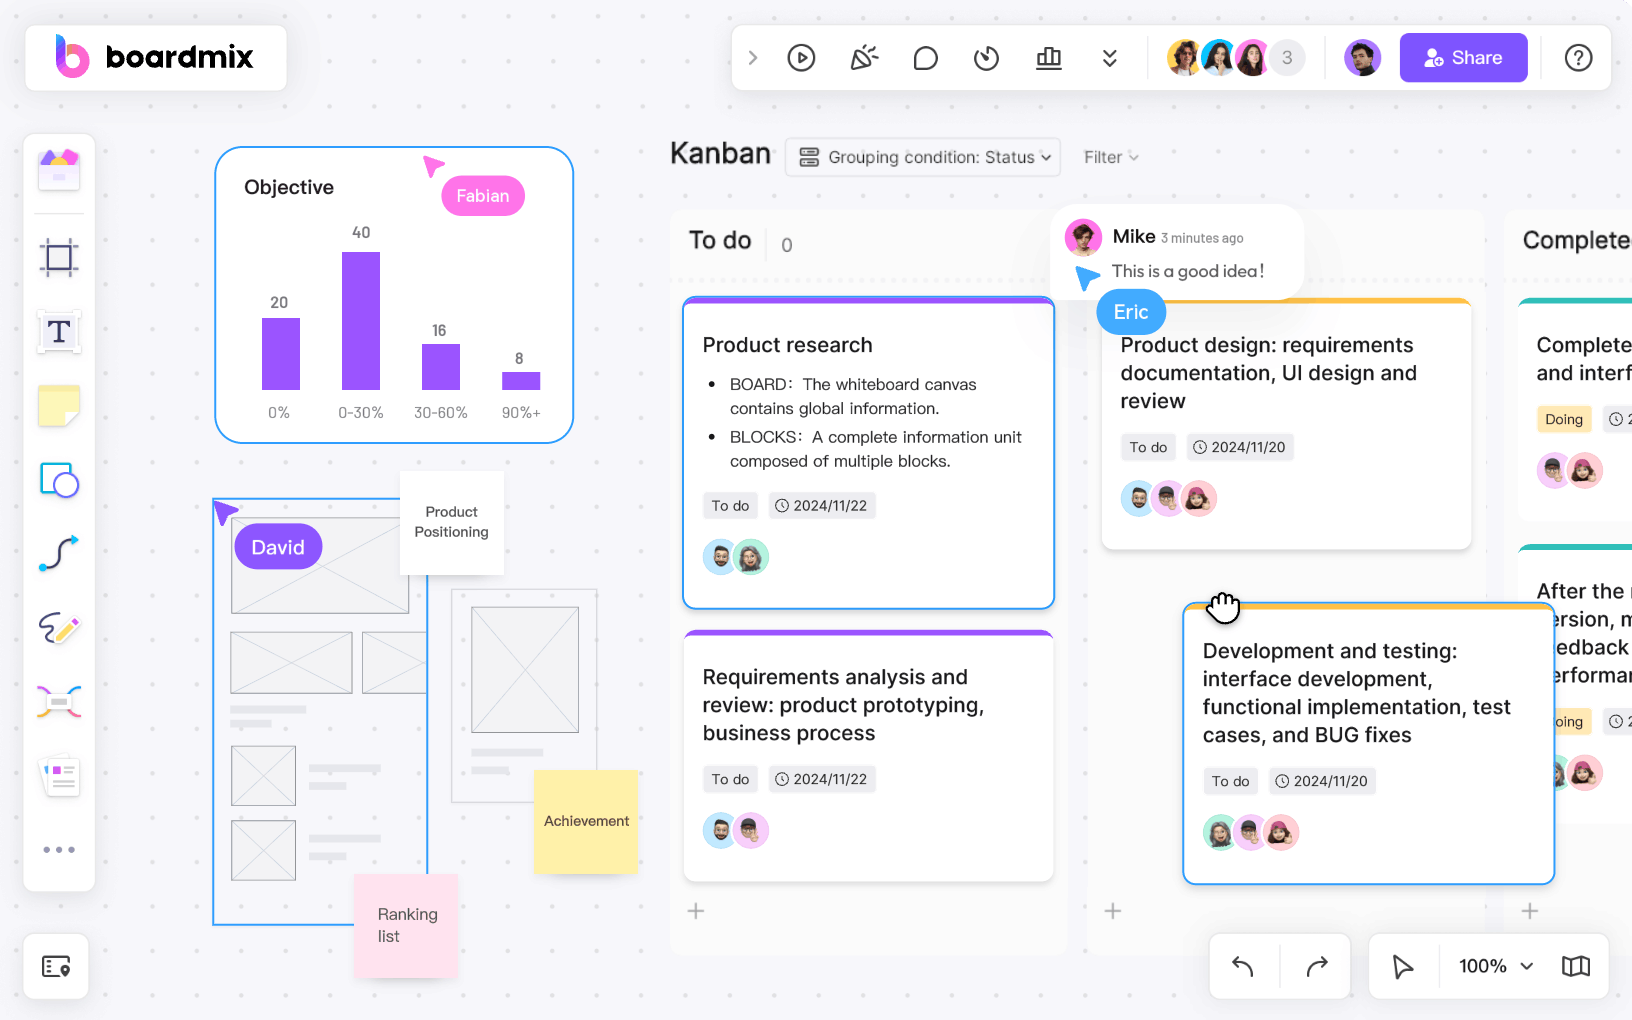
Choose the tool that gives your team the access controls, export options, and workspace capacity it needs. Recheck plan details before committing because both products can change their interfaces and limits.
![A Comprehensive Guide to the Context Diagram [2023]](https://cms.boardmix.com/images/articles/context-diagram.png)