



To create a flowchart in Word, define the start and end, add the appropriate flowchart shapes, connect them with connector arrows, label every decision branch, and test each path. Use SmartArt for a short linear sequence; use Shapes and connectors when the process includes decisions, loops, or exception paths.
This guide explains both methods for Word users who need a flowchart inside a report, assignment, procedure, or project document. The goal is not only to place boxes on a page, but to produce a diagram whose logic remains clear when the document is edited or shared.
Choose Between SmartArt and Shapes in Word
Word offers two practical starting points, and choosing the right one prevents unnecessary rework:
- Use SmartArt when the process is a short, mostly linear sequence and you want Word to handle the initial layout.
- Use Shapes when you need standard flowchart symbols, multiple decision branches, return loops, or precise connector routing.
SmartArt is faster for a simple overview, but Shapes gives you more control over the meaning and placement of each element. If the flow needs a decision diamond with labeled outcomes, the Shapes method is usually the better choice.
How to Create a Flowchart in Word with Shapes
- Write the process in plain language. Define the event that starts it, the result that ends it, the actions in between, and any questions that change the path.
- Open the Shapes gallery. Go to Insert > Shapes. If your desktop version displays New Drawing Canvas, select it to keep the diagram elements together; otherwise, place the shapes directly in the document.
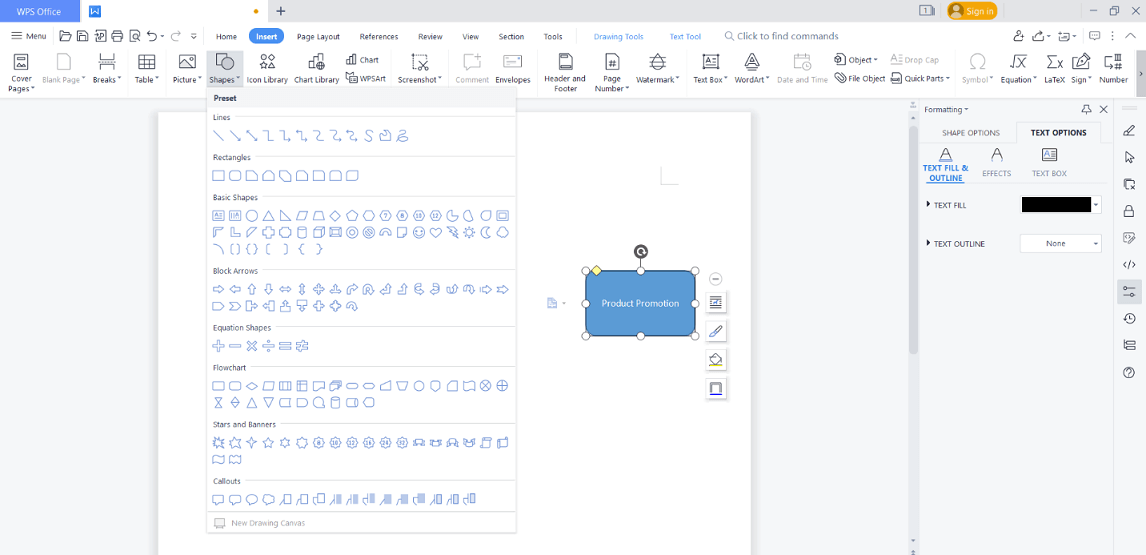
- Place the standard symbols. Use an oval or terminator for the start and end, rectangles for actions, diamonds for decisions, and parallelograms for inputs or outputs.
- Add one action or question per shape. Begin process labels with a verb, and write decisions as questions that can produce explicit outcomes.
- Connect the shapes. Choose a connector from Insert > Shapes > Lines, then attach each end to a connection point. A connector should stay attached when you move a shape.
- Label decision branches. Add concise labels such as Yes/No, Approved/Rejected, or Complete/Incomplete near the relevant arrows.
- Align and review the diagram. Use Word's alignment and distribution controls to create consistent spacing. Then trace a normal path, an exception path, and any loop from start to finish.
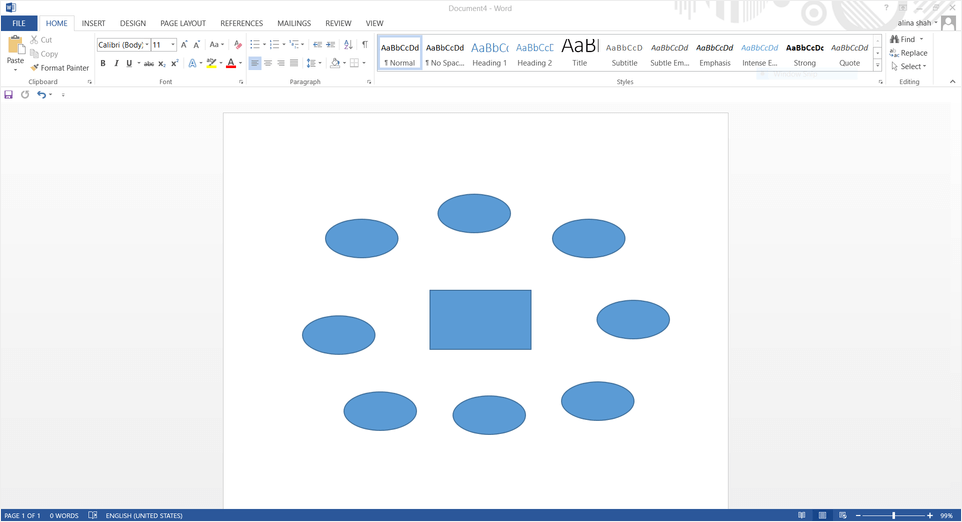
Keep the reading direction consistent, preferably top to bottom or left to right. Crossing arrows, unlabeled decisions, and lines that stop without an outcome make a flowchart difficult to use even when it looks polished.
How to Create a Flowchart in Word with SmartArt
- Go to Insert > SmartArt.
- Choose the Process category and select a layout that matches the sequence.
- Enter labels in the Text pane or directly inside each shape.
- Use SmartArt Design > Add Shape to add steps before or after the selected item.
- Change the colors or style only after the wording and order are correct.
The official Microsoft SmartArt flowchart instructions cover adding, deleting, moving, and styling boxes. SmartArt is convenient, but its automatic layouts can become restrictive when the process contains several decisions. In that case, convert the plan to a Shapes-based diagram rather than forcing complex logic into a linear graphic.
Fix Common Word Flowchart Problems
Connectors do not stay attached
Use a connector from the Lines section rather than a plain line. Attach it to a visible connection point on each shape, then move a shape to confirm that the line follows it.
The layout changes when text is edited
Shorten shape labels and move supporting detail into the surrounding document. Group related diagram elements only after the structure is stable, and check the page again after changing margins or orientation.
The flowchart is too wide for the page
Switch the page to landscape orientation, reduce unnecessary side-to-side branches, or split a large process into a high-level diagram and one or more subprocess diagrams. Do not shrink the text until it becomes hard to read.
Readers cannot follow a decision
Write the decision as a question, label every outgoing branch, and make sure each branch reaches another step or a defined end. A diamond with two unlabeled arrows leaves the reader to guess the rule.
When to Move the Flowchart to an Online Whiteboard
Word works well when a compact flowchart belongs inside a document. When the process grows across many branches or several stakeholders need to review it together, an online flowchart maker can provide more room and a shared editing surface.
Boardmix is an online whiteboard where a team can arrange standard shapes on an infinite canvas, use smart connectors and alignment tools, add comments, and review changes together. Start with a blank board when the logic is still being discovered, or adapt a relevant flowchart template when the process already has a familiar structure.
Start a shared flowchart
Create a whiteboard and define the process boundary before adding detail. Record the start event, end state, owners, and known exceptions so collaborators are reviewing the same scope.


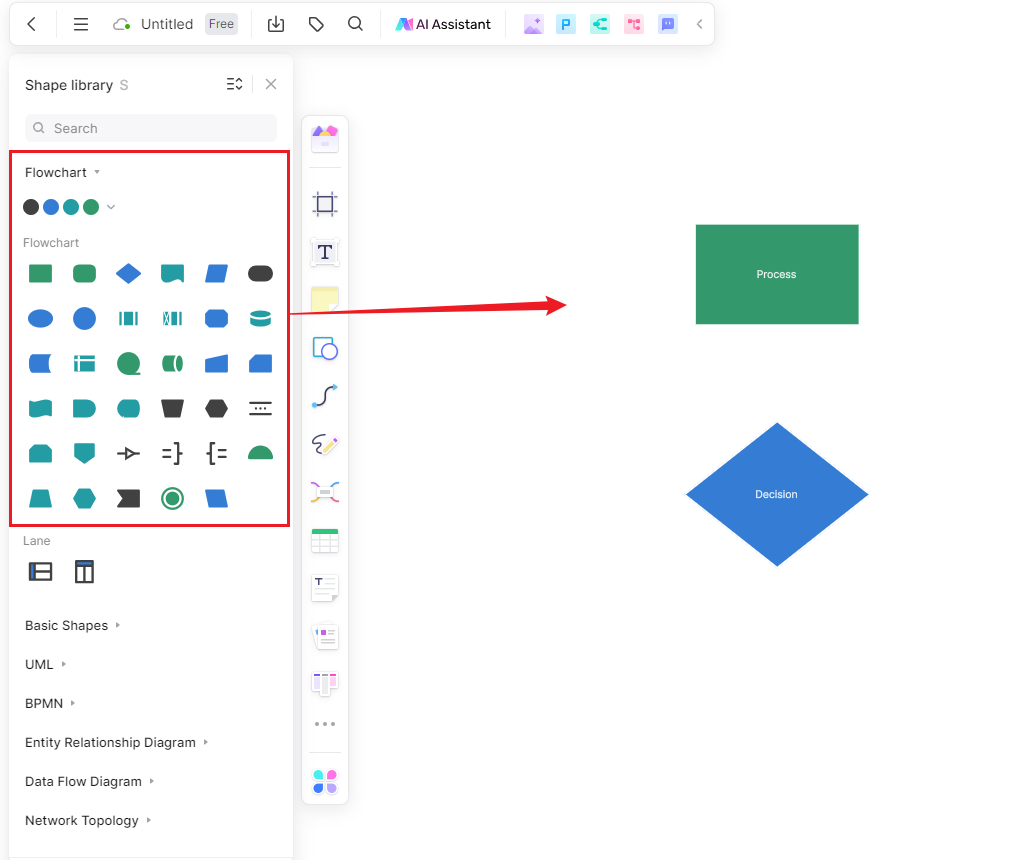
Add and connect the flowchart elements
Place one action or decision in each shape and connect the steps in their actual order. Keep branch labels close to their arrows, and separate unresolved questions from confirmed process steps.
Review the logic with the process owners
Walk through a normal case and at least one exception. Comments can capture questions without crowding the diagram, while co-editing lets the people who perform the work correct missing steps and handoffs.
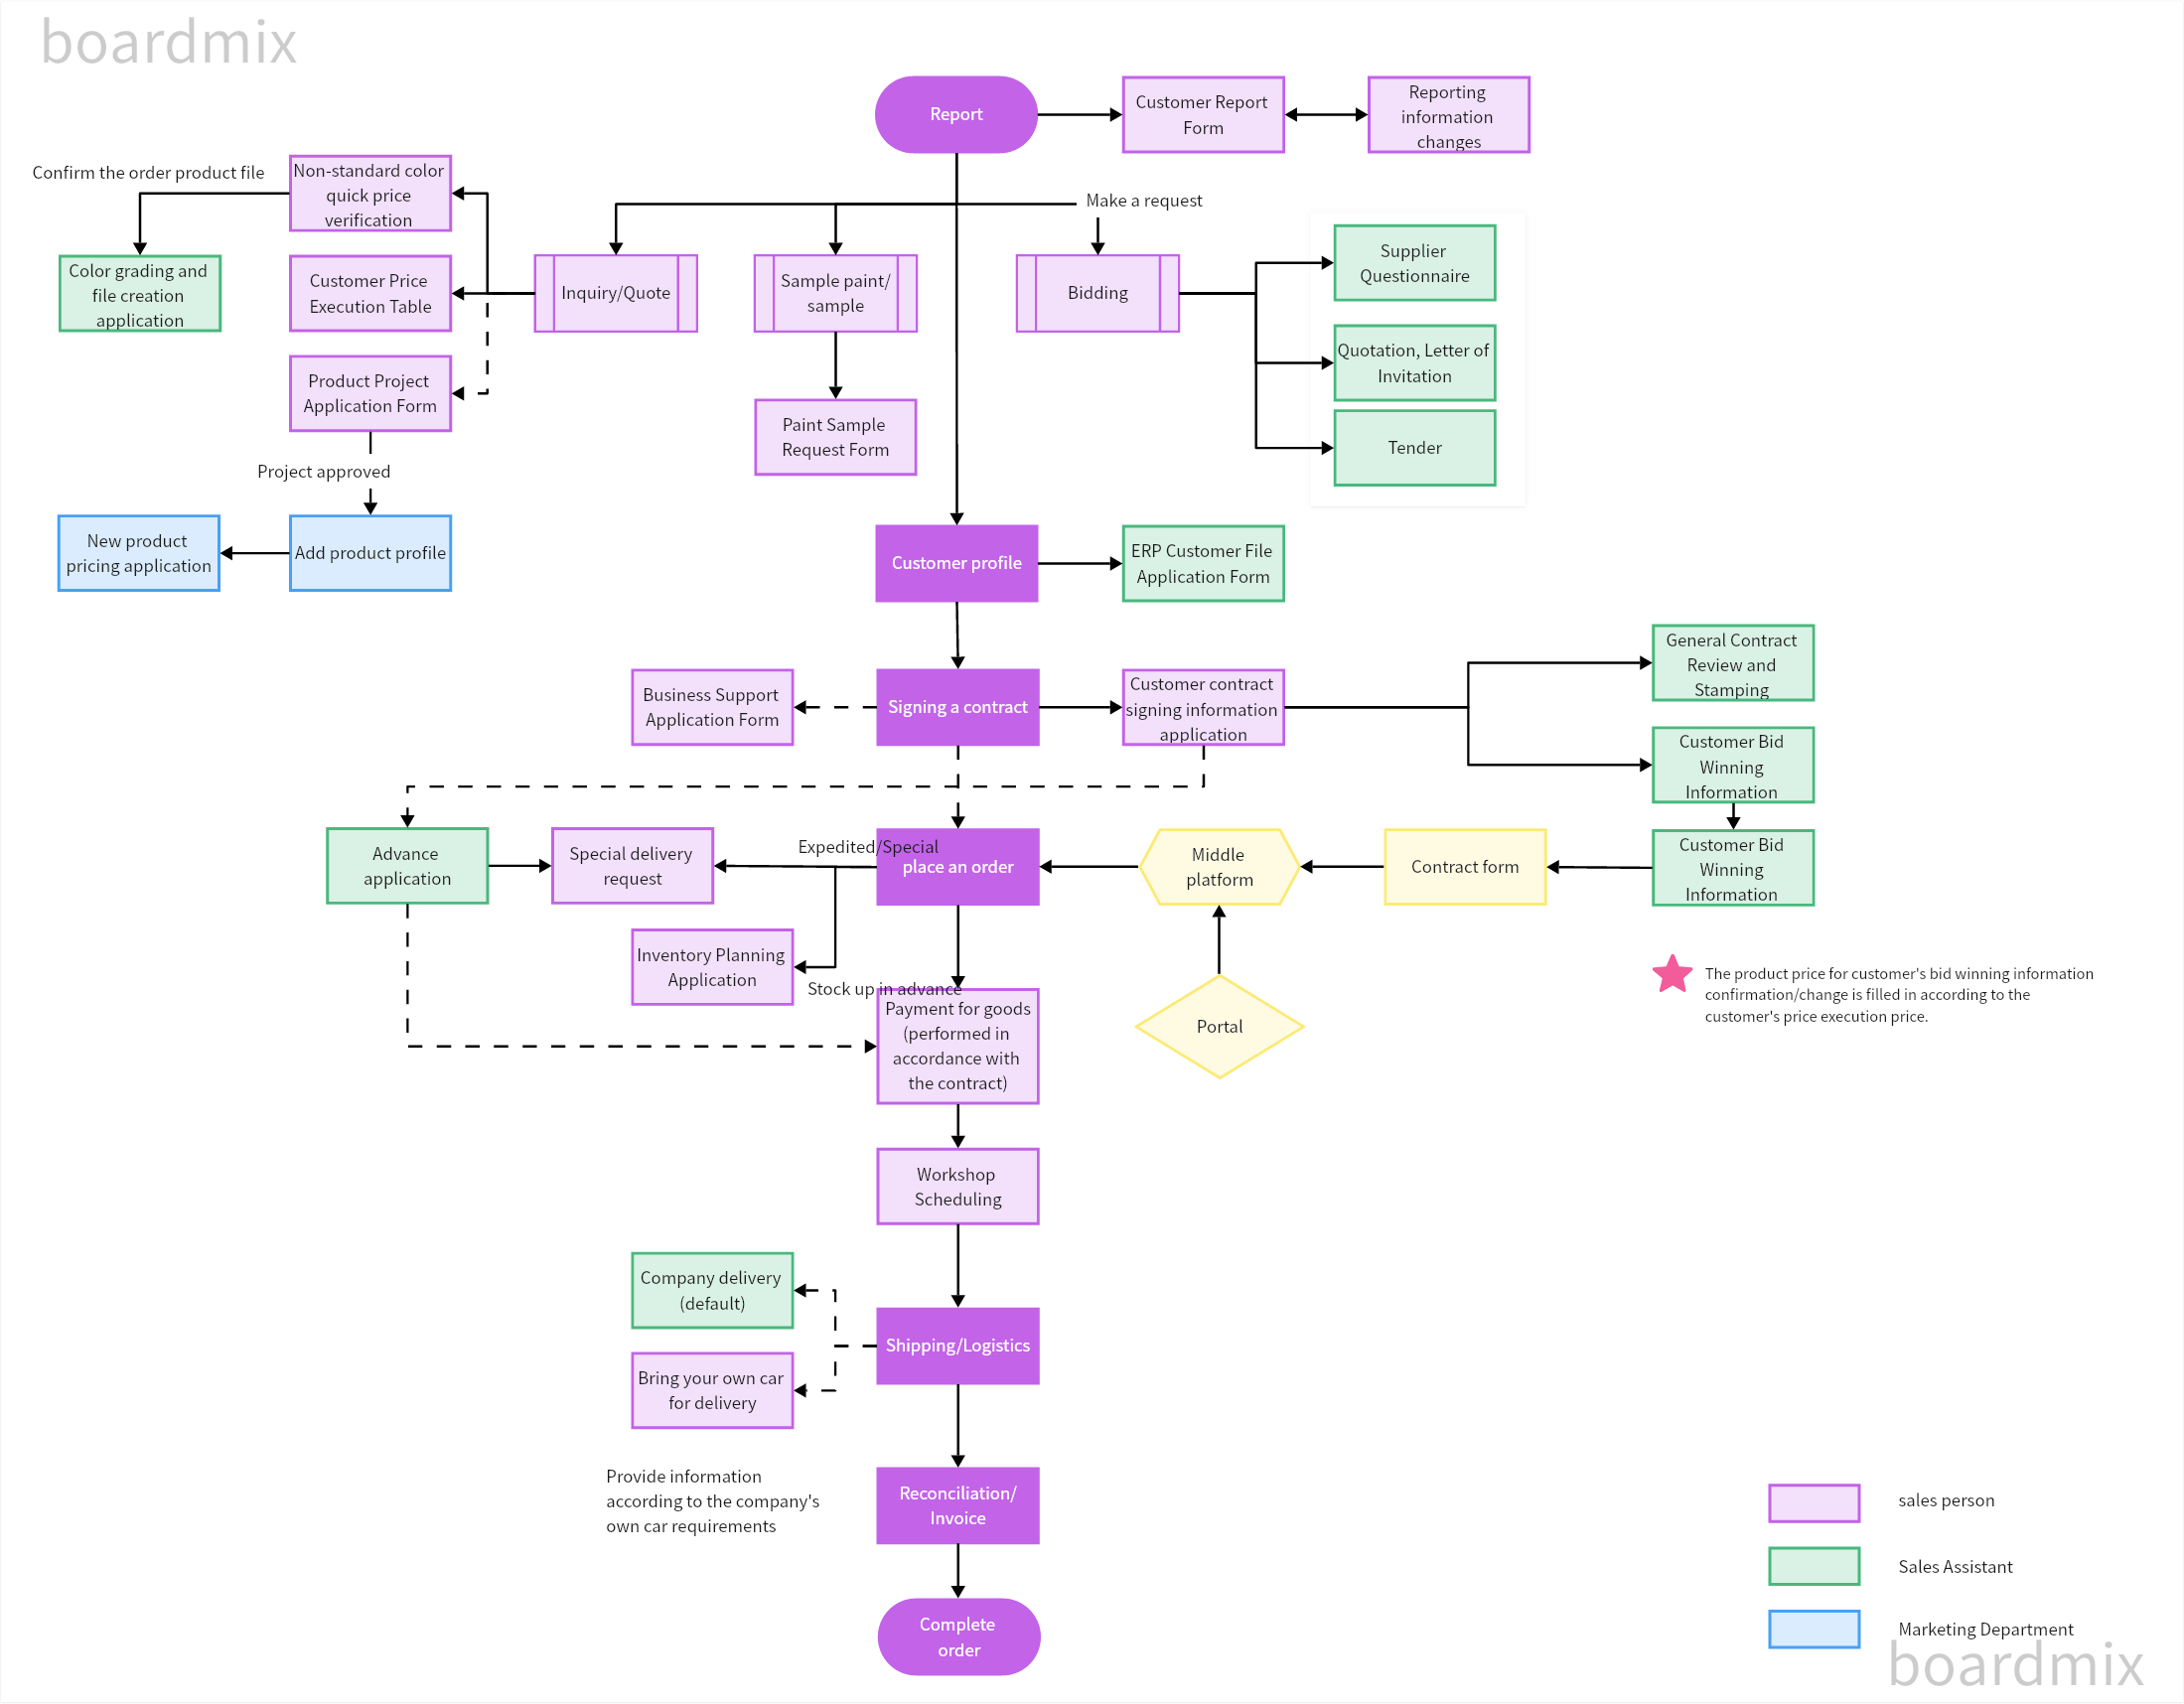
Share or export the approved version
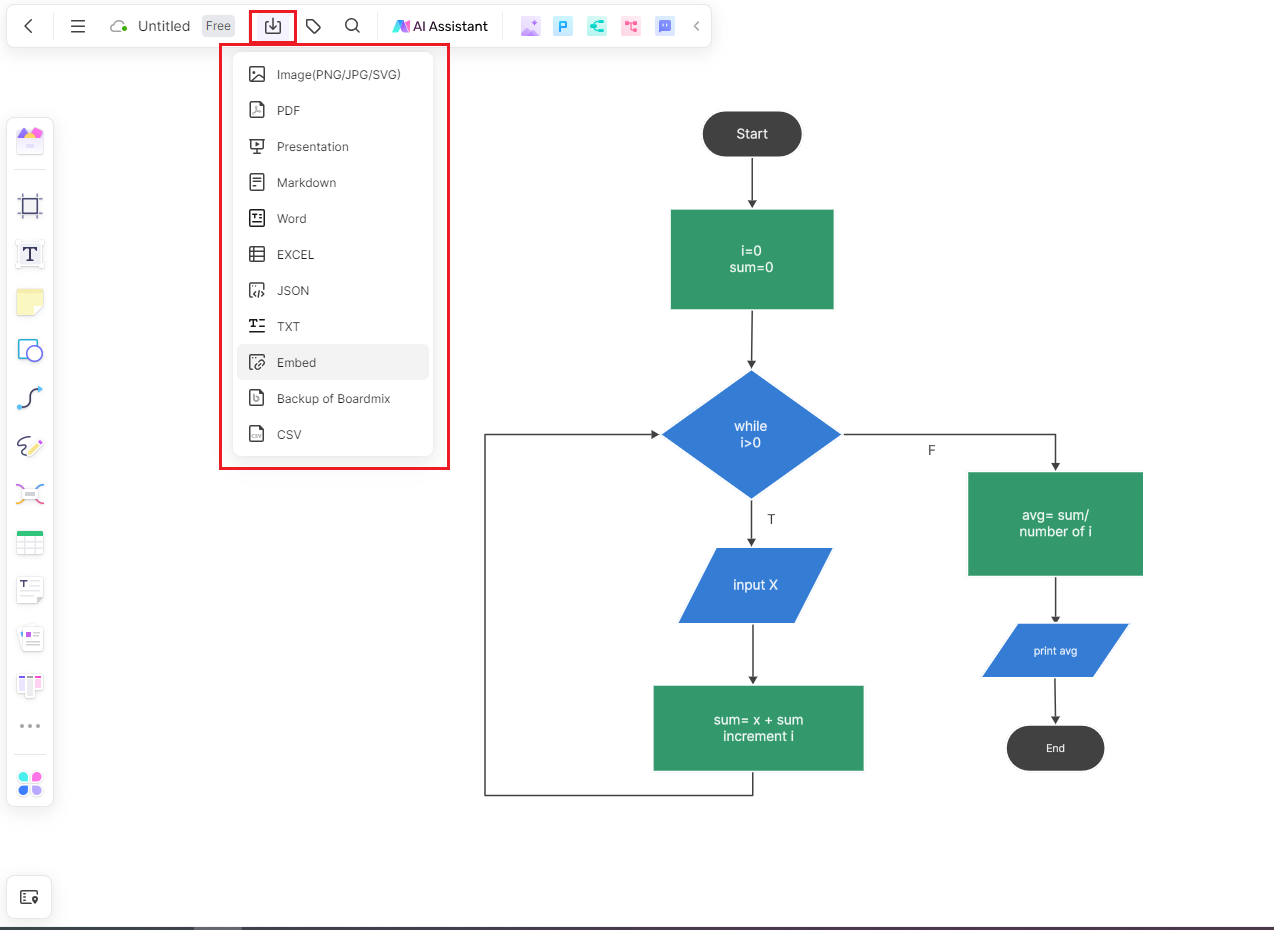
After the owners confirm the logic, share the board with the intended permissions or export the approved diagram for the Word document. Keep the editable source available so later process changes can be reviewed rather than patched into a static image.
For a method-first explanation beyond Word, see this flowchart planning and validation guide. If you are still choosing a platform, compare the requirements in the flowchart software guide.
Flowcharts in Word FAQ
Is SmartArt or Shapes better for a Word flowchart?
SmartArt is faster for a short linear sequence. Shapes are better for decisions, loops, exception paths, and diagrams that require standard flowchart notation.
How do I keep flowchart arrows connected in Word?
Insert a connector rather than a plain line and attach both ends to shape connection points. Test the attachment by moving one shape before finalizing the layout.
Can multiple people edit a flowchart in Word?
People can collaborate on a shared Word document, but a large branching diagram may be easier to review on an online whiteboard built for spatial editing, comments, and simultaneous changes.
Final Word Flowchart Checklist
- The start and end are clear.
- Each process shape contains one action.
- Each decision is written as a question.
- Every decision branch is labeled.
- Every arrow reaches a valid next step or end.
- The text remains readable at normal page size.
- A person familiar with the process has tested the paths.
A Word flowchart is complete when the process is accurate and another reader can follow it without verbal explanation. Choose SmartArt for a simple sequence, Shapes for branching logic, and a collaborative whiteboard when the diagram needs more space or joint review.


![[Quick Guide] Interaction Overview Diagram](https://cms.boardmix.com/images/image/article-images/a-quick-guide-to-the-interaction-overview-diagram.png)