


Using an Online Whiteboard for Differentiated Teaching
A shared whiteboard can help a teacher see how students approach a task and provide feedback on their work. It is a visual workspace, not an automatic grading or adaptive-learning system. This guide shows how to prepare two levels of practice, review responses, and choose follow-up activities.
The classroom examples below are illustrative lesson plans, not reported customer results. Boardmix Free includes three editable boards, up to 100 objects per board, and 1 GB of storage. AI access and usage allowances vary by plan; see Boardmix pricing. Check school approval, student account requirements, and sharing permissions before using any classroom platform.
1. Plan Differentiation Around a Clear Learning Objective
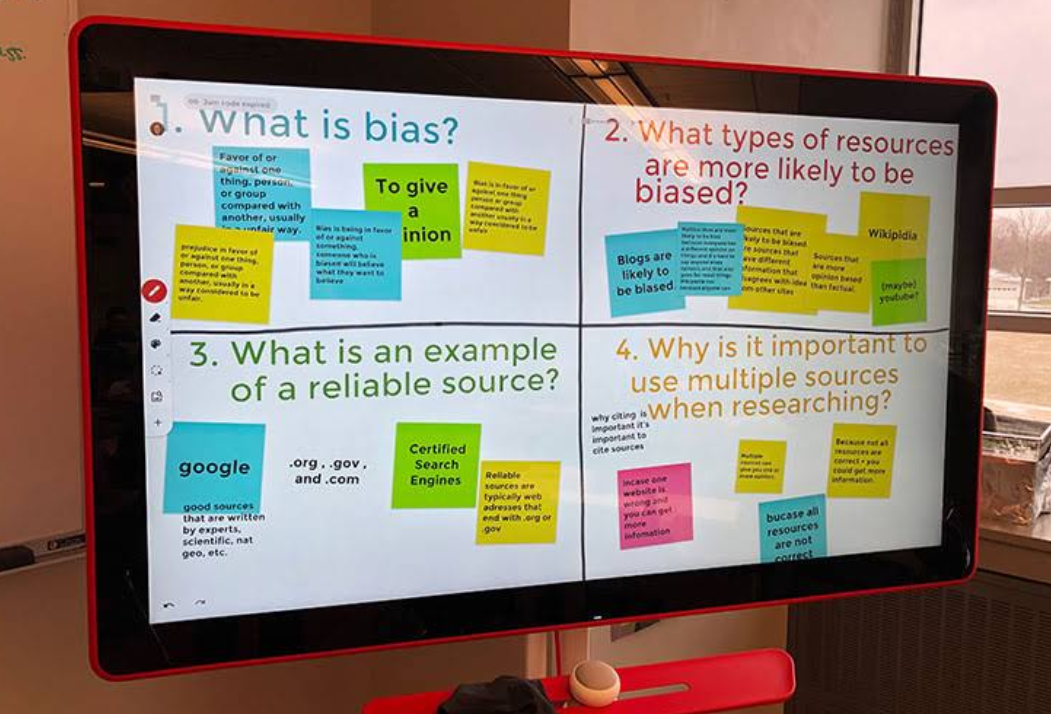
Begin with one observable objective, such as converting a fraction to a decimal and explaining the calculation. A short starting question can reveal which steps students understand. Read the responses and decide which students need a worked example and which are ready for a more challenging application.
Separate the learning goal from the tool
The teacher selects tasks and evaluates understanding. A board can display student reasoning, but the number of notes or edits is not a reliable measure of learning. A quiet student may understand the concept; an active student may still have a misconception.
Use assessment carefully
Adaptive assessments change questions in response to performance. Such systems require validated questions and scoring rules. Do not assume a general whiteboard supplies these functions. For a small lesson, the teacher can review a checkpoint question and manually direct students to a suitable activity.
Keep individual grades and sensitive student information in the school’s approved system. Use anonymous examples on a shared demonstration board.
2. Set Up a Board That Students Can Navigate
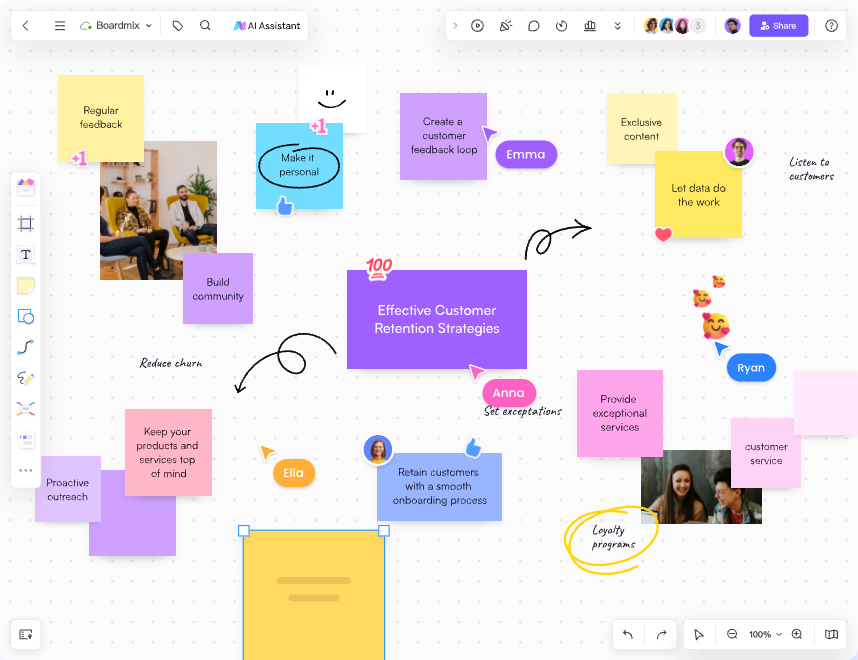
Create clearly named areas for instructions, a worked example, independent practice, and a final reflection. Keep the instructions short and place the expected output beside the task. For example: “Show the division and explain why the decimal is equivalent to the fraction.”
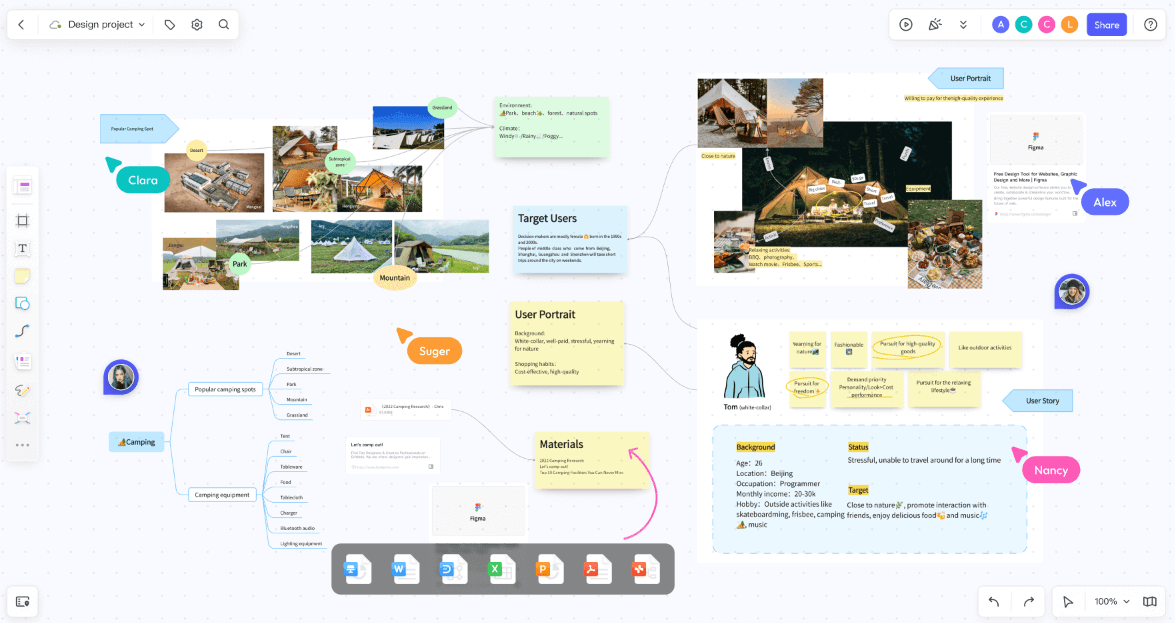
- Visual organization: Use frames or labeled areas to separate activities. Connect related concepts when the relationship helps the lesson.
- Resources: Add an approved image or a link to the reading. Test access from a student account before class; a resource visible to the teacher may require separate permission.
- Collaboration: Explain where each group should work and how to request help. Shared editing does not make a group area private.
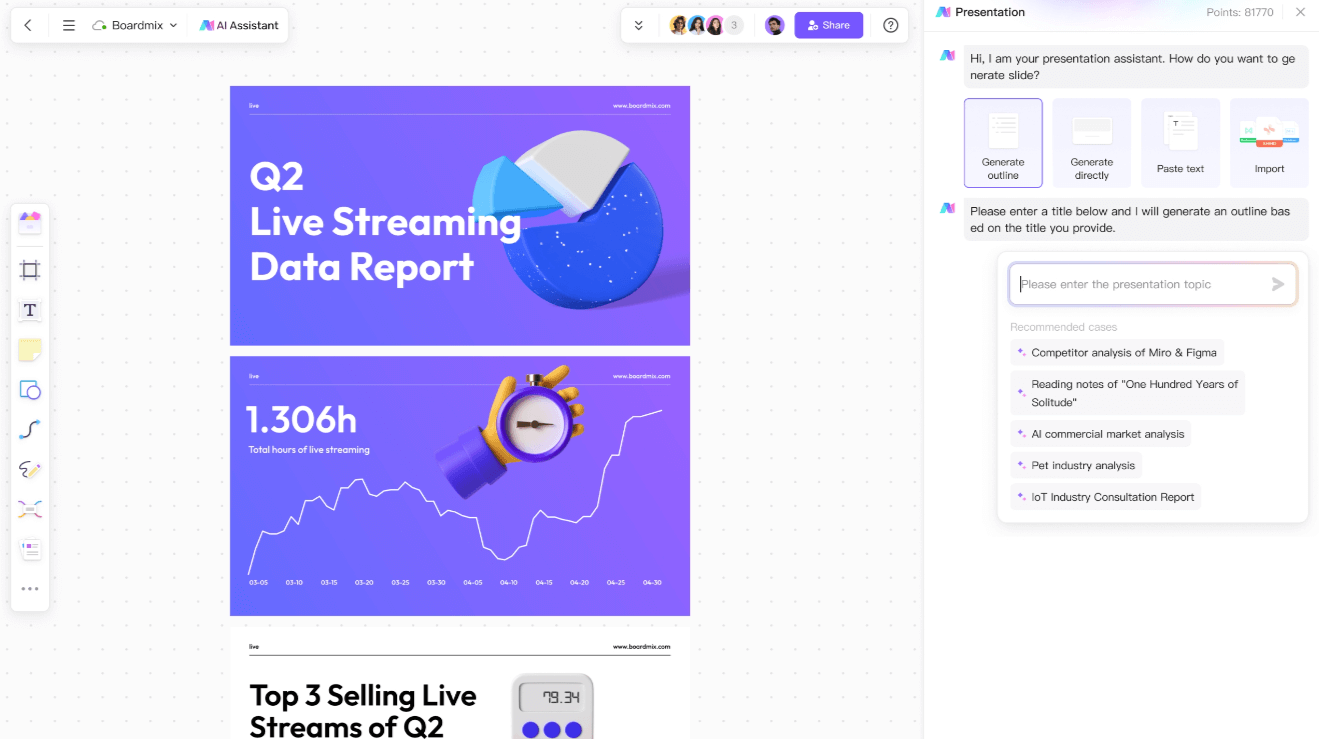
- AI assistance: If available in your account, ask for draft examples or question ideas. Check answers, terminology, age suitability, and curriculum alignment before students see them.
Prepare an alternative such as a printable worksheet for students who cannot access or operate the board. Test the actual devices and network rather than assuming equal access.
3. Two Illustrative Lesson Plans
Example A: Fractions, decimals, and percentages
Objective: Explain why 3/8, 0.375, and 37.5% represent the same value.
- Ask students to convert 1/4 to a decimal and explain their method. Review the answers yourself.
- Set up a practice area with the worked example 1 ÷ 4 = 0.25. Ask students to try 3 ÷ 8 and write each step.
- Offer an extension area: “A container is 3/8 full. Express this as a percentage and explain your answer.”
- While students work, comment on the specific step that needs attention. For example: “Dividing by 8 is equivalent to dividing by 2, then by 4. Can you use that to check your result?”
- Finish with a new fraction so students can demonstrate the method independently. Record what needs reteaching.
The teacher chooses the groups and questions. The example does not assume automatic grouping or a product-generated learning path.
Example B: Photosynthesis and cellular respiration
Checkpoint: “Cellular respiration occurs only in animal cells.” Ask students to state whether they agree and give a reason.
- Display a simple, checked diagram of a plant cell and an animal cell.
- Review responses. For a student who needs support, point to the mitochondria and ask how a plant cell obtains usable energy when it is dark.
- For students ready to extend the discussion, ask how light affects photosynthesis and why respiration continues.
- Have students revise their explanation in a different color or add a new note describing what changed in their reasoning.
Give individual feedback through an approved channel when privacy is needed. A separate area on a shared board is not a private assessment space.
4. Manage Preparation, Participation, and Follow-up
Reuse the board structure for later lessons, but review the examples and links each time. Create a clean teaching copy so last class’s responses do not distract the next group.
- Before class: Check permissions, prepare model answers, and test the activity on a student device.
- During class: Use short instructions, monitor the work, and ask students to explain their reasoning. Check students who have not contributed instead of assuming they are disengaged.
- After class: Review the exit question, note common misconceptions, and choose the next teaching action. Export or retain lesson material according to school policy.
For hybrid lessons, share the board link in the approved meeting platform and provide written instructions for students joining later. Use the meeting platform’s own controls for breakout rooms or recording, where the school permits them.
To evaluate the workflow, record preparation time, access problems, and the quality of student explanations. Compare similar lessons before making claims about time savings or learning outcomes.
5. Start With One Small Activity
Choose a single lesson objective and a short activity that benefits from seeing students’ reasoning. A whiteboard is useful when the shared visual record supports feedback and discussion. Keep teacher judgment, accessible alternatives, and clear account limits at the center of the plan.
After the lesson, ask what was easier to understand and what was difficult to use. Improve that activity before expanding the workflow to a full unit.