



Direct answer: To create a flowchart, define the outcome, list the steps, mark decisions, connect the symbols in order, and test the result with a real example. You can draw it manually, adapt a template, or use AI to draft the first version. The method changes the speed and editing effort, but the validation work remains yours.
This guide compares the three approaches and gives a practical workflow for beginners, students, and teams documenting a process. It separates what a tool can automate from what a reviewer still needs to decide.
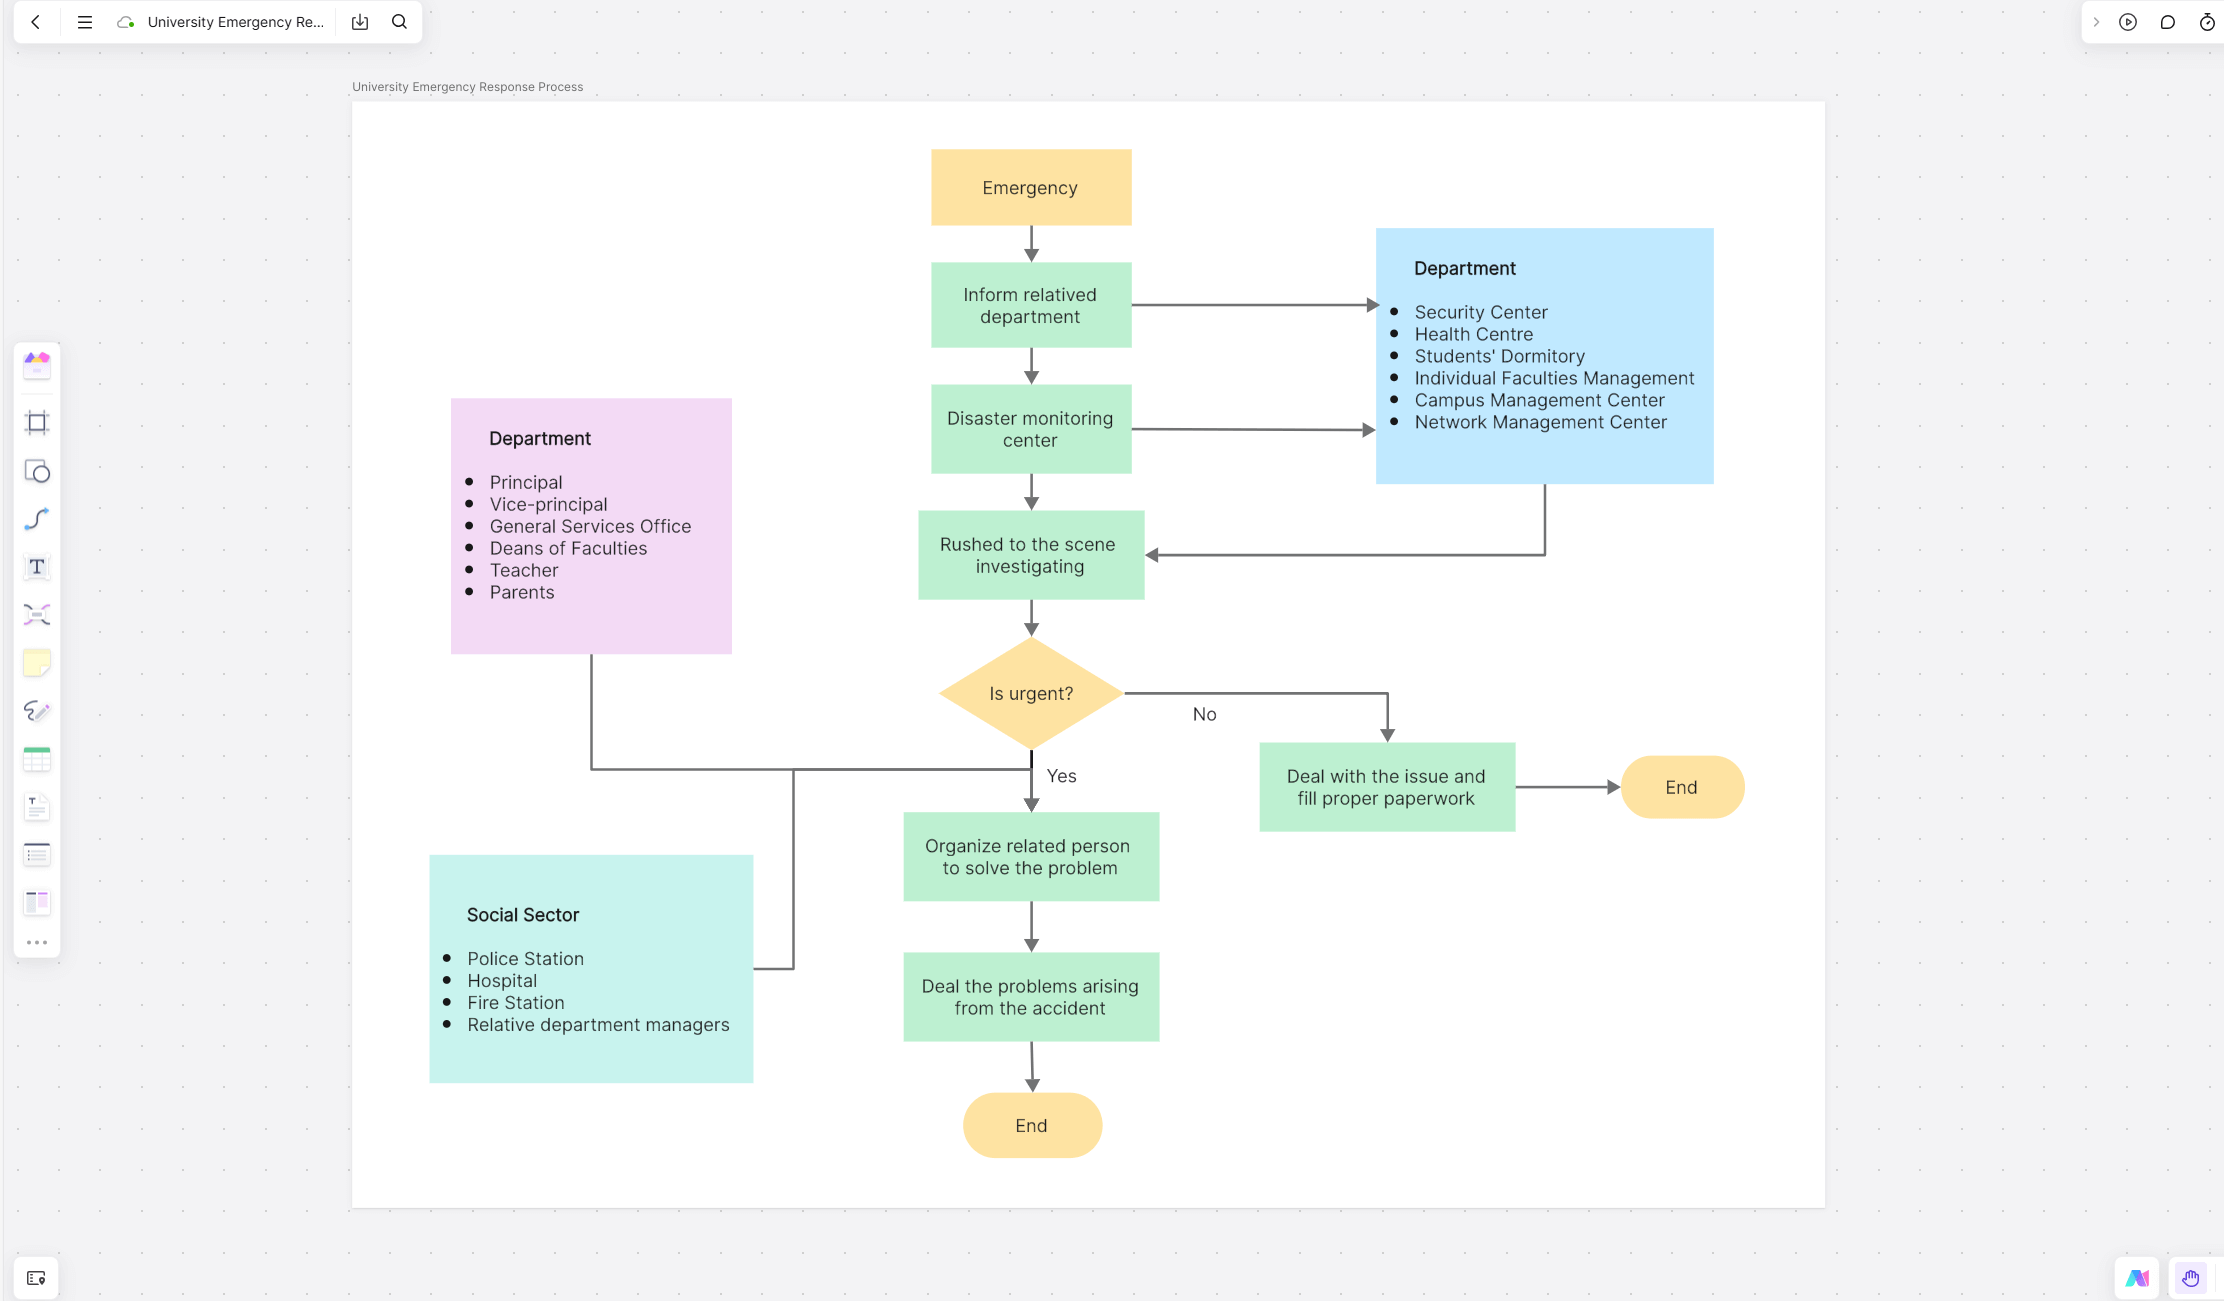
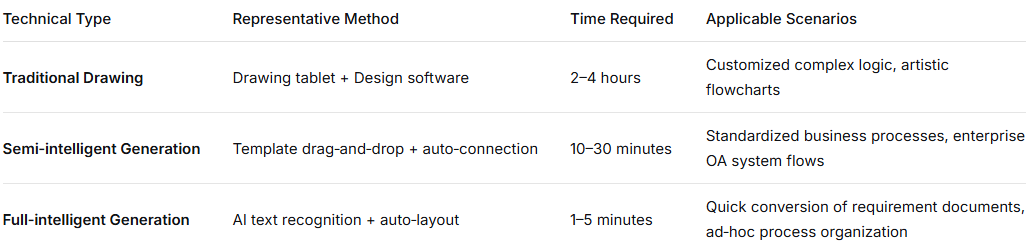
Choose a Flowchart Creation Method
| Method | Use it when | What you do | Watch for |
|---|---|---|---|
| Manual drawing | The logic is unusual or changes while you explore it | Place symbols, label steps, and connect branches | Inconsistent notation and missed loop exits |
| Template-based | The process resembles a known workflow | Replace example labels and remove irrelevant steps | Forcing your process into the wrong structure |
| AI-assisted | You need a draft from a description, document, or code excerpt | Describe the boundary, review the generated nodes, and edit | Invented steps, hidden assumptions, and untested branches |
A reliable flowchart is not defined by how quickly it appears. It is defined by whether a reader can follow the path, identify the decision criteria, and understand what happens at the end of each branch.
Method 1: Draw a Flowchart Manually
Manual drawing is the safest starting point when you are still discovering the process. Use this sequence:
- State the start and end. Write the event that begins the process and the result that closes it.
- List actions in plain language. Keep one action per step and avoid mixing decisions into action labels.
- Mark decisions as questions. Each branch should have a clear outcome such as Yes/No or Approved/Rejected.
- Connect the path. Add arrows, then add exception and return paths rather than leaving them implicit.
- Walk the diagram. Follow normal, exception, and repeated paths with a concrete example.
Use a consistent symbol vocabulary and short labels. If a step needs a paragraph of explanation, move that detail into a note or supporting document instead of shrinking the diagram.
Method 2: Start with a Flowchart Template
A template is useful when the process has a familiar shape, such as onboarding, approval, customer support, or a project handoff. Browse a relevant flowchart template library, then remove anything that does not apply before adding local rules.
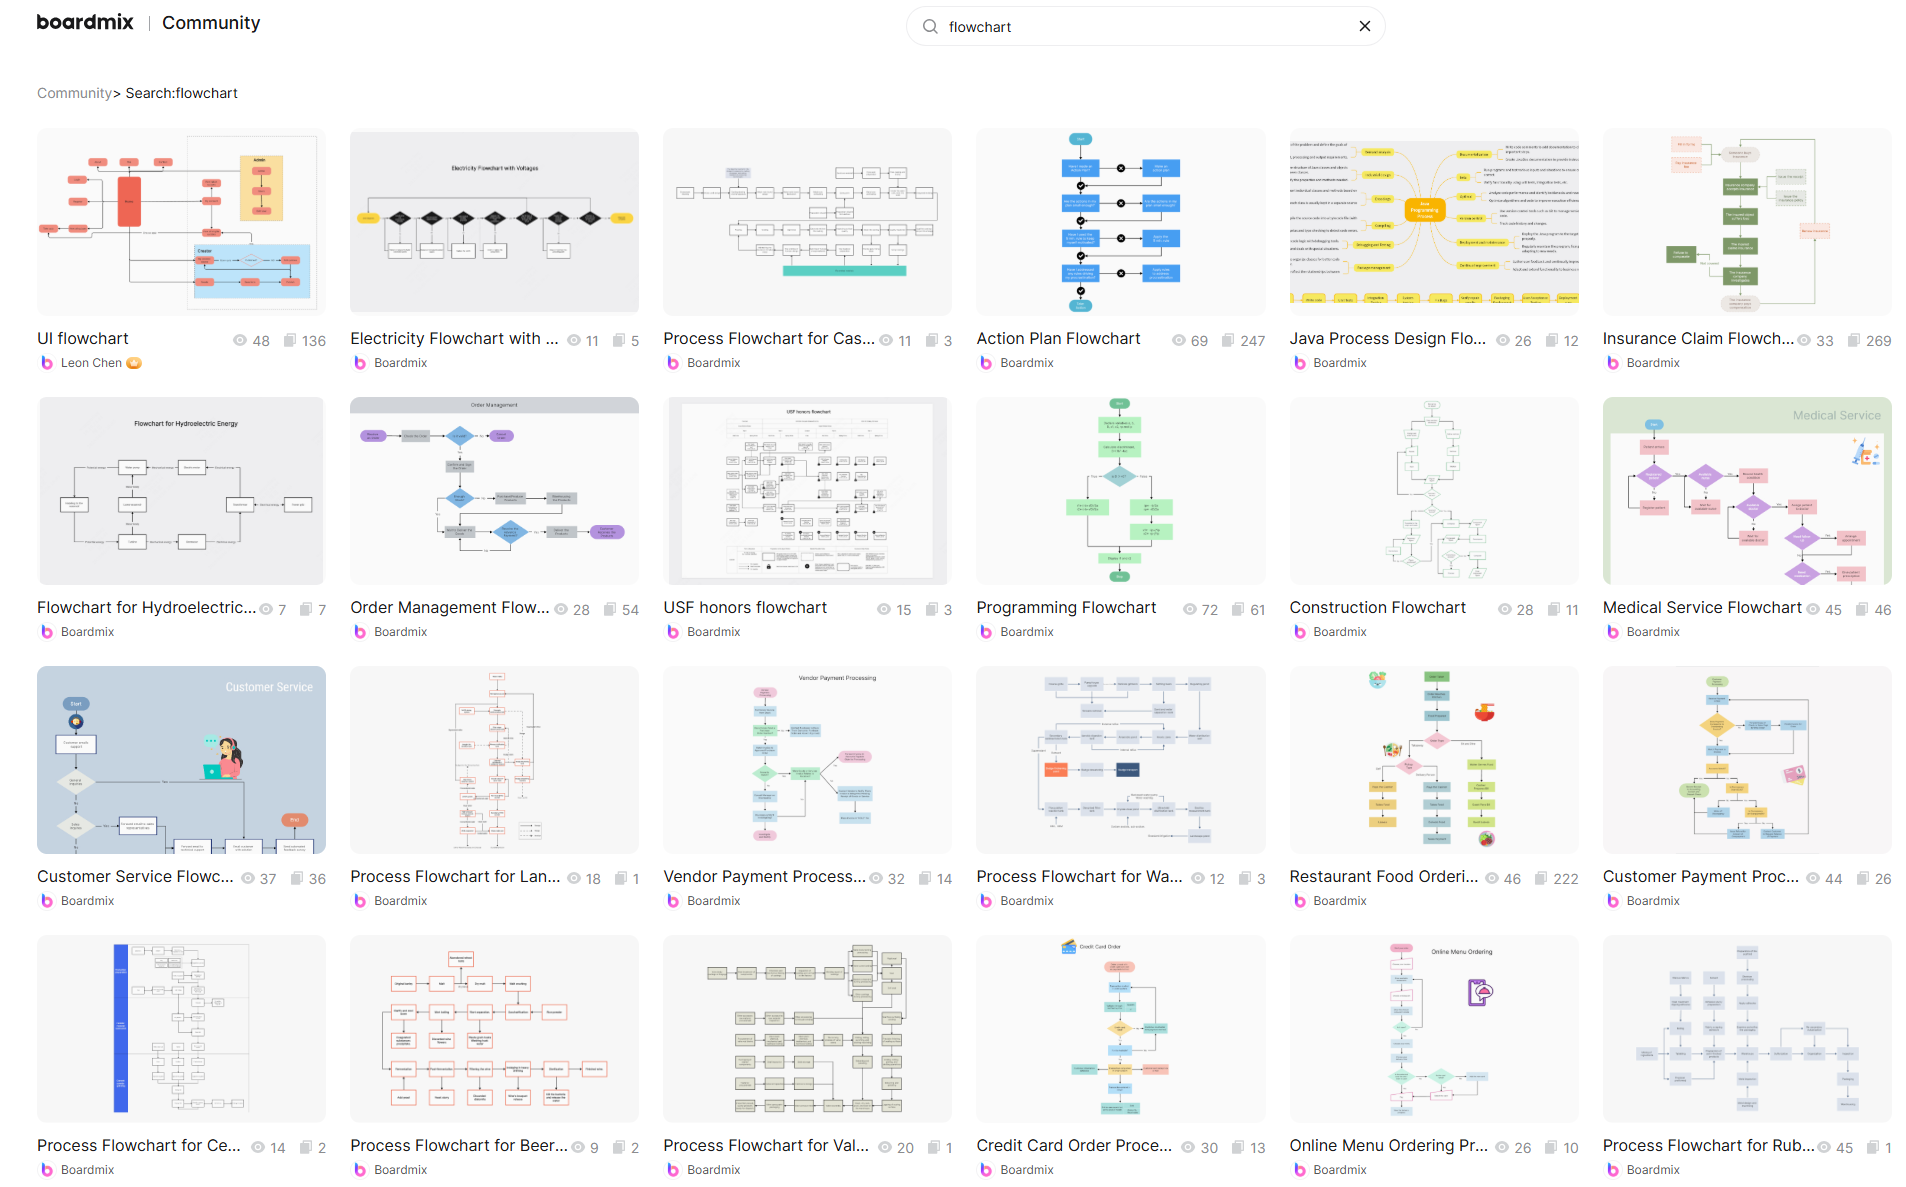
- Check the boundary: confirm that the template starts and ends where your team expects.
- Replace sample language: use the names, systems, and decision criteria from your process.
- Expose exceptions: templates often show the happy path; add rework, rejection, escalation, and cancellation paths.
- Review ownership: label who acts at each handoff so the diagram supports execution, not only presentation.
Templates save setup time, but they do not validate your process. Treat them as scaffolding and keep only the parts that a reviewer can defend.
Method 3: Use AI to Draft a Flowchart
AI can turn a bounded description into a first draft. Give it the process boundary, audience, required decisions, and output format. Do not ask it to fill unknown policy or system behavior silently.
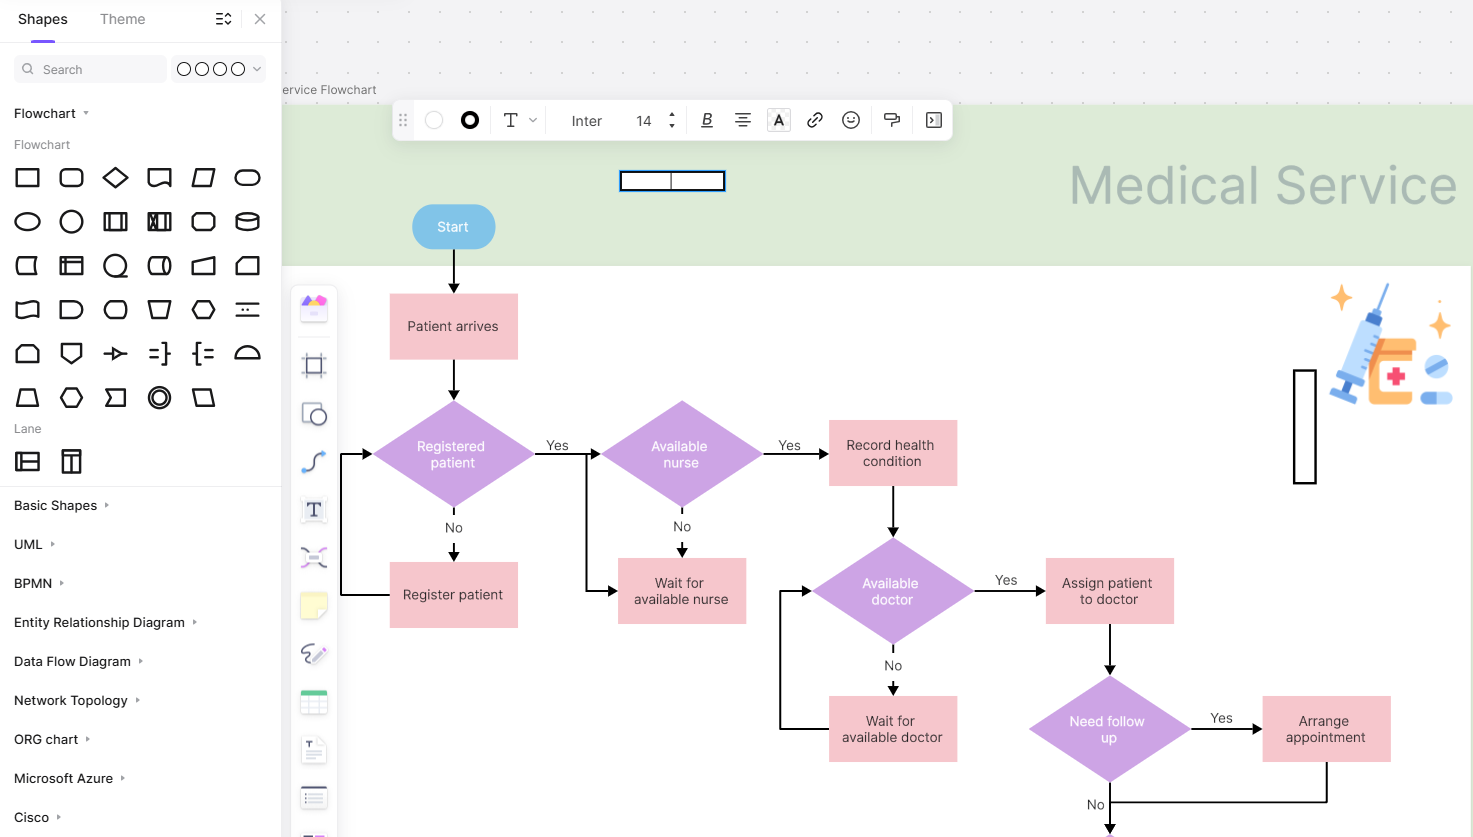
Step 1: Describe the process boundary
Write the start event, end state, actors, inputs, decisions, and known exceptions. A prompt such as “map everything about order fulfillment” is too broad; “map the path from payment received to shipment handed to the carrier” is testable.
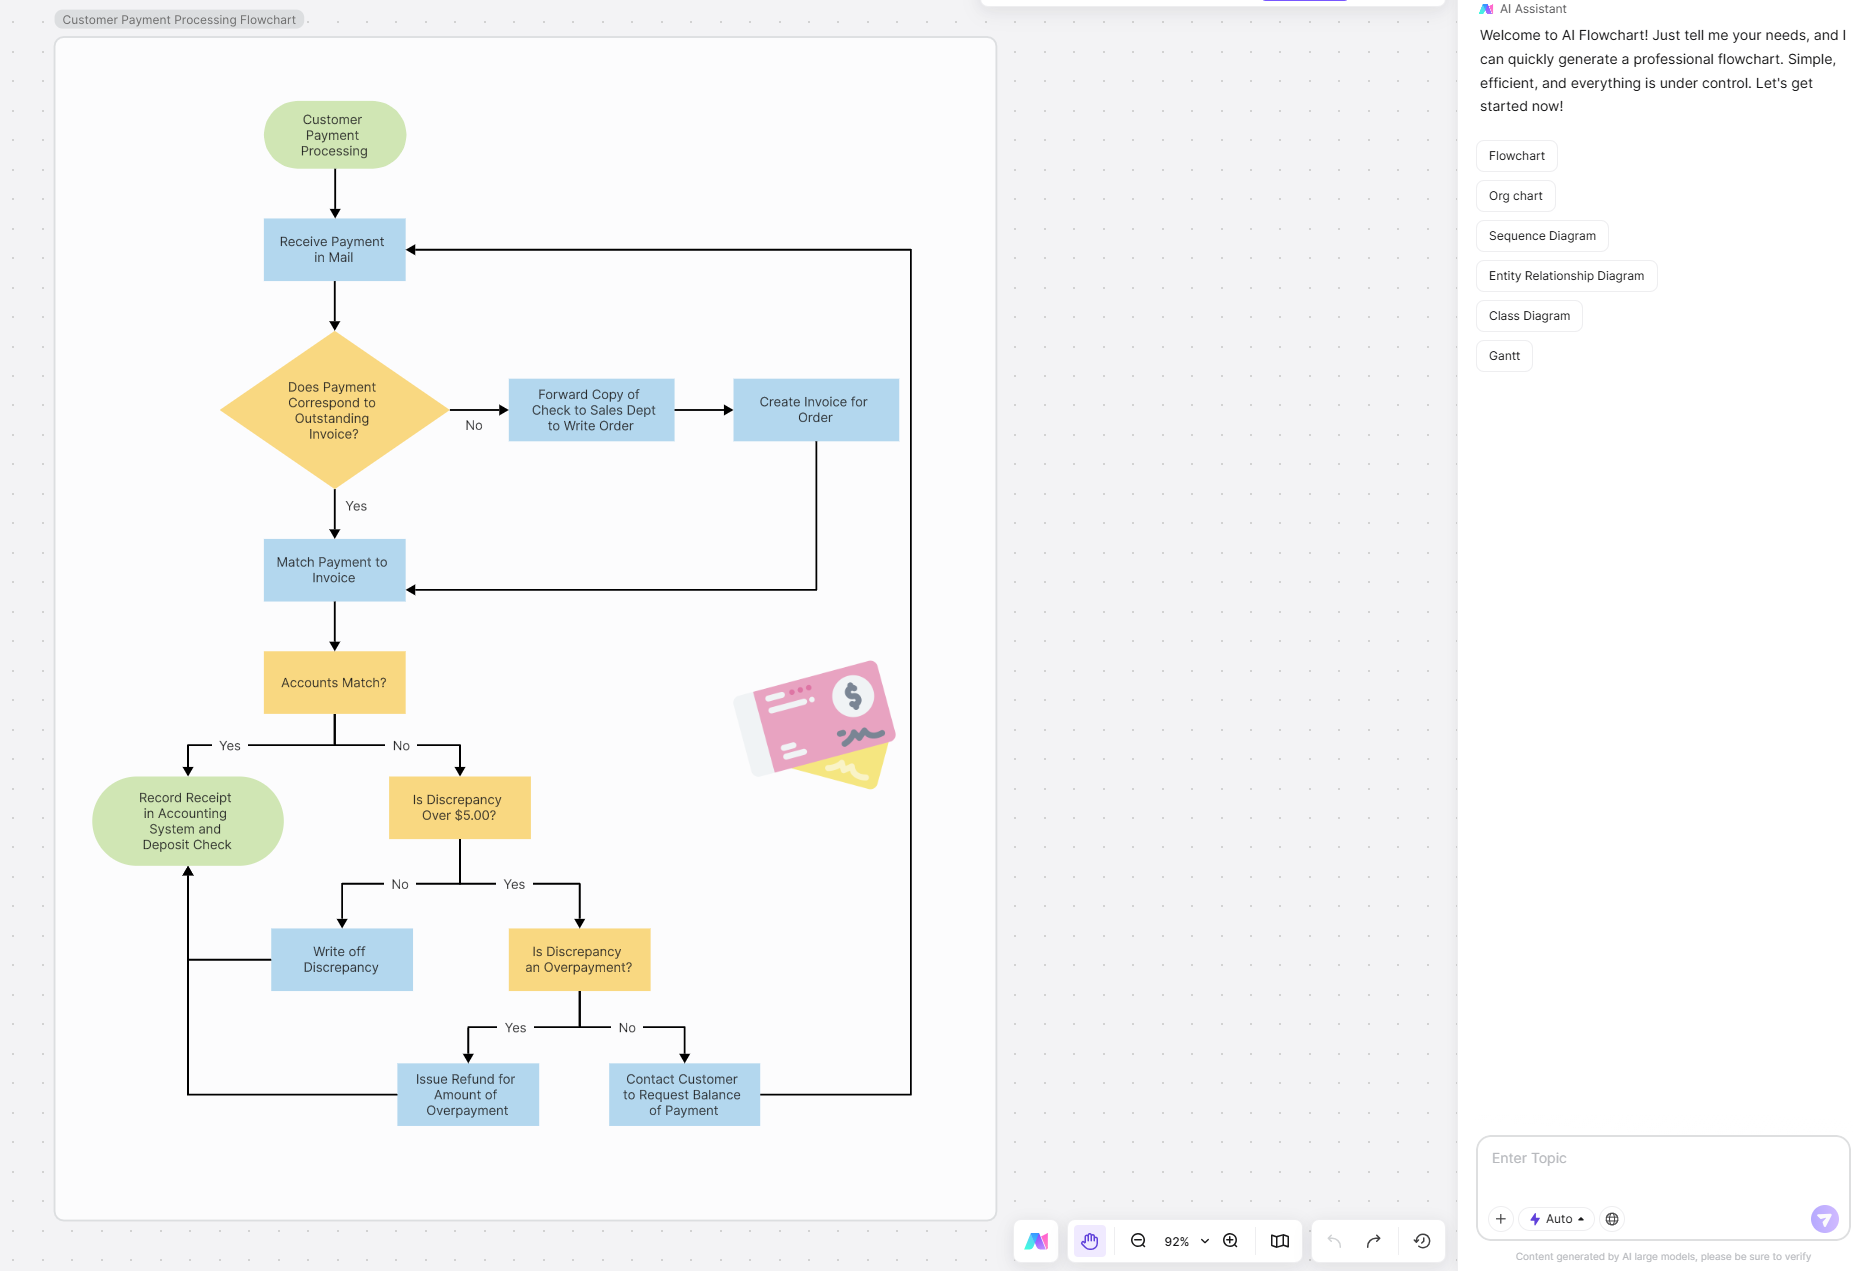
Step 2: Review and refine the draft
Check every node against the source description. Rename vague steps, split overloaded actions, and add missing branches. Keep the diagram readable before adding decorative styling.
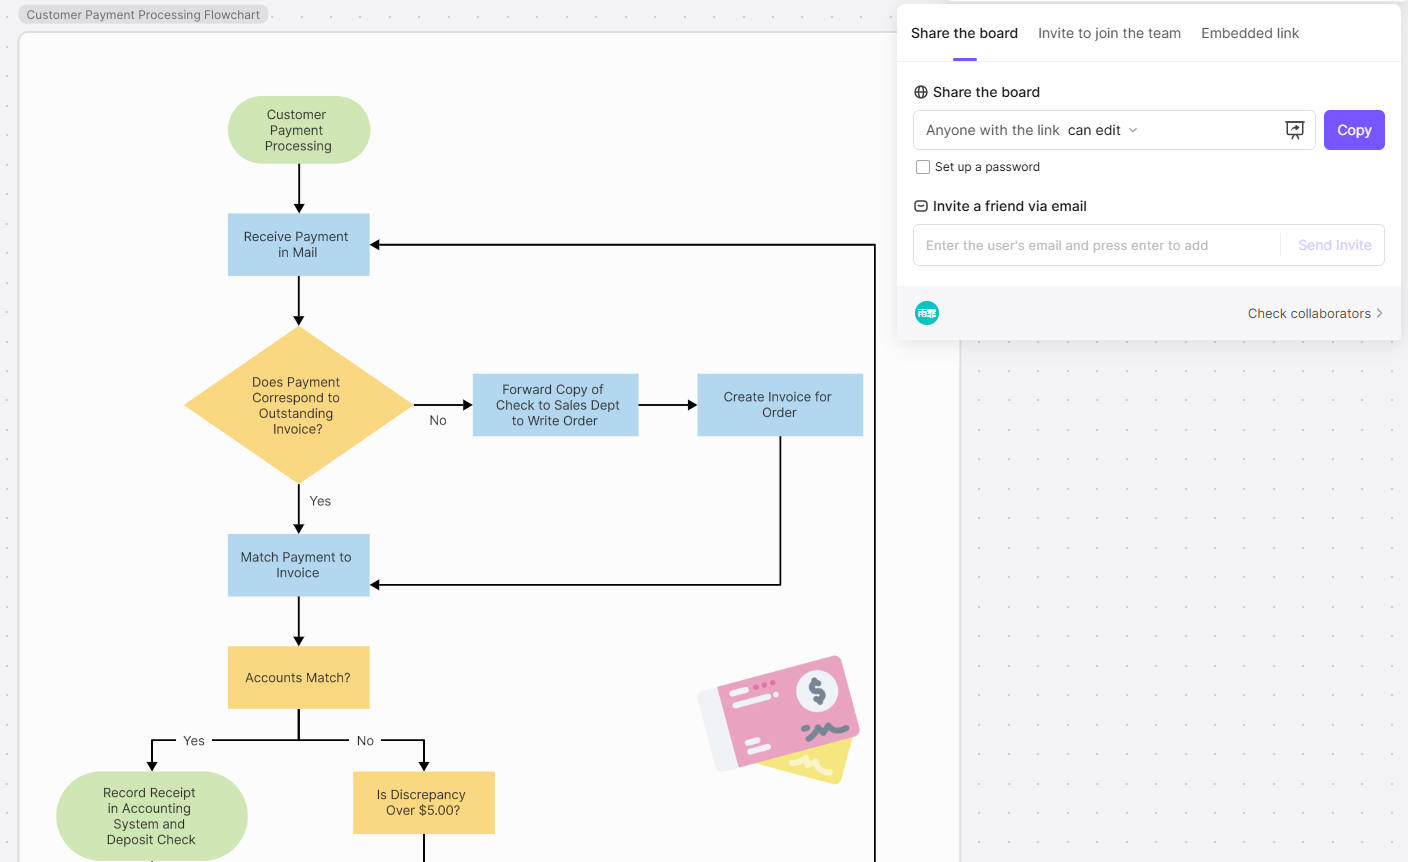
Step 3: Share the diagram for review
Invite the people who perform or own the process. Ask them to find a path that cannot happen, a decision with no owner, and an exception that is missing. Use comments or notes to record questions rather than hiding uncertainty.
Validate a Flowchart Before You Share It
- Can a new reader identify the start and end without explanation?
- Does every decision have labeled outcomes?
- Does every branch reach a meaningful next step or a documented stop?
- Can you trace one normal case, one exception, and one repeated loop?
- Are system names, roles, and policy statements supported by a source?
- Does the diagram remain legible when exported or viewed on a smaller screen?
Where Boardmix Fits
Boardmix can support the drafting and review stages when a team wants an editable visual workspace. The AI flowchart generation guide covers the adjacent use case; an online whiteboard is useful when the team needs to annotate the diagram together. Keep the process evidence and approval record alongside the visual rather than relying on the diagram alone.
Flowchart Creation FAQ
What is the fastest way to create a flowchart?
For a known process, adapt a relevant template and validate it. For an unfamiliar process, sketch the boundary and actions manually first; an AI draft can then accelerate layout without hiding decisions you have not resolved.
Should every process use the same symbols?
Use a consistent vocabulary within a diagram and explain any notation that your audience may not know. Consistency is more useful than adding every available symbol.
Can AI-generated flowcharts be trusted without review?
No. Review the generated steps against the source process, test representative paths, and ask an owner to confirm the decisions.
Conclusion
Choose manual drawing for discovery, templates for familiar structures, and AI for a reviewable first draft. In every case, clarify the boundary, make decisions explicit, and walk the result with real examples.
Start creating smarter flowcharts today with Boardmix.
![[Quick Guide] Spider Diagram](https://cms.boardmix.com/images/image/article-images/what-is-spider-diagram.png)