


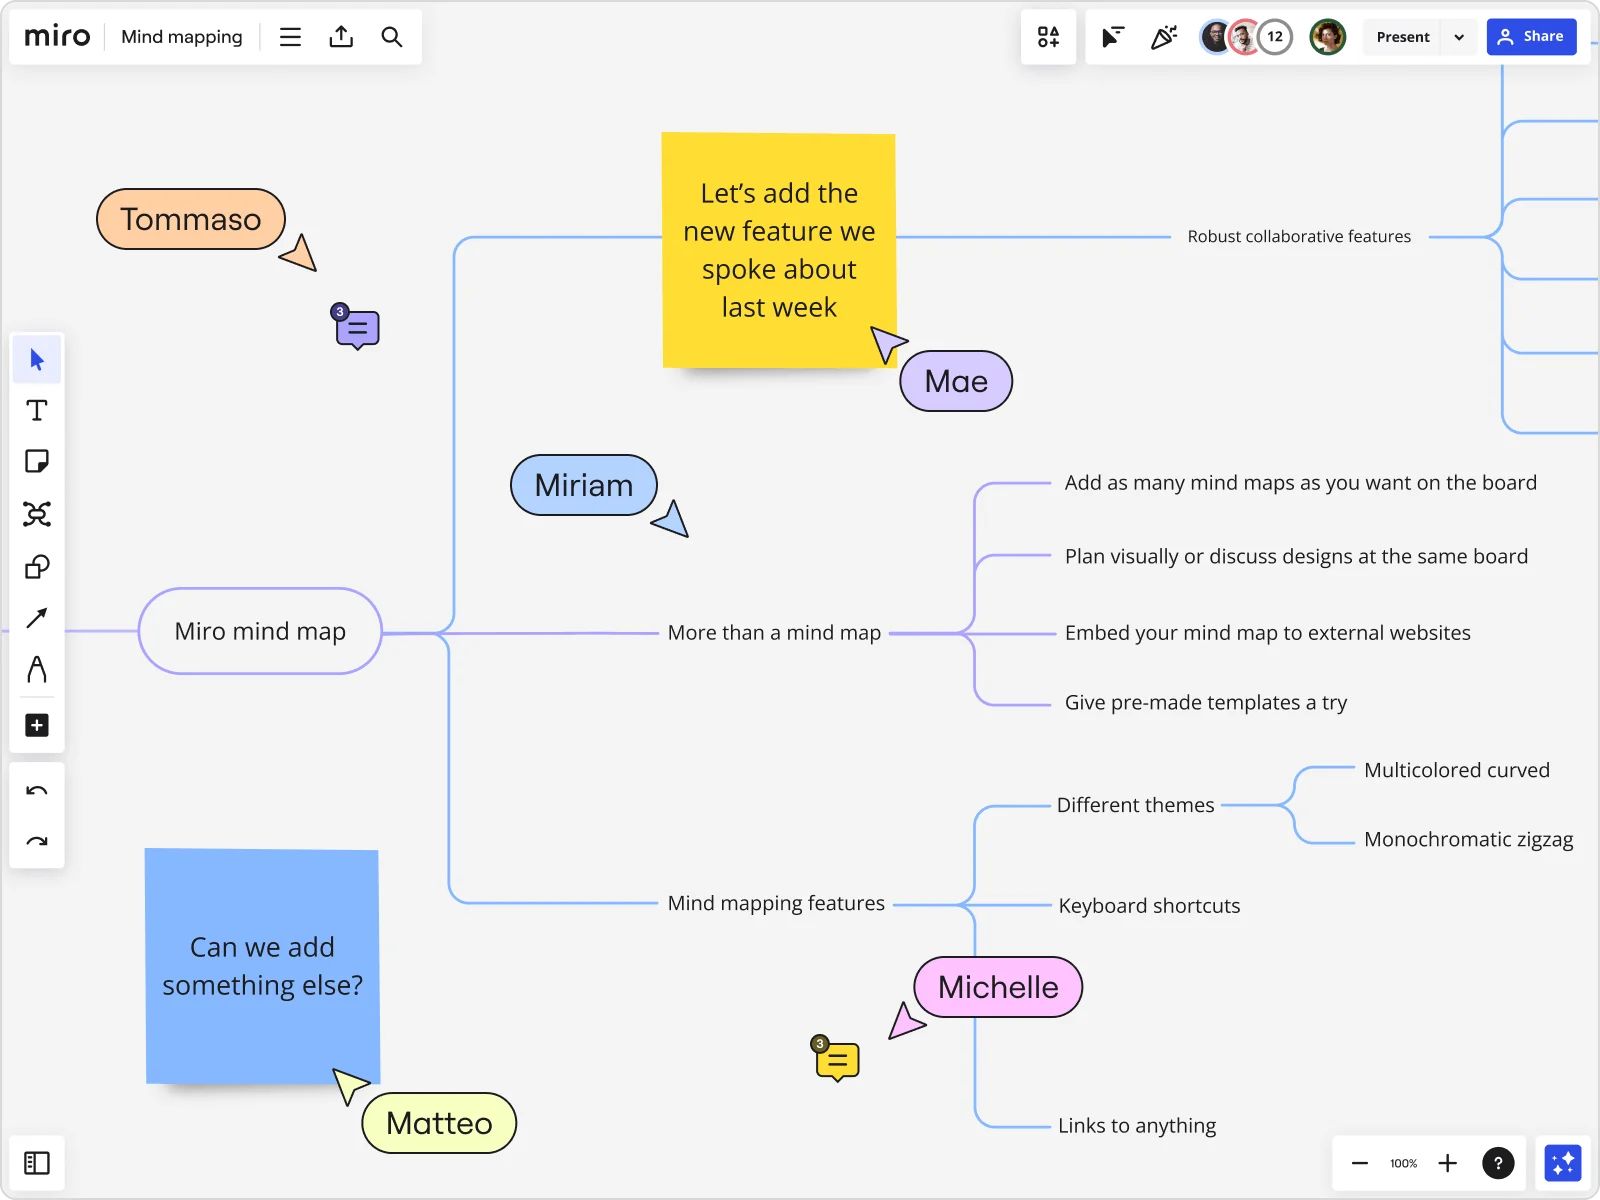
To make a mind map in Miro, open a board, choose Mind map from the creation toolbar, place the parent node, and label it with one clear topic or question. Add child nodes from the parent, use sibling nodes for ideas at the same level, reorganize branches as your thinking develops, and review the map before exporting or sharing it. The map should end with a decision, outline, or action plan - not just a collection of colored nodes.
This tutorial was checked against Miro's official Mind map and board export documentation on September 14, 2026. Interface labels and available export options can change by product release, plan, device, browser, board permissions, and workspace policy, so confirm the current controls in your own account. The first two retained images relate to the original Miro-focused article; the later retained screenshots illustrate a separate Boardmix continuation workflow.
Prepare the Map Before Opening Miro
A strong mind map begins with a bounded task. Write the center topic as a question or deliverable, identify who will use the result, and decide what completion means. For example, Plan the website is broad; What content must the launch page contain? gives contributors a clear target.
| Prepare | Good example | Why it matters |
|---|---|---|
| Center topic | How can we shorten customer onboarding? | Directs branches toward one problem |
| First-level categories | Audience, friction, evidence, ideas, constraints | Keeps branches parallel and scannable |
| Session rule | Generate first; evaluate in a second pass | Prevents early debate from stopping ideation |
| Completion rule | Select three ideas and assign the next test | Turns the map into an actionable output |
Gather any source notes, links, constraints, and decisions you already know. Keep them separate from unverified ideas so the finished map does not make every node look equally certain.
How to Make a Mind Map in Miro in 8 Steps
Step 1: Open a board and select Mind map
Create or open the board where the map belongs. In Miro's creation toolbar, locate the Mind map tool and select it. If your workspace interface differs, use the current tool search or consult Miro's current help documentation rather than relying on an old screenshot.
Choose a board with the correct collaborators and access settings. A map created in the wrong workspace can create avoidable sharing and ownership work later.
Step 2: Place and name the parent node
Click on the board to place the starting node. Replace a generic label with the specific question, subject, or outcome prepared earlier. Keep the text short enough to scan but precise enough that another reader can predict what belongs in the map.
Add a short note near the center if the map needs a date, scope boundary, source, or definition. Do not force all context into the node label.
Step 3: Create first-level branches
Use the branch controls around the parent node to add child nodes. Miro also documents keyboard controls for faster building: Tab creates a child and Return creates a sibling in the current workflow. Test shortcuts in your own environment because operating system and editing state can affect keyboard behavior.
Make first-level branches comparable. A map with Customers, Write report, and Thursday at the same level mixes an audience, an action, and a date. Replace them with a consistent set such as audiences, stages, workstreams, or questions.
Step 4: Expand one level at a time
Add supporting ideas beneath the correct branch. Each child should answer, explain, divide, or provide evidence for its parent. Use short node labels and move longer explanation into nearby notes or linked source material where appropriate.
Stop a branch when additional levels no longer help the intended reader. Deep nesting can hide the important path. If a branch becomes a substantial topic of its own, split it into a separate map and retain a clear reference between the two.
Step 5: Reorganize branches as the model improves
Drag nodes when an idea belongs under a different parent and use the available layout controls to restore readable spacing. Reorganization is part of reasoning, not cosmetic cleanup. Merge duplicates, separate ideas that contain two claims, and rename vague categories.
After rearranging, read each path from the center outward. The relationship should form a sensible sentence: topic, category, specific idea, and supporting detail. A node that cannot be explained in that chain may be misplaced.
Step 6: Use color and node styles to encode meaning
Apply visual styles only when they communicate a stable distinction. For example, one color can mark evidence, another can mark assumptions, and a third can mark approved actions. Record the legend on the board so other collaborators interpret it consistently.
Avoid assigning a different color to every branch merely for decoration. Too many styles increase visual noise and can make status, ownership, and uncertainty harder to read.
Step 7: Review the map with collaborators
Before inviting broad participation, check the center topic, branch logic, access permissions, and any sensitive material. During review, ask collaborators to label additions as evidence, questions, or proposals. Capture decisions and assign follow-up work outside the idea pool so accepted actions remain visible.
Miro documents controls for collapsing and expanding branches in its current mind map experience. Use them to present the appropriate level of detail, but remember that hidden branches still affect the record and should be checked before sharing.
Step 8: Frame, export, or hand off the result
When the map is ready, decide whether recipients need an editable board, a review link, an image, or a PDF. Miro documents image and PDF export for mind maps, but the exact options and output quality may depend on plan, browser, device, board-owner settings, and permissions. Check the exported artifact for clipped branches, unreadable text, and missing context before distribution.
Keep an outline of the branch hierarchy when the next workflow requires editable text. A visual export preserves appearance but should not be assumed to preserve nodes as editable objects in another product.
Continue the Workflow with Boardmix Mind Mapping
If the team plans to continue in Boardmix, treat the move as a controlled handoff rather than an automatic one-click conversion. Preserve the Miro source, define which information must remain editable, and verify every transferred branch, link, attachment, owner, and decision in the destination. Do not assume a visual export will recreate an editable mind map.
The safest route depends on the required output. A small map can be rebuilt from a clean text outline. A visual snapshot can be retained as a reference. If a current product interface offers an import option, test it with a copy and compare the result before relying on it for important work.
A Practical Miro-to-Boardmix Handoff
- Freeze the Miro source. Record the board name, owner, date, access scope, and the version being transferred.
- Choose the required output. Decide whether the destination needs editable nodes, a visual reference, source links, comments, action owners, or all of them.
- Create a branch outline. Copy the hierarchy into a plain-text outline so the logical structure can be checked independently of layout.
- Retain a reference export when allowed. Export an image or PDF only if current Miro permissions and policy allow it, then inspect the file for clipping and readability.
- Rebuild or test import with a copy. Use an online mind mapping workspace to recreate the verified outline, or test any currently documented import path without changing the source.
- Check non-node content separately. Review links, images, files, comments, owners, colors, and status labels; these may not carry over with the same meaning.
- Run a branch-by-branch comparison. Confirm the center topic, first-level branches, leaf nodes, and decision record against the source.
- Invite collaborators after QA. Apply the intended permissions and ask a second reviewer to confirm the destination before the team resumes editing.
Migration Verification Table
| Element | Verification question | Acceptable evidence |
|---|---|---|
| Center topic | Does the destination state the same task and scope? | Exact text or an approved rewrite |
| Hierarchy | Are parent-child relationships preserved? | Branch-by-branch comparison |
| Sources | Do links still point to the intended evidence? | Opened and reviewed destinations |
| Decisions | Are approved choices distinct from proposals? | Status labels and decision owner |
| Actions | Are owners and completion conditions retained? | Named assignee and observable outcome |
| Access | Can only intended participants view or edit? | Permission test with representative roles |
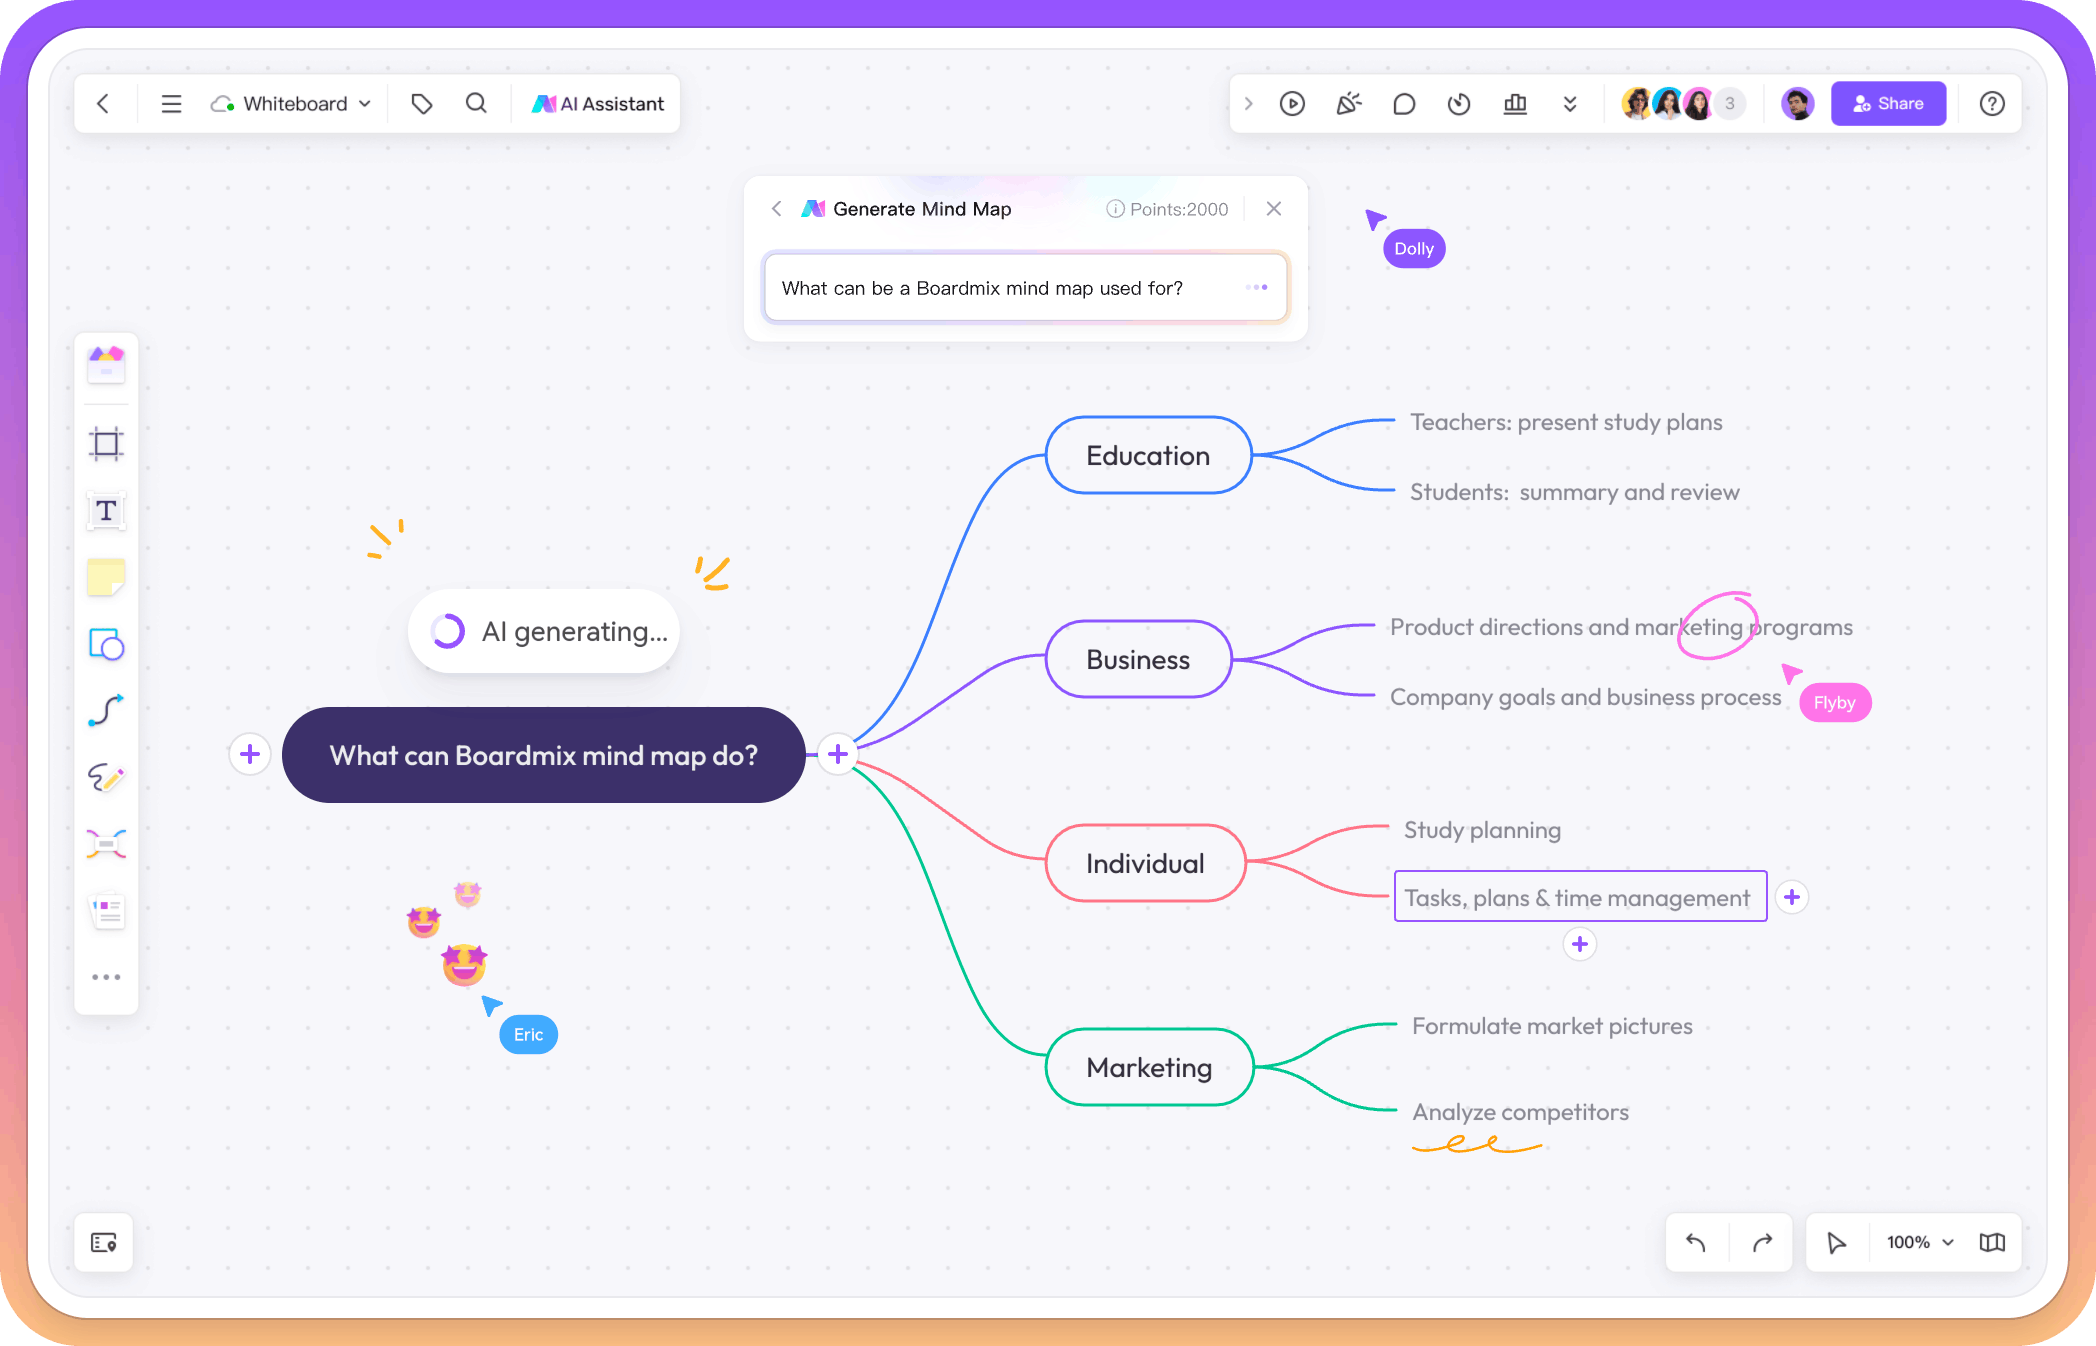
For a generated branch draft in the destination, an AI mind map generator can provide a starting point. Compare its output with the approved outline and treat every generated node as a suggestion until a human reviewer verifies it.
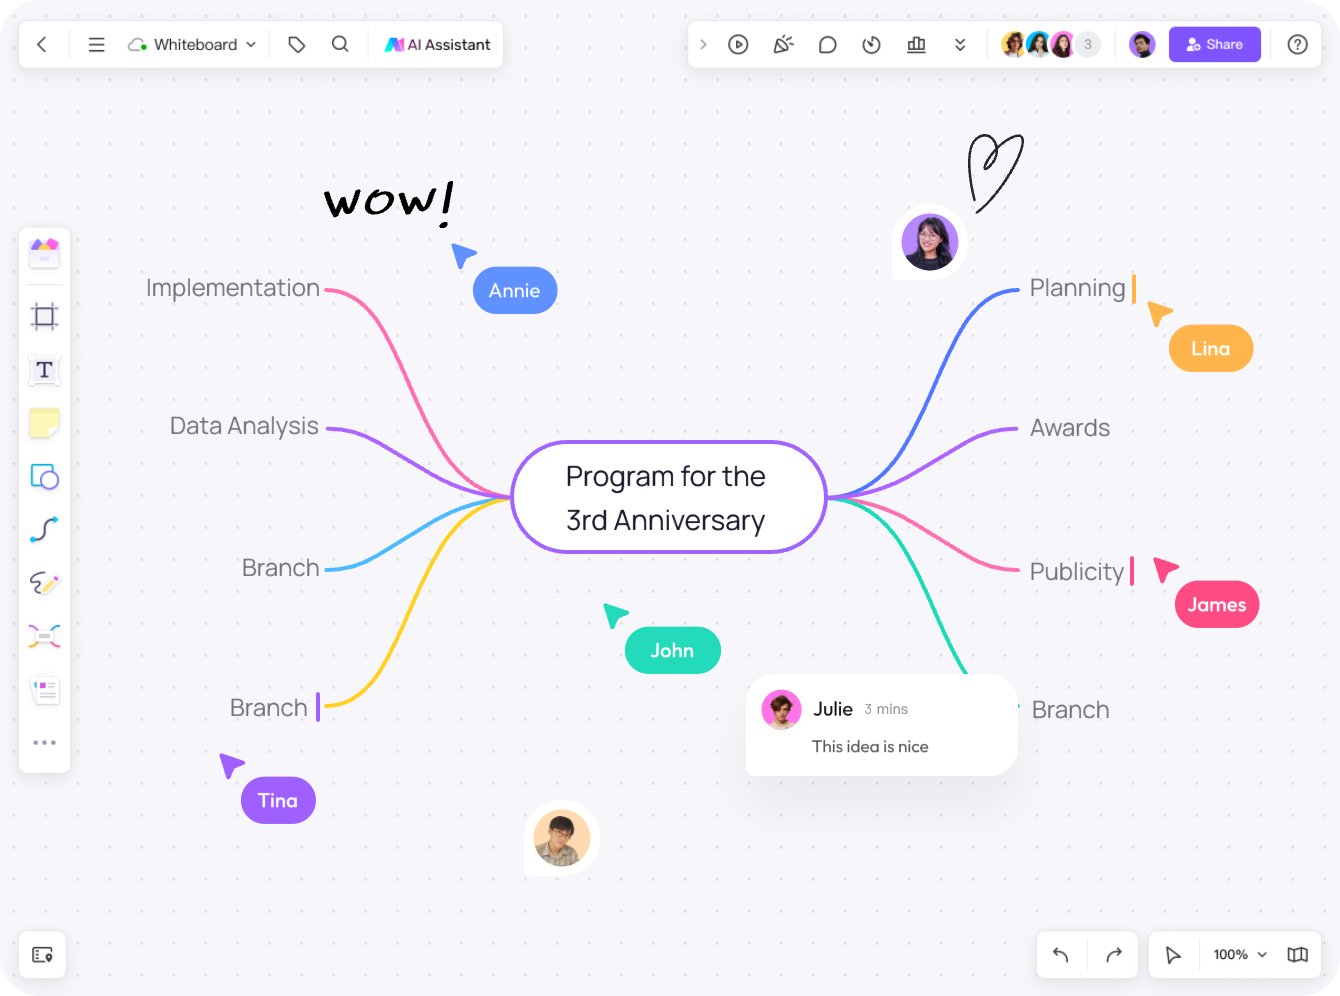
Quality Check Before You Share the Map
- Purpose: The center states one clear question, subject, or deliverable.
- Structure: First-level branches use parallel categories and do not overlap unnecessarily.
- Evidence: Facts, assumptions, questions, and proposals are visibly distinct.
- Readability: Labels are concise, branches do not collide, and the intended reading order is clear.
- Actions: Decisions and next steps have owners and completion conditions.
- Access: Sharing settings match the audience and the board contains no unintended sensitive material.
- Export: Any image or PDF has been opened and checked for missing or unreadable content.
- Handoff: A destination map has been compared with the frozen source before collaborative editing resumes.
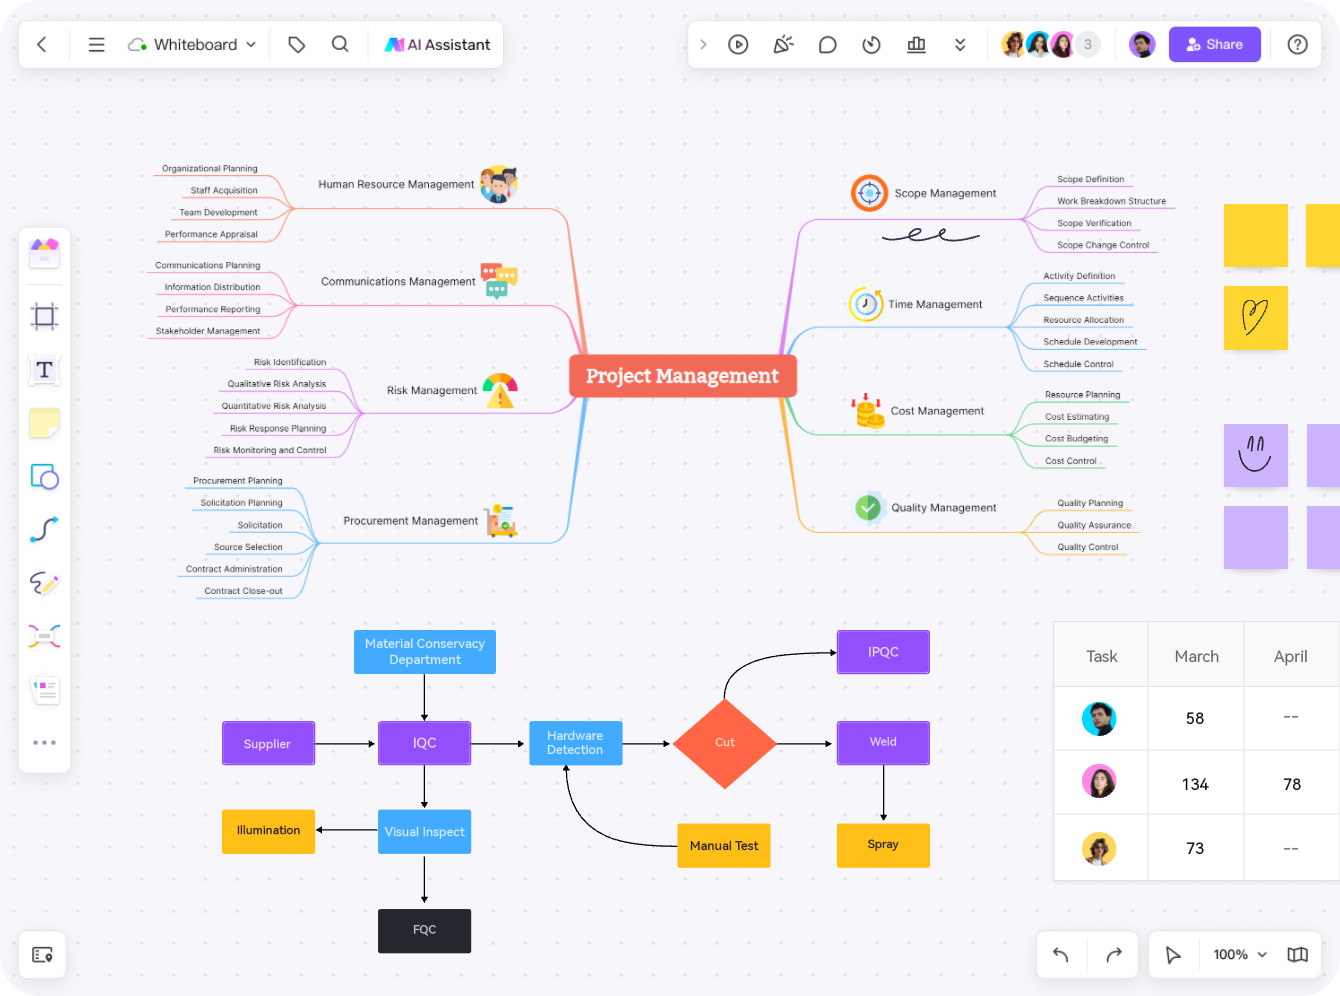
How to Make a Mind Map in Miro FAQ
What is the fastest way to add branches in a Miro mind map?
In Miro's documented workflow, Tab adds a child node and Return adds a sibling while you are editing the map. The on-canvas branch controls also create child nodes. Test the current shortcuts in your browser, operating system, and editing state before leading a timed session.
How do I stop a Miro mind map from becoming crowded?
Keep first-level categories parallel, split nodes that contain multiple ideas, move misplaced branches, and separate a deep subtopic into its own map. Use layout and branch-collapse controls to improve navigation, but do not hide unresolved duplication behind a collapsed branch.
Can I export a Miro mind map?
Miro's current documentation describes image and PDF export. Availability and output quality can vary with plan, browser, device, board settings, and permissions. Review the current export interface and inspect the result before treating it as the final record.
Can a Miro mind map become an editable Boardmix map automatically?
Do not assume so. A PDF or image is primarily a visual artifact, not proof that the node hierarchy will remain editable. Preserve a structured outline, test any currently documented import option on a copy, and verify every branch and supporting item.
Should I use AI to generate the whole map?
AI can accelerate a first draft, but it does not know which claims are accurate, which constraints are binding, or which decision the team has approved. Review generated branches against source evidence and the map's completion rule.
Conclusion
A reliable Miro mind map workflow has four phases: define the outcome, build a consistent hierarchy, review the reasoning, and choose the correct handoff format. Use Miro's current controls to create and organize the map, verify exports under your actual permissions, and treat any move to another workspace as a source-controlled migration. That discipline preserves meaning when the visual layout changes.