


An online whiteboard can make a class discussion visible: students add evidence, compare interpretations, and revise ideas after feedback. This guide uses an illustrative history lesson to explain a practical Boardmix workflow. It does not report a measured improvement in grades.
Boardmix Free includes three editable boards, up to 100 objects per board, and 1 GB of storage. AI access and usage allowances vary by plan; see Boardmix pricing. Use a school-approved setup and test access before class.
Use a Shared Board to Make Reasoning Visible
Start with a question that invites explanation, not just a short answer. In a history lesson, ask which factors contributed to an event and which evidence supports each interpretation. A shared board gives the group a place to arrange notes and compare sources.
Give students a clear contribution rule: one claim per note, a source reference, and a short explanation. Drawings and links can support the discussion, but they should not replace the reasoning students need to show.
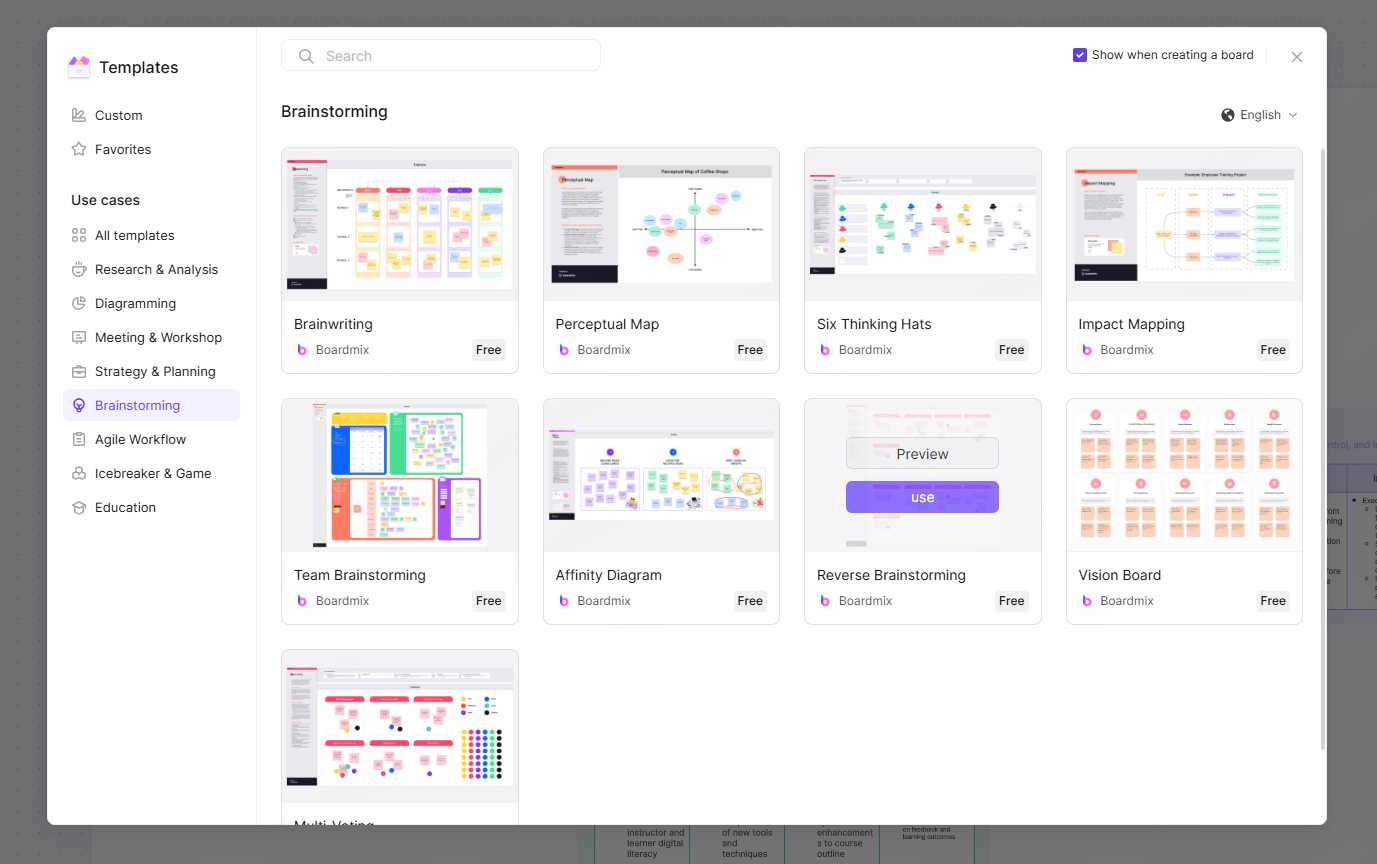
Choose an Activity That Benefits From Interaction
Interactivity is useful when it advances the learning objective. Sorting evidence, comparing two interpretations, or giving peer feedback can reveal more about students’ reasoning than copying notes from a slide.
Ask students to explain why they moved a note or challenged a claim. Then use a short individual response to check understanding. Participation alone does not demonstrate mastery, and a new tool does not guarantee better retention or test results.
Offer an alternative way to contribute, such as a written response read aloud by the teacher, for students who have difficulty accessing or using the board.
Match Boardmix Tools to the Task
- Notes and text: Record claims and source references.
- Drawing and connectors: Show a sequence or explain a relationship.
- Shared editing: Let groups arrange evidence in their assigned areas. Explain who may edit which material.
- Comments: Ask for clarification or point out an unsupported statement.
- AI draft assistance: Where available, request question ideas or a preliminary outline. The teacher checks historical accuracy and selects the final material.
The teacher reviews progress and assigns follow-up work. This workflow does not depend on automatic student diagnosis, adaptive grading, or private breakout rooms inside the whiteboard.
Build an Interactive Lesson in Five Steps
- Define the output. Write the question and show an example of a claim with supporting evidence.
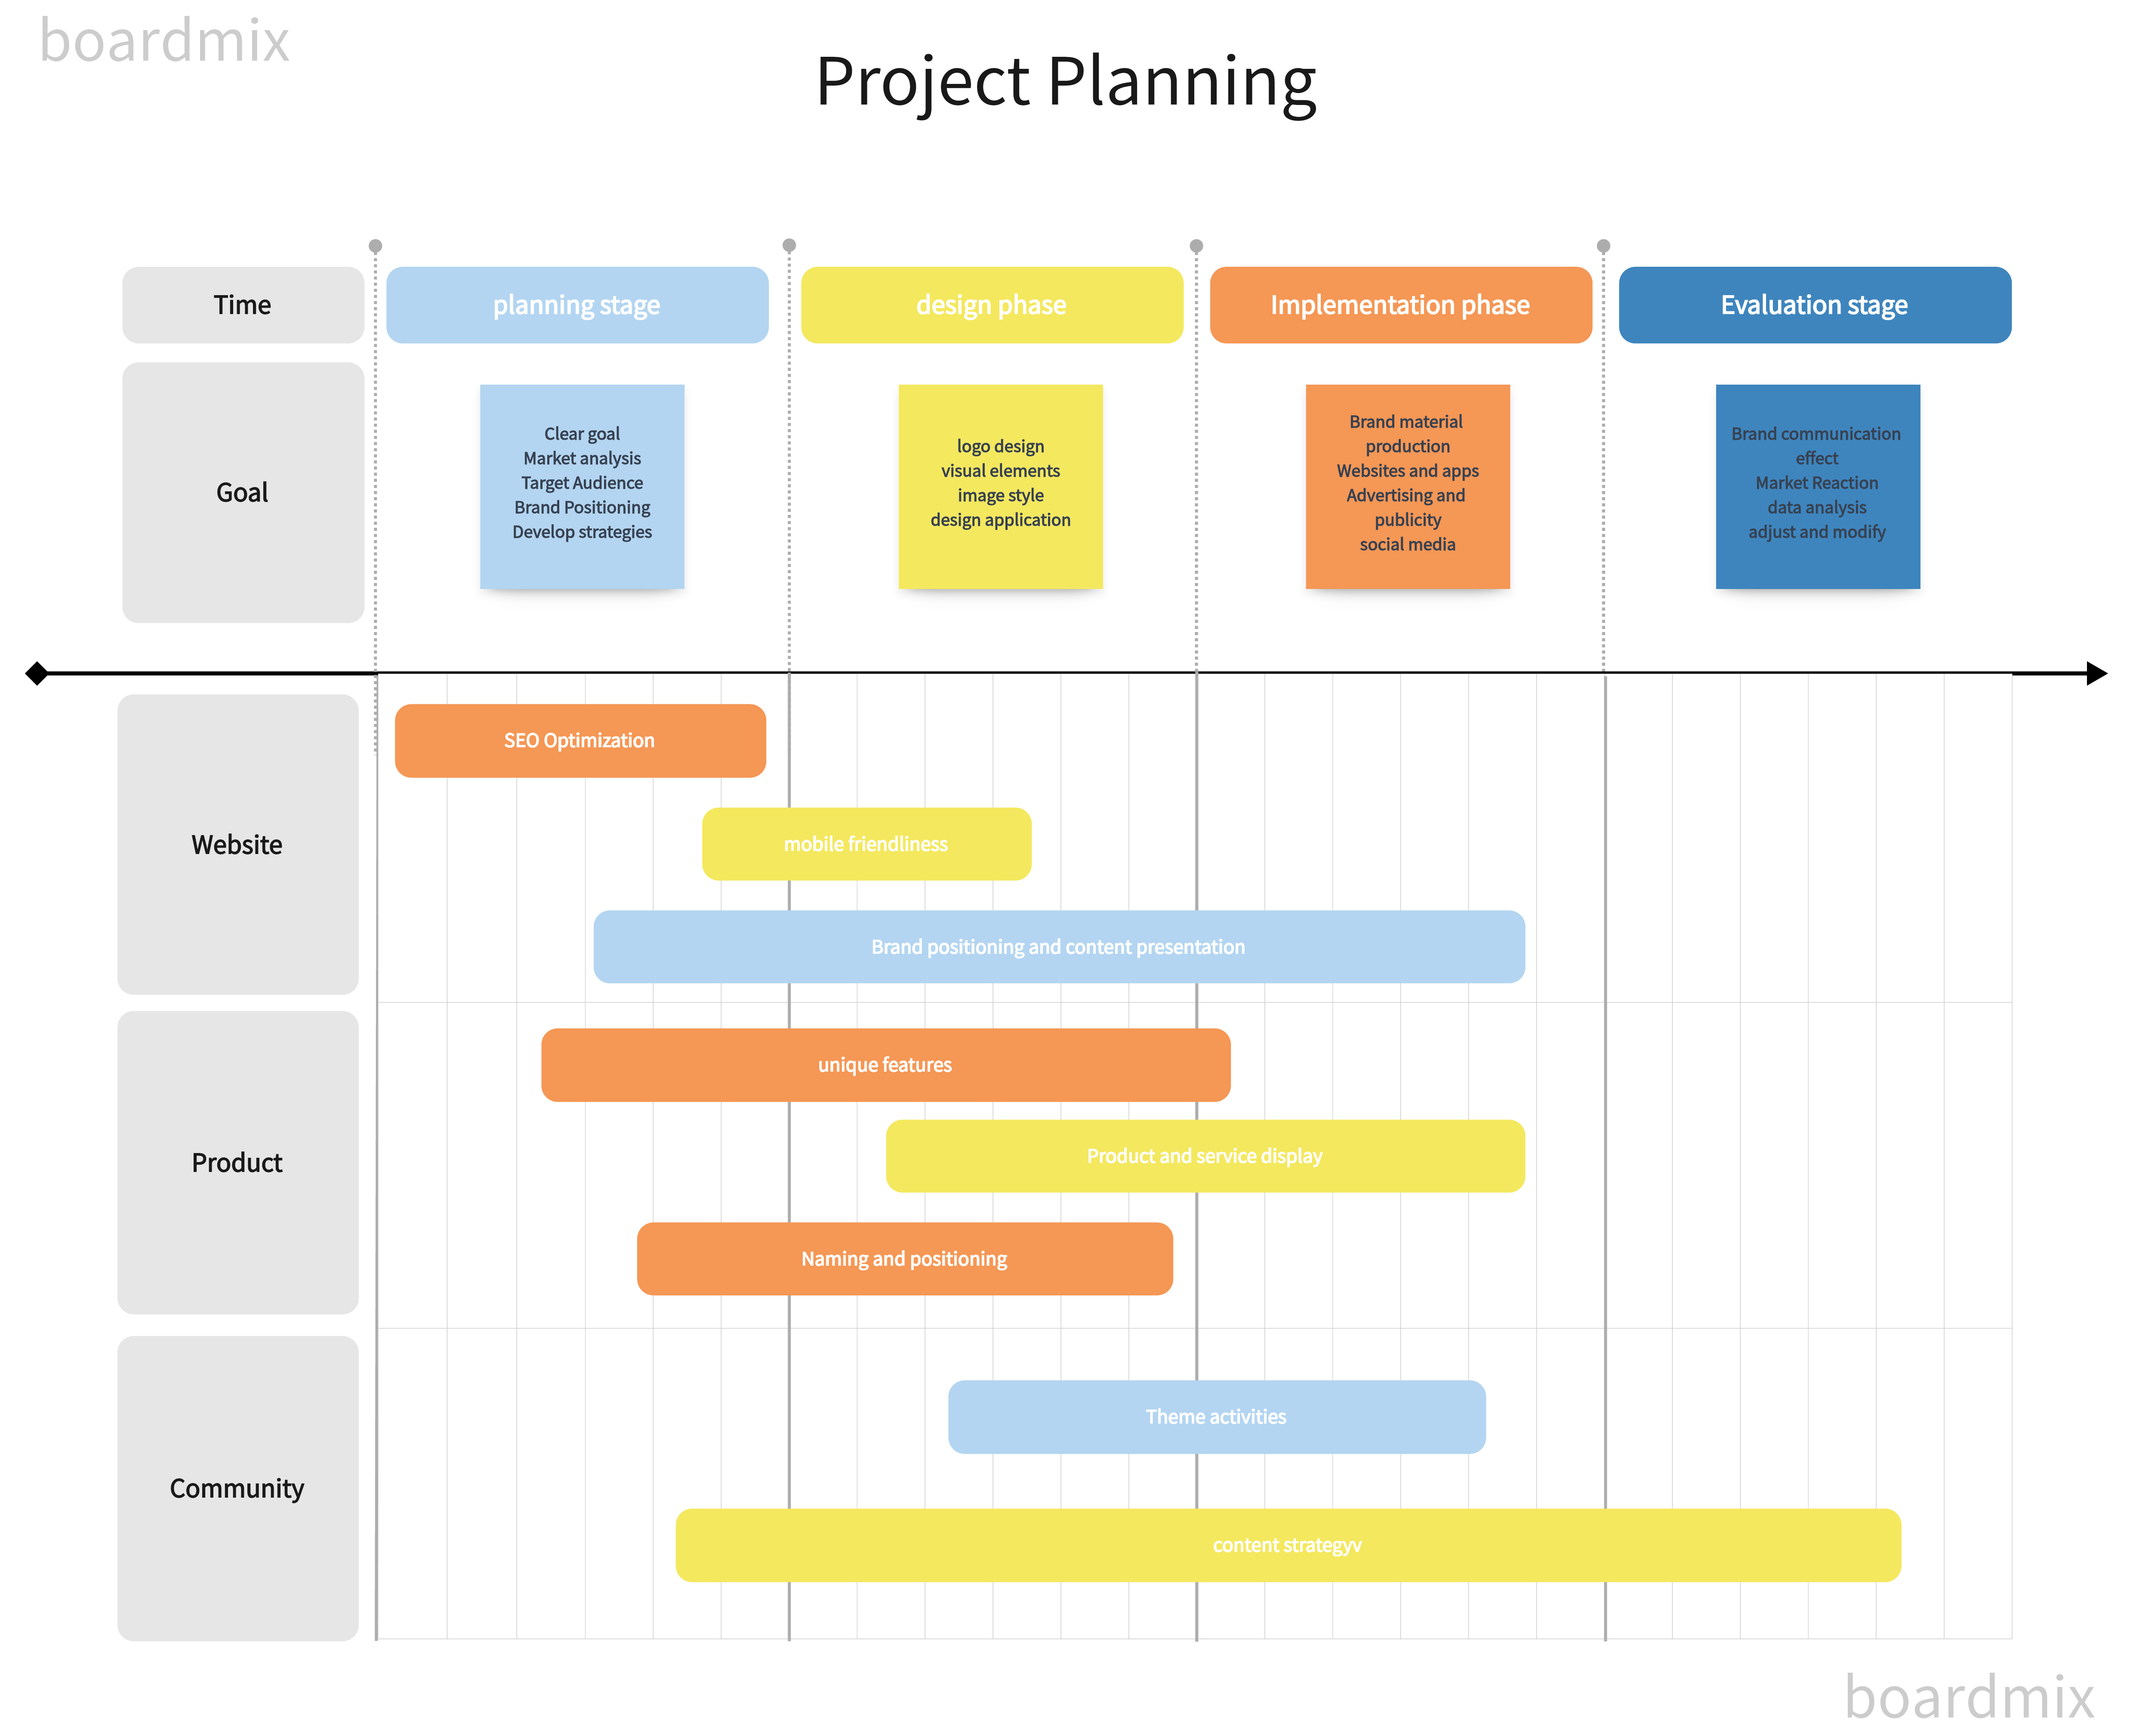
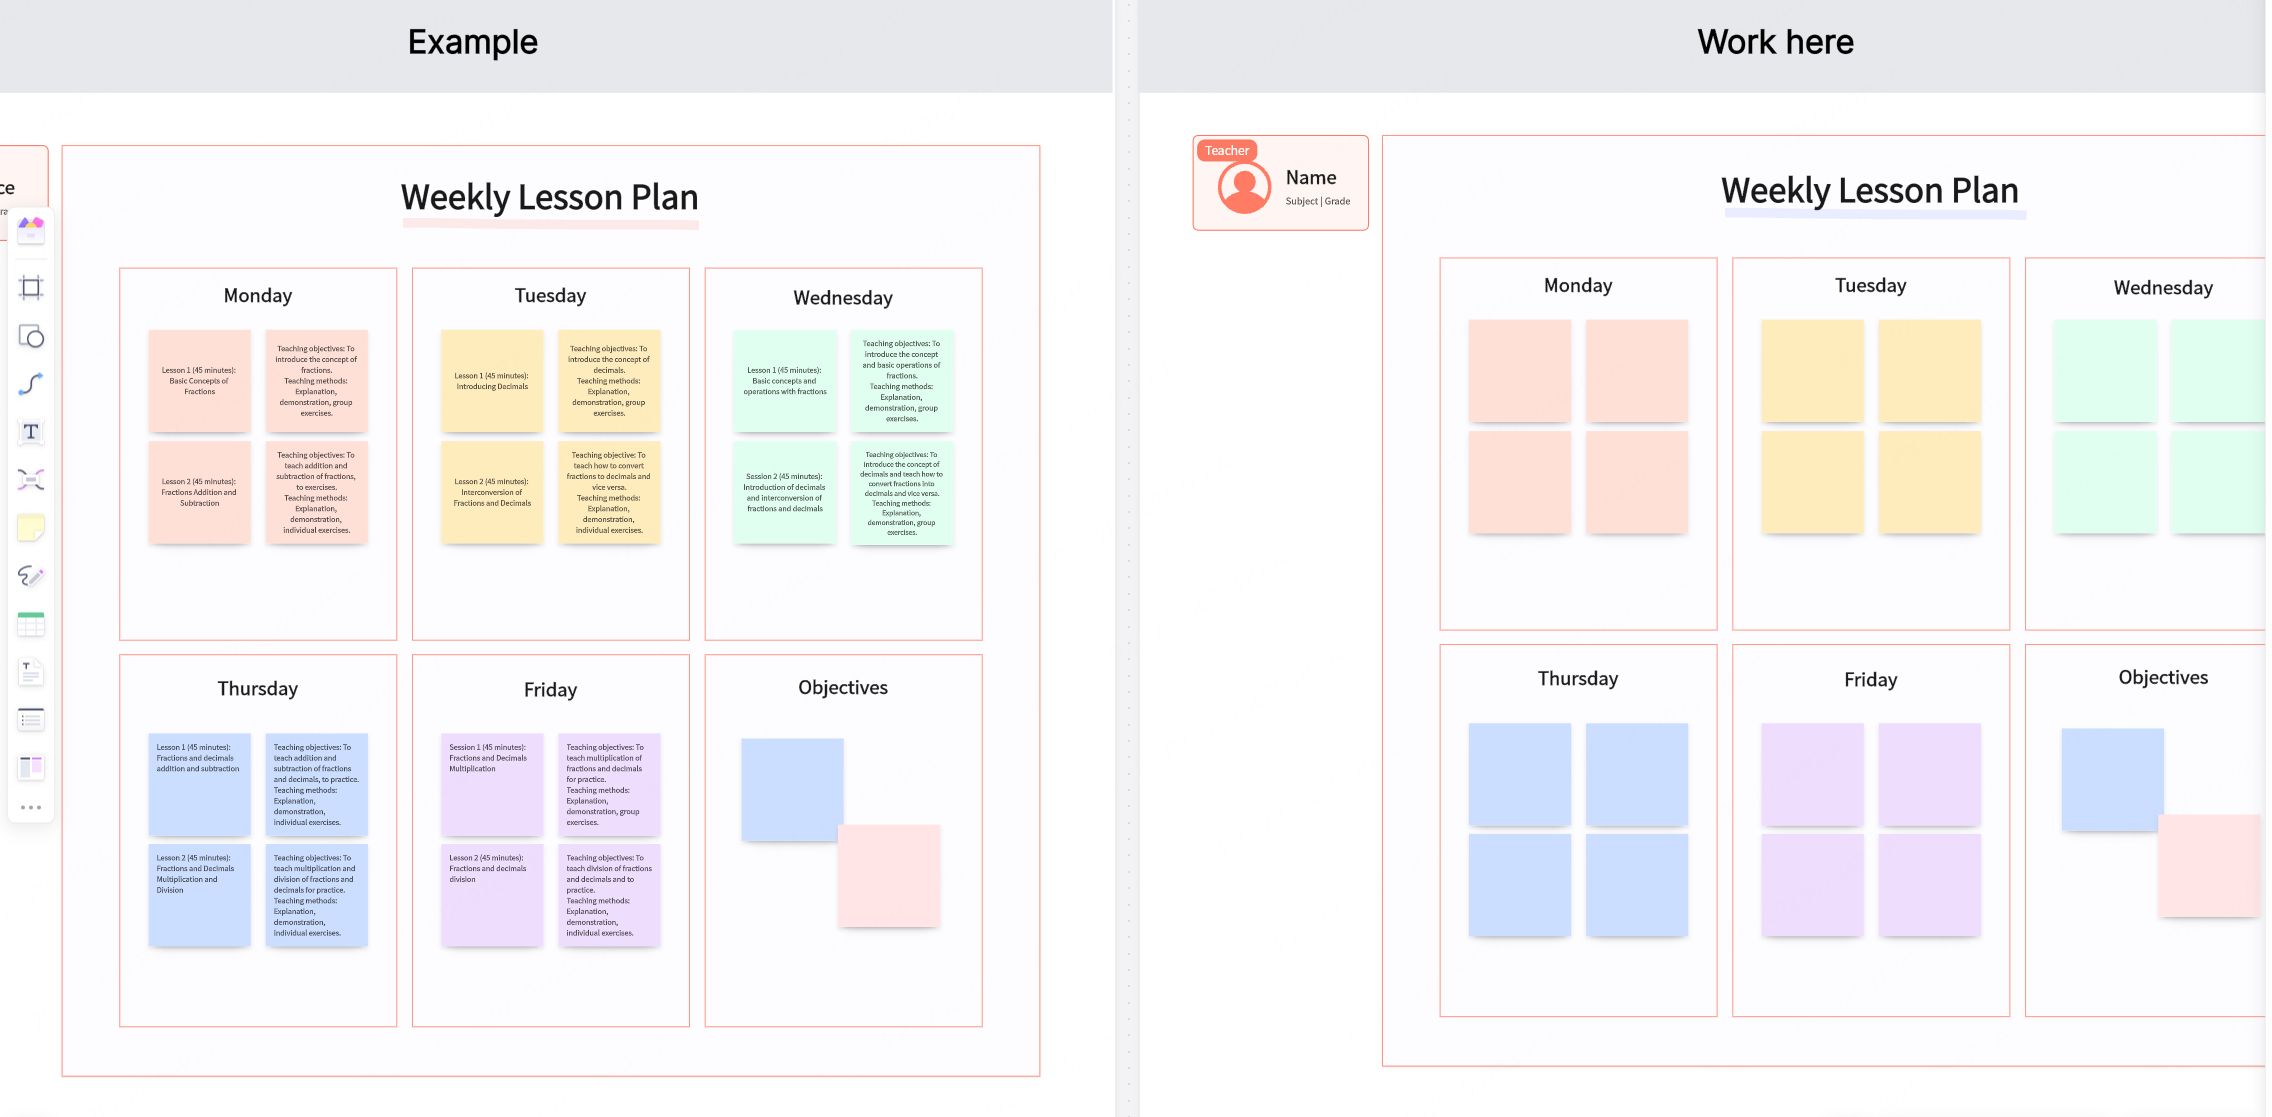
- Prepare the board. Add areas for the timeline, evidence, competing explanations, and questions. Include links to approved readings.
- Check access. Open the board with a student account and confirm permissions. Keep personal records out of the shared activity.
- Facilitate the discussion. Assign groups to compare two sources. Ask them to record an agreement, a disagreement, and an unanswered question. Review the work and give feedback.
- Close and review. Ask each student to write an individual conclusion. Retain or export the class summary according to school policy, and identify the next teaching step.
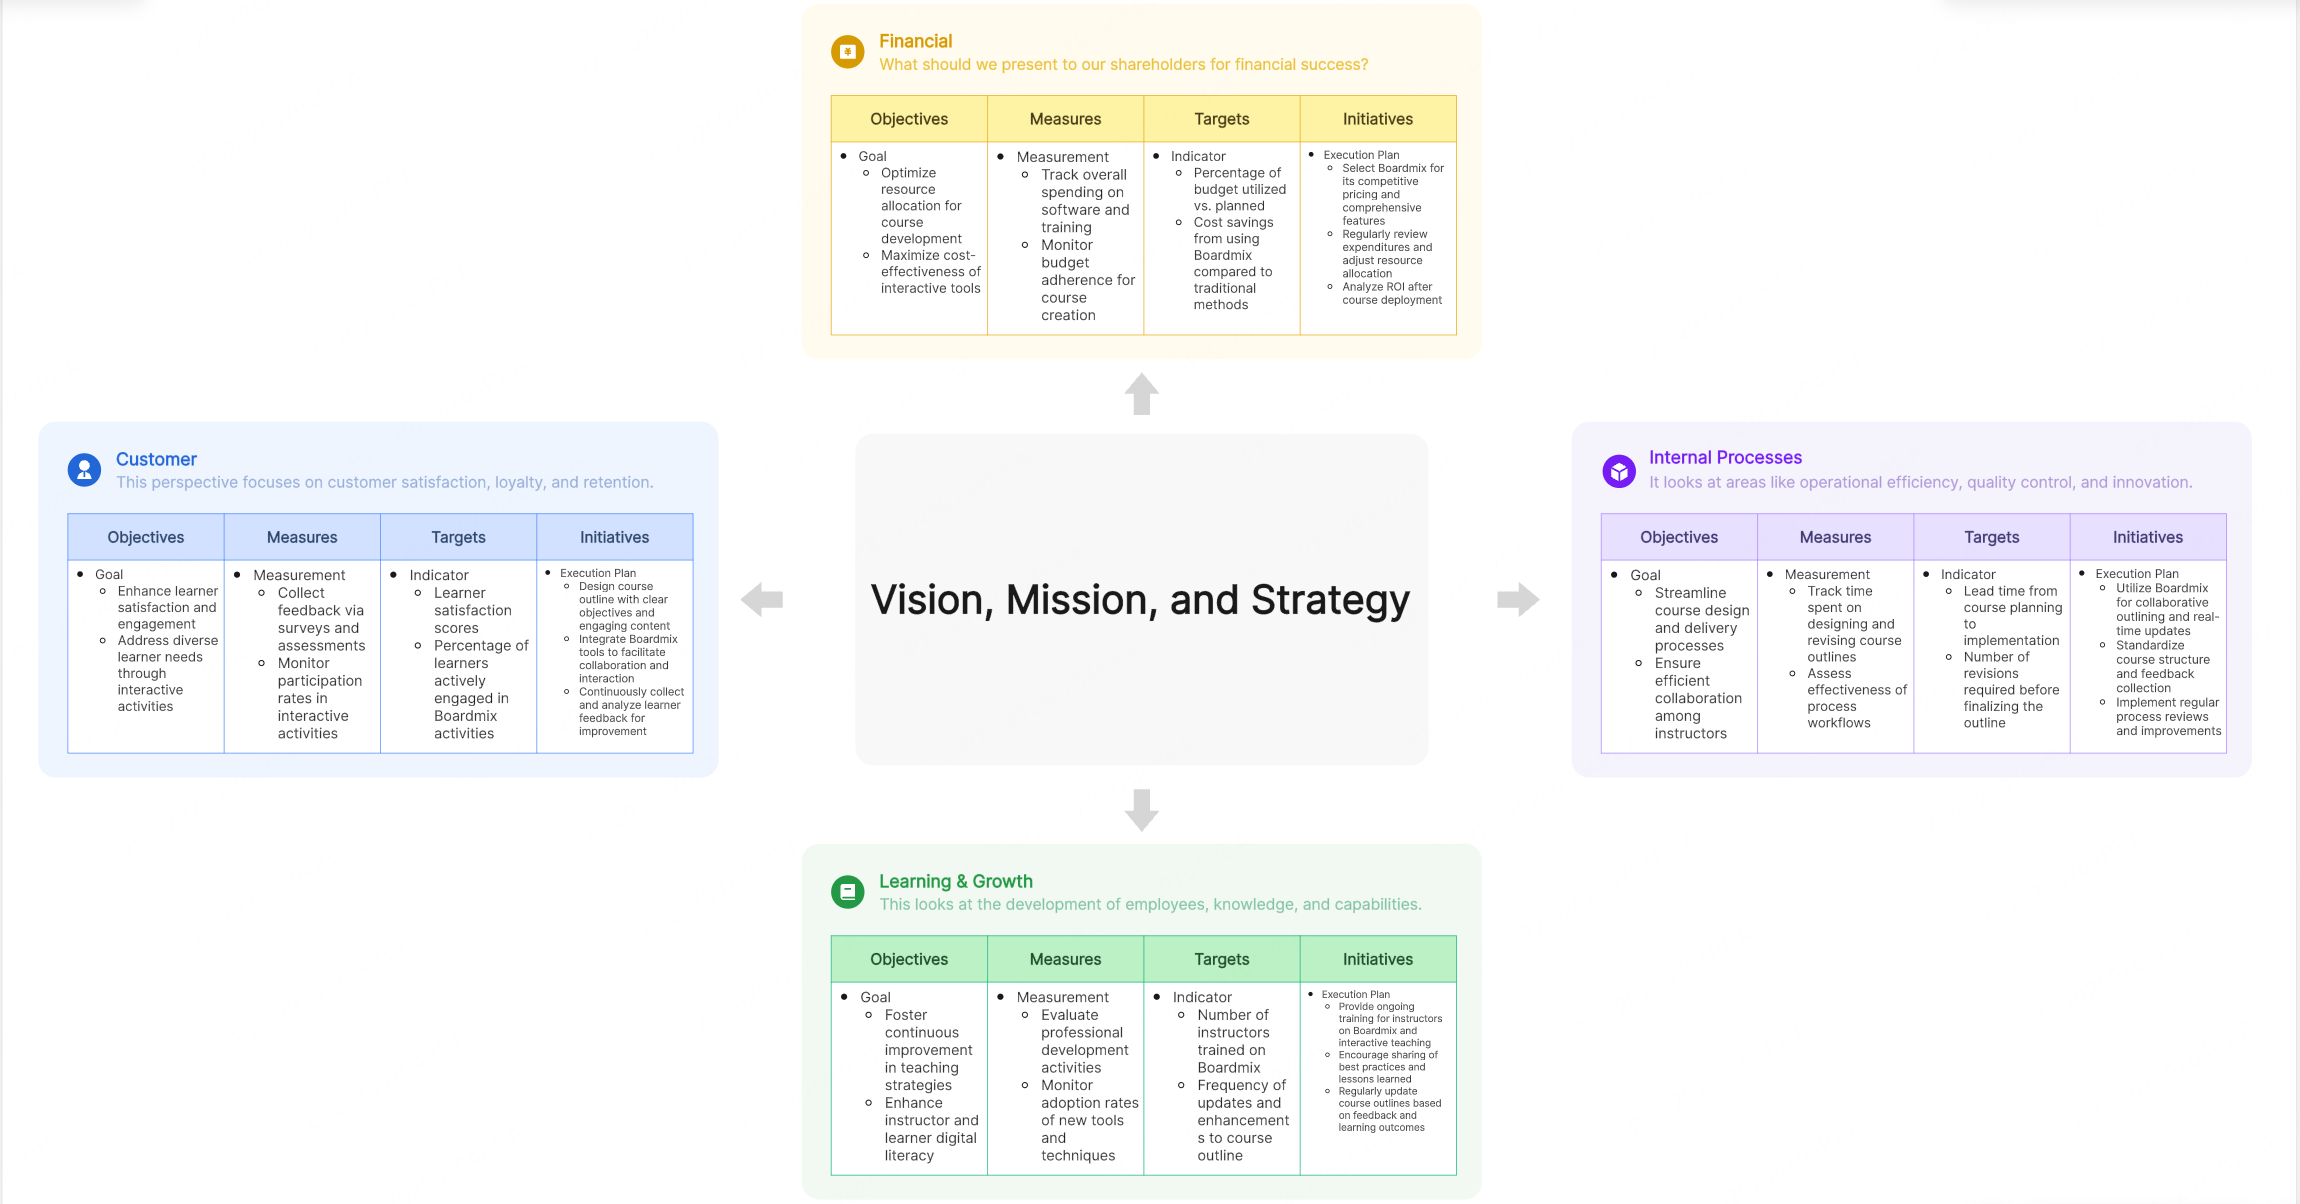
Illustrative History Lesson: From Timeline to Argument
This is a suggested lesson, not a customer case study or an observed result. The objective is to distinguish a sequence of events from an explanation of why those events happened.
- Spend five minutes placing six events from an assigned reading on a timeline.
- In pairs, add one claim about a cause and cite the passage that supports it.
- Ask another pair to check whether the cited passage supports the claim or only describes the event.
- Discuss two different interpretations and record what additional evidence would help.
- Finish with a short individual paragraph that links a claim to a source and acknowledges one limitation.
To evaluate the lesson, use the same simple rubric for each response: accurate chronology, relevant evidence, and a clear explanation. Compare responses and access problems before changing the activity. No percentage improvement is assumed.
Review the Lesson Before Expanding It
Use Boardmix when a shared visual record helps students examine evidence and respond to one another. Begin with one task, check the quality of the resulting explanations, and adjust the instructions. The teacher remains responsible for the content, feedback, and assessment.
For a broader choice of tools, compare guest access, editing limits, accessibility, and school permissions against the same lesson requirements.
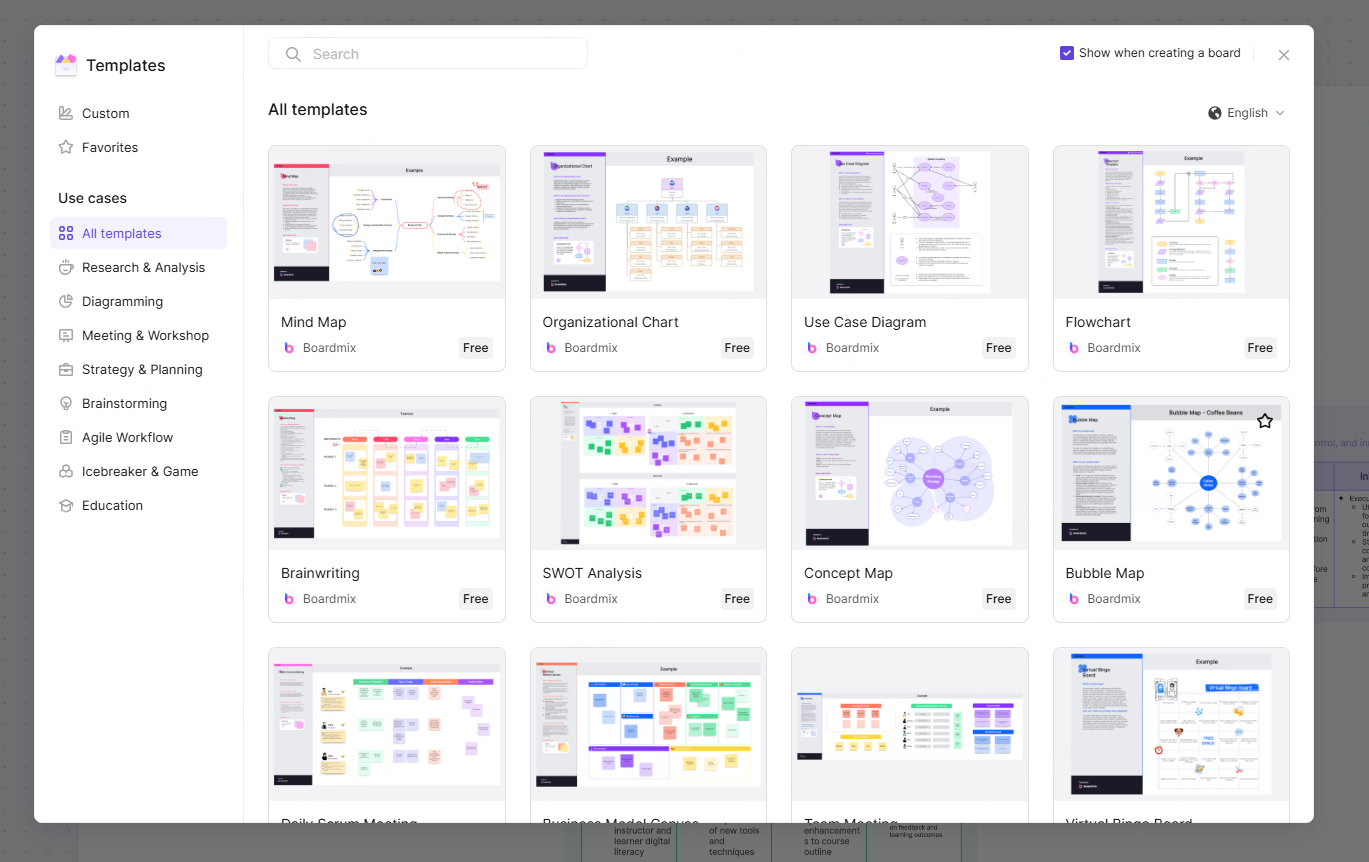
Explore Boardmix for the shared workspace, the AI whiteboard overview for available drafting workflows, and brainstorming tools for collecting initial ideas. Review draft material before using it with students.