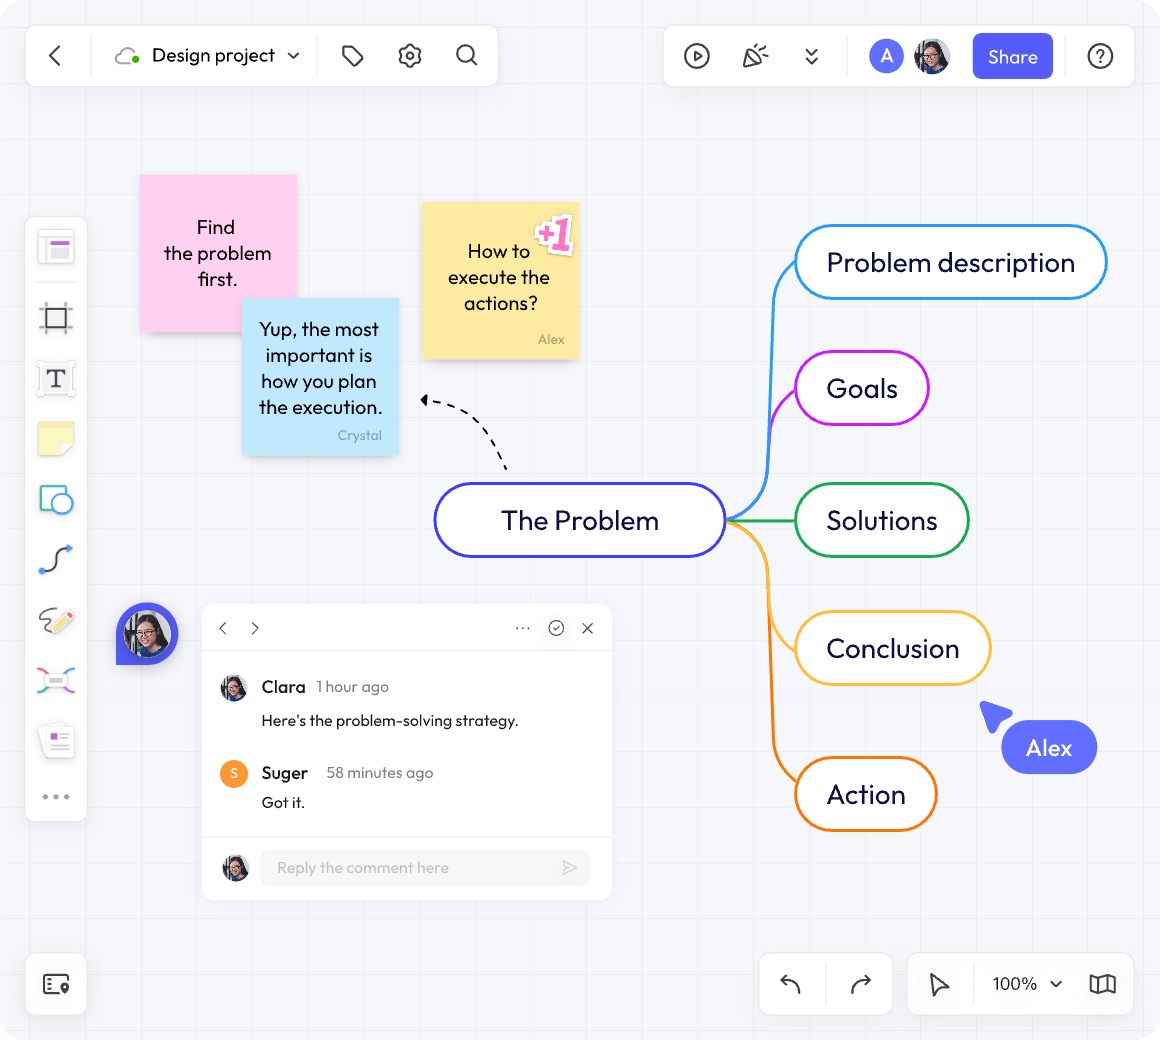
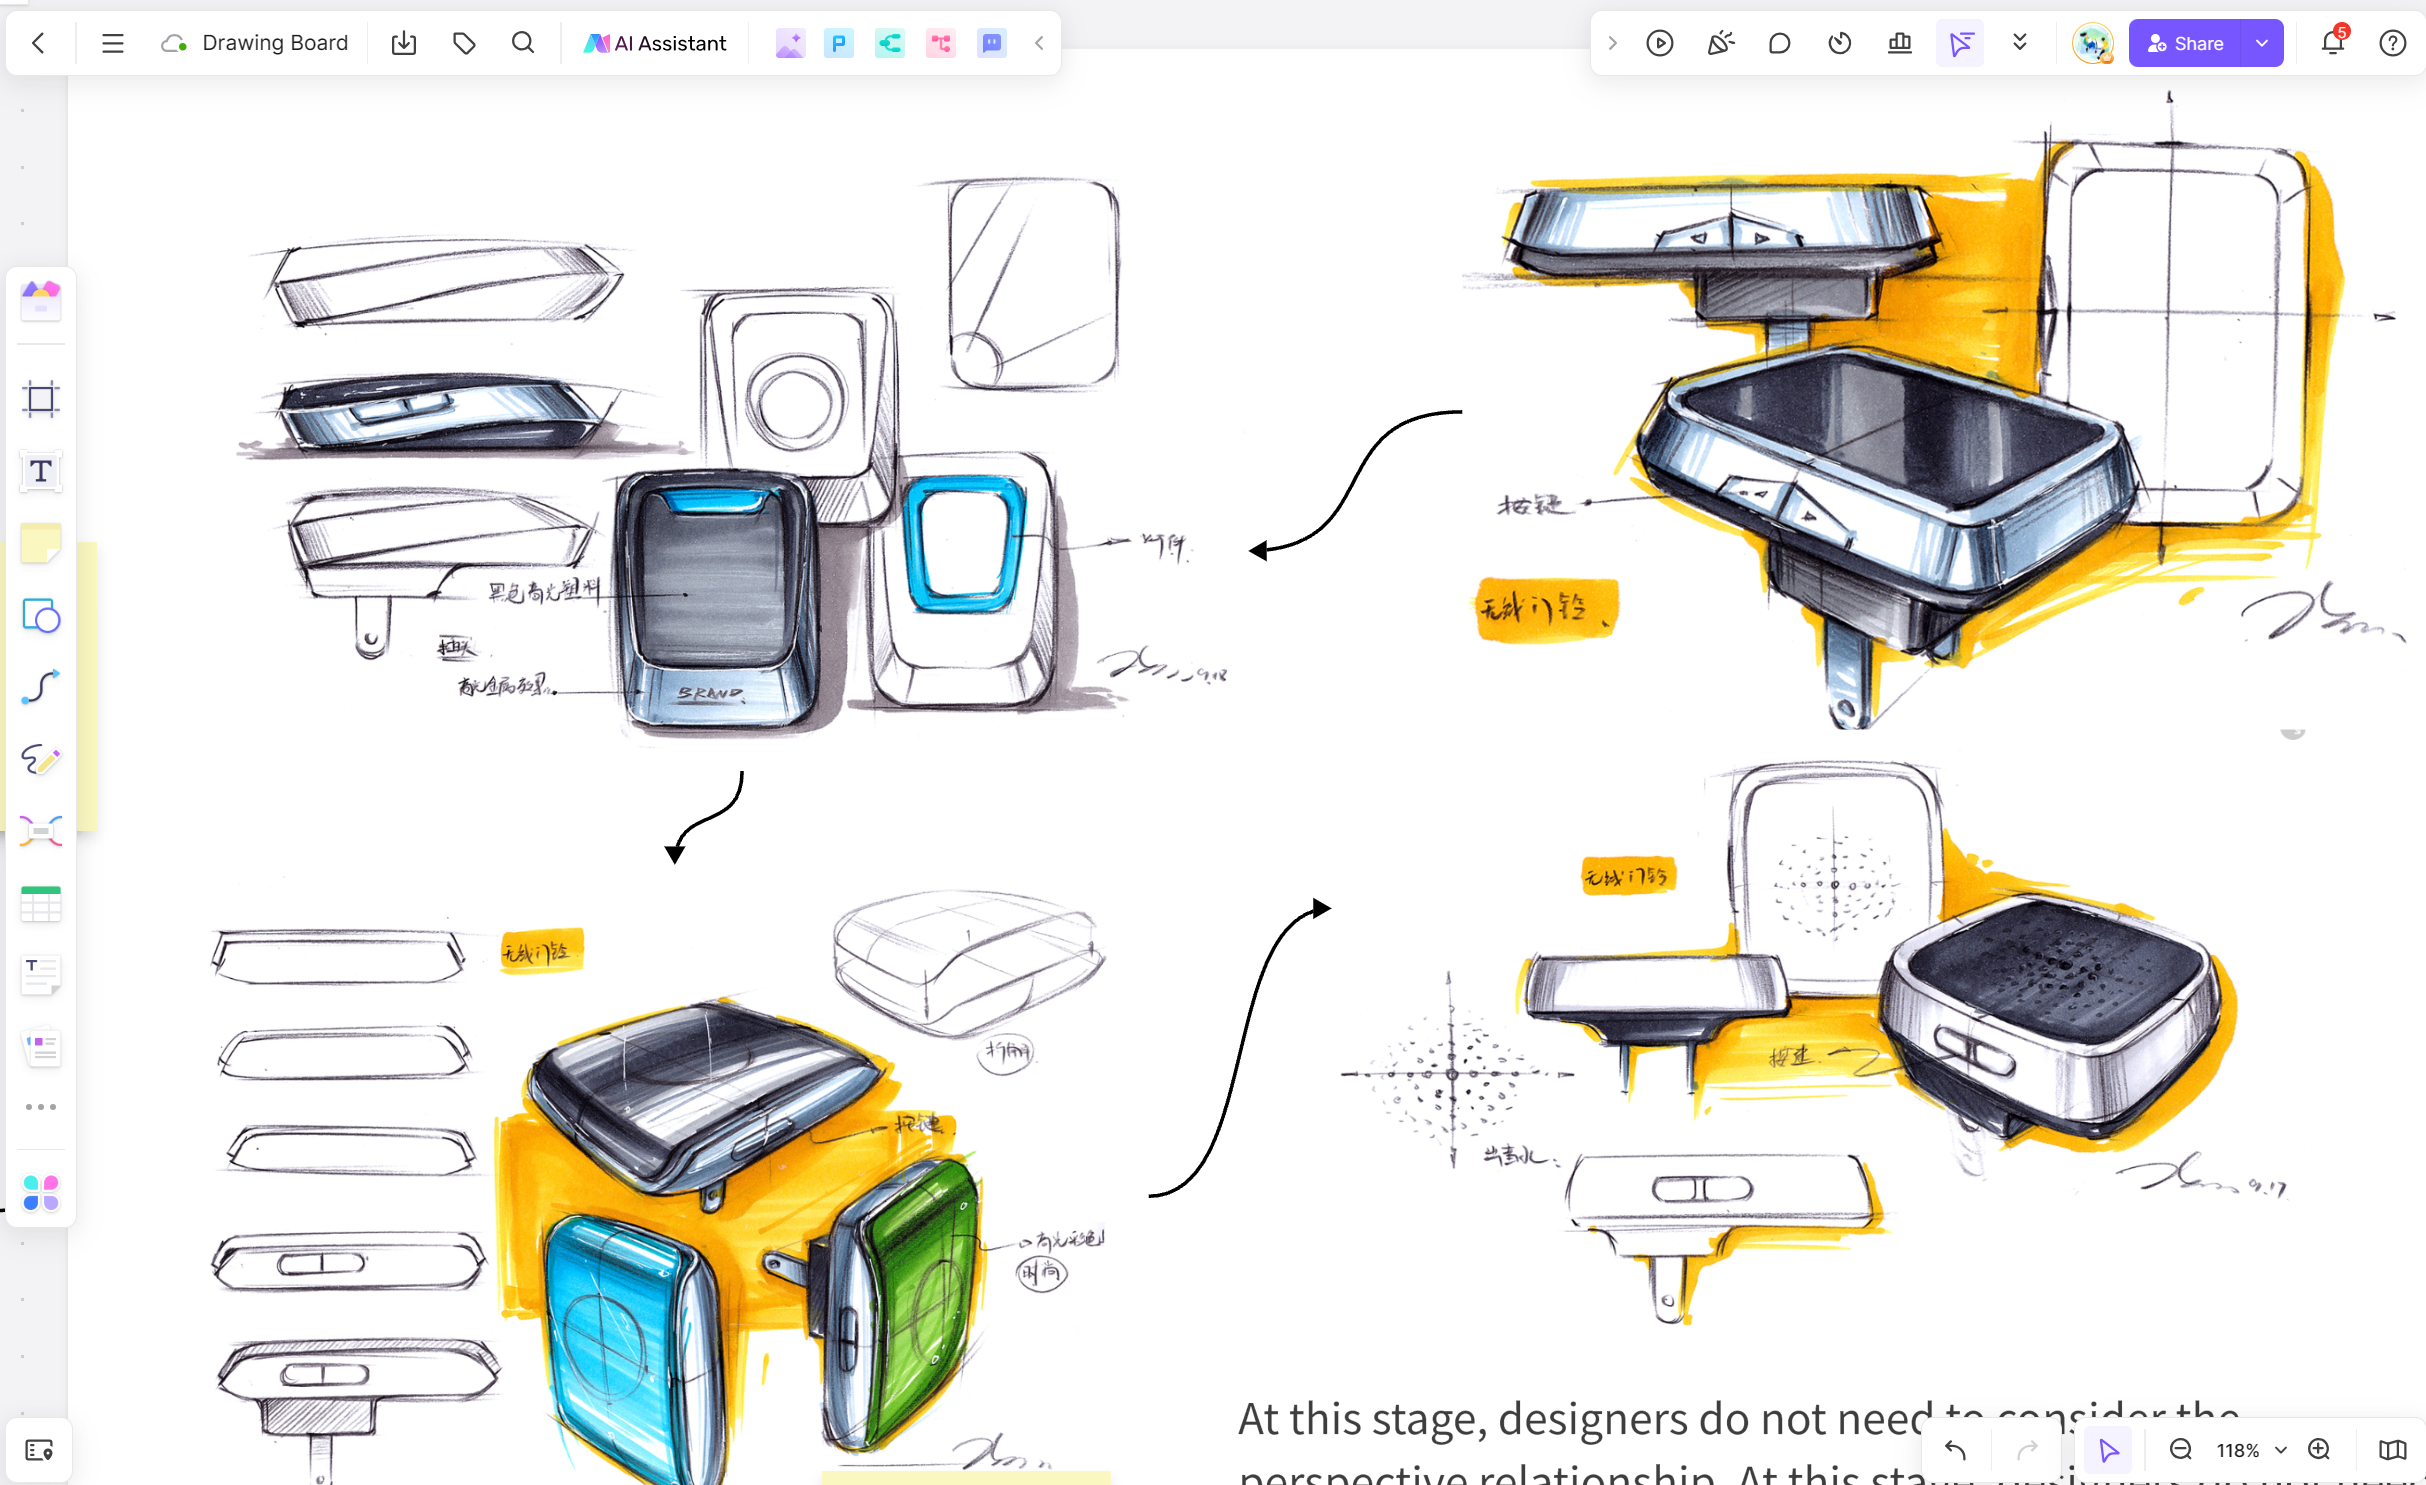
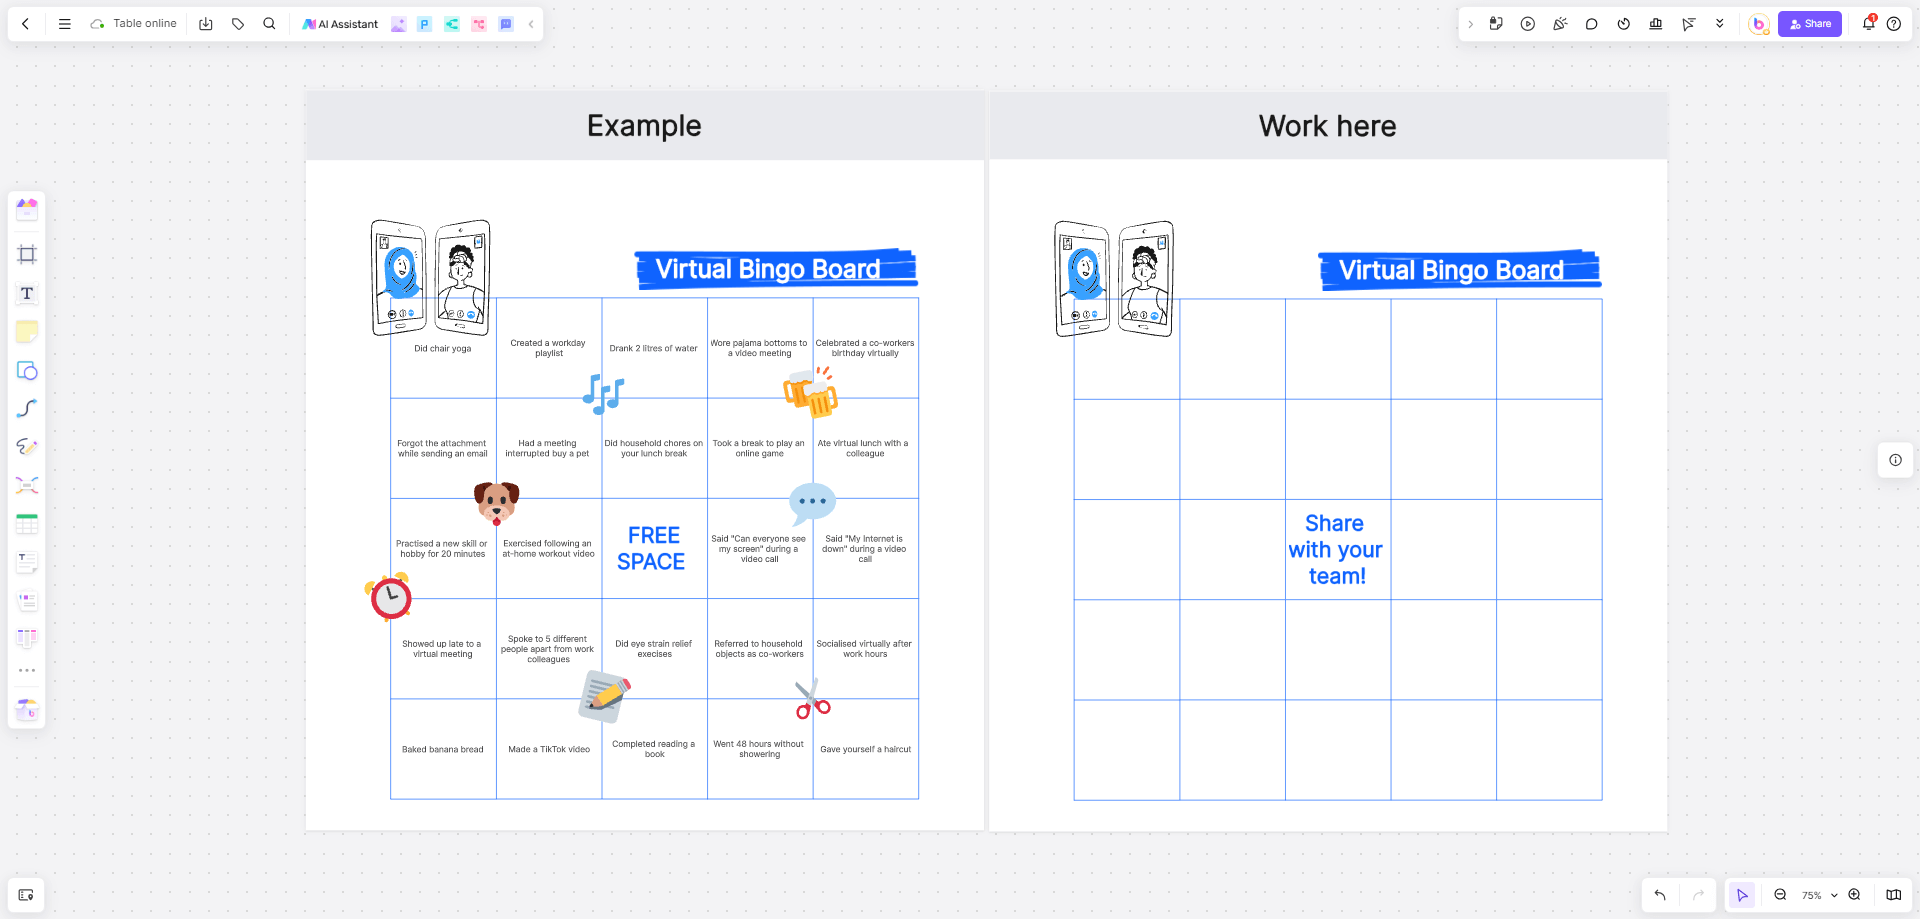
Effective project planning is crucial for success in a fast-paced work environment. A key component of efficient project management is using the right tools to help organize tasks, collaborate with teams, and ensure that projects stay on track. Whiteboards have long been regarded as essential tools for planning, and with the evolution of digital whiteboards, project management has become more accessible, efficient, and collaborative. Let’s dive into how to use whiteboards for project planning and explore the Boardmix online whiteboard, where you can arrange tasks, dependencies, and review notes in one shared view.
Why Whiteboards Are Essential for Project Planning
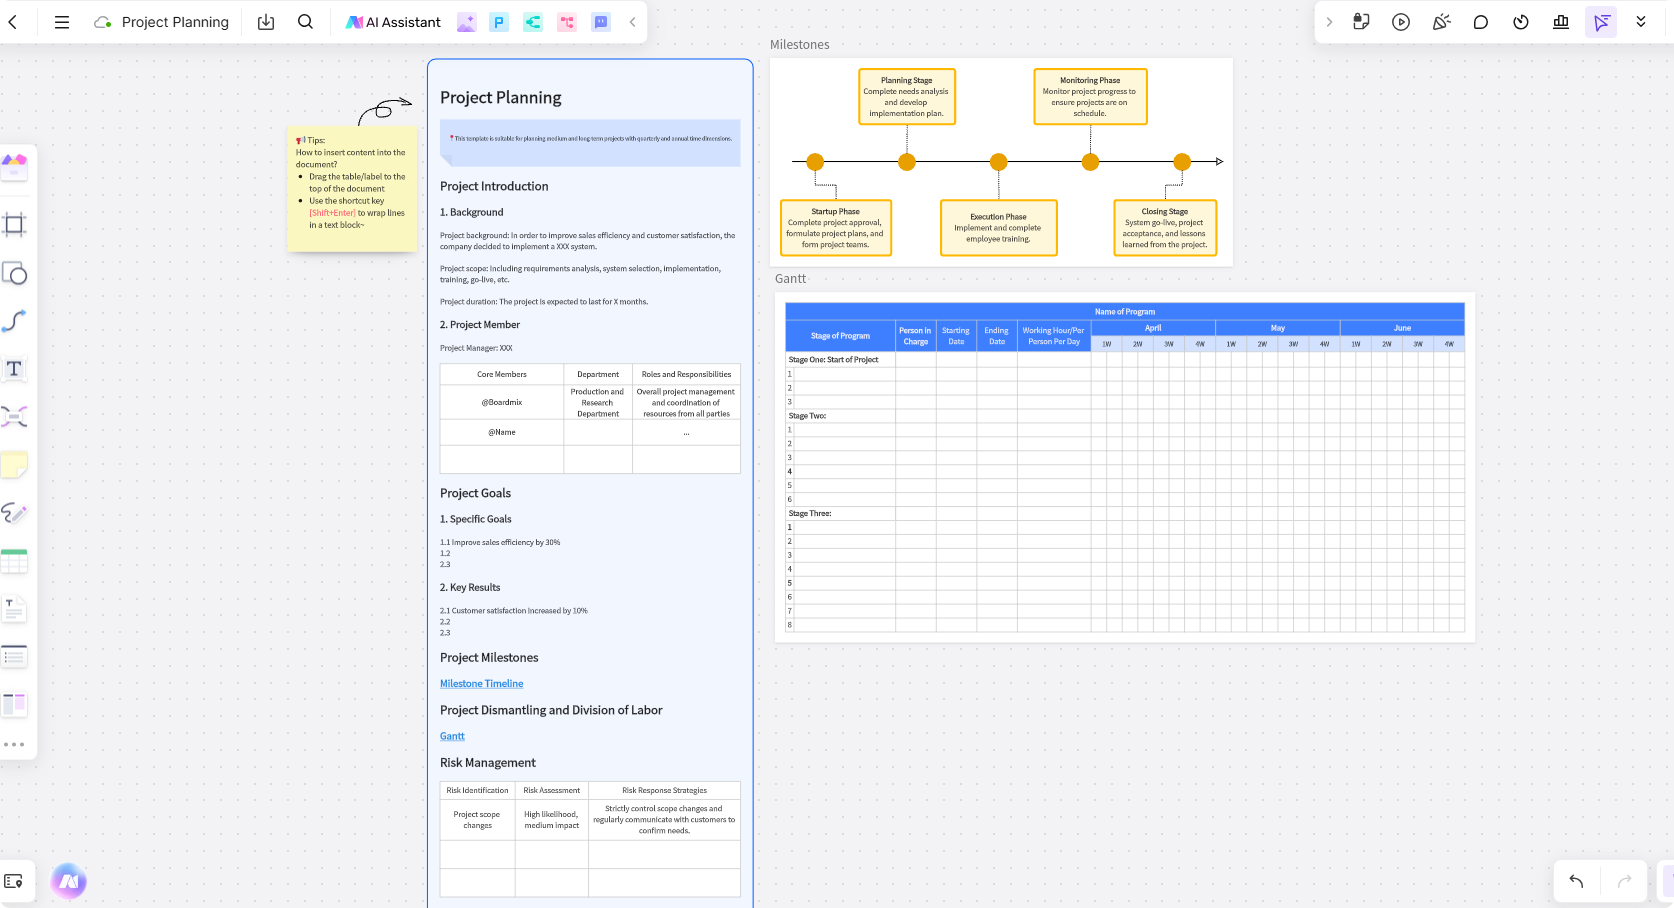

As remote and hybrid work environments become the norm, traditional whiteboards have evolved into powerful digital tools that change project planning. These platforms enable real-time collaboration, allowing teams to stay connected and aligned no matter their location.
Digital whiteboards give teams space to map ideas, set goals, and organize tasks on a shared canvas. Use a template as a starting layout, then add the owners, dates, and dependencies that your project needs. If tasks are also tracked elsewhere, decide which place holds the current task status so the board does not become a conflicting copy.
Benefits of Using Whiteboards in Project Planning
Whiteboards offer numerous advantages that can help project managers and teams stay organized, collaborate effectively, and keep projects on track. Let’s take a closer look at some of the key benefits of incorporating whiteboards into your project planning process.
Visual Organization of Ideas and Tasks
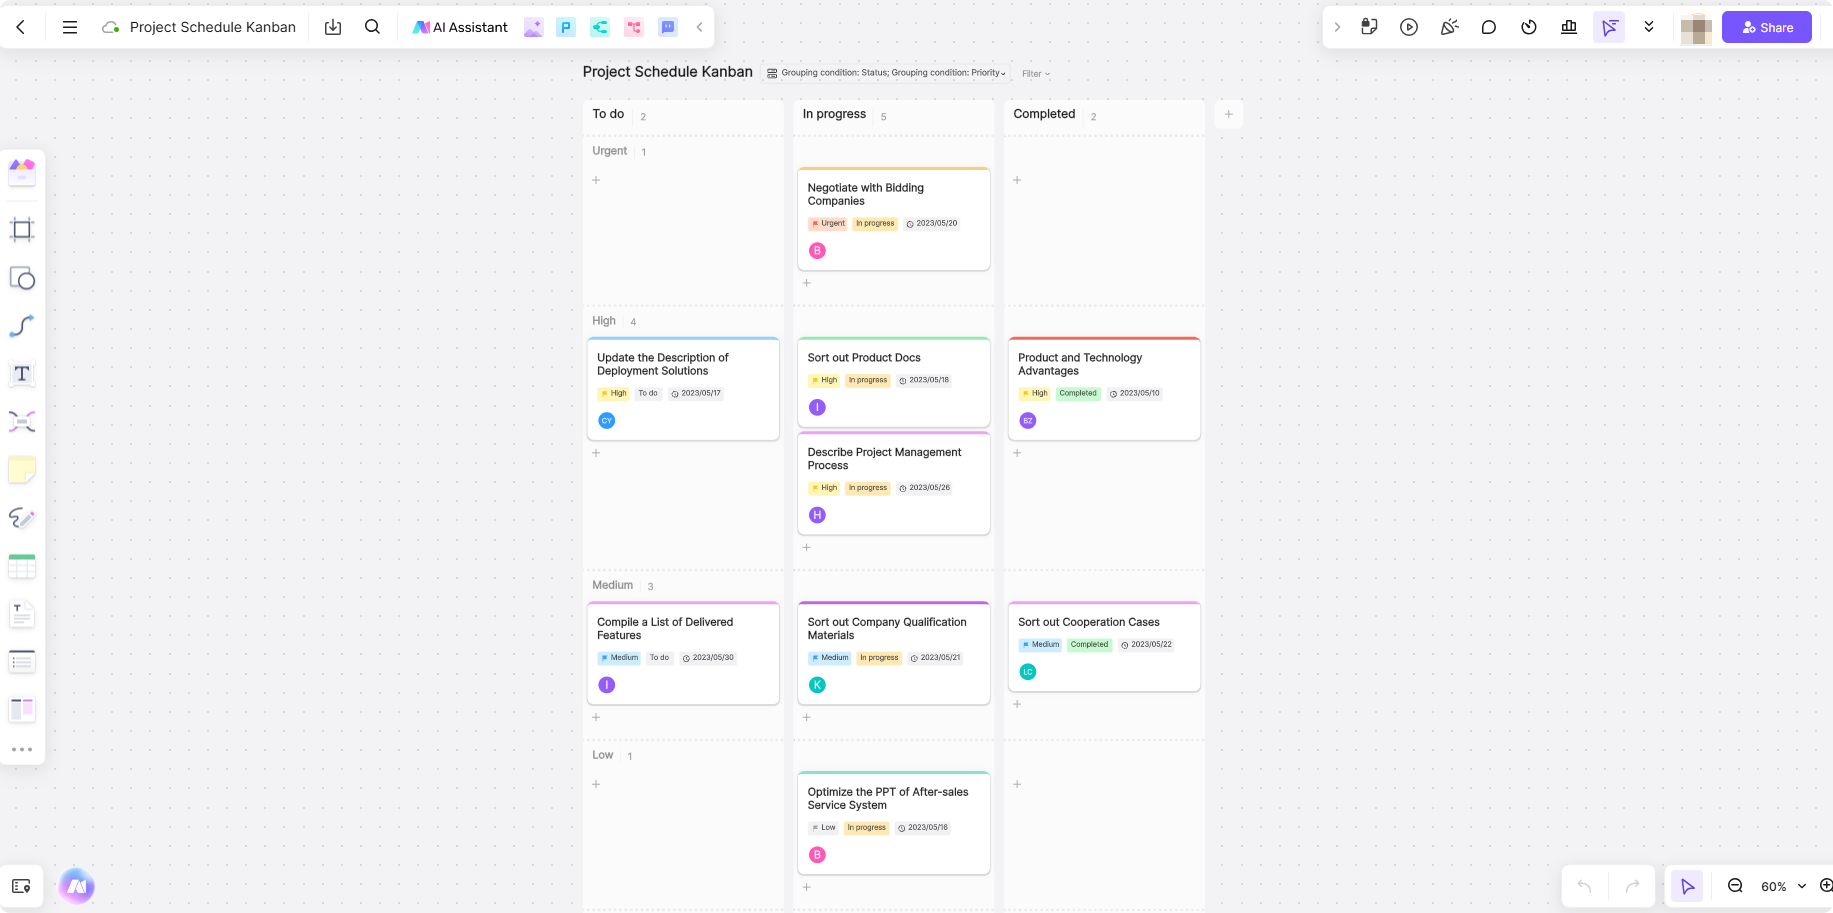
One of the most significant benefits of using whiteboards is the ability to visually organize tasks and ideas. Instead of relying on lengthy documents or spreadsheets, whiteboards allow teams to map out ideas, workflows, and timelines in a more intuitive and engaging way. This visual format helps to break down complex information, making it easier for everyone involved to understand the scope and progress of a project.
For example, a team working on a product launch could use a digital whiteboard to visualize the stages of the launch, from research and development to marketing and sales. Each stage can be represented by a visual task card or a flowchart, making it easy to see what needs to be done and who is responsible for each task.
Real-Time Collaboration for Team Alignment
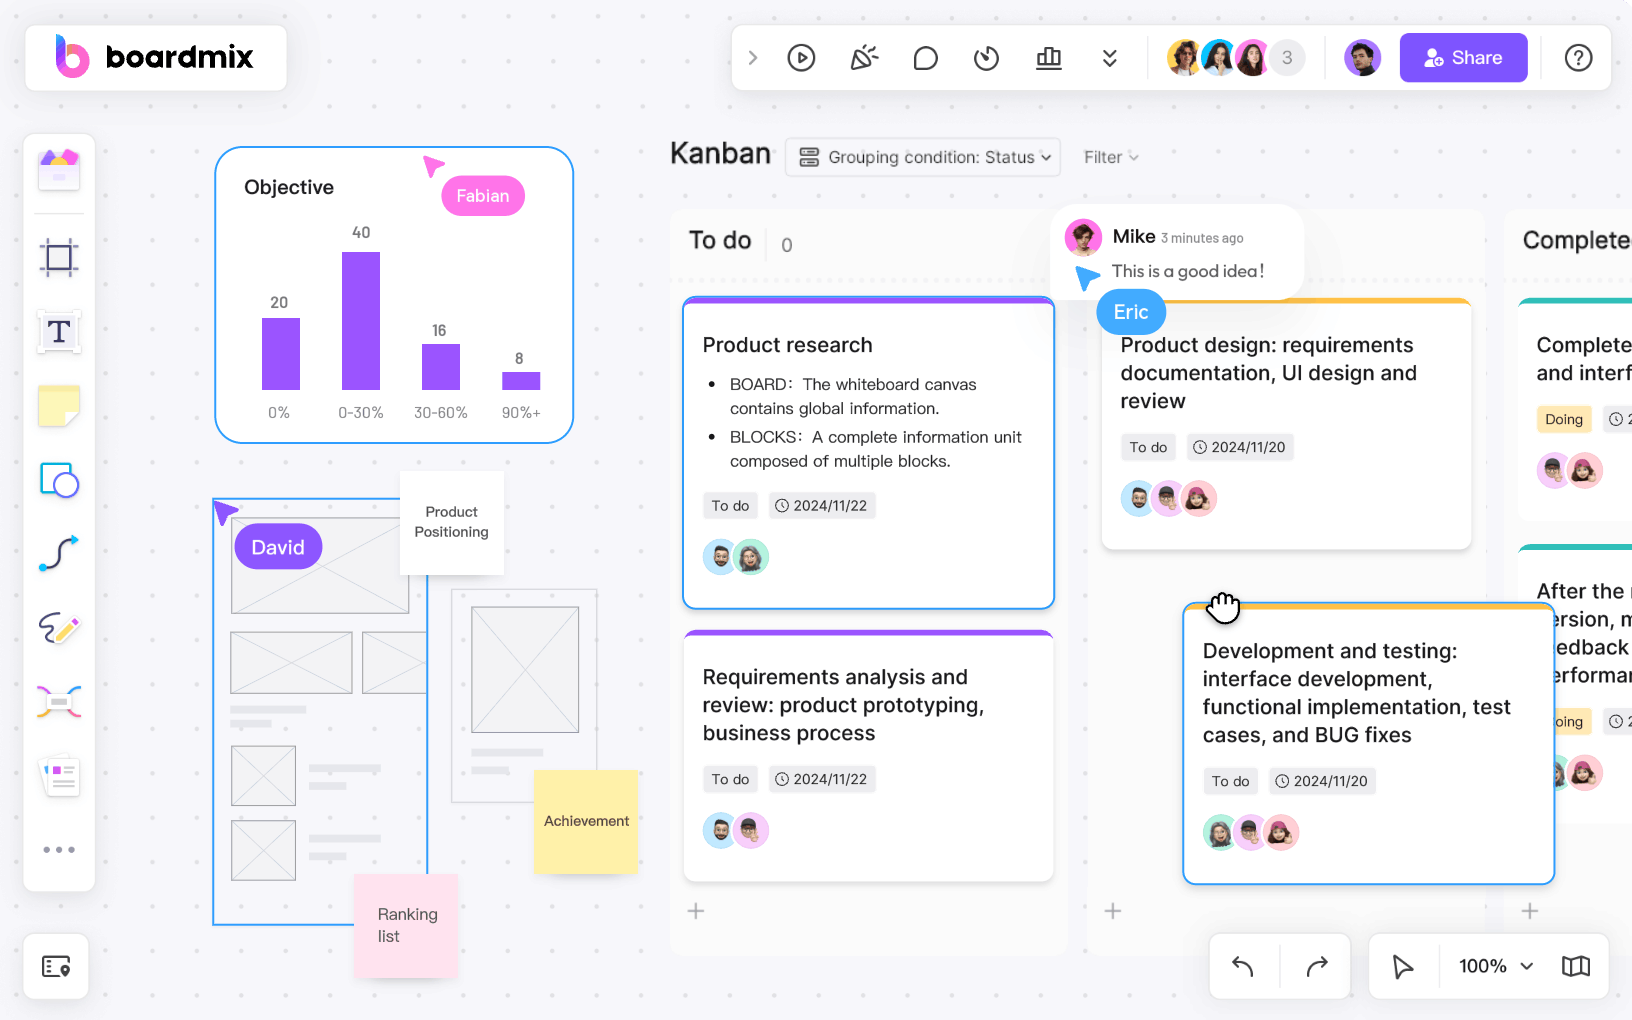
Another major benefit of whiteboards, especially digital ones, is the ability to collaborate in real-time. With traditional whiteboards, teams had to be in the same room to brainstorm and discuss ideas. Digital whiteboards, on the other hand, allow team members to contribute, update, and review work simultaneously, regardless of their location.
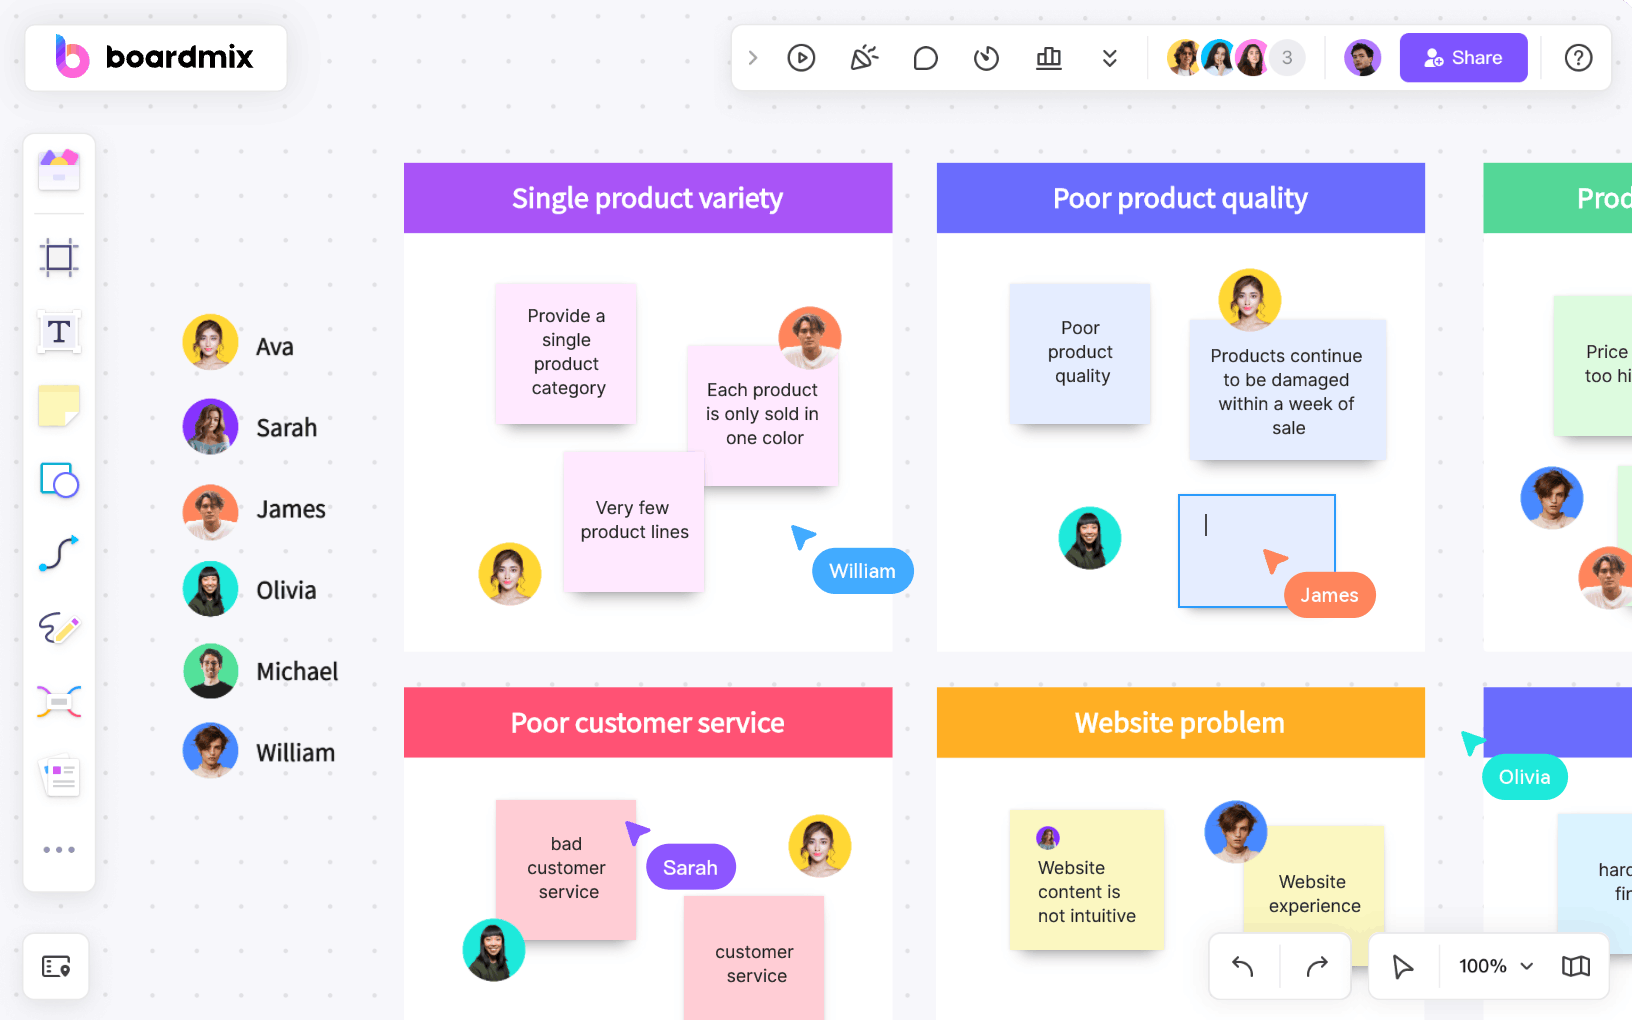
Real-time editing lets team members discuss the same task while they update the board. In Boardmix, use comments for questions about a task and make its owner visible on the card, rather than relying on everyone to remember a verbal assignment.
Flexibility to Adapt to Changing Project Needs
Projects are rarely static, and plans often need to be adjusted as circumstances change. Whiteboards, particularly digital ones, offer the flexibility to quickly adjust plans as new information emerges. You can add new tasks, update timelines, or move items around without losing track of the big picture. This adaptability helps teams respond to unexpected challenges or shifts in project requirements with minimal disruption.
For example, if a new task or priority arises during a project, you can easily add it to your digital whiteboard and adjust the workflow without losing sight of existing tasks.
Key Features to Look for in Project Planning Whiteboards
When selecting a whiteboard for project planning, it’s essential to consider certain features that can enhance the planning and collaboration process. Below are some key features to look for:
Infinite Canvas for Mapping Out Complex Projects
A fundamental advantage of digital whiteboards is the ability to have an infinite canvas. Unlike physical whiteboards, which have limited space, digital whiteboards allow users to continuously expand their workspace to accommodate complex projects. This feature is particularly useful for large teams working on multifaceted projects that require detailed visual representations.
Templates for Workflows, Timelines, and Gantt Charts
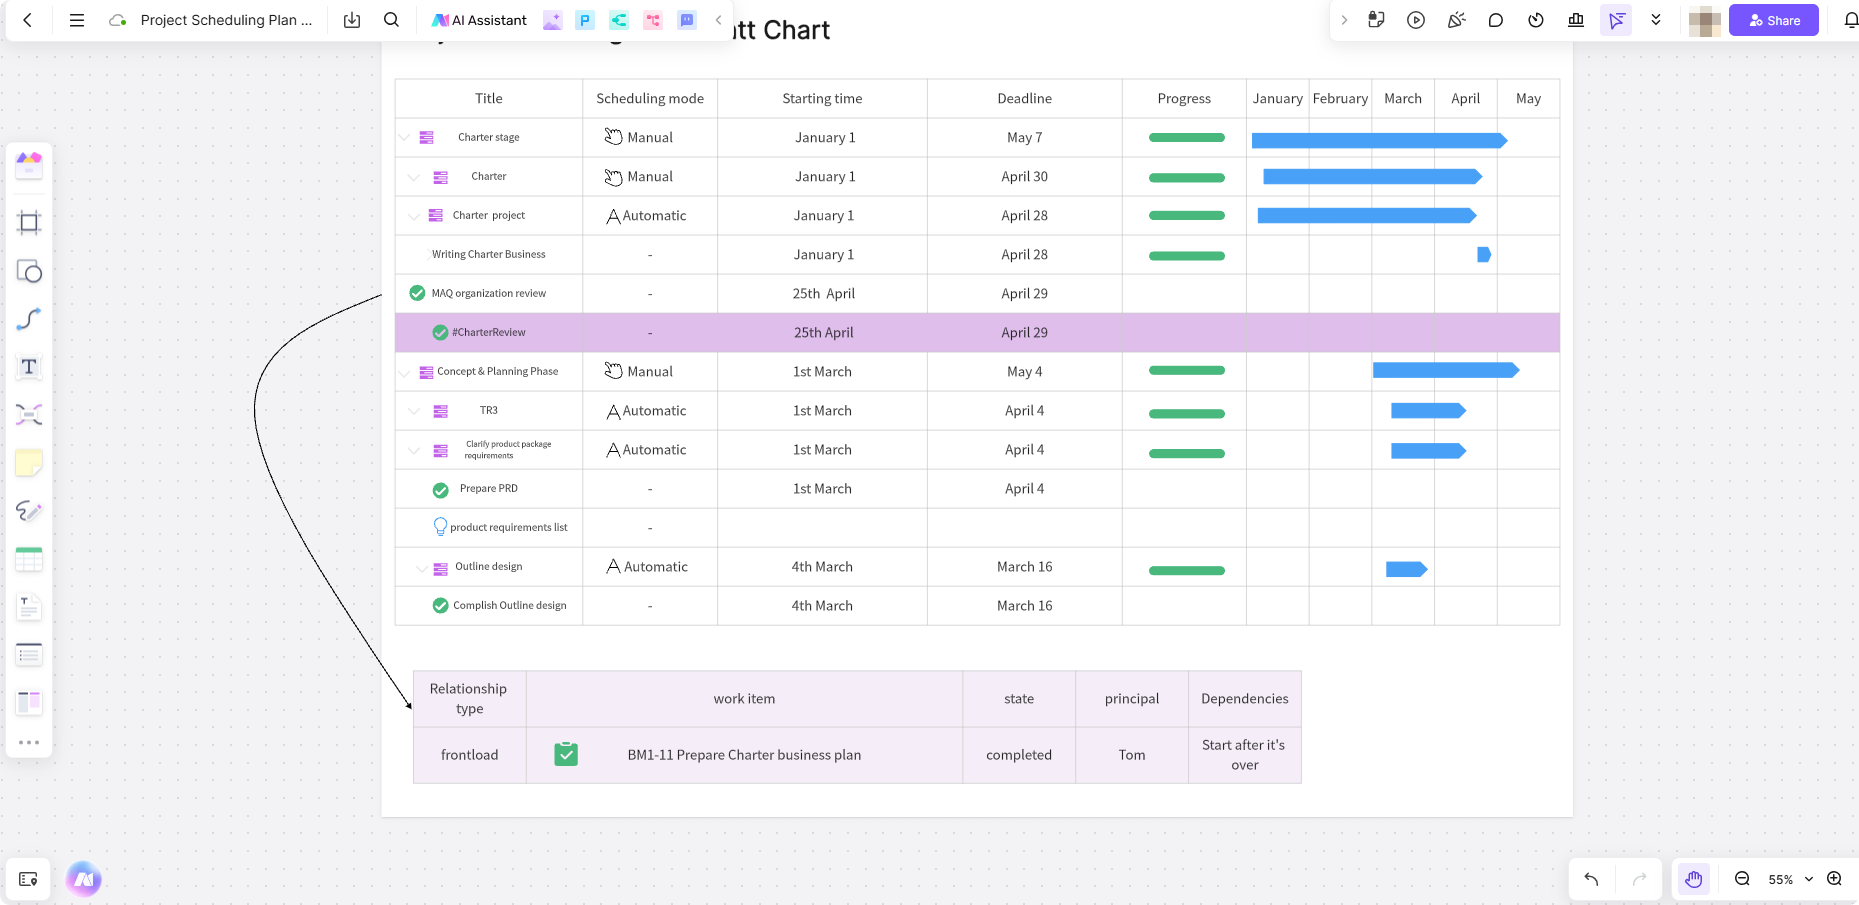
To make the planning process more efficient, digital whiteboards offer pre-built templates for various project management tasks. These templates can include workflows, timelines, Gantt charts, and other tools that help you map out your project’s goals, deadlines, and dependencies.
Integration with Productivity Tools
Identify the connection your team actually needs: opening reference documents, sharing a board in a meeting, or synchronizing task status. A document link or embedded view does not automatically synchronize tasks. Check that the specific connection is supported before making it part of your workflow; a board can also be useful alongside a separately maintained task tracker.
Version Control and Cloud Storage
Project planning is an iterative process, and as such, it’s essential to keep track of changes and updates. Excellent digital whiteboards offer version control and cloud storage, enabling teams to access previous versions of their work, track changes, and ensure that updates are easily shared across all team members.
Check how to find a saved version and who can restore it before you rely on version history to recover a change.
Step-by-Step Guide to Using Whiteboards for Project Planning
Now that we’ve explored the benefits and features of using whiteboards for project planning, let’s walk through how to effectively use Boardmix to plan your projects:
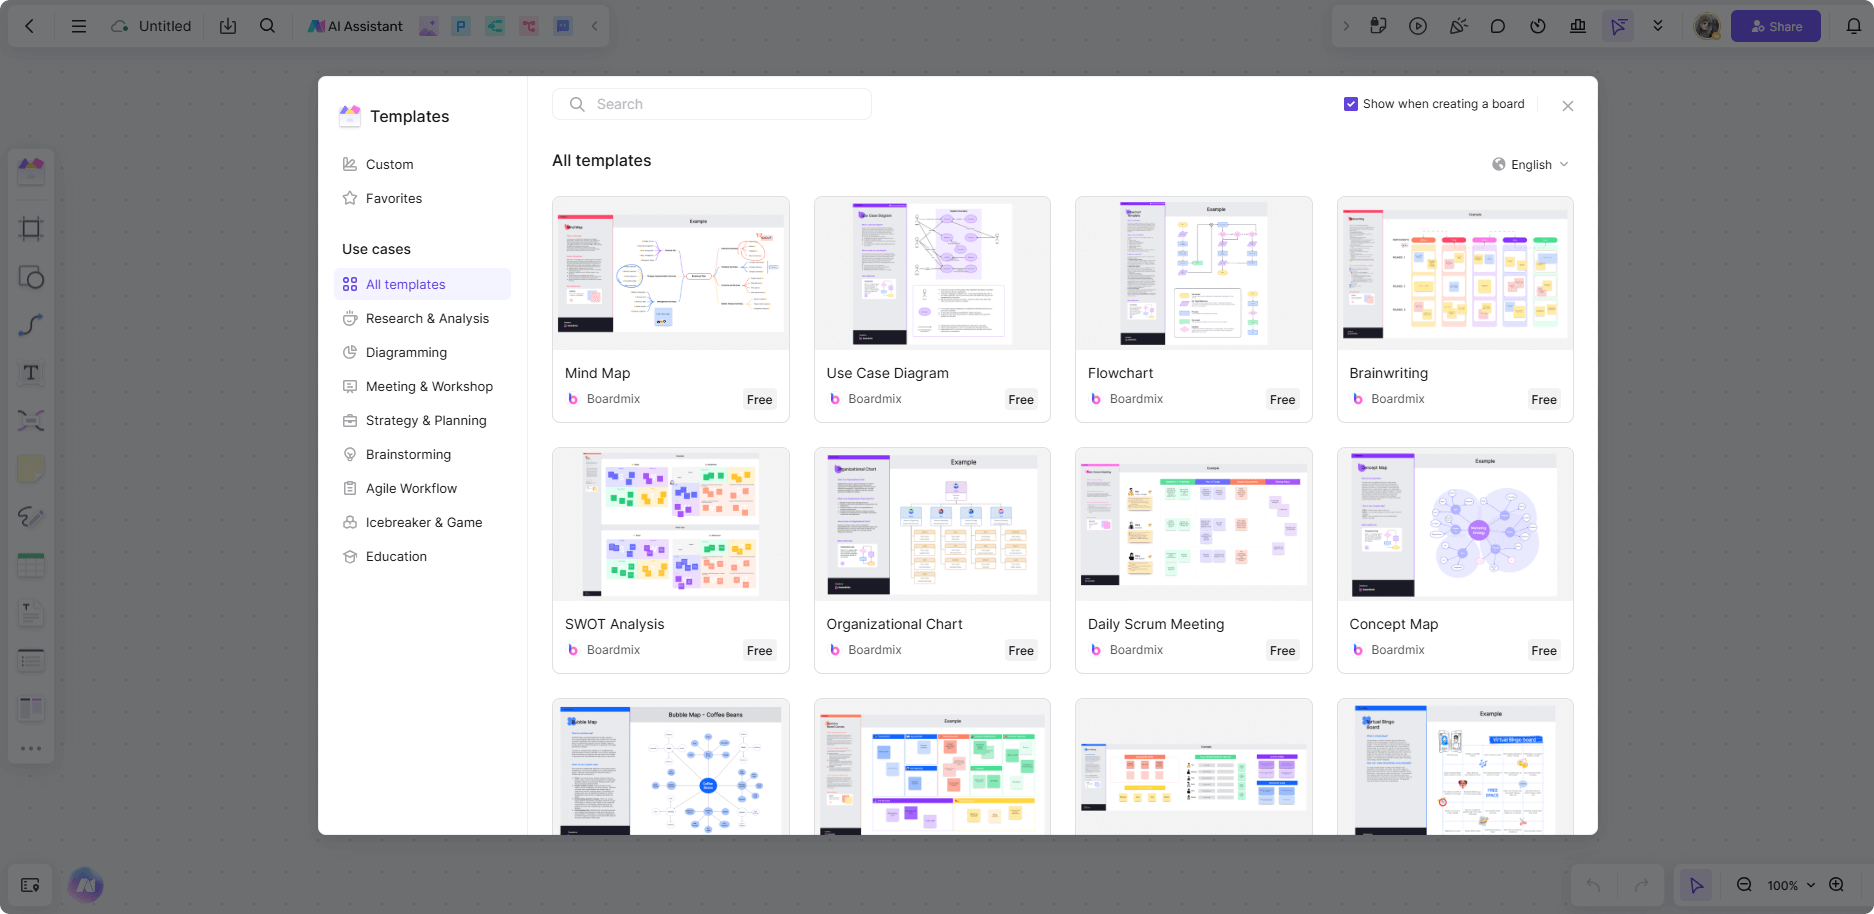
Step 1 Create Your Whiteboard: Open a new board in Boardmix. Choose a planning template or create labeled areas for the project goal, timeline, tasks, and open questions. A Kanban layout works well when the main question is what is ready, in progress, or waiting for review.
Step 2 Define Project Goals and Milestones: Break down your project into clear, measurable goals and key milestones. Use Boardmix’s visual tools to create a structured layout that maps out these goals and the necessary steps to achieve them.
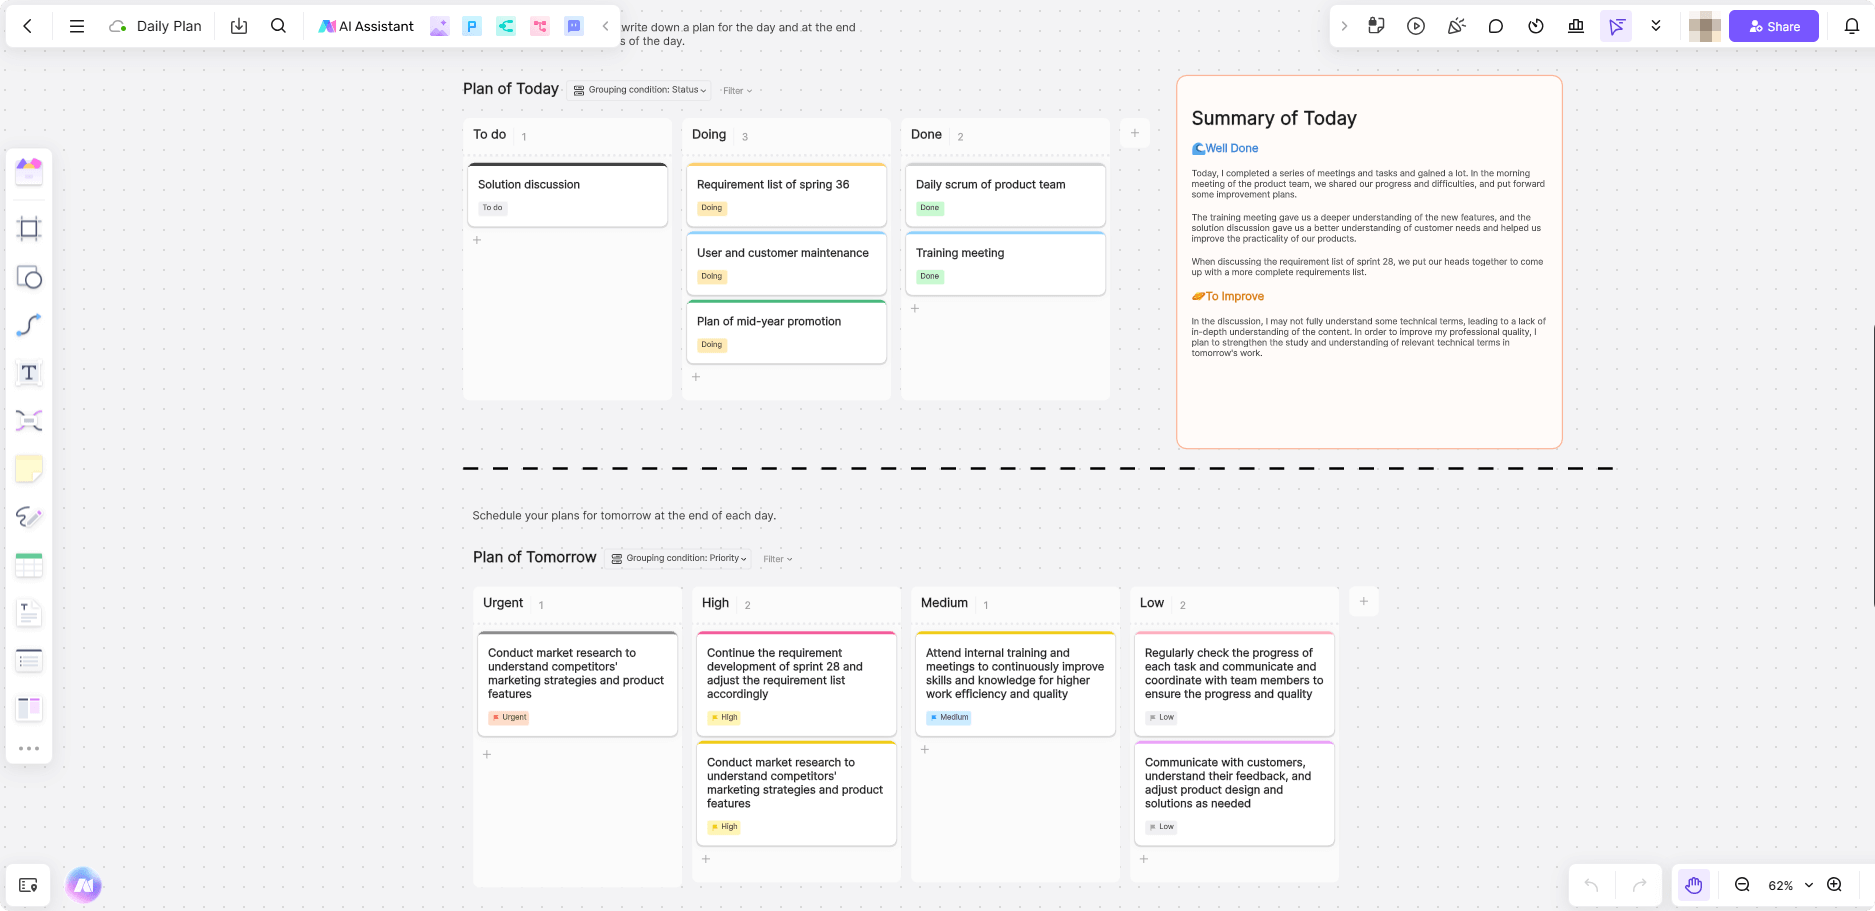
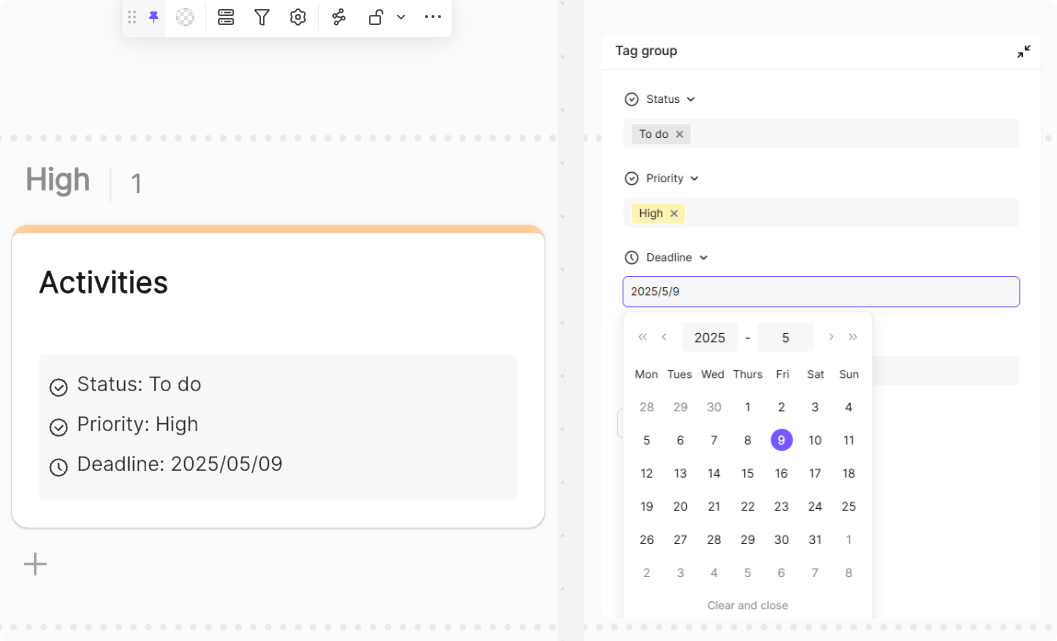
Step 3 Assign Tasks and Set Deadlines: Add one task per card or sticky note. Include the action, owner, due date, and a short description of what finished work looks like. Place a dependency beside the task it blocks. These fields can be written directly on the board; they do not require an automatic task-tracker integration.
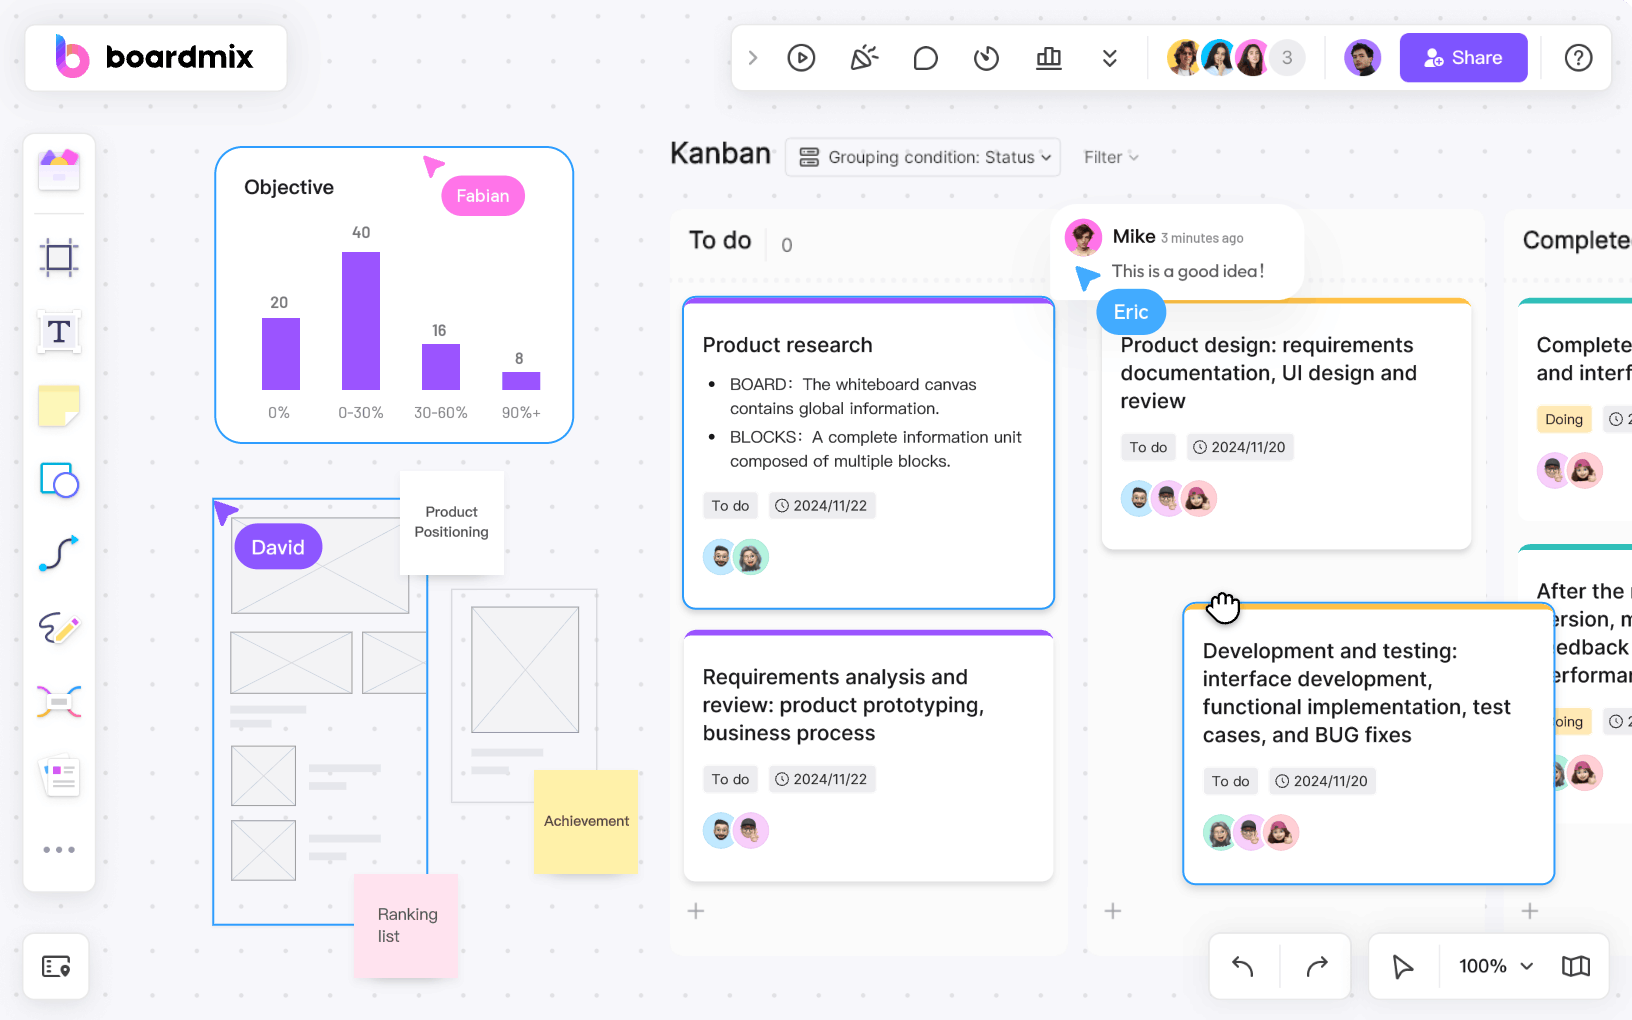
Step 4 Collaborate in Real-Time: With Boardmix, your team can collaborate instantly. Invite team members to contribute by adding their ideas, editing tasks, and leaving comments on the whiteboard in real time. This encourages connected brainstorming sessions, feedback collection, and alignment on key decisions.
Step 5 Monitor and Update Progress: As your project advances, continuously update the whiteboard to reflect changes. Move tasks between stages, adjust deadlines, and track progress—all within the Boardmix platform. This ensures that your team stays on top of the project’s current status and can pivot quickly if needed.
Review blocked work before simply moving more tasks into progress. If a date changes, show the effect on the next dependent task and agree on the revised plan with its owner.
A filled example: plan a two-week help-center update
Suppose a small team needs to update five help articles before a product release. This example uses ten working days. The project is already approved; the board is for sequencing delivery and managing handoffs.
Write the goal at the top: Publish five accurate help articles, with working links and reviewed screenshots, by Day 10. Below it, create four task columns: Ready, In progress, In review, and Done. Add a small area for blocked work so a waiting task does not look like active work. Copy these task details into separate notes:
- Confirm the article list — Maya, Day 1. Done means all five titles and their product areas are agreed with Support. Start here; the writing work depends on this list.
- Draft the five updates — Leo, Day 4. Done means each draft explains the current behavior and flags questions for a product reviewer. Requires the agreed article list.
- Capture replacement screenshots — Nina, Day 5. Done means each image shows the step discussed in its draft and contains no customer data. Requires the draft steps and access to the release build.
- Review instructions and screenshots — Omar, Day 7. Done means the product reviewer has resolved the questions and approved both text and images. Requires the drafts and screenshots.
- Publish and check the five pages — Maya, Day 10. Done means all five URLs open, links reach the intended destinations, and the published screenshots match the approved versions. Requires completed review.
Connect the notes in dependency order. On Day 4, move the completed drafting task to Done and place the draft links on the review note. The reviewer can begin reading the text while screenshots are being prepared, but the review task cannot move to Done until both have been approved.
If the release build is unavailable on Day 5, move the screenshot task to the blocked area and write “Waiting for release-build access” with the person following up. The team can keep reviewing text, but it cannot mark final review complete. Agree whether to move the publication date or publish only approved articles first, then update the affected notes. The board now shows a specific delivery decision instead of an unexplained red card.
Top Tools for Whiteboard-Based Project Planning
There are several digital whiteboard tools available for project planning, each with unique features that cater to different team needs. Below are some top tools to consider:
Boardmix: Offers AI-powered Features, Templates, and Real-Time Collaboration.
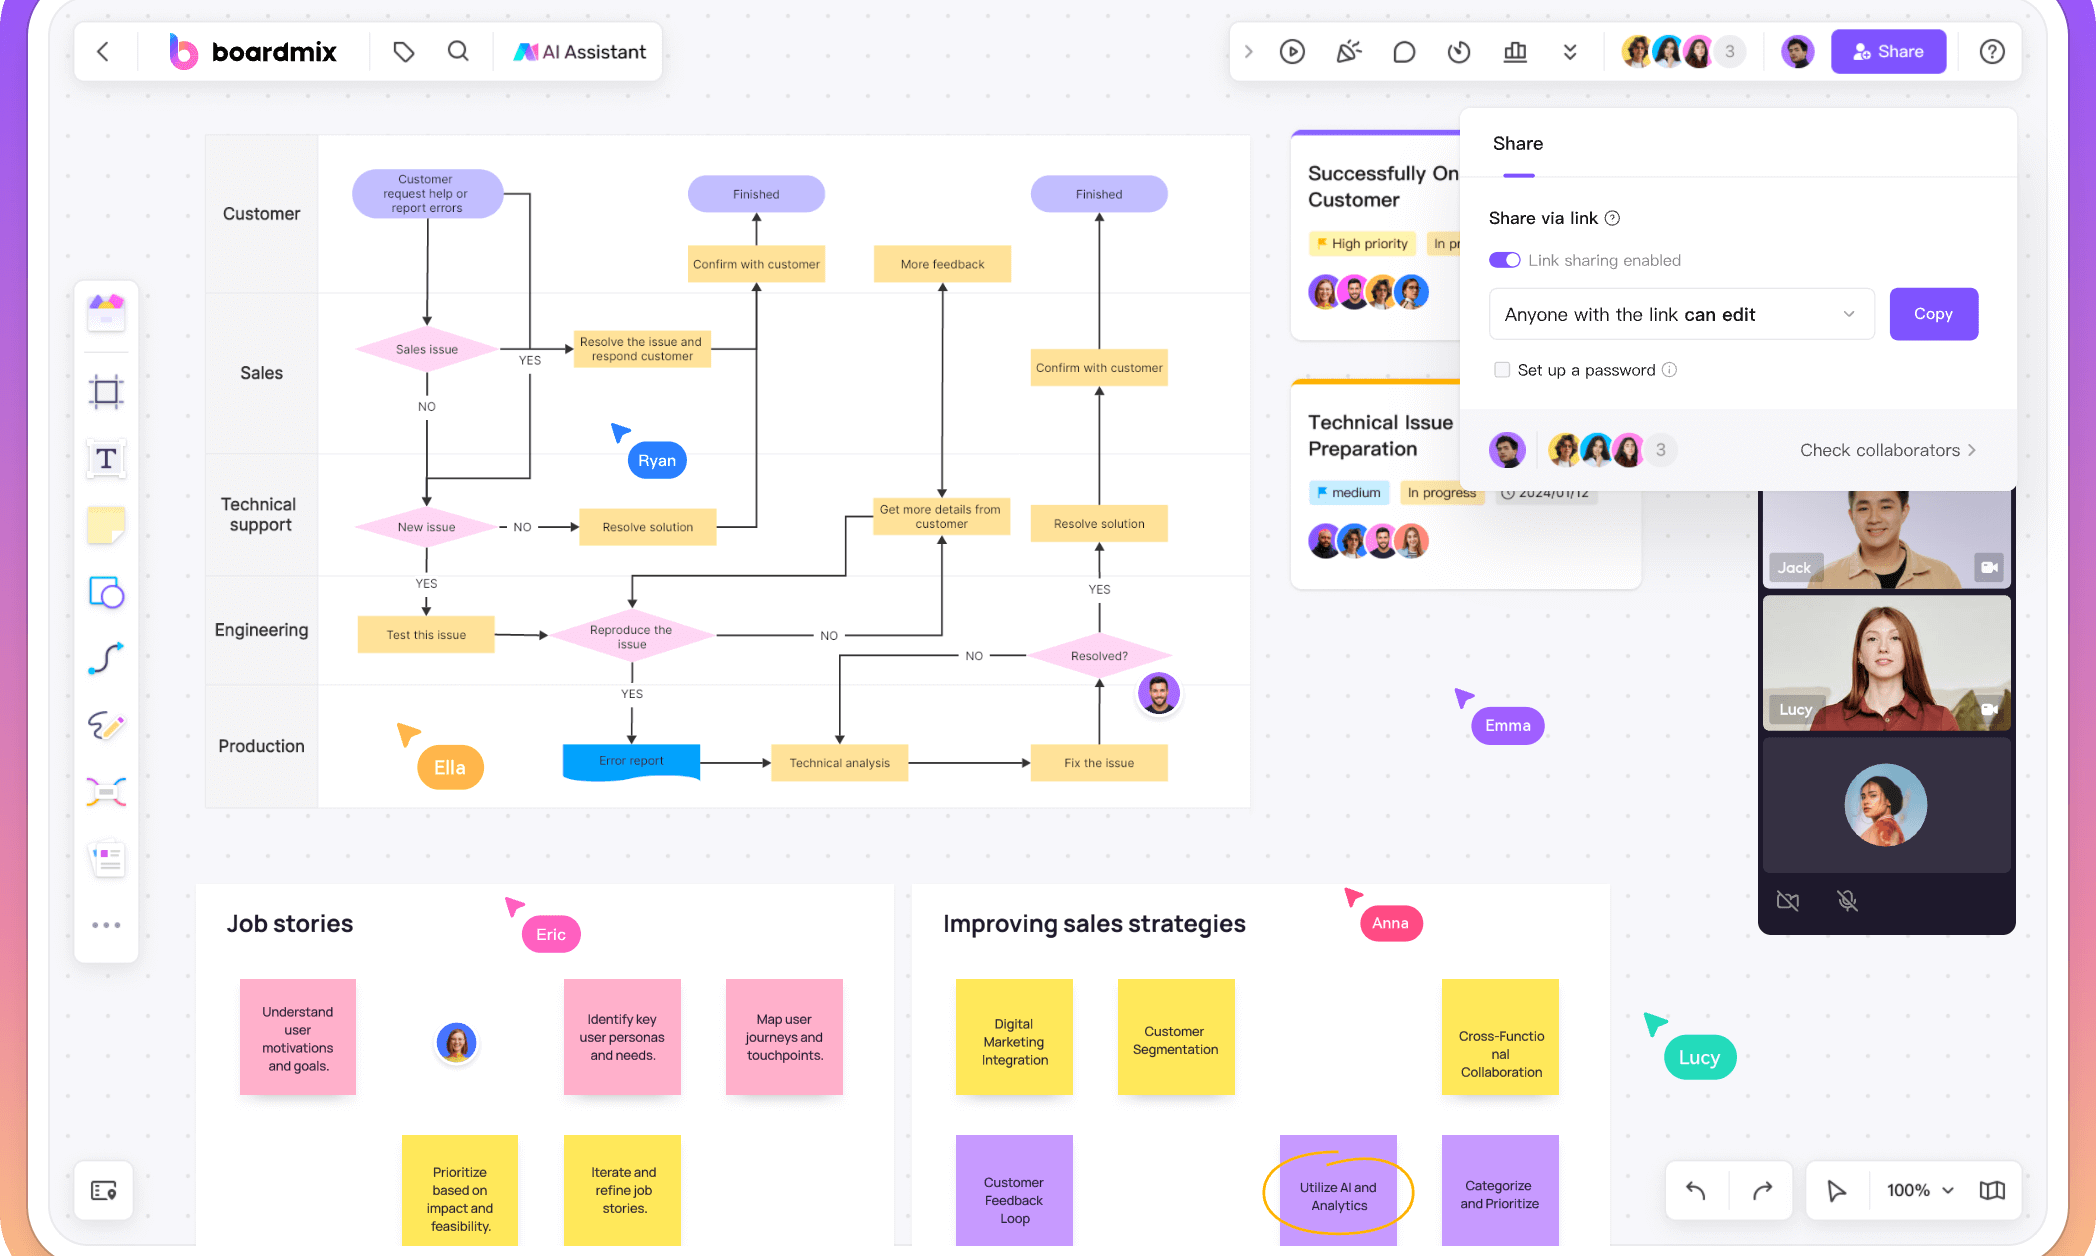
Boardmix supports visual project planning with templates for diagrams and plans. Its AI-powered features assist in generating visual aids such as flowcharts and mind maps, aiding brainstorming and planning. Team members can edit the same board and discuss the plan together.
Miro: Extensive Integration Options and Pre-Built Templates
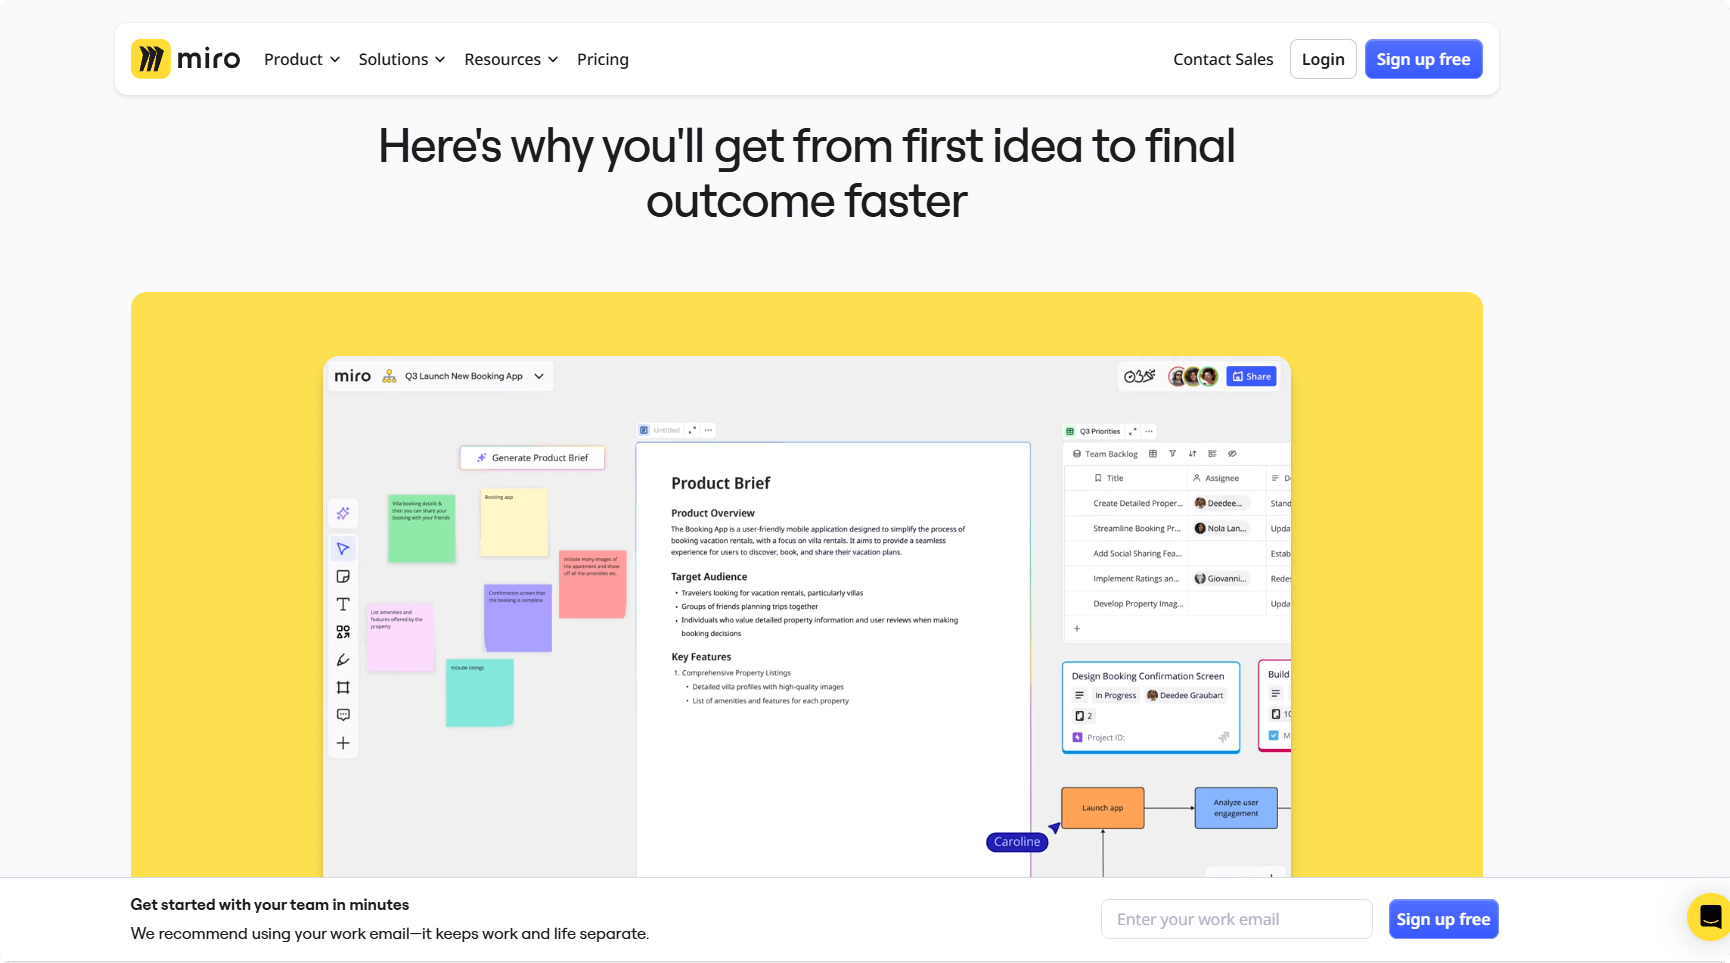
Miro is a versatile digital whiteboard for project planning, known for its extensive integration options with tools like Microsoft 365, Google Workspace and Atlassian. It offers a wide range of pre-built templates that help teams organize tasks, brainstorm ideas, and plan projects effectively. If your planning depends on a connected tool, compare the specific Miro integration with the workflow your team needs.
Microsoft Whiteboard: Simple Interface, Perfect for Team Brainstorming
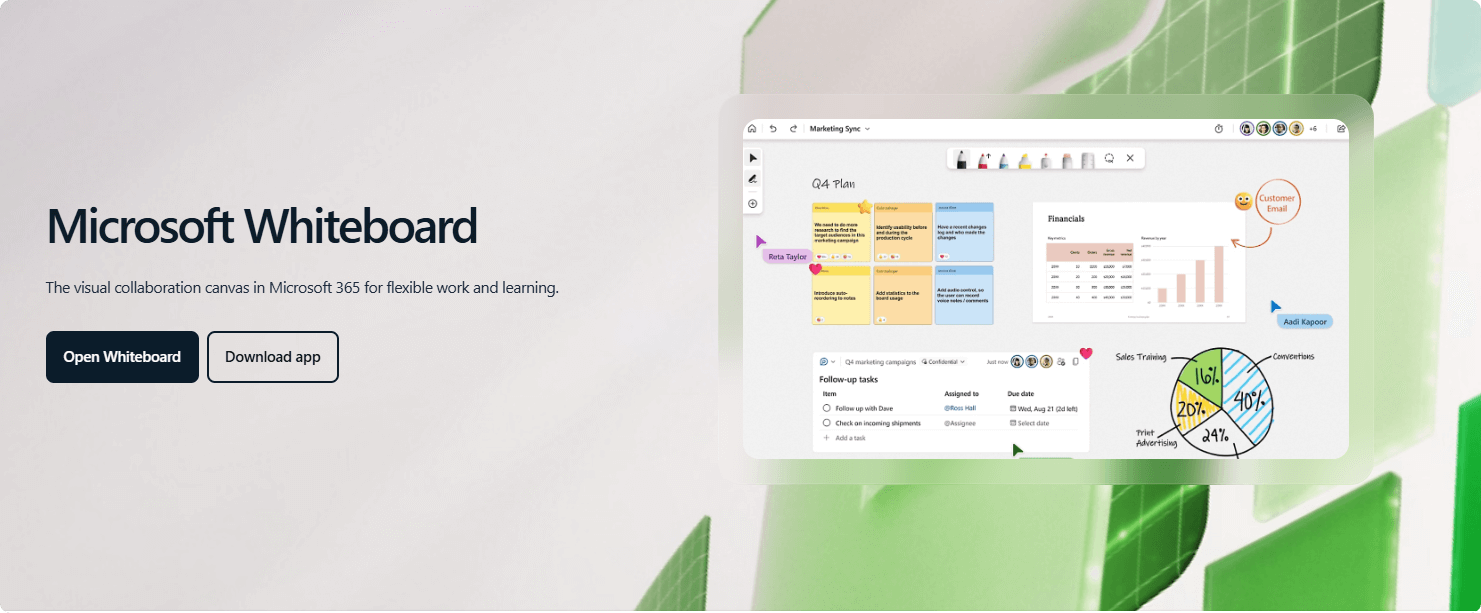
Microsoft Whiteboard is a user-friendly whiteboard for project planning, ideal for team brainstorming and collaboration. Its simple interface and integration with Microsoft Teams make it an excellent choice for teams already using Office 365. The whiteboard provides various templates, enabling quick setup for organizing tasks, capturing ideas, and collaborating in real time, ensuring streamlined project planning and execution.
Creately: Combines Diagramming with Collaborative Whiteboarding
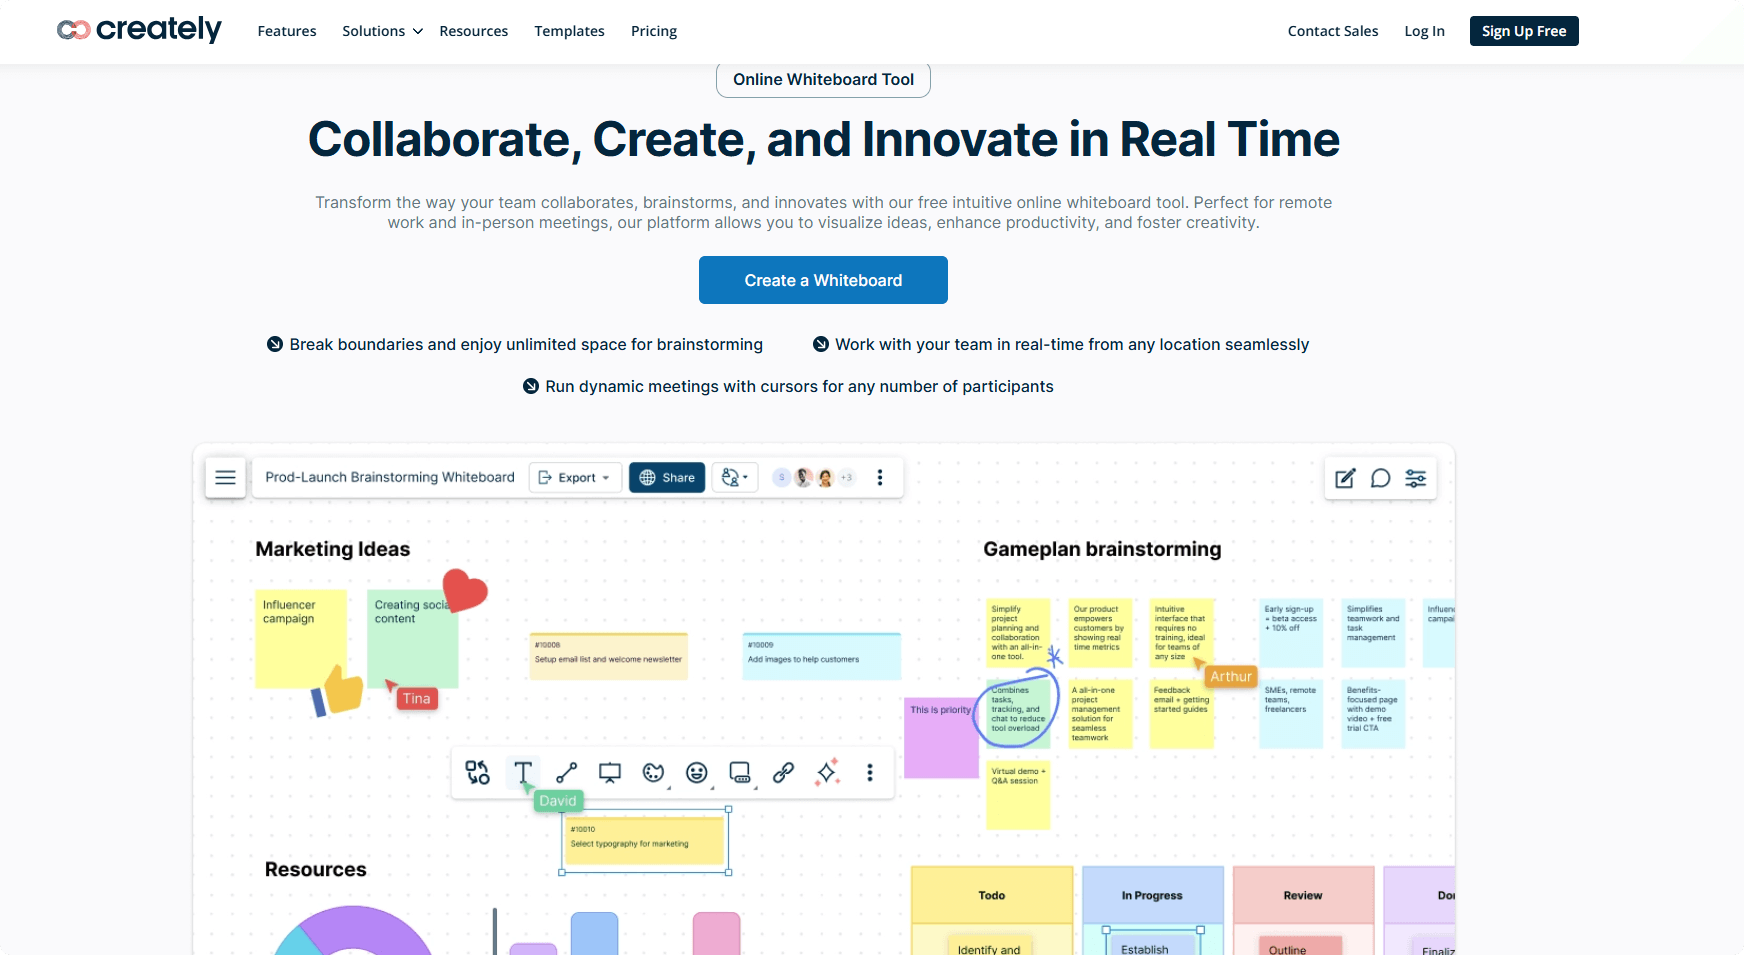
Creately blends diagramming tools with collaborative whiteboarding, making it an effective platform for project planning. It offers a variety of templates, including flowcharts, mind maps, and other visual tools essential for structuring projects. Teams can collaborate in real time, providing instant feedback and making adjustments. Creately is worth considering when the planning work needs detailed diagrams alongside shared discussion.
Tips for Effective Project Planning with Whiteboards
To make the most of your whiteboard for project planning, here are some essential tips for smooth collaboration:
Keep Visuals Clean and Clutter-Free: Avoid overwhelming your team with too much information. Use clear and simple visuals to represent tasks, goals, and timelines. A clutter-free whiteboard ensures team members can focus on what matters and follow the project’s progress easily.
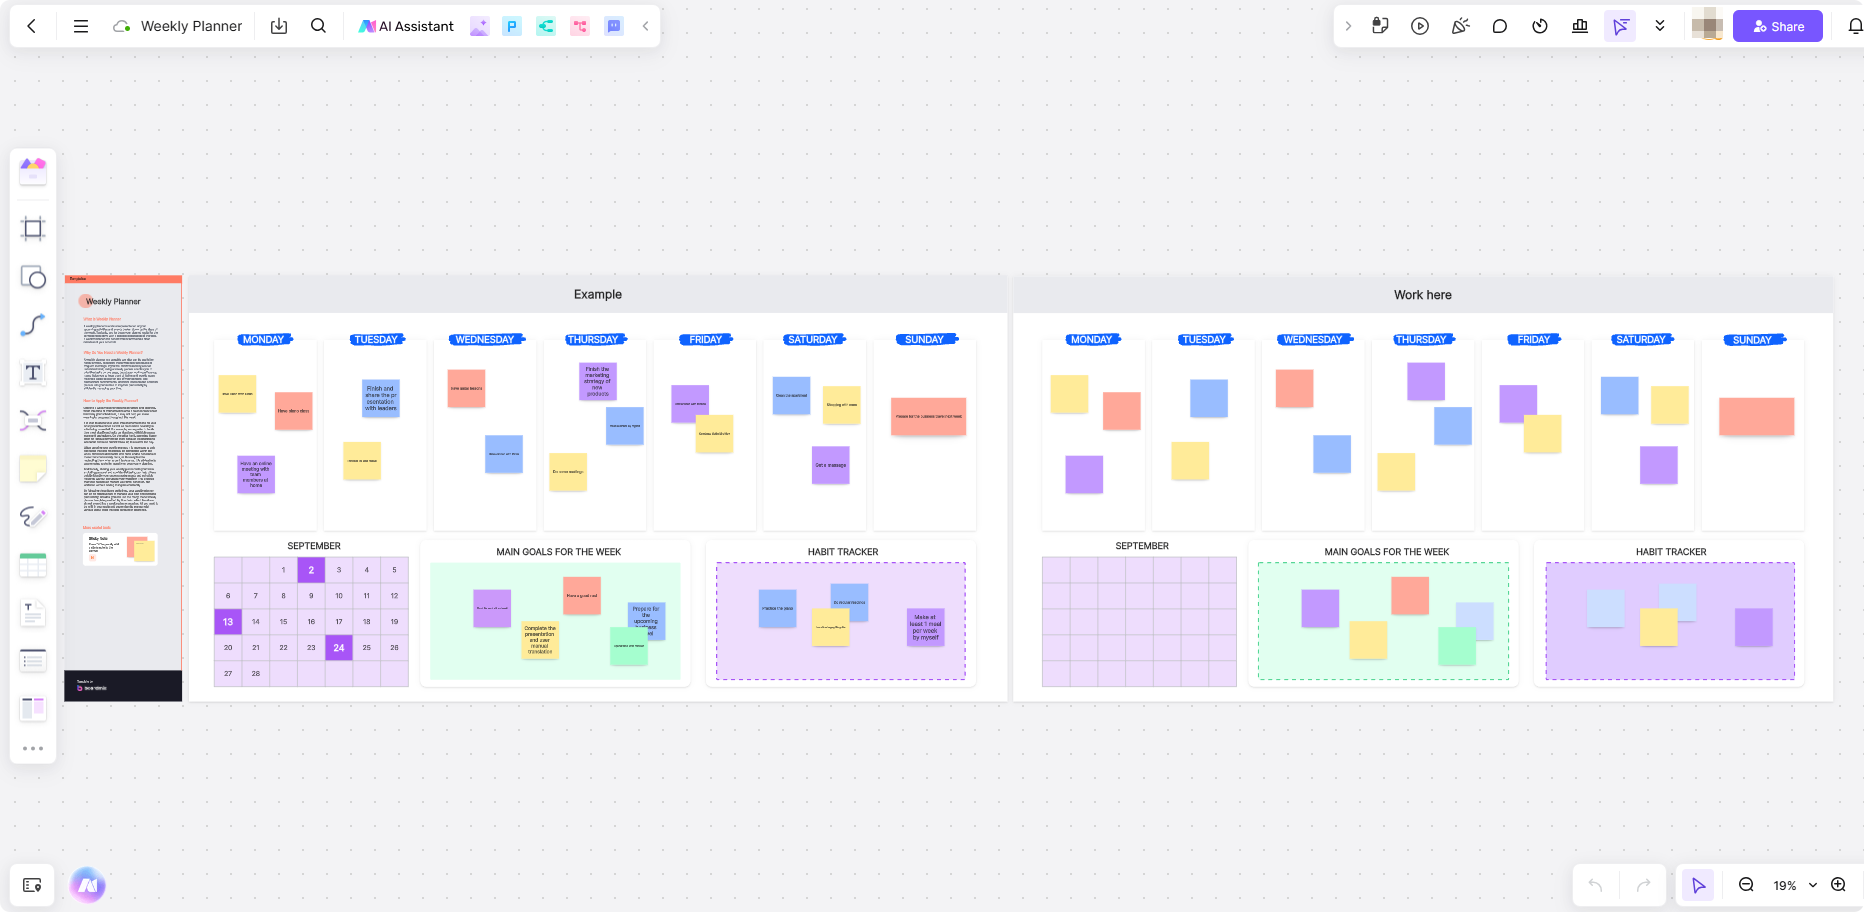
Use Color-Coding and Icons: Give each color one meaning. For example, reserve red for blocked work and show urgency with a separate priority label, so an urgent task is not mistaken for a blocked one. Keep written status labels alongside colors. A calendar icon can mark a deadline and a checkmark can identify completed work.
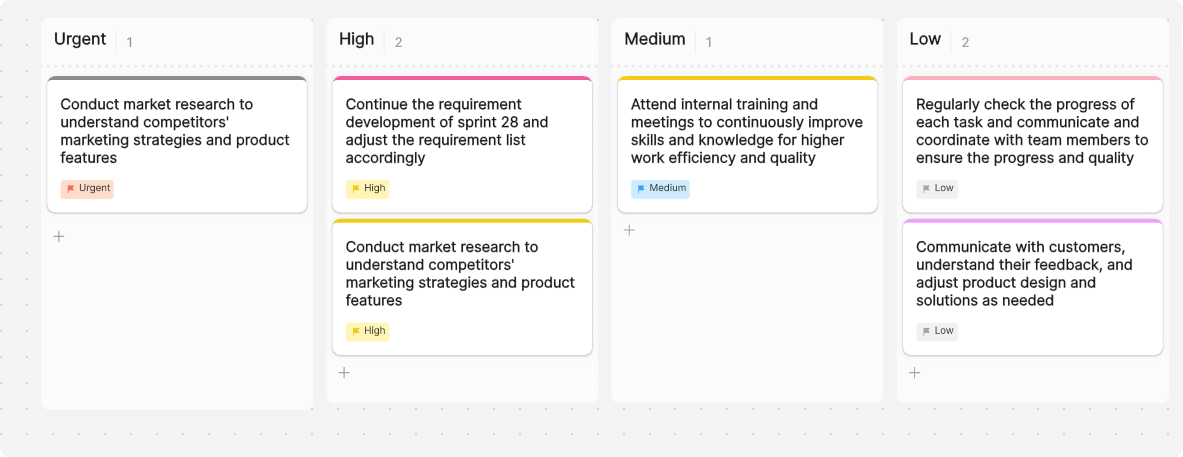
Encourage Team Participation: Ensure everyone has the chance to contribute. Invite team members to brainstorm, suggest ideas, and provide feedback during the planning phase. Regular input keeps the whiteboard relevant and ensures that the project plan reflects the needs and insights of the entire team. This approach promotes collaboration and alignment throughout the project.
Key points: Simplify Project Planning with Whiteboards
Keep the board focused on the next planning decision: what can start, what is waiting, and which date or handoff needs to change. At each review, update the affected tasks and their dependencies together. When the work is finished, keep the final board with the project records so the team can see how the plan changed.