Flowchart symbols explain what each step does: a rectangle shows an action, a diamond asks a question, and a terminator marks the beginning or end. Choosing the right shape matters, but its label and outgoing arrows tell the reader what happens next. This guide covers 11 common symbols, then uses a return-request example to show how they work together. You can arrange these shapes and review the process with your team in the Boardmix flowchart maker.

What Are Flowchart Symbols?
Flowchart symbols are a shared notation for reading a process. Common conventions include rectangles for actions, diamonds for decisions, and ovals or rounded shapes for start/end points. They are not universally self-explanatory: use a consistent convention and add a short legend when a shape could be unfamiliar. The Microsoft basic flowchart guide describes these common uses and notes that readers need an agreed meaning for the shapes.
Discover 11 Kinds of Flowchart Symbols
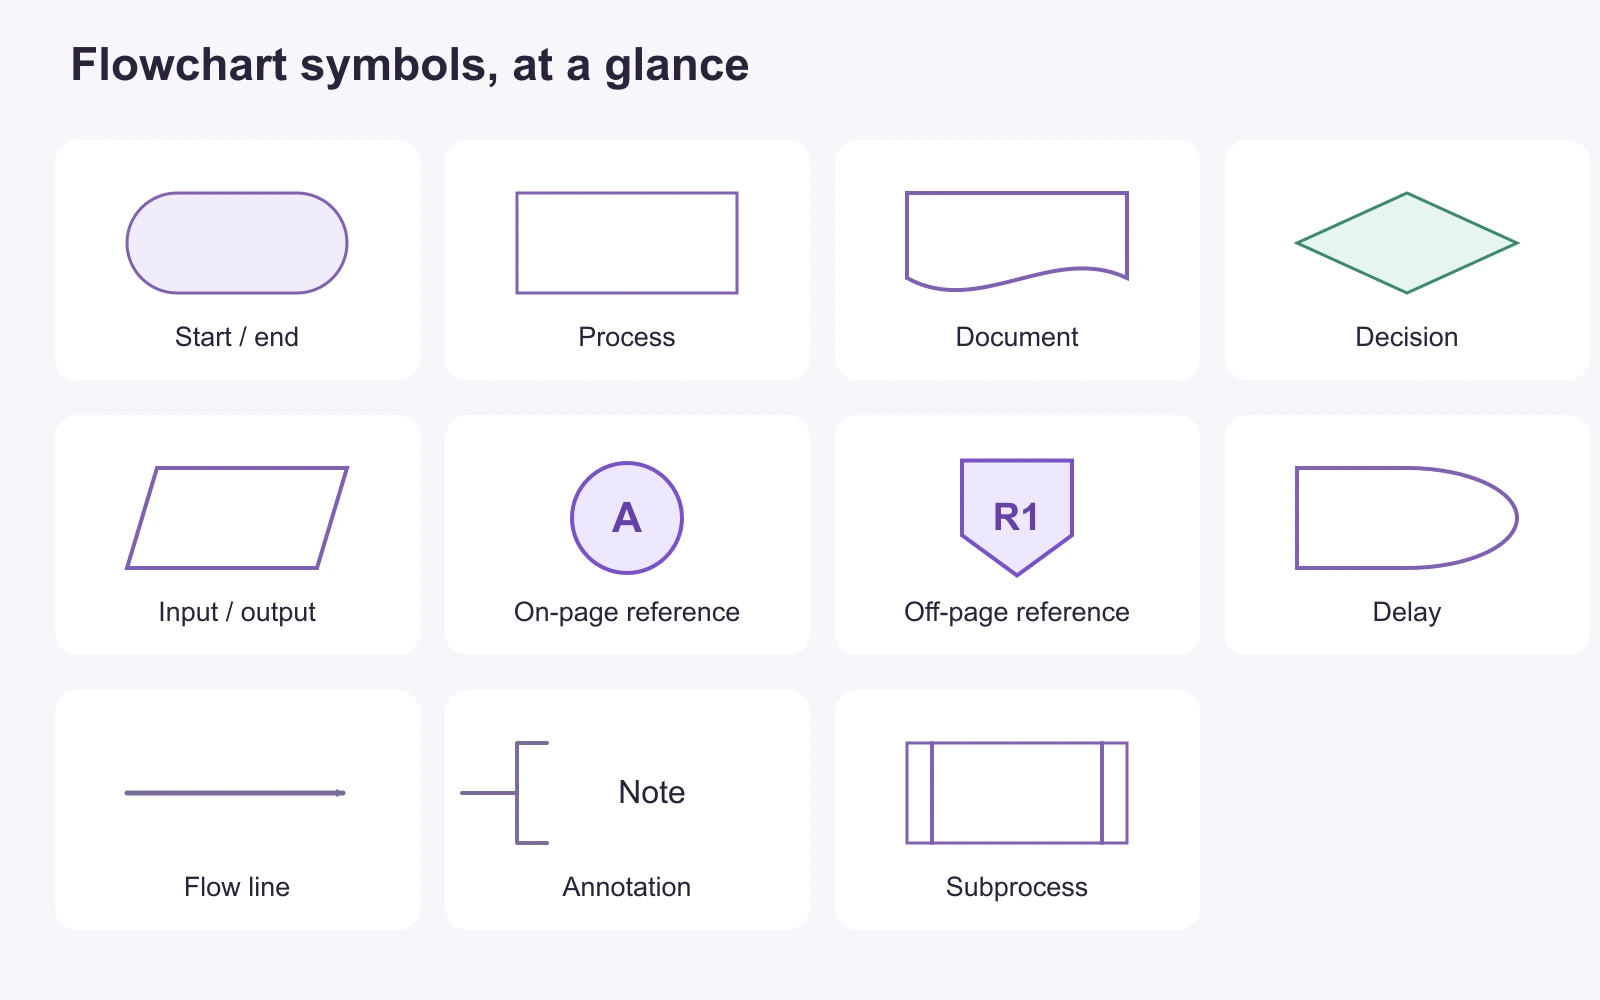
The following 11 symbols cover actions, decisions, information and navigation through a process. Use only the ones your diagram needs. A simple approval flow can be clear with four or five types; adding every symbol does not make it more accurate.
Start/Stop Flowchart Symbol

The terminator marks a process boundary. It is commonly an oval or a rounded rectangle. Label it with a useful event or outcome, such as “Request checked” or “Requester notified,” rather than relying on the shape alone. In Boardmix, add a suitable start/end shape and its label. A continuation elsewhere on the drawing is not an end state.
Process Flowchart Symbol

A process rectangle represents an action, such as “Review return” or “Record decline reason.” Start the label with a verb and keep it to one meaningful action. Add a rectangle to the Boardmix canvas, enter the action, and connect it to the next step. If a label asks a question with different outcomes, it usually belongs in a decision diamond instead.
Document Flowchart Symbol

The document symbol is a rectangle with a wavy lower edge. It represents a document used or produced by the process, such as a completed return form or a written decision. Distinguish the document from the activity: “Return form” is an information item, while “Review return form” is an action rectangle. Use the document shape with a concise name rather than putting a whole form inside it.
Decision Flowchart Symbol

A diamond represents a question or condition whose outcome changes the route. For example, “Approved?” has a Yes path and a No path. Label each outgoing arrow so the reader knows which result selects it; a diamond alone does not explain the rule. In Boardmix, use a diamond for the question and connect its outcomes to the relevant actions.
Data Input/Output Flowchart Symbol

A parallelogram commonly represents input or output, such as receiving request details or displaying a confirmation. It is different from a cylinder, which commonly represents stored data or a database, and from the wavy-bottom document symbol. Write the information being received or produced inside the shape. If your main interest is an activity such as “Check request details,” use an action rectangle for that activity.
On-Page Connector (Reference) Symbol
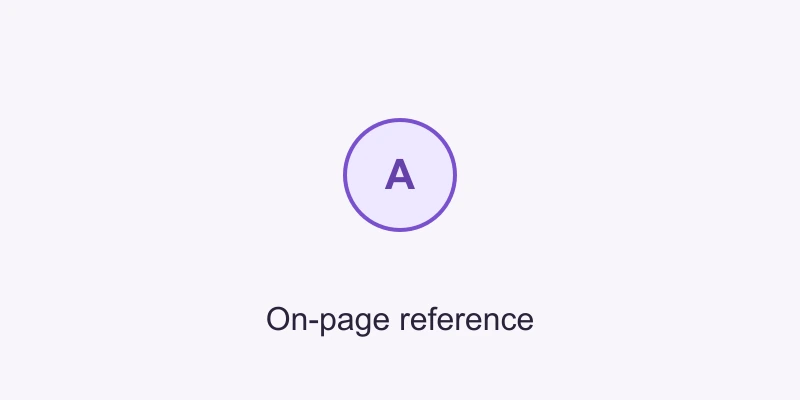
An on-page reference is a small labeled circle. Matching labels, such as A and A, show that the flow continues elsewhere in the same drawing without a long line crossing other steps. Point the outgoing flow into the first reference and continue out of its matching partner. The on-page and off-page connector examples show how to keep the route intact when replacing an awkward arrow.
Off-Page Connector (Reference) Symbol
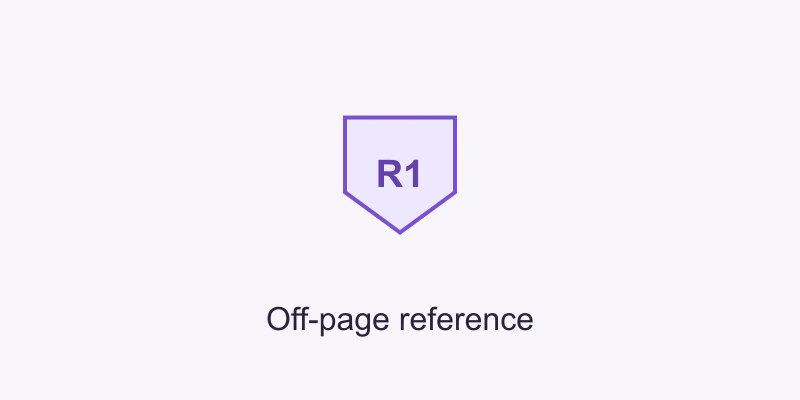
An off-page reference, commonly a pentagon, shows a continuation on another page or diagram. Give the two ends a matching identifier and name the destination, such as “R1 — Page 2: Decision and response.” A reference is not a decision or a completed task. On a Boardmix canvas, label separated diagram areas explicitly; do not assume that drawing this symbol creates an automatic navigation link.
Delay Flowchart Symbol

The conventional delay symbol has a straight left side and a curved right side, resembling a capital D. It marks a waiting period, such as “Await requester response.” Name what the process is waiting for and show how work resumes. If a time limit changes the route, represent its actual rule and outcomes rather than placing an unexplained clock or cloud in the flow.
Flow Line (Arrow) Symbol
A flow line joins steps and uses an arrowhead to show direction. Drawing tools may call the line a connector; that is different from the paired reference symbols above. Keep the direction consistent where possible and label decision branches. If lines cross, do not leave the reader to guess whether they join: reroute them or use an explicit continuation reference.
Annotation (Comment) Symbol

An annotation adds explanatory text without becoming another process step. A common form is an open bracket or open-sided note connected to the relevant symbol with a dashed line. For example, a note beside “Review return” can identify the policy document used by the reviewer. Keep the note visually distinct from the main arrows. A folded-corner shape can be read as a document, so explain any different convention you choose.
Subprocess Flowchart Symbol
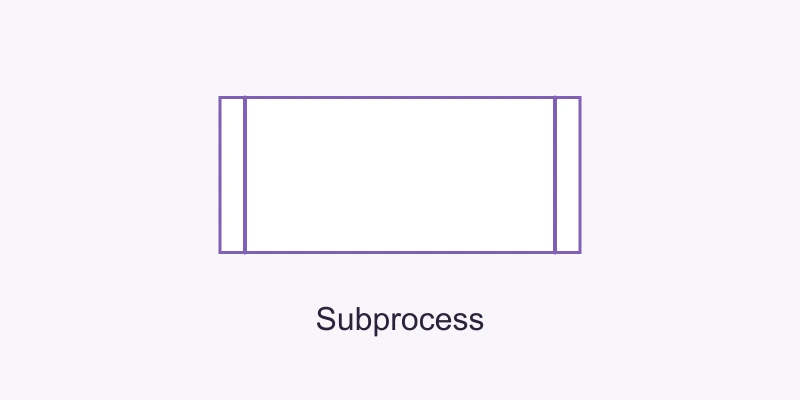
A predefined-process or subprocess symbol is a rectangle with an extra vertical line near each side. It stands for a named set of steps described elsewhere, such as a detailed return-review procedure. Give the subprocess a clear name and make its detailed instructions findable. Unlike a continuation reference, this symbol represents work performed within that named activity; it does not simply move the reader to another location.
How Do Flowchart Symbols Help Readers Follow a Process?
Symbols help readers separate different kinds of information. Their value comes from a consistent relationship between the shape, label and next step, not from decoration or a promise that the diagram will eliminate mistakes.
Improve Clarity and Understanding
A rectangle labeled “Review return” tells someone to act. A diamond labeled “Approved?” tells them to choose a route using a decision. Keeping those meanings separate makes the drawing easier to read.
Expose Repeated Work and Missing Steps
Following the arrows can reveal repeated reviews, a notification that never happens, or a branch with nowhere to go. Whether a process is efficient still depends on how the work is actually carried out.
Give the Team a Common Vocabulary
When everyone uses the same symbol meanings, a reviewer can point to the approval decision or the missing input instead of arguing about what an unlabeled box means.
Make Ambiguity Visible
A clear Yes/No split forces the author to show both outcomes. It does not decide the policy, but it makes a missing rejection route easier to notice.
A Complete Example: Review a Return Request
This illustrative process starts after the request details have been checked. It ends when the requester is notified, not when a refund is issued or an item arrives. The reviewer applies the organization's actual return policy; the diagram does not create that policy.
- Start — Request checked. Use a terminator for the entry state.
- Review return. Use a process rectangle for the reviewer's action.
- Approved? Use a decision diamond with two labeled exits.
- Yes → Prepare return details. Use a process rectangle for the approved response.
- No → Record decline reason. Use a separate process rectangle for the declined response.
- Notify requester. Both response paths reach this action.
- End. Use a terminator after notification.
Not every symbol belongs in this small flow. Add a document symbol only if showing the return form as a document helps the reader. Add a delay only if a real waiting period is part of the process. If the route between review and decision becomes a long crossing line, a matching reference pair can replace that connection without removing either step.
Trace the two outcomes: approved requests pass through “Prepare return details”; declined requests pass through “Record decline reason.” Neither path should jump straight from the decision to End and skip the notification.
Step-by-Step Guide: How to Make a Flowchart on Boardmix
Use the symbols to describe the work before styling the diagram. Follow this sequence: define the process, collect its facts, choose shapes, connect them, and review the result with the people who use it.

Define the Purpose of Your Flowchart
Before you start designing your flowchart, it's essential to have a clear understanding of its purpose. Determine what you want to achieve with your flowchart—whether it's to outline a process, document a system, or guide users through a series of steps. Having a defined purpose will help you select the most relevant symbols and structure your flowchart effectively.
Gather All Necessary Information and Data
Collect all the information and data that you'll need to include in your flowchart. This may involve researching, interviewing stakeholders, or reviewing existing documentation. Organize this information in a way that makes it easy to incorporate into your flowchart, such as in a list or a table.
Choose the Appropriate Flowchart Symbols for Your Process
Choose shapes by their role: terminators for the boundary, rectangles for actions, and diamonds for conditions. For the return example, place “Review return” in a rectangle and “Approved?” in a diamond. Do not use a cylinder for an input simply because the label contains the word data.

Arrange the Symbols in a Logical Sequence
Arrange the symbols on the Boardmix canvas in the order the work happens. For the example, put the start above “Review return,” then the approval decision. Place the approved and declined response actions on separate branches, with “Notify requester” below them. Leave enough space for the Yes and No labels.
Connect the Symbols with Arrows to Show the Flow of the Process
Connect the steps with arrows. The approval diamond needs one arrow labeled Yes to “Prepare return details” and another labeled No to “Record decline reason.” Bring both actions to “Notify requester,” then connect that action to End. An arrow should reach the intended shape rather than stopping in empty space.
Add Labels and Descriptions to Each Symbol for Clarity
To ensure that your flowchart is easy to understand, add labels and descriptions to each symbol. Use clear and concise language to describe each step, decision, or action. Boardmix allows you to add text directly onto the symbols or in close proximity, making it easy to provide the necessary information without cluttering your flowchart.

Review and Test Your Flowchart for Accuracy and Ease of Use
Once you've completed your flowchart, it's important to review it for accuracy and ease of use. Check that all symbols are correctly placed, that the flow is logical, and that all labels and descriptions are clear and accurate. You may also want to test your flowchart with a colleague or user to ensure that it effectively communicates the process you intended to map.
Collaborate and Share Your Flowchart
One of the key features of Boardmix is its collaboration capabilities. You can invite team members to view or edit your flowchart in real-time, making it easy to gather feedback and make adjustments. This collaborative approach can help ensure that your flowchart is accurate, comprehensive, and aligned with the needs of all stakeholders.
Export and Use Your Flowchart
After finalizing the flowchart, use the available export options for the presentation or document you need. Check the exported result at its intended reading size: labels, arrowheads and reference IDs must remain legible. Keep the editable board for later process changes.
Tips for Making Better Flowcharts
Creating effective flowcharts requires a combination of good design principles and practical strategies. Here are some tips to help you make better flowcharts that are not only visually appealing but also easy to understand and use:
Keep it Simple
Avoid the temptation to include every detail in your flowchart. Overcrowding your diagram with too many symbols or excessive information can make it difficult to read and understand.
Use a Consistent Style
Use the same symbol for the same kind of step throughout the drawing. Keep color meanings consistent, but label the routes so the process can also be followed without color.
Label Clearly
Each symbol in your flowchart should have a clear and concise label that describes its function.
Test with Users
Before finalizing your flowchart, it's crucial to test it with real users. This testing phase can help you identify any areas of confusion or ambiguity and make necessary adjustments.
Use Tools Like Boardmix
Keep the editable diagram and its supporting notes together in Boardmix so teammates can discuss a specific step. Separate agreed process rules from open questions; an attractive layout cannot resolve an unknown rule.
Conclusion
Choose a symbol because it explains a step, decision, information item or continuation. Then name the step clearly and show where each outcome leads. The return example needs only a small set of shapes to distinguish approval, decline and notification.
Before sharing the diagram, ask a teammate to follow both outcomes without help from its author. Use their questions to fix unclear labels, missing actions and ambiguous connections while preserving the process you intended to describe.