




To migrate from Miro to Boardmix, open Boardmix, choose Import Miro boards, connect the Miro team that owns the board, select the destination, and run the import. Boardmix currently lists cards, connectors, frames, images, shapes, sticky notes, and text as supported editable elements. Test a representative board before moving an entire workspace because apps, comments, permissions, media, and less common object types may require separate validation.
This guide separates a direct editable import from a PDF or image transfer. The first method is intended for continued editing; the second preserves a visual reference but does not turn the exported page into native editable objects.
Before You Migrate: Audit and Back Up the Board
Start with one active board that contains the same kinds of objects your team uses elsewhere. Record its owner, editors, guests, integrations, linked files, comments, frames, templates, and embedded content. Keep the source board unchanged until the imported copy passes review.
- Confirm access. Use an account that can open the source board and authorize the connection.
- Choose a test board. Include text, shapes, connectors, sticky notes, images, frames, and one or two complex elements.
- Capture a reference. Export a PDF or image so reviewers can compare layout after import.
- Define acceptance criteria. Decide which objects, links, labels, and positions must remain editable or visually consistent.
- Plan ownership. Name the Boardmix workspace and folder that will hold the migrated board.
Method 1: Import a Miro Board as Editable Content
The direct importer is the primary path when the team needs to keep working with board objects. Interface labels can change, so use the current prompts in the product if they differ from the screenshots below.
- Sign in to Boardmix and enter the destination workspace.
- In Quick access, select Import Miro boards.
- Review the import notice and continue.
- Sign in to Miro when redirected and authorize access to the relevant team.
- Select the destination team or folder in Boardmix.
- Select the Miro board to migrate.
- Run the import and wait for the new Boardmix board to open.
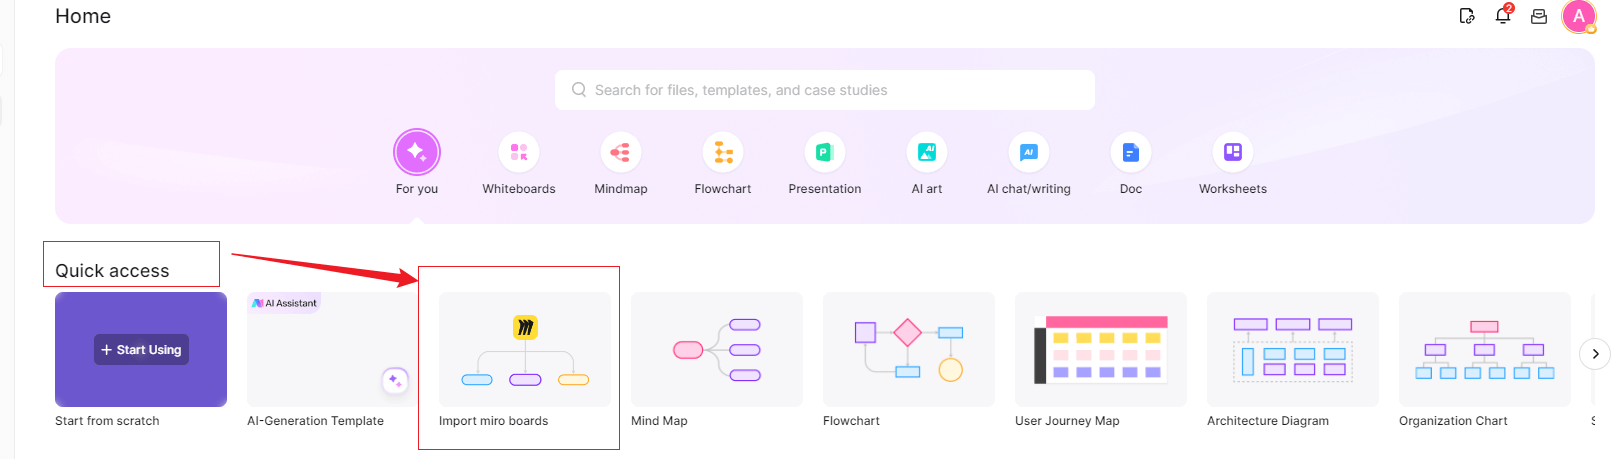
After entering the Boardmix workspace, look for Import Miro boards in Quick access. Select it to open the file-transfer flow. The exact location of Quick access can change as the product interface evolves, so use the current workspace navigation if the label has moved.
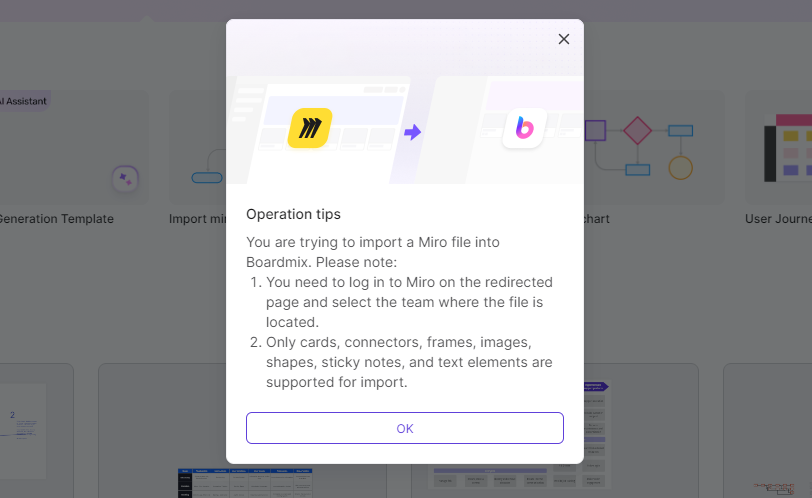
Read the operation notice before continuing. It explains the scope of the transfer and the object types that can be brought in as editable content. Select OK or the equivalent confirmation to proceed.
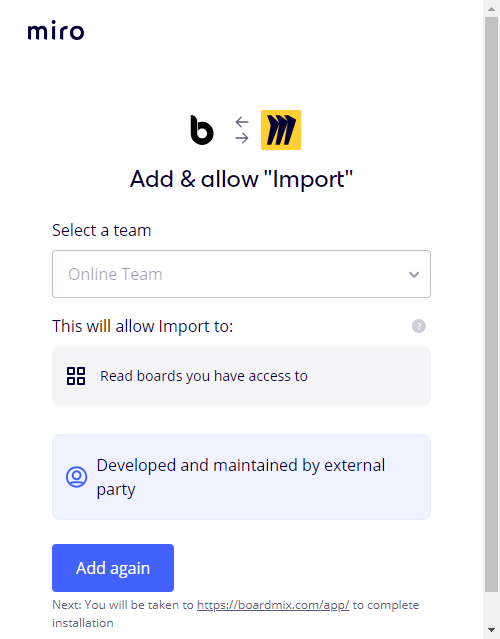
Boardmix then redirects you to Miro for authorization. Sign in to the Miro account that can open the source board, select the team where the board is stored, and approve the requested access. If the board belongs to another team, ask its owner to complete the authorization rather than using an unrelated account.
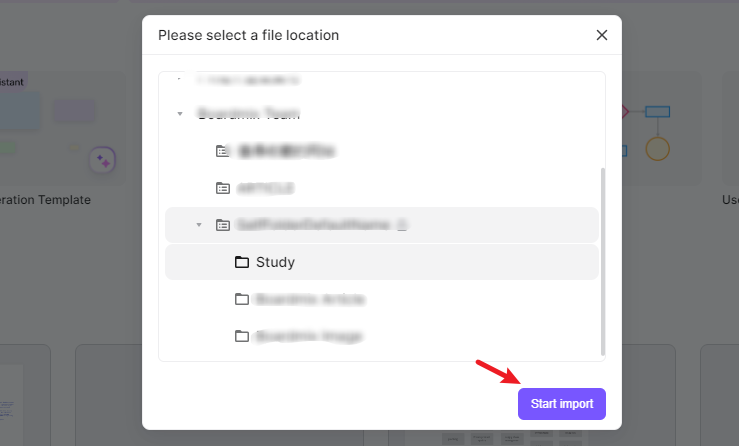
Choose the Boardmix team, folder, or workspace location that should own the imported board. Confirm the destination before starting the transfer because ownership and access rules are part of the rollout plan even when they are not represented by the board objects themselves.
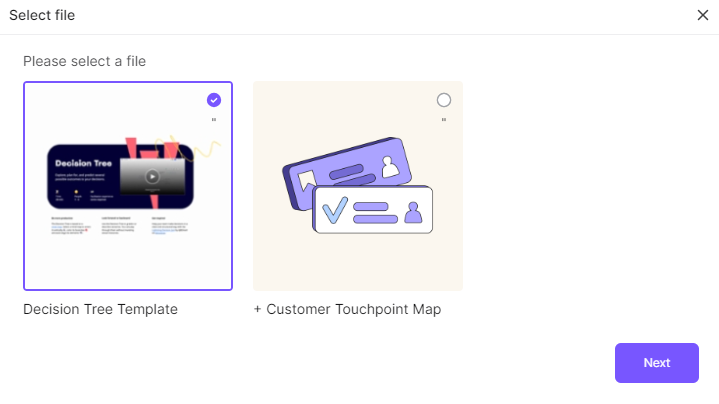
Select the Miro board to transfer and continue. For a first test, choose a board that contains the same mix of text, sticky notes, connectors, images, frames, and shapes used in your active projects. This gives reviewers a realistic view of the import result.
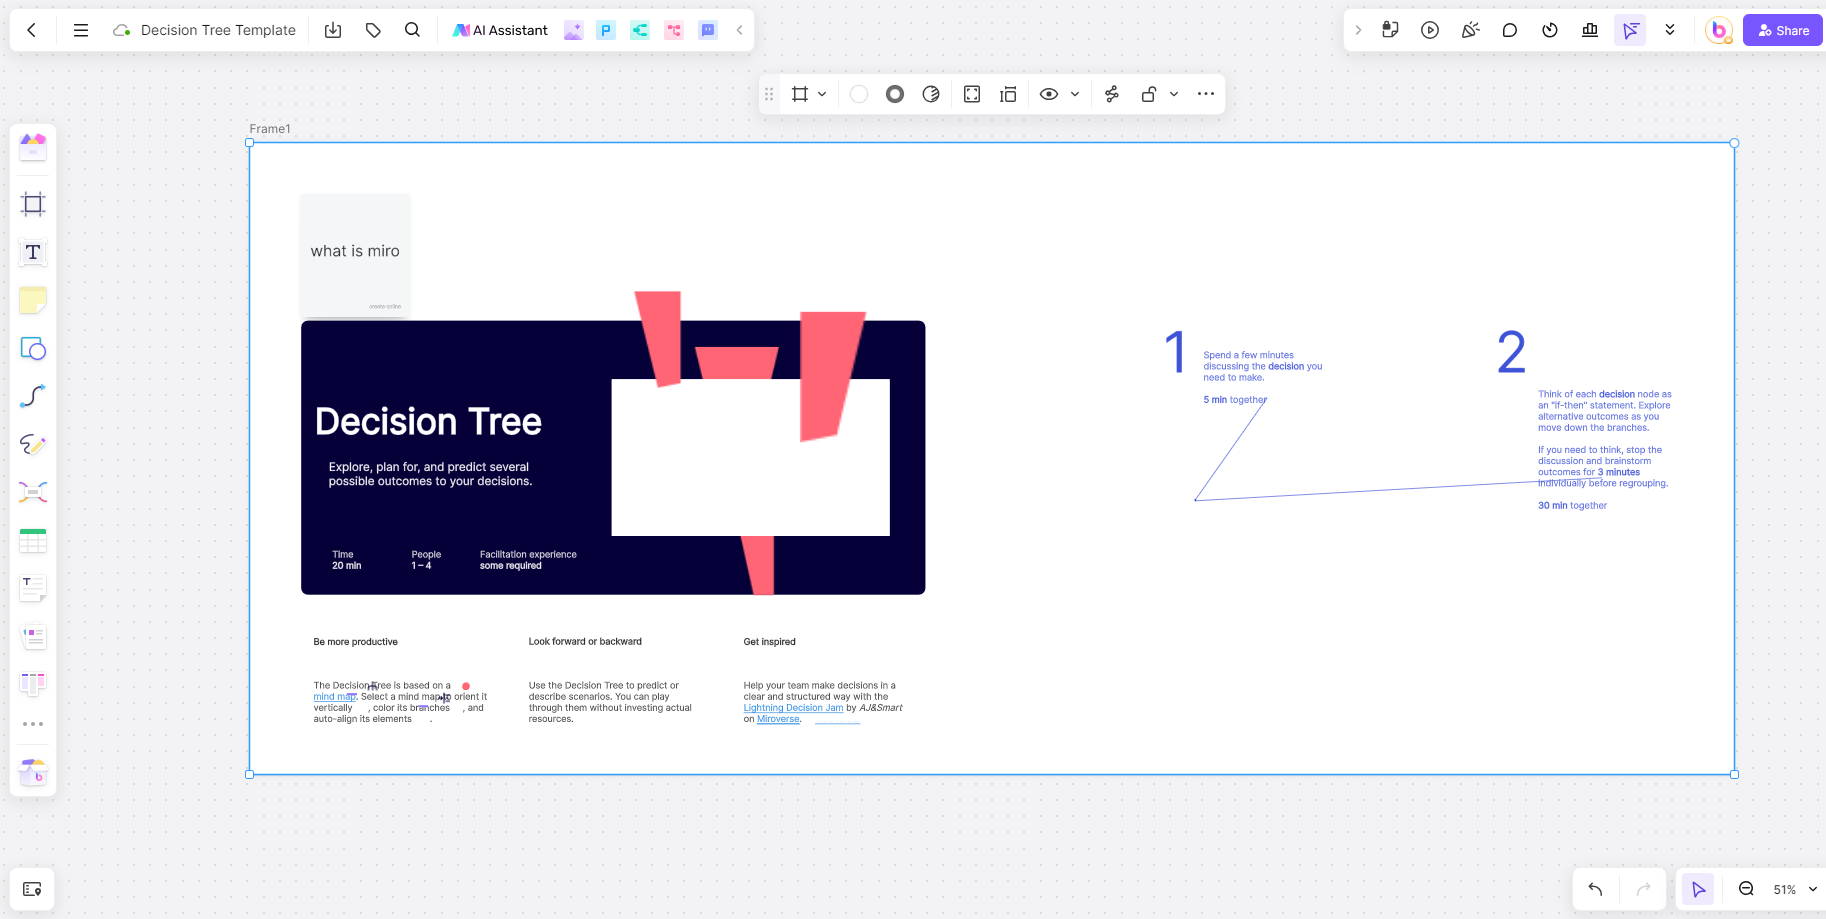
When the import finishes, open the new Boardmix board and compare it with the source reference. The imported canvas should be treated as a working copy until the owner confirms that the objects are editable and the visual relationships still make sense.
| Content to check | Expected path | Validation after import |
|---|---|---|
| Cards, connectors, frames, images, shapes, sticky notes, text | Direct Boardmix importer | Confirm object count, text, position, size, color, and editability |
| Comments, permissions, board history, app data, integrations | Do not assume they transfer | Document separately and rebuild only what the team still needs |
| PDF or image export | Upload as a file | Treat as a visual reference; individual objects are not natively editable |
| CSV text export | Use for structured text review | Relationships and canvas layout may not be preserved |
Method 2: Move a PDF or Image as a Visual Reference
Use this fallback when a direct import is unavailable or when the goal is archival reference rather than continued editing. Miro's current export documentation lists PDF, JPG, SVG, and CSV options, subject to plan, browser, device, owner settings, and the selected content. For a format-by-format walkthrough, see the Miro export and download guide.
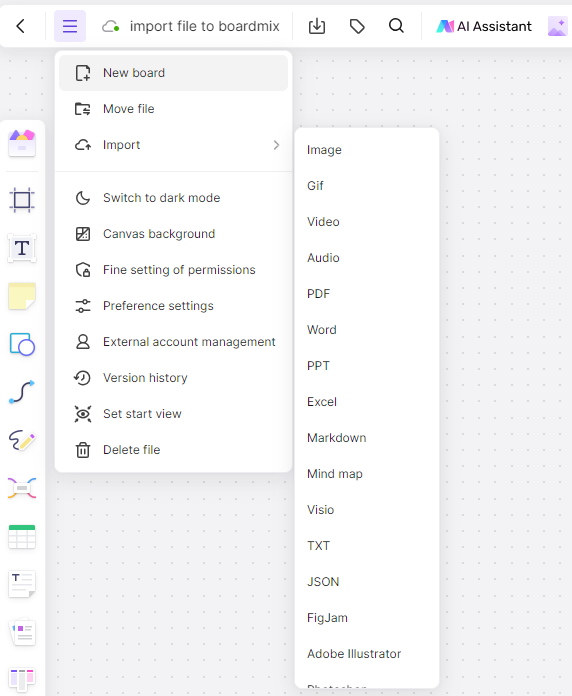
Use this route when you need to preserve a board as a visual record, when the direct importer does not support a particular object, or when the source team cannot authorize a direct connection. Keep the exported file beside the migration record so reviewers know which source version the reference represents.
- Open the Miro board and organize the content into frames if you need a paginated PDF.
- Open the board export menu and choose PDF, image, or CSV according to the purpose.
- Download the file and retain it as a migration reference.
- Open the destination Boardmix board and upload or drag the file onto the canvas.
- Add annotations around the imported reference instead of expecting its internal elements to be editable.
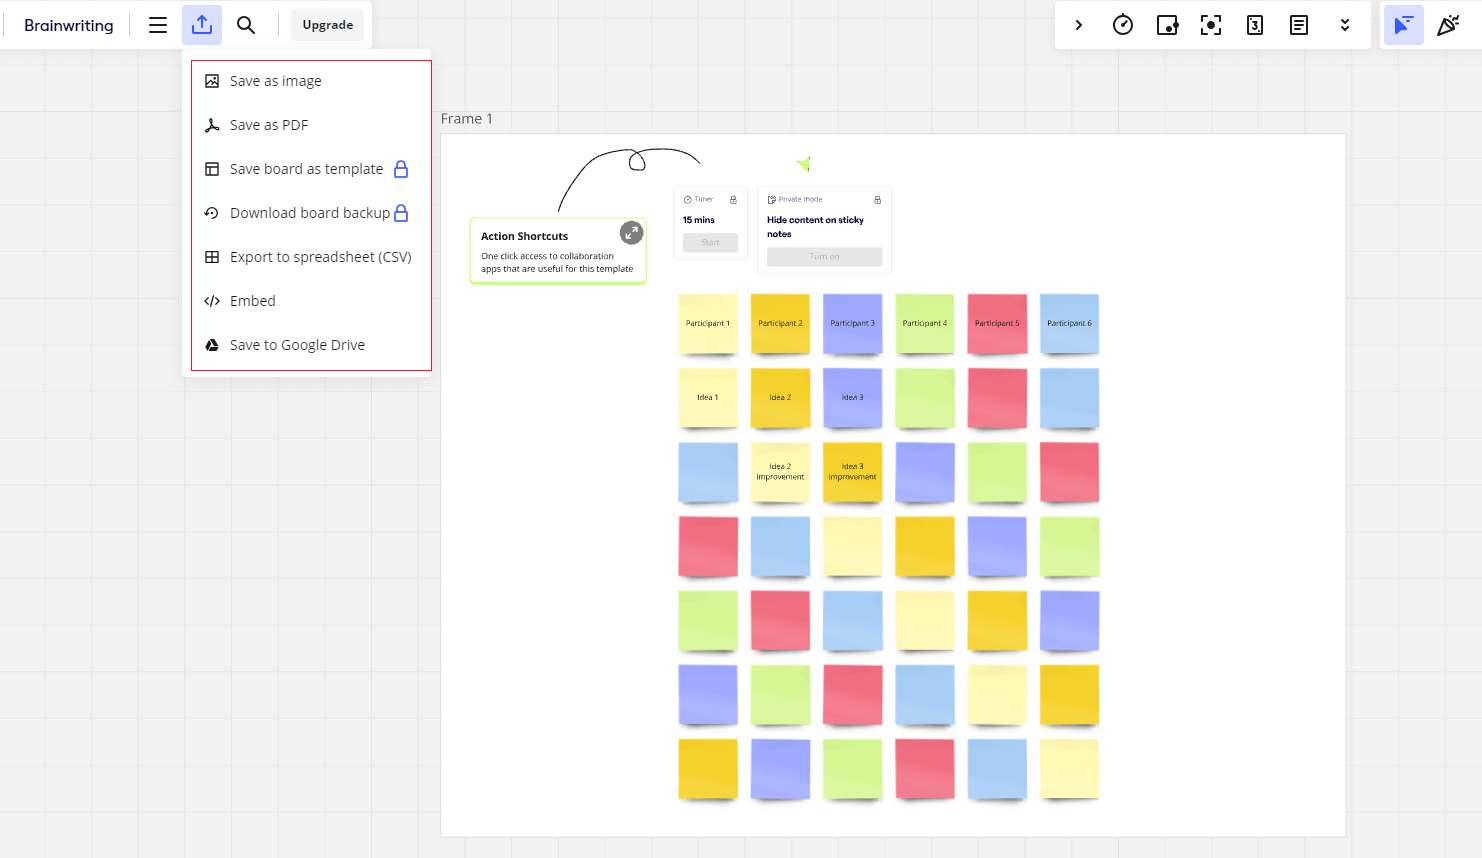
In Miro, open the export menu and choose the format that matches the purpose. Use PDF or an image when reviewers need a visual reference, and use CSV only for supported structured text that will be processed separately. Check the downloaded file before leaving the source board, especially frame order, resolution, and any missing content.
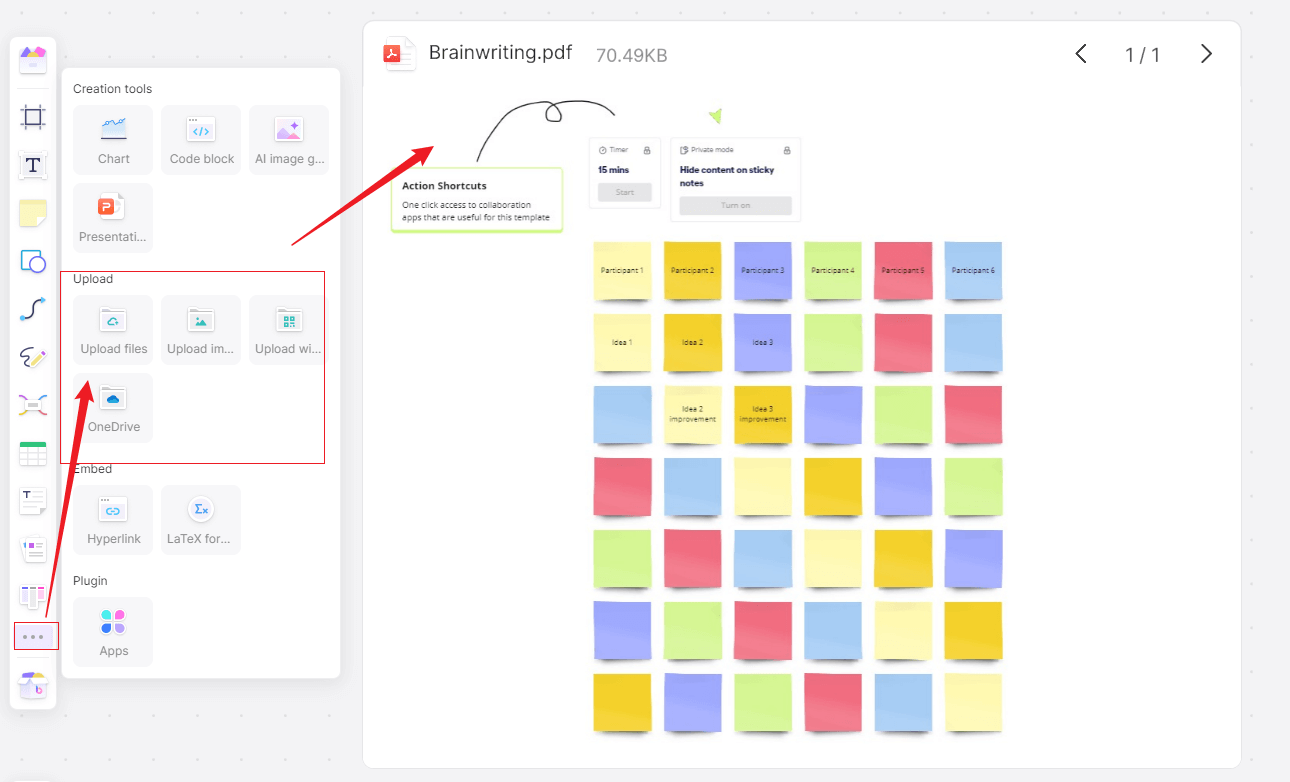
In Boardmix, create or open the destination board, select the upload option from the board menu, and choose the exported file. You can also drag the file onto the canvas where supported. Add notes or shapes around the visual reference to mark decisions, but do not describe the PDF or image as a native editable conversion.
Validate the Imported Board Before Rollout
Compare the source and destination side by side. Check frame order, text wrapping, connector endpoints, image loading, sticky-note colors, links, locked objects, and the edit permissions assigned in Boardmix. For a large workspace, test at least one simple board, one large board, and one integration-heavy board before setting a migration date.
- Content: Are all required objects present and readable?
- Layout: Do frames, connectors, and grouped items still communicate the same relationships?
- Behavior: Can users edit, comment, share, and export according to the new workspace policy?
- Governance: Have owners, guests, retention needs, and sensitive boards been reviewed separately?
- Rollback: Will the source remain accessible until the imported board is accepted?
Optimize the Imported Layout
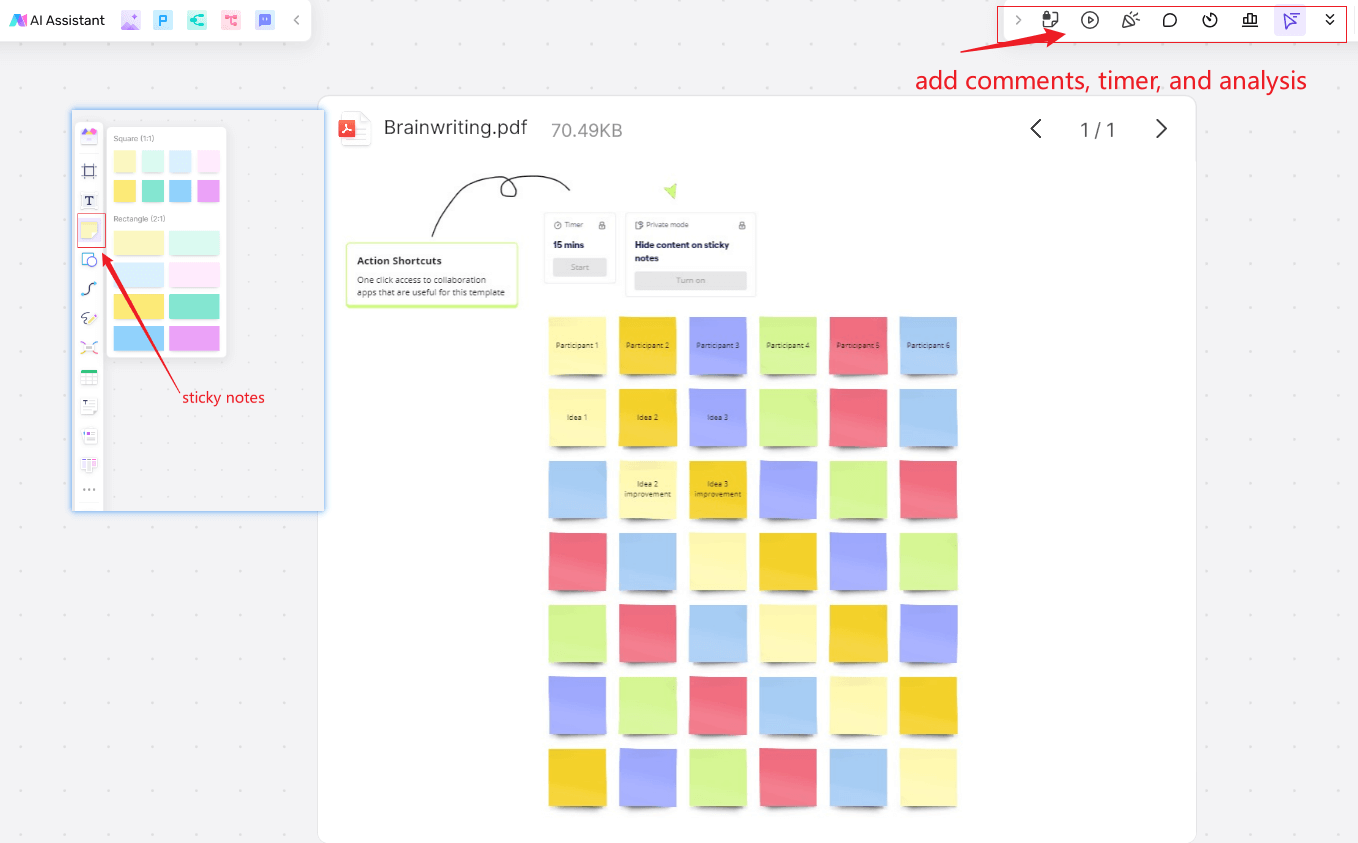
After the acceptance check, improve the board in small passes. Drag and drop elements into a logical reading order, use alignment and distribution tools to create consistent spacing, and keep the original frame structure until the team understands what changed. Add comments or highlights to explain any deliberate repair.
Add Context Without Rebuilding the Source
Use sticky notes for quick reminders, action items, and review questions. Color-code only when the team has a shared legend, and keep labels short enough to remain readable at normal zoom. This lets the imported board become a useful working space without hiding which content came from the source.
Keep Visual Style Consistent
Before sharing the board widely, align colors, fonts, sizes, and section headings with the team's current conventions. Consistency makes a migrated board easier to navigate and reduces the risk that readers mistake a migration artifact for a new project decision.

Plan the Workspace Cutover
A successful import is only one part of a migration. Decide when the source board becomes read-only, who approves the destination, and how collaborators will find the new link. For an active project, announce a short parallel-running period and a clear final editing time. That prevents changes from being split across two boards.
- Assign an owner. One person should manage the board inventory, exceptions, and acceptance record.
- Classify boards. Separate active work, records that need archiving, reusable templates, and content that can be retired.
- Move dependencies. Recreate required permissions, links, integrations, and guest access after the content import.
- Communicate the cutover. Share the destination URL, editing deadline, and support contact.
- Review after launch. Check access, edits, and unresolved exceptions after the first week.
Continue the Workflow in Boardmix
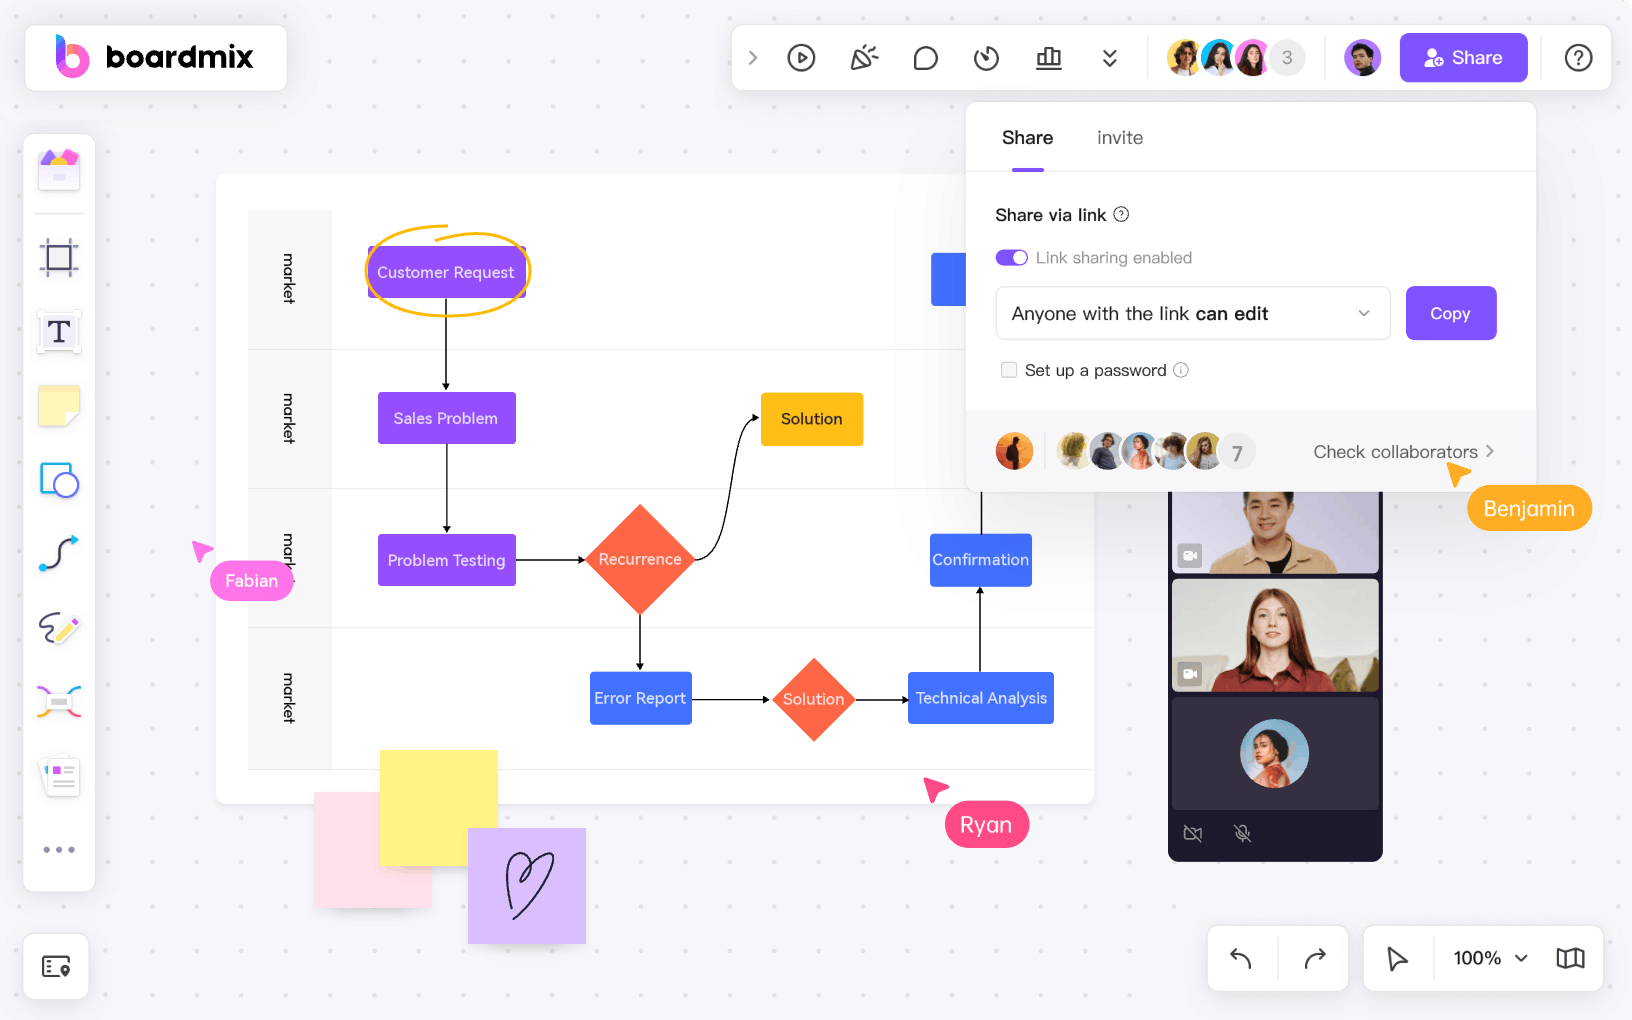
After validation, teams can add native Boardmix notes, comments, connectors, and visual structure around the migrated content. Keep the first editing pass focused on repair and verification; redesigning the board at the same time makes it harder to tell whether a difference came from the import or from a later edit.
Last verified: September 16, 2026. Supported objects and interface labels can change. Recheck this guide and run a pilot before a production migration.